Initial Sketches and Ideation
At first, we wanted to make a candle and candle-holder set for our 1 and 2 part molds. However, we pivoted from this idea because we were unsure if the essential oils would be delivered later. So, we decided to use materials already at Sci-Tech 252 and Nolop, but I may make some candles in the future.
For this assignment, we decided on making a small figurine of Kirby and a base for him to sit on. The base part would have two small indents. These indents matched with the extrusions on the base of Kirby’s feet so that they would be attached. We chose a Kirby figurine because his shape is mainly round, with no sharp indents or cuts.
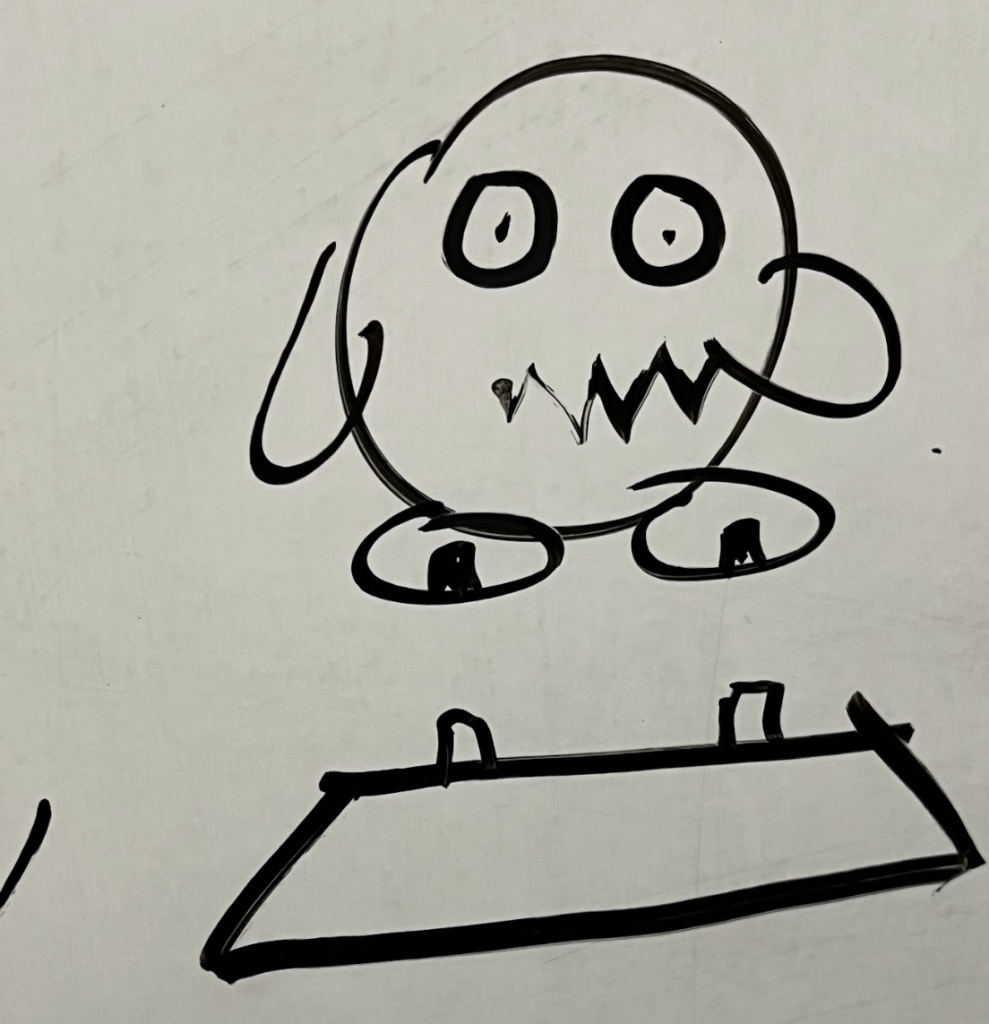
1-Part Mold
Mold Material: 3D Printed
Casting Material: Smooth-Sil 940
For the 1-part mold, we made a 3D printed negative of the final product. This was designed by Zahir Bashir and then 3D printed in Nolop by Maya Dubolle and Vio Ta. Then, I had done the casting using the 3D printed mold in Sci-Tech 252.
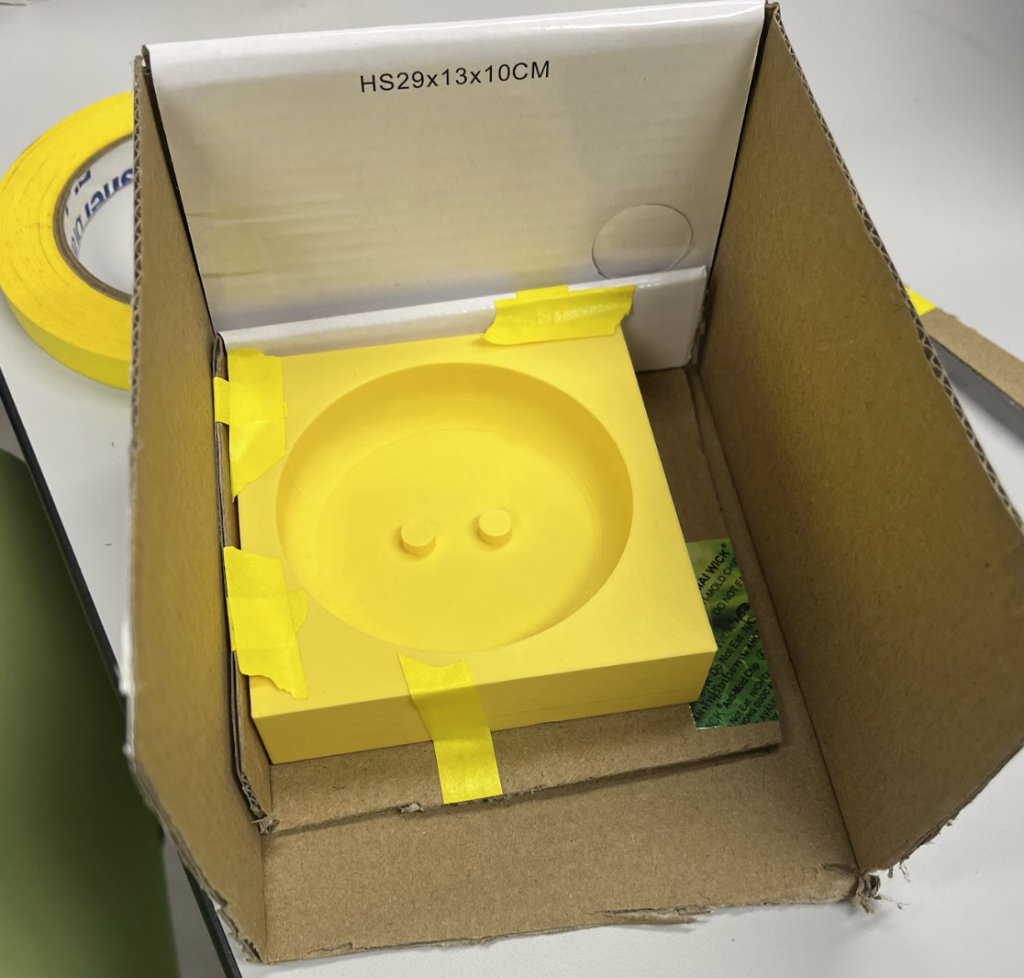
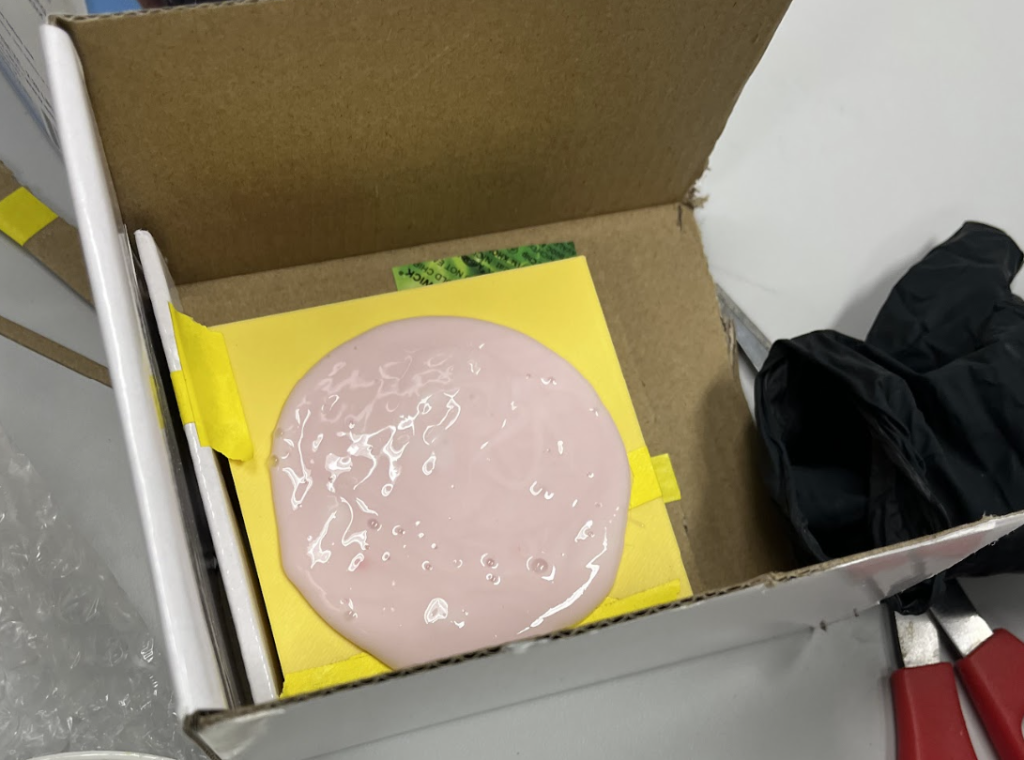
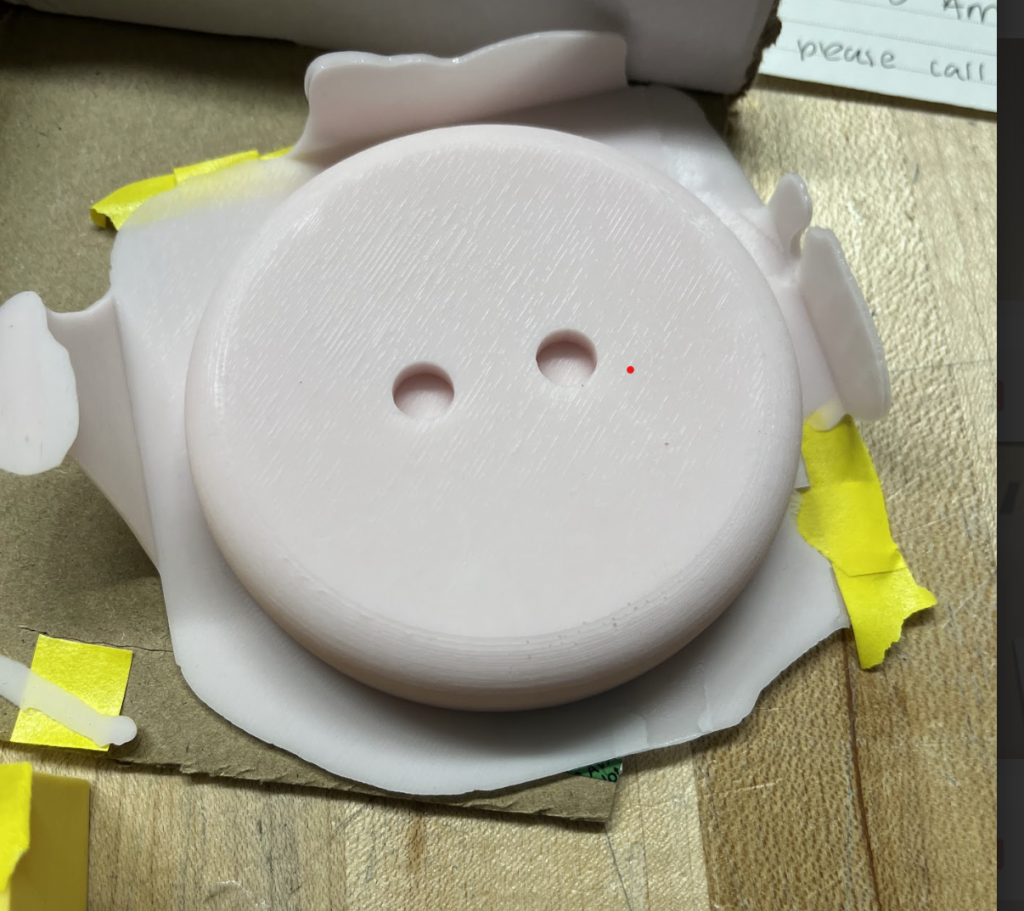
For the 1-part mold, we used Smooth-Sil 940 as the casting material. For this, I used the scale to measure out parts A and B in a ratio of 100:10 in weight. Then, I mixed and poured into the 3D printed mold to let the Smooth-Sil cure over 24 hours.
I chose this material because it was stiffer than the Mold-Max material according to the Safety Data Sheets within each box. Also, Smooth-Sil was fairly easy to remove from 3D printed plastic. Finally, I took the base part out of the 3D printed mold, and trimmed the edges that had spilt over. Furthermore, Smooth-Sil940 and Mold-Max 30 were safe to use with 3D printed material, and both materials were pink!
2-Part Mold
Object Material: 3D Printed/SLA
Mold Material: Ajla-Safe
Casting Material: Mold-Max 30
We chose the Ajla-Safe material as the molding material because of its fast cure time of about 8 minutes. Using this property, we were able to make the Alja-Safe mold and cast using Mold-Max 30 in one Nolop session, rather than having to wait 16 hours to make the top half of the mold. For this, I was at Nolop with Vio when making the bottom half of the Alja-Safe mold, but then left for class. Then, Vio and Maya made the top half of the mold and casted the Kirby. Furthermore, I was interested in using Mold Max 30 for the casting material because it was pink, and matched Kirby and our team color.
The first challenge we faced was that we used water that was too warm to make the Alja-Safe mixture. According to the Safety Data Sheet, the warmer water caused the mixture to cure too quickly, as it cured while we were still mixing (1-2 minute cure time). Then, we made another batch with cold water that did not cure as fast.
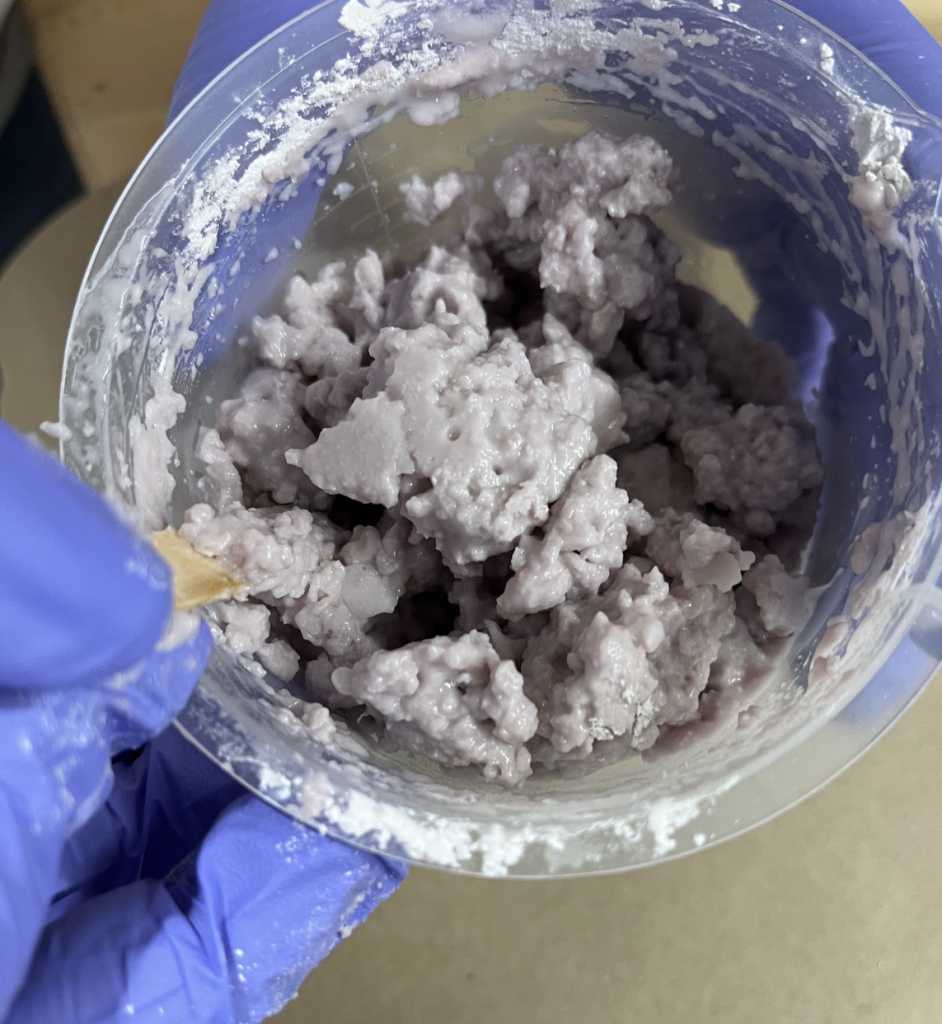
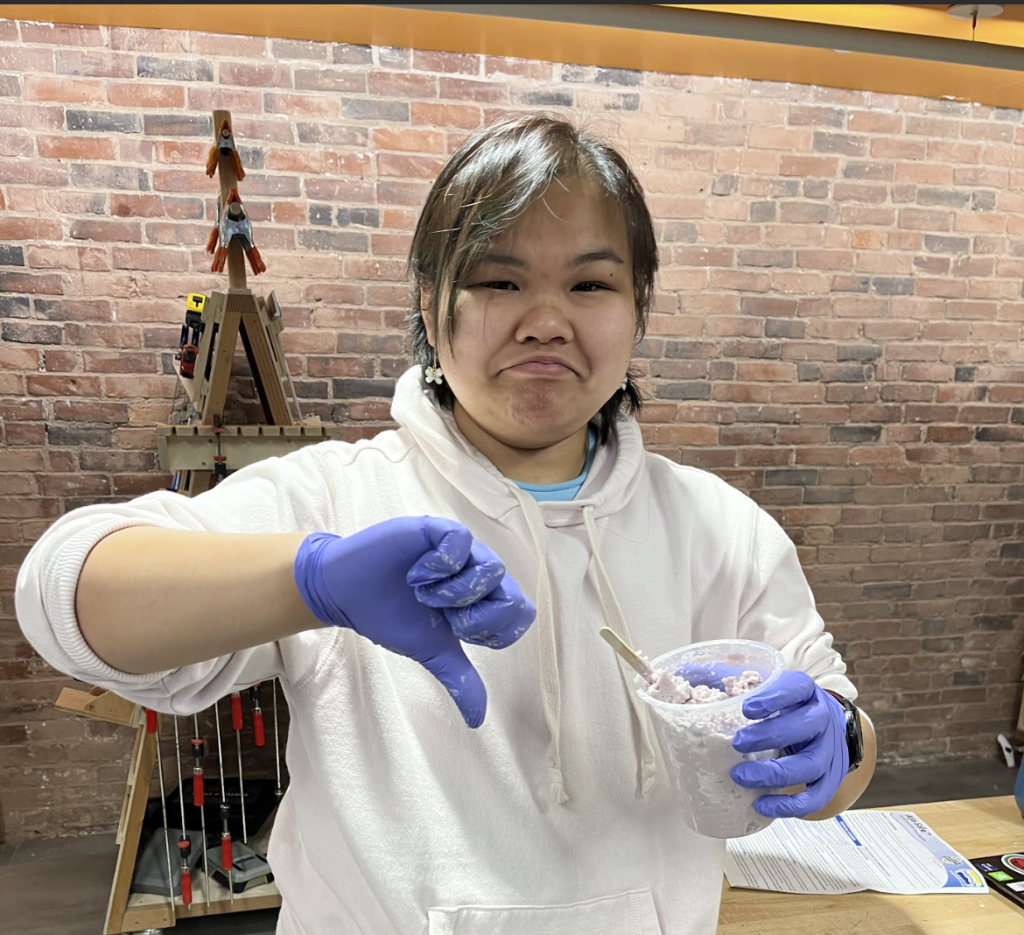
Another challenge using these materials was that we could not find clay in Nolop to set the first half of the Alja-Safe mold. Thus, we poured Alja-Safe mixture directly into the casing/box. Then, we pressed the Kirby 3D printed object into the mixture with alignment screws. However, this caused a problem because the Kirby object’s center of mass was slightly off which caused object to rotate. To solve this, Vio held the Kirby in place as the Alja-Safe cured. Furthermore, the screws were too dense compared to uncured Alja-Safe- so we placed screws in when the Alja-Safe was partially cured.

Vio and Maya found that Mold Max was less viscous, thus harder to pour into a small spout hole. This caused the final product to have bubbles throughout. So, we may want to use a thinner material in the future. Because there was no clay, they made a pouring spout using one of the green stirrers. They hot glued this to the Kirby object once the bottom half of the Alja-Safe was cured. Please see Vio Ta and Maya Dubolle’s websites for more details on pouring the mold-Max 30 material.

Here are some photos of the final product. Again, there were several holes varying in size due to the consistency of Mold Max 30 as Vio and Maya poured the cast.


Interestingly, you can see the small circumference where the green stirring straw was hot-glued onto the back of the Kirby object.There are many holes on the surface of the Kirby figurine.

Side view of the final Kirby figurine,. 3-4 large, major holes to make her feel better.
From this, I learned that when we pour a very viscous liquid (like the Mold-Max 30), the spout must be very wide to pour. This is because Maya and Vio were struggling to fill the Alja-Safe mold with the Mold-Max material. The Mold-Max material choice was a mistake on my end, because Mold-Max is a molding material and not a casting material. This caused inconsistent pours and our final cast to have many holes.