IN CLASS TODAY
- Intro to Animation in C4D
- Quotes on “Truth” / The history of truth
- Individual meetings re: final projects
DOWNLOAD Handout on Animation in C4D
ASSIGNMENTS
1) CREATE a first-draft version of your Final Project. Your Final Project can take any of these three forms:
SECOND PRESENTATION of FINAL PROJECT
Come to class prepared to do a brief (3 minute) presentation about your idea for a Final Project. Show us your progress on your work.
FORM:
— what kind of objects will be in your piece?
— what will the lighting, materials, colors, depth of field look like?
— will your piece be photorealistic, or non-photorealistic?
CONTENT:
— what is the mood of your piece?
— what are some of the meanings of your piece?
— how do you want the viewer to feel when they view your piece?
DESCRIPTION of FINAL PROJECT
You final project should be a set of approximately 10 images made in C4D. The images should work together to make a complete statement.
FORM: You can present your images in one of three possible ways:
- “GRAPHIC NOVEL” LAYOUT : Combine multiple images into a single image, as done in a previous assignment. For example, your project might be 3 images, each containing 4 different images.
- VIDEO : In the style of the film “La Jette”, use your stills to create a video. Give the viewer time to appreciate your image. Try zooms or pans, but do them VERY SLOWLY. You can also reveal a single image slowly, by showing close-ups of different parts of it.
- GALLERY of IMAGES / WEBPAGE : if you send me your images, I will create a webpage for you so they can be viewed as a “carousel” or all laid out in “scroll to view” style.
STRATEGIES — Try to make your set of images really solid, meaning that every single one is necessary to create the meaning of your work. You can try:
- A narrative (clear beginning and end)
- Fragment of a narrative / a hint of narrative
- Non-narrative set of images that amplify each other’s effect. You can think of this as a solo gallery exhibition, where all the works are related by style and theme.
If you are not sure what to work on for your final project… :
- Explore whatever part of C4D is most enjoyable for you — play around and have fun!
- Spend time researching models and materials that might inspire you (check links on the “3D Resources” page of this site).
- Think about work you’ve made in other mediums — how might you bring those strengths into your C4D work? You could do that literally (for example, use scans of your drawings as textures), or conceptually (work with similar themes in C4D).
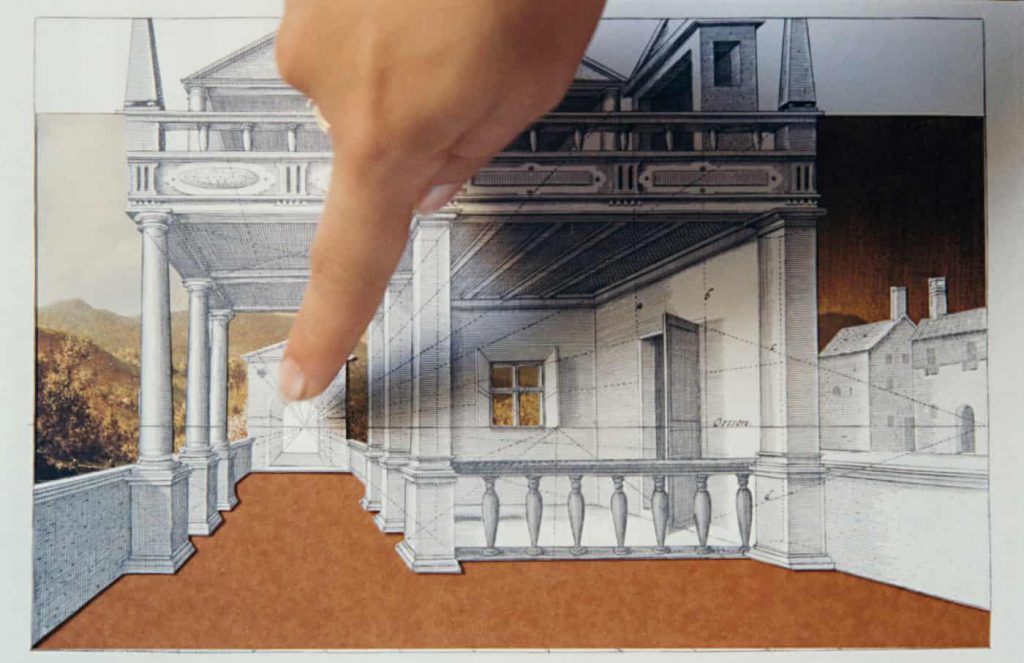
- Think about the techniques you tried, that you might like to explore more? For example: inserting 3D objects into a real photo; hyper-realistic images; non-photorealistic images.
If you have any question, or if you’d like to get feedback — please contact me via Remind or email
1) CREATE a first-draft version of your Final Project. Your Final Project can take any of these three forms:
- IMAGE SEQUENCE LAYOUT — a sequence of images is laid out into a single image. The layout can be in the “graphic novel” style, or it could be something simpler or more experimental.
- VIDEO — in the style of “La Jetee”, a sequence of stills are turned into a video. Techniques of hard cutting, dissolves, zooms, and panning can add a dynamic quality to the image sequence.
- IMAGE GALLERY — a sequence of images can be presented as a “carousel”-style gallery on a webpage. If you would like to display your images this way, please contact me: I will have to set this up on our website for you.
How big is a Final Project? We are working on only the final project for the remaining three weeks….so maybe it’s best to think of it as 3 times bigger and more ambitious that a weekly project. (Though, quality is always more important than quantity!)
For this week, try finding new models, materials, character, animations that might inspire you.
You will show your Final Project twice as a work-in-progress before our last day of class. The feedback you receive should give you new ideas about how to expand your project and move it forward.