This project was quite the journey! Apologies for my lack of images on this one.
Prusa slicer was quite intuitive to use, and required very little setup. However, my CAD project was too large for the print bed. So, I had to go back into SOLIDWORKS and scale my part by 0.5x. I then was able to successfully slice my model and go to the printing stage.
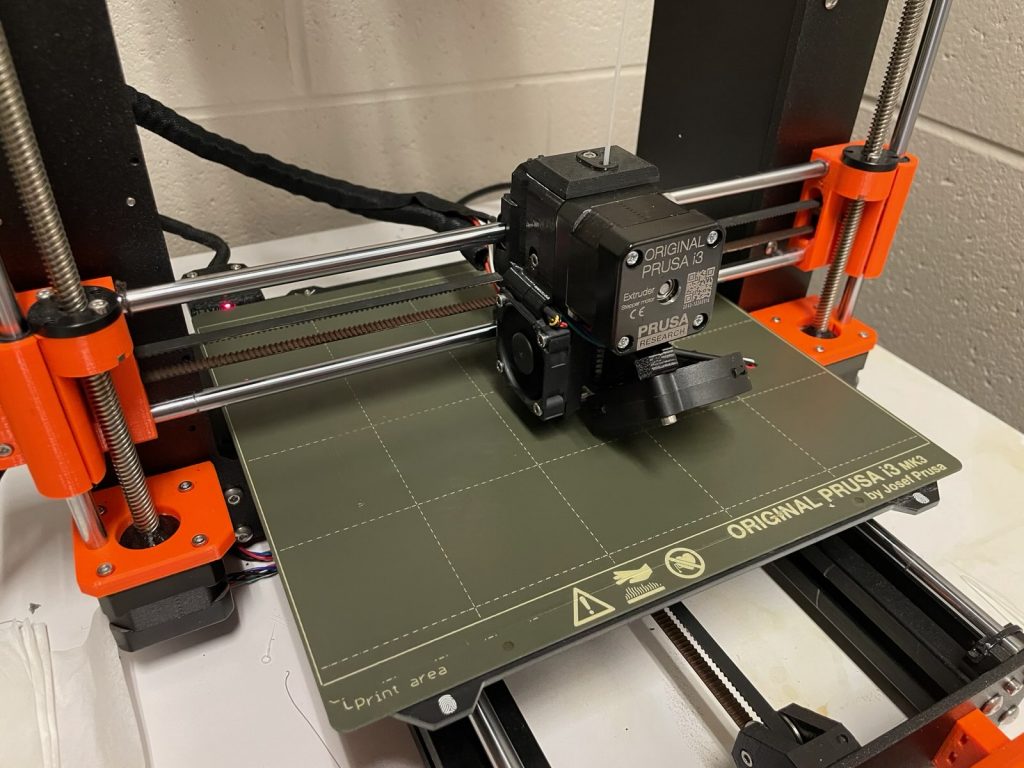
Once I got to the printing room, I hugely struggled to find an SD adapter. After hitting my head against a wall for about 20 minutes, I finally found an adapter, and uploaded my slice. The Prusa took about 10 minutes to calibrate and start, and then it was off to the races.

Once the print was going without issue, I headed home, as I started the print late at night.
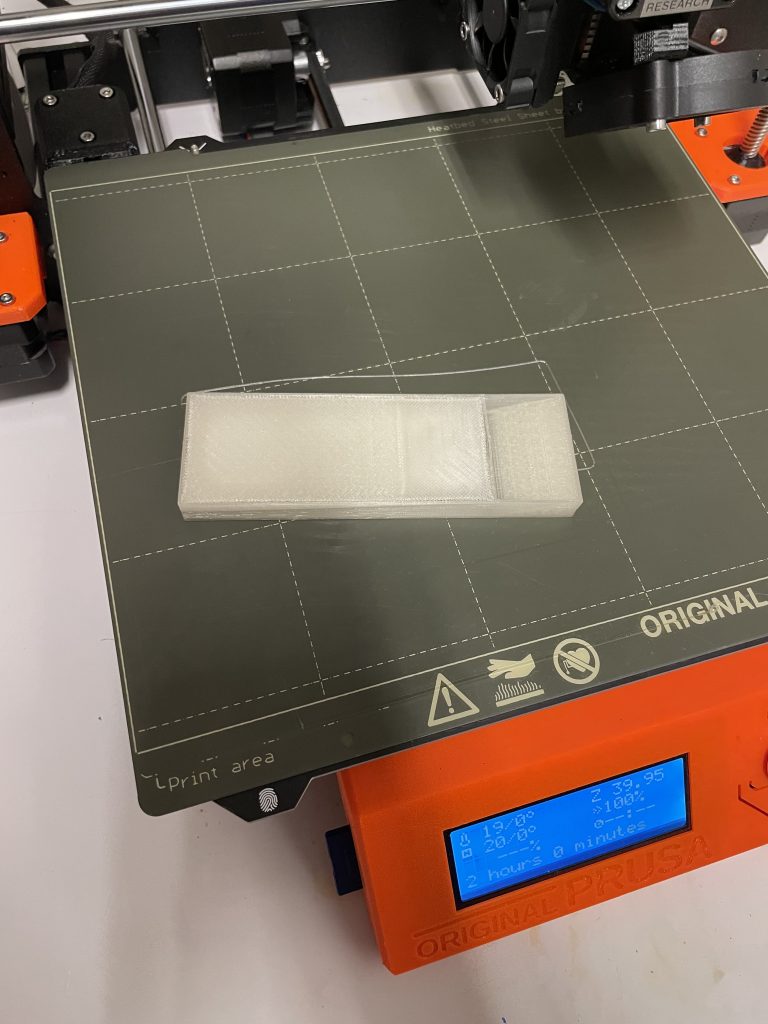
The next morning, I returned to Sci-Tech to check on my print. It went well! Here is a picture of the finished product on the bed:

A small piece of filament did not completely stick to the top, but overall this was quite successful. In the future, more time could be spent in Prusa Slicer to adequately understand the required settings for each print.
This would be easy to fabricate in many different ways; 3D printing was particularly easy. However, intricate patterning would be quite difficult to achieve using traditional methods, and would be an interesting addition to try in future prints.
