Other than a small stint with SketchUp, this is my first experience with a true CAD platform. I elected to use SolidWorks due to us having the most accessible training to it.
I have a problem of often not being able to keep track of long receipts, which can be a problem living with five other people. Thus, for this project I elected to create a receipt holder that can easily be filled and emptied in order.
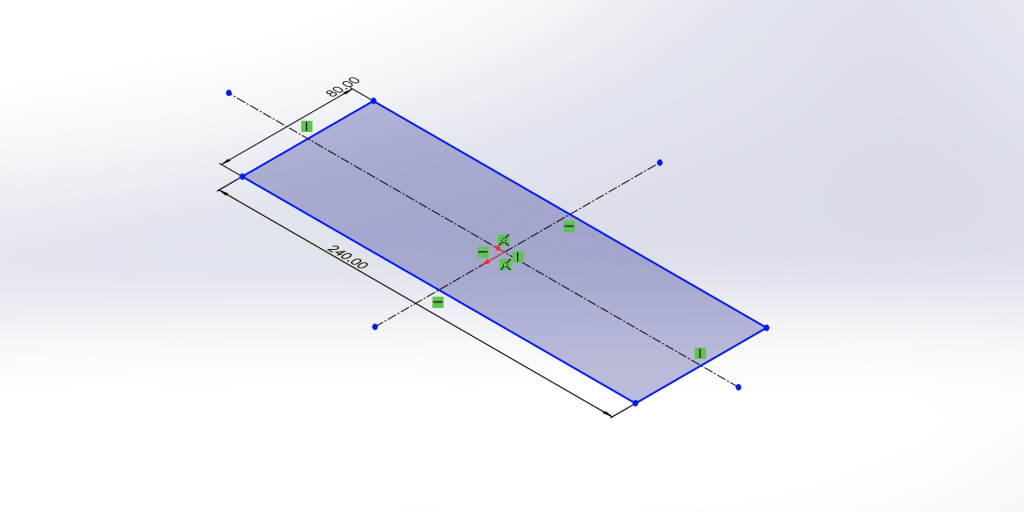
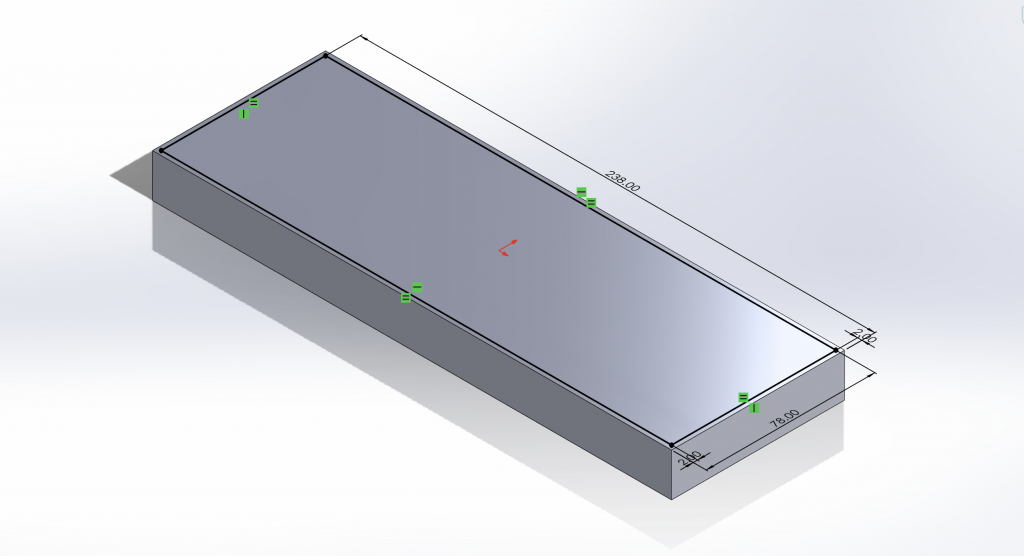
My first step, after laying out the axes, was to develop a base for the apparatus. I landed on 80mm by 240mm based on the fact that receipts typically range from approximately 50 to 80 millimeters. The length was slightly arbitrary, as there will be some extrusion put in later.
I then decided to add another slightly smaller base to develop edges. I gave 2mm between the two so that 3D printing would be possible and structurally sound.
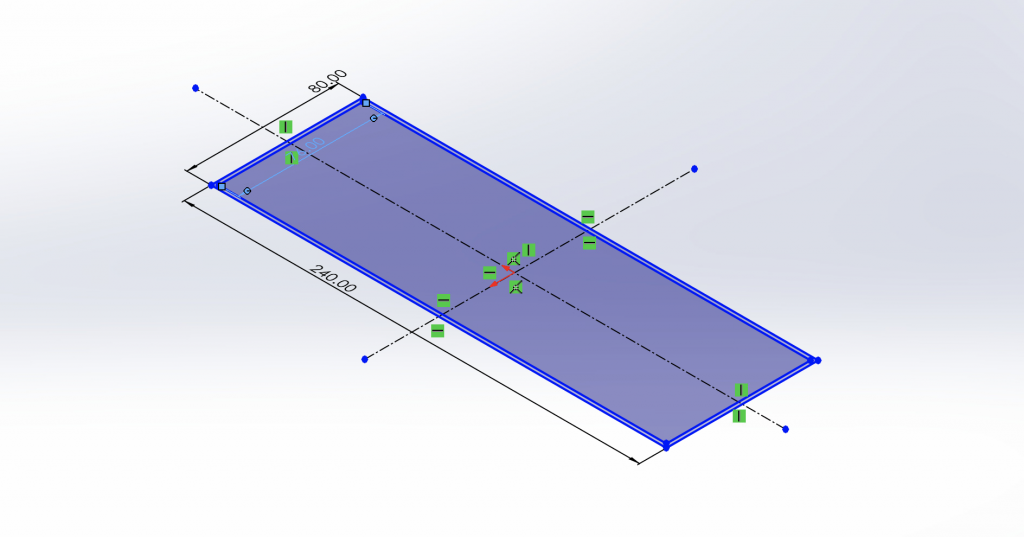
In my attempts to make an edge, I fell short by making the second base too soon. Thus, I elected to extrude the larger base first by 20mm:
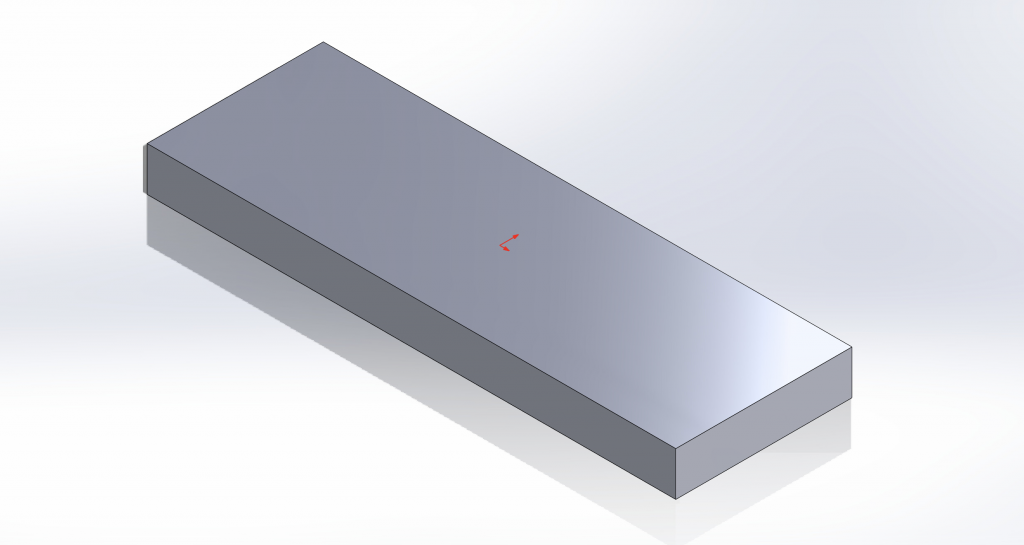
And then I subsequently added a new rectangle for cutting.
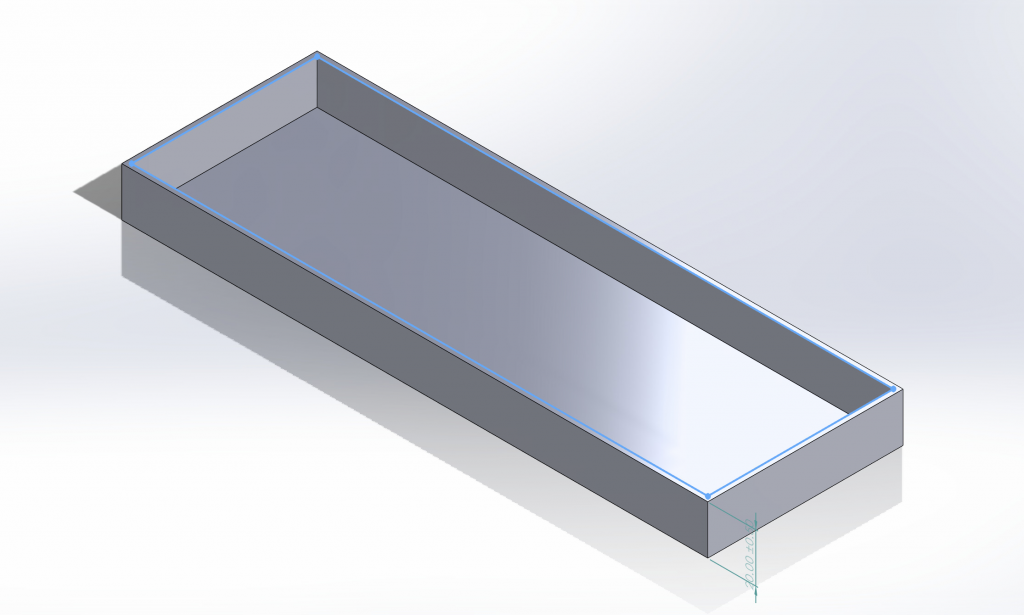
Then, I used the cut tool to finish the foundation portion of the receipt holder. Here, I left 2mm at the bottom for a sufficiently strong base.
Next, I decided to create the first alteration: the top. I envisioned a way to slip the receipt in through the top and remove it through the backside, so the top would need to hold it in place. I felt that 50mm would be sufficient for entry, and kept with the 2mm edge convention.
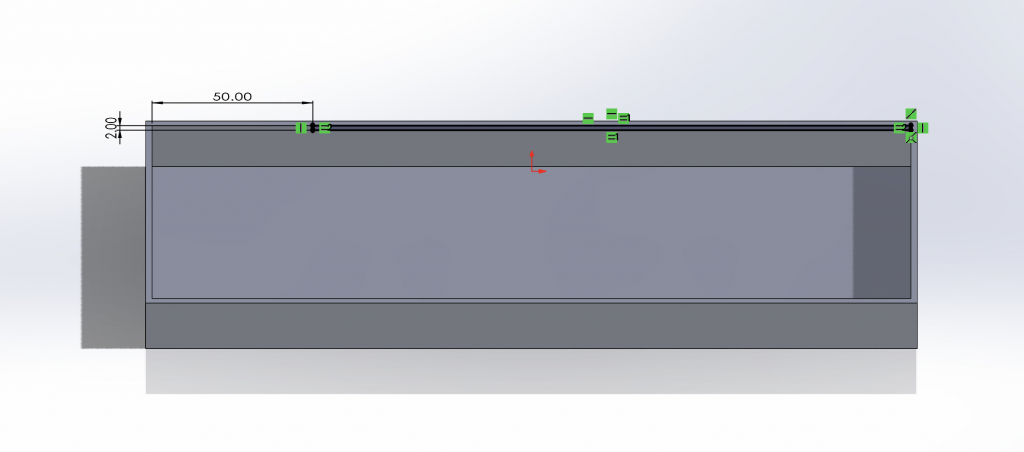
This was then extruded to the other side, making it cohesive.
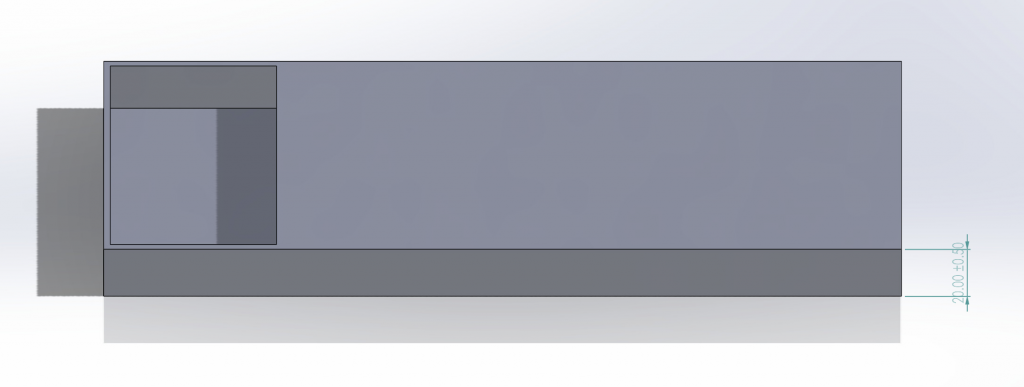
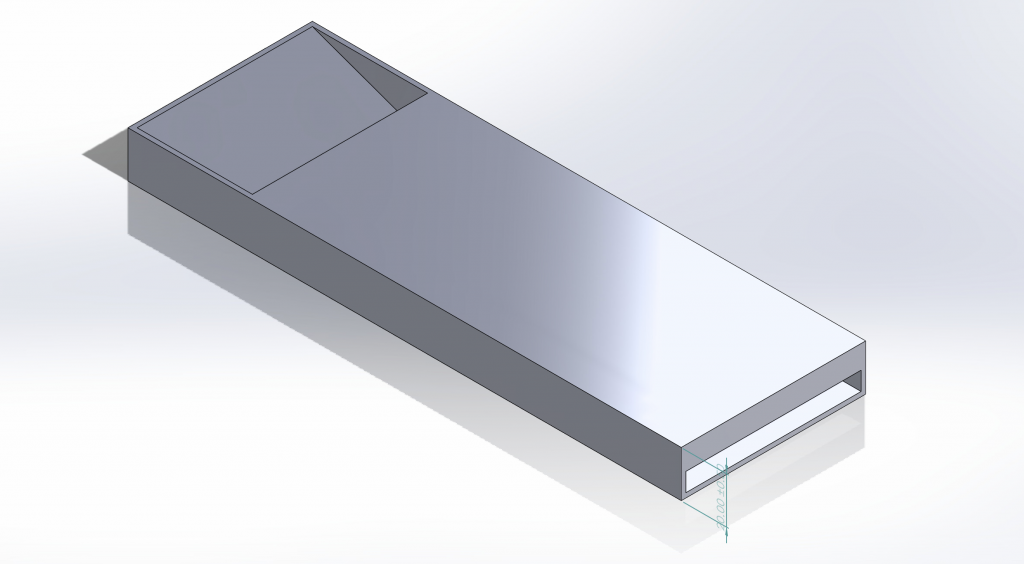
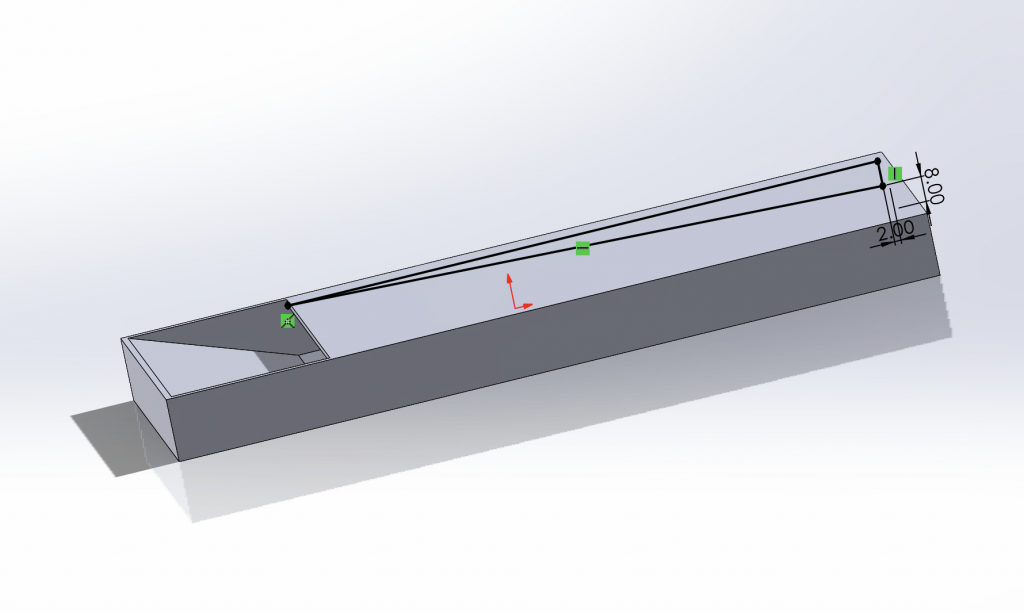
Next, I sought to create the exit hole. Based on the 20mm height and 2mm edges, I thought an 8mm tall exit would be sufficient.
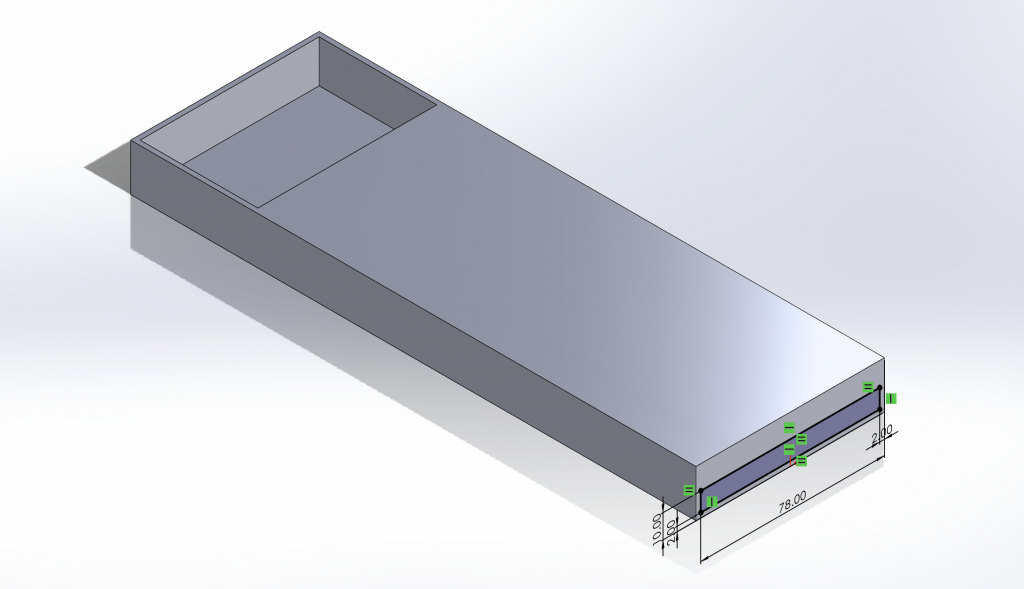
Then, this portion was simply removed from the edge.
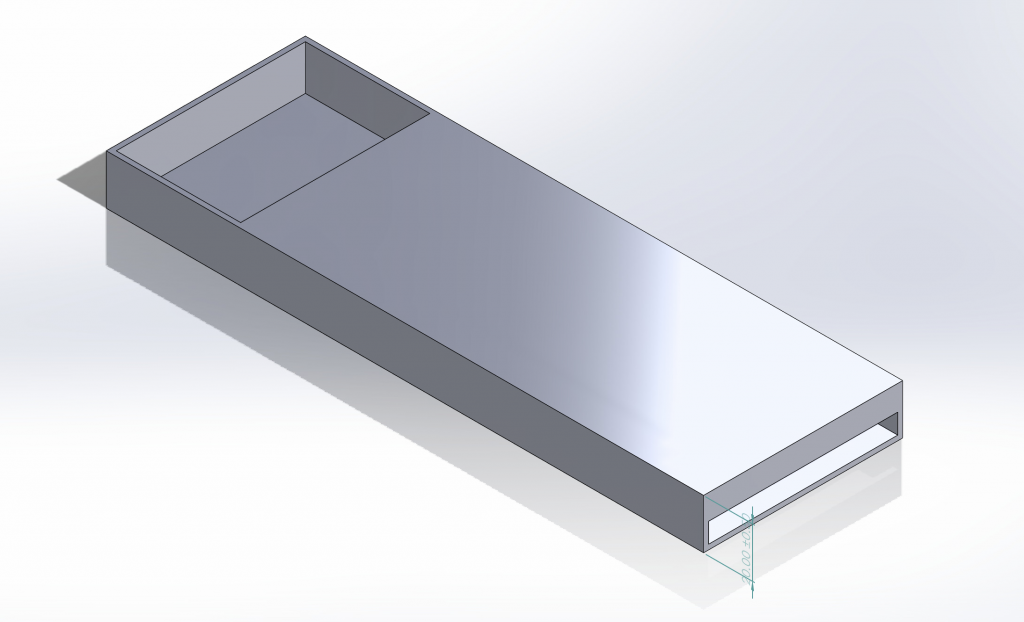
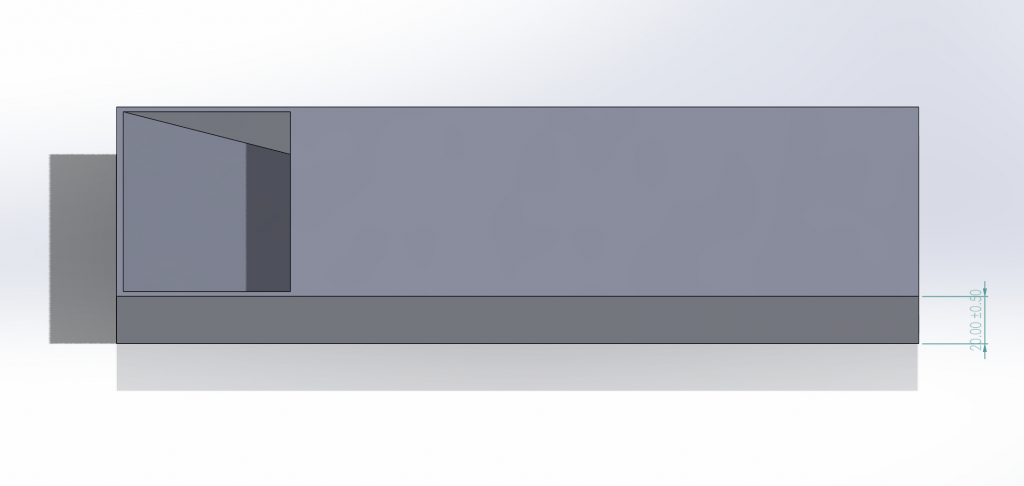
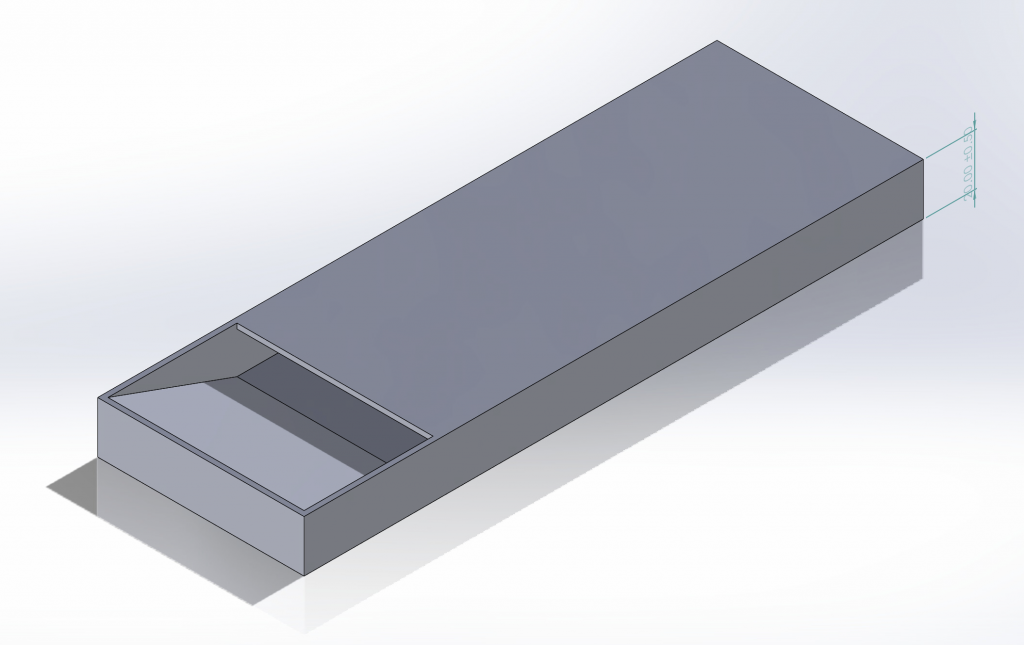
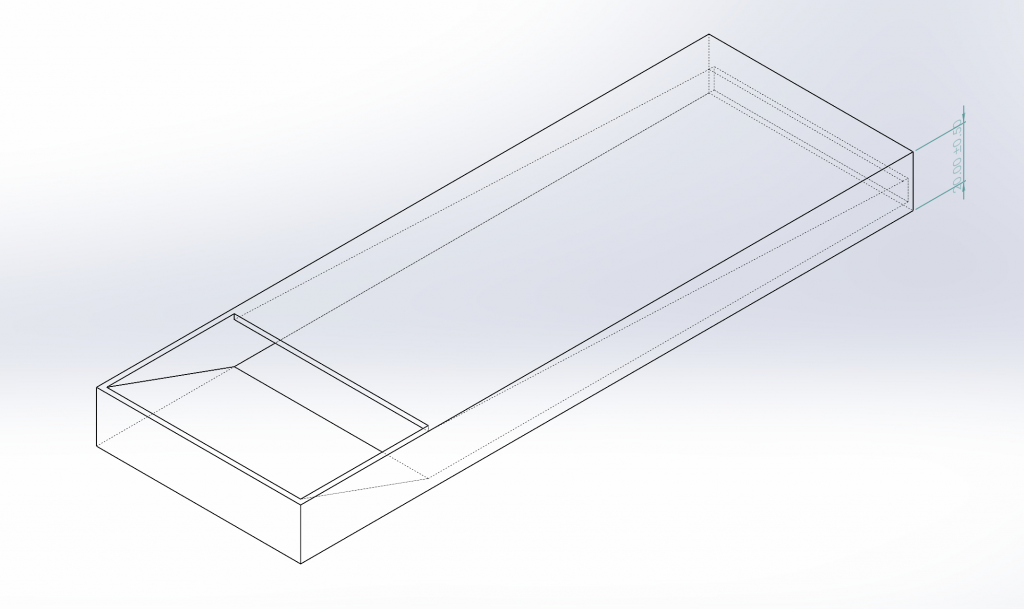
Finally, I wished to add some sort of contouring in order for the receipts to enter and exit more easily. I started with a triangle on the side of the entrance:
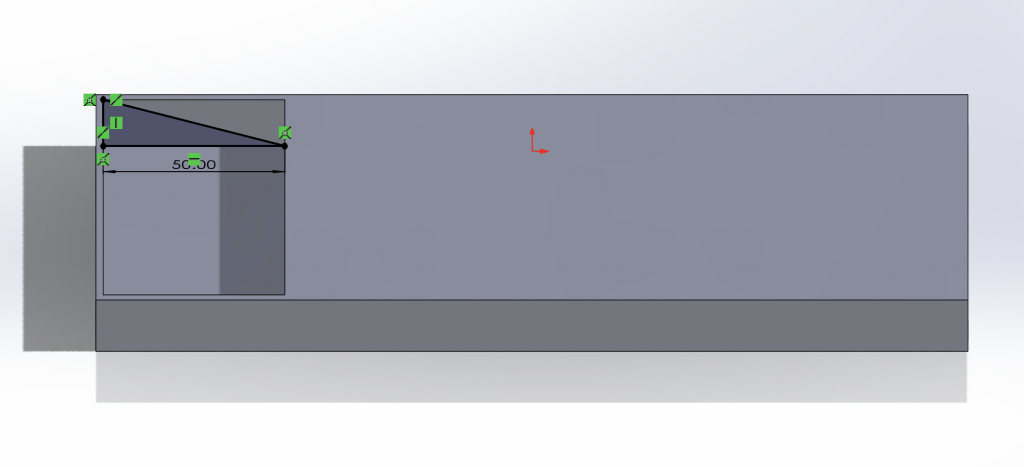
And this was subsequently extruded to the other end.
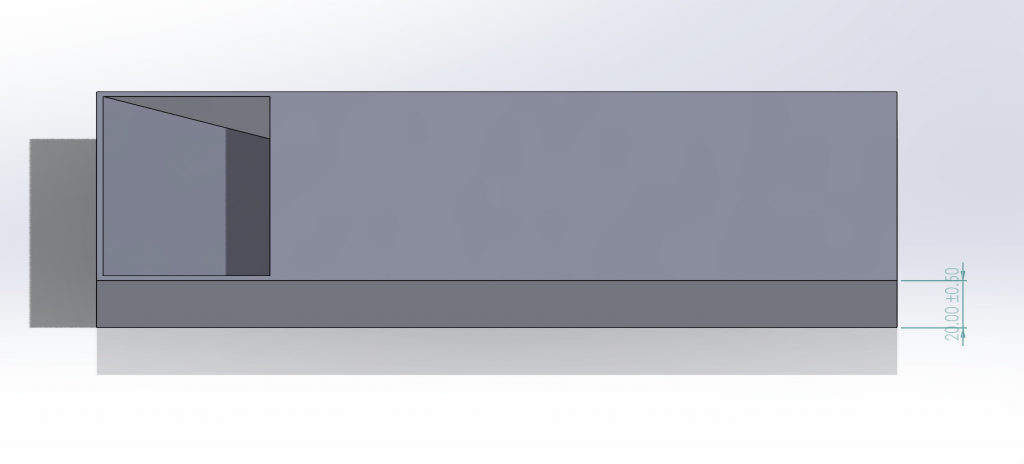
I decided to add one more triangle to send receipts towards the bottom, as follows:
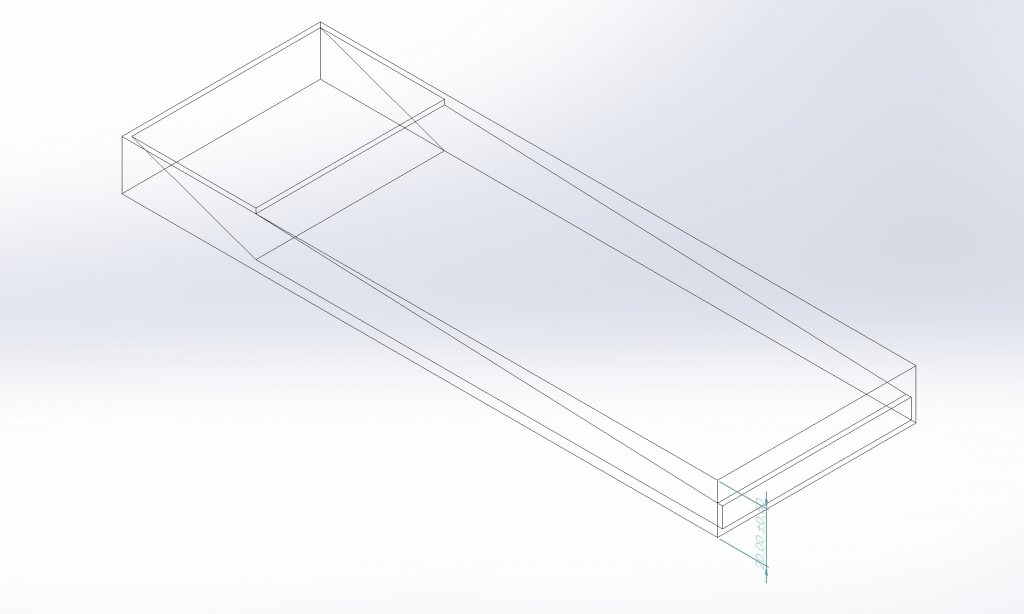
And that was it! This design is (hopefully) prepared to go through a 3D printing processing software. In my first real experience with CAD, it was quite difficult to get myself accustomed to the software and to figure out how different angles/perspectives impacted the manipulations I was making. To improve in the future, I need to spend more time learning about the different ways to soften edges and overall make a more professional-looking product, but I am proud of what I was able to accomplish in my first run. The following are some renderings from many angles.
