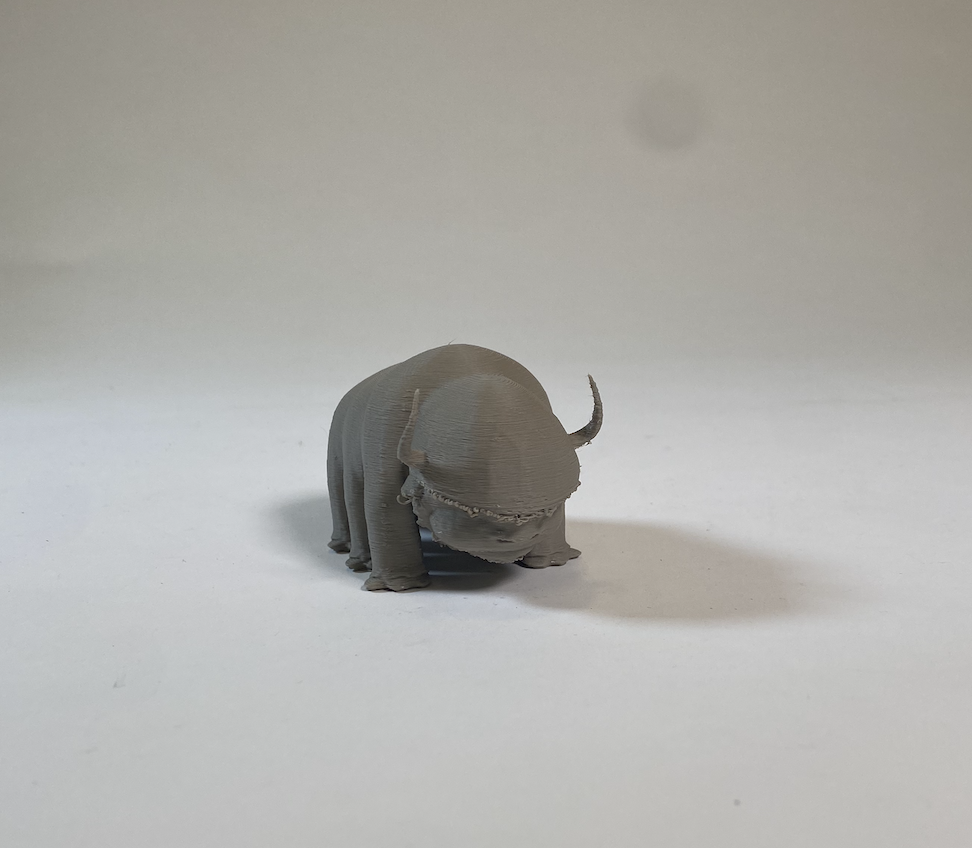
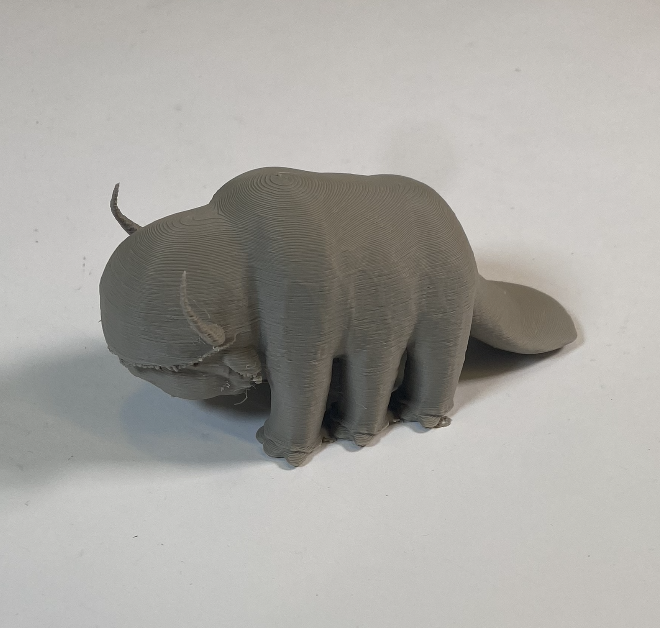
For this project, I 3D printed Appa from the animated series “Avatar: The Last Airbender.” I used this template for the print.

For this print, I used a Prusa MK3 1 model, which are available in NOLOP. This print took me 6 hours in total and I used a 15% infill for it.

It was difficult to find an available machine to use for the project. I also initially struggled with determining an appropriate printing speed for the base layer of the print. During my first run of the print, the top left foot of Appa got attached to the printing needle and messed up the base layer. With some help from the folks at NOLOP, I recalibrated the base layer speed, added some more hairspray, and the print was good to go from there. I made sure to only isolate the base layer speed because I did not want to waste time and slow down the speed of the entire design, as that would be unnecessary.

Some objects that are difficult to fabricate with modern technologies are objects with really smooth edges. The way that the plastic used to print solidifies causes the layers of smooth surfaces to be exposed as the print reaches the center of the smooth points. This can be shown at the top of Appa’s head and back area, where we can see the multiple layers needed to create his shape. There are no absolutely smooth parts because of this. Additionally it is hard to build things with overhead surfaces that are not supported by the surface. As depicted by the render of the upside down Appa, we can see that there are some flaws in the print in the underbelly and chin areas.

