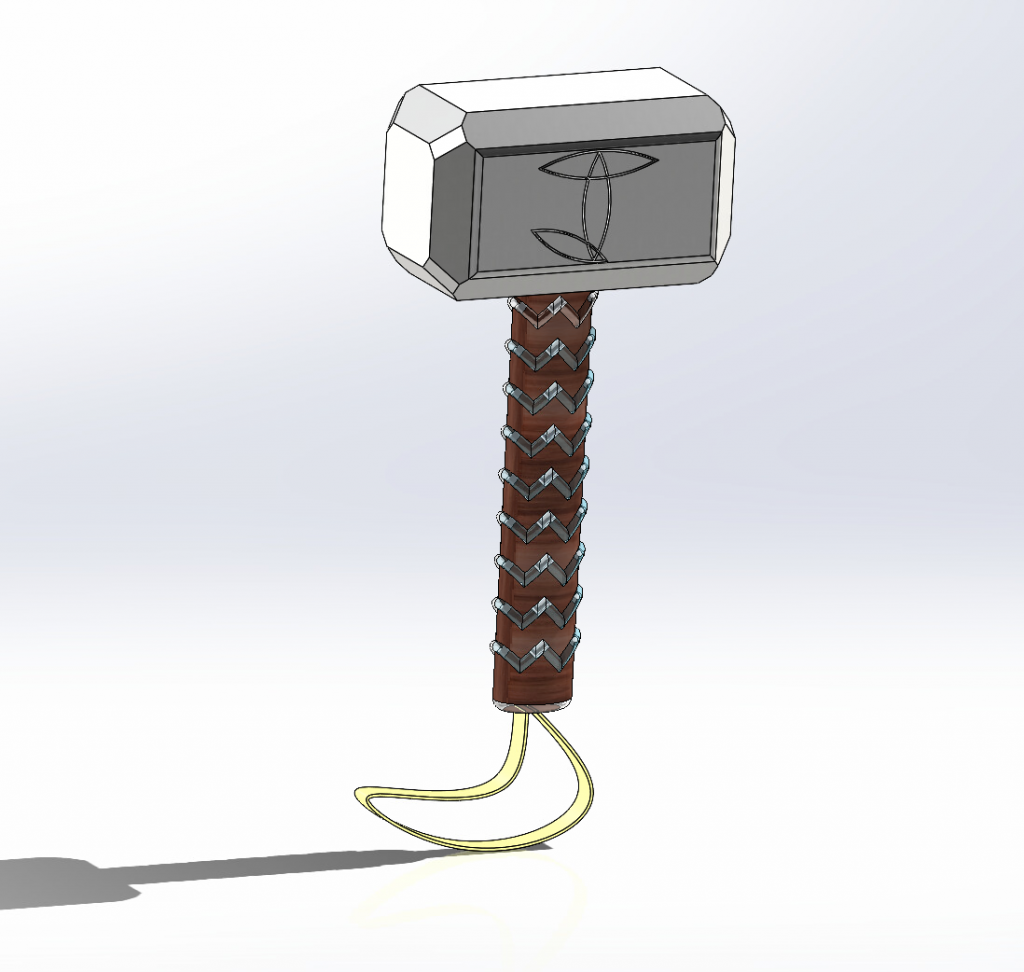
Image of my CAD assignment, Mjolnir’s hammer
For this assignment, I chose to do my own rendition of The Mighty Thor, God of Thunder’s hammer, Mjolnir. I used this youtube video for reference! If you have time, you should try and recreate this as well, it was a fun build.
The software package I used for this was SolidWorks2022 through VMWare Horizon. I started by making a 3 dimensional rectangle for the head of the hammer. I then added and layered some chamfers on the edges of the rectangles to emulate to the shape of Thor’s hammer. I then moved on to the design shown on the front face of the hammer.
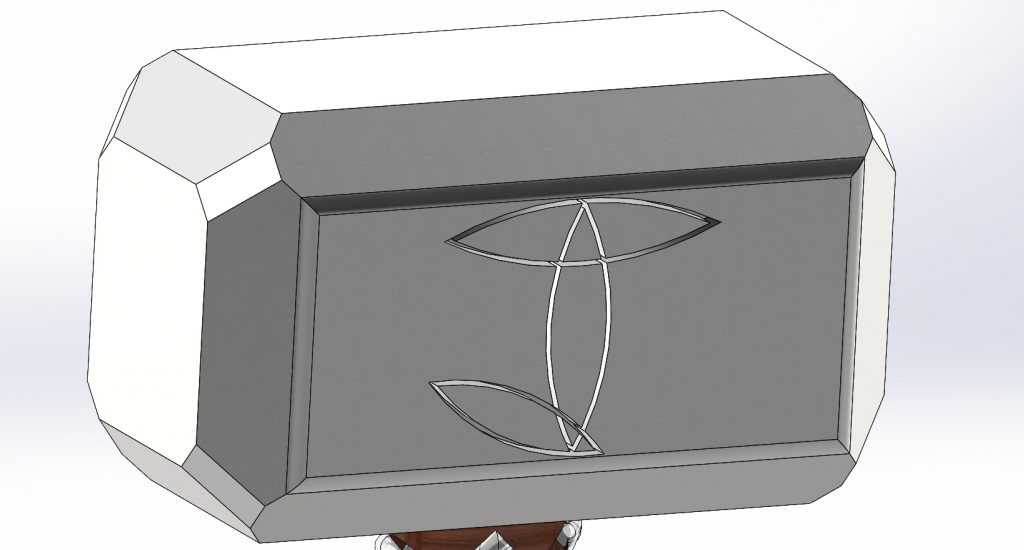
Image of the chrome hammerhead.
Usually, Mjolnir has a three way ven-diagram like design on it’s face. I used that design as inspiration to outline my initial instead. For this part, I sketched a triangle and rectangle within the front face of the hammer to use as construction lines. I then drew two center arcs in the middle to create a sharp ovular sketch in the middle. I set these arcs equal and added offset entities that measured 1mm into the created shape. I followed this method to create the other two shapes for the outline of the J. After this, I trimmed the cross sections of each arc to create a fluid outline that I would be able to extrude into the hammerhead at once and make the design more sleek. I then took an extruded cut and was able to create the outline design.
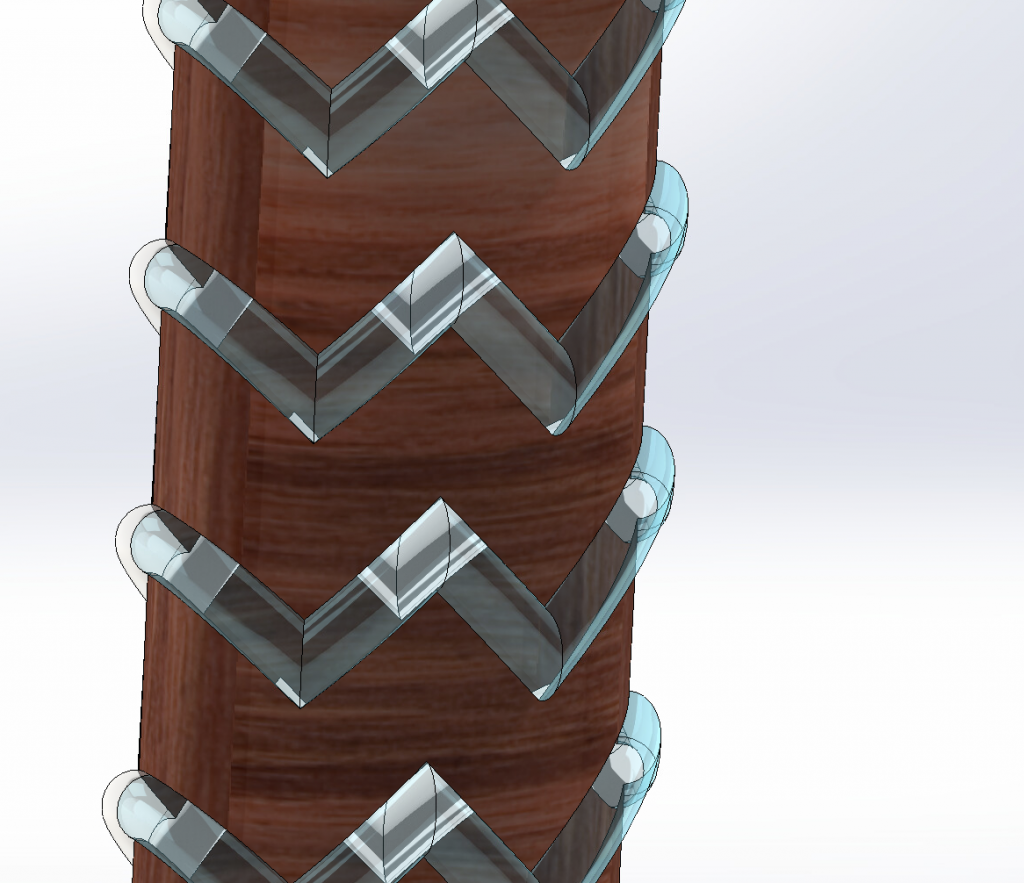
Following this, I started to work on the handle of hammer. I sketched an oval on the bottom of the hammer and made extruded the front half of it 200mm outward. Next I started to work on the grip of the hammer (the patterned lines going across). I made a circle as a reference profile on the back face of the extruded half. I then went to the front plane and created a sketch going across the hammer, but not touching the front surface. I then used project curve to trace that line onto surface of the part. From there, I used the reference profile and the curve on the surface to create a sweep across the top of the handle. I used the linear pattern tool to copy the design all the way down the handle. I then mirrored this extrude and the pattern created to complete the other half of the handle.
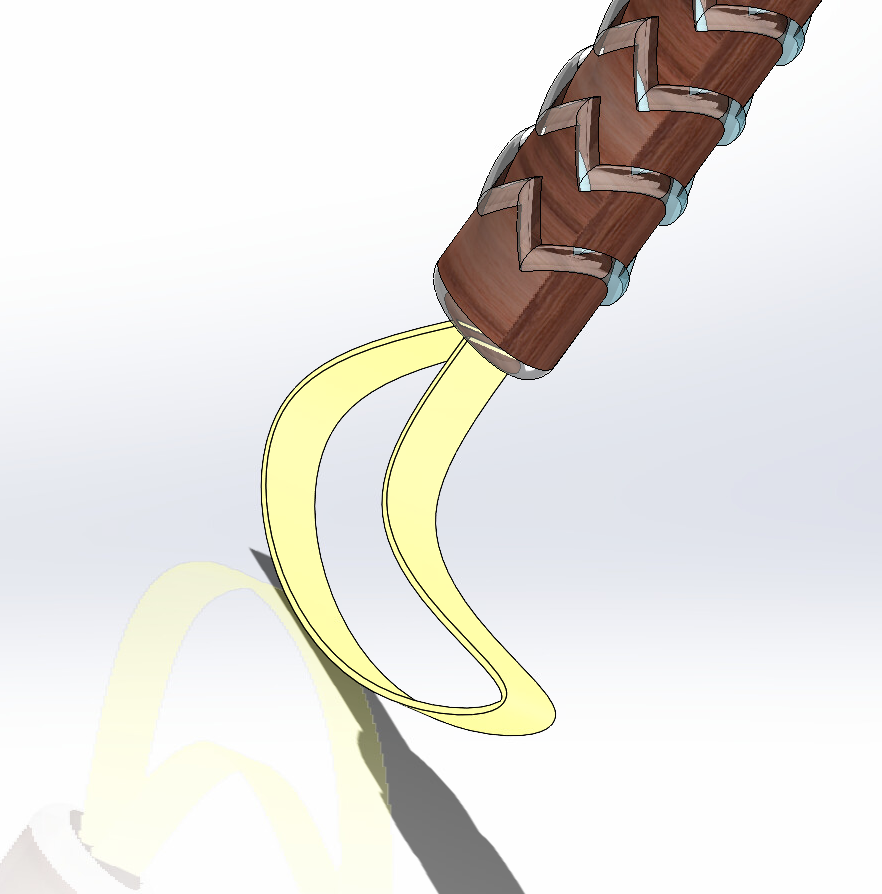
For the hammer strap, I did a similar process as the handle grip. I created a reference rectangle on the bottom of the handle. I then created a sketch in the front plane again, but this time I used a spline instead of direct lines going across to give it an organic shape. From there, I did another sweep using the rectangle as the reference profile and the spline as the path, creating the leather shape.
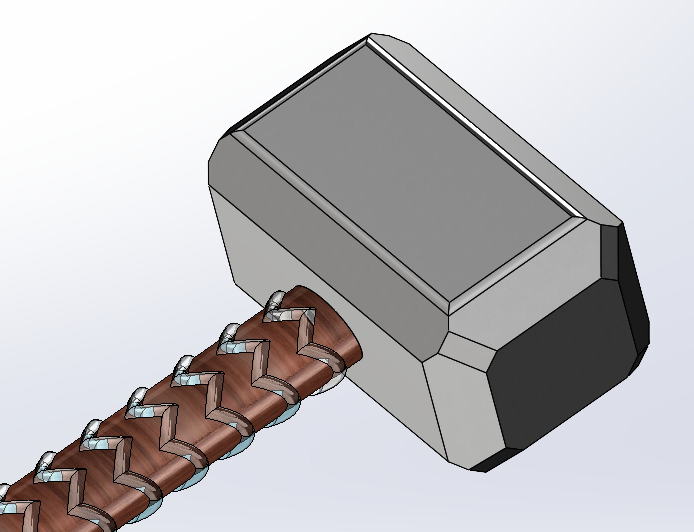
The last portion of this design was detailing and adding texture/color to the hammer. Before doing so, I split the hammer into three bodies so that adding color to each individual part would be easier. I did this by making the body face of the hammer a filled surface and using the split tool to define the 3 bodies (handle, strap, hammerhead). I then went to the appearances tab and made the hammerhead chrome. I turned the actual handle into red oak and the extruded part of the handle aquamarine just to make it look cooler. And I colored the strap on the bottom using the LED amber color to make it seem like it is actual lightning.
The hardest part of this design was scrolling on the software with ease while using a trackpad. It is not necessarily extremely hard to quickly change your field of view to make edits without having a mouse, but it is definitely annoying. To advance further, I need to grow comfortable with what each of the features on SolidWorks mean.
