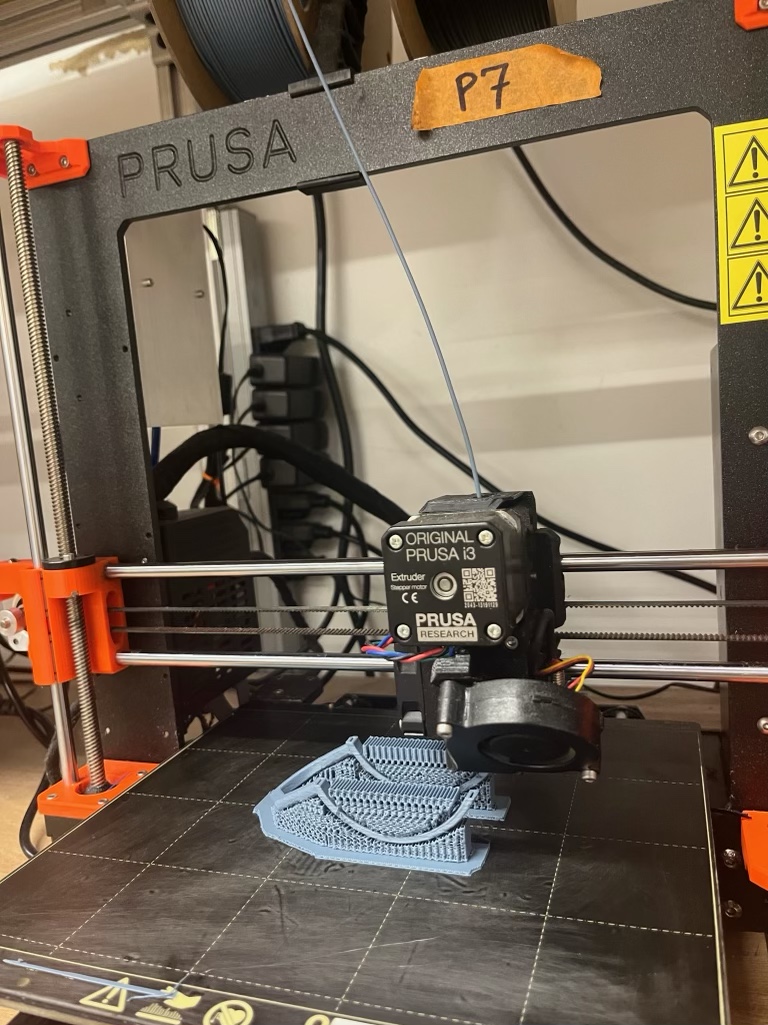
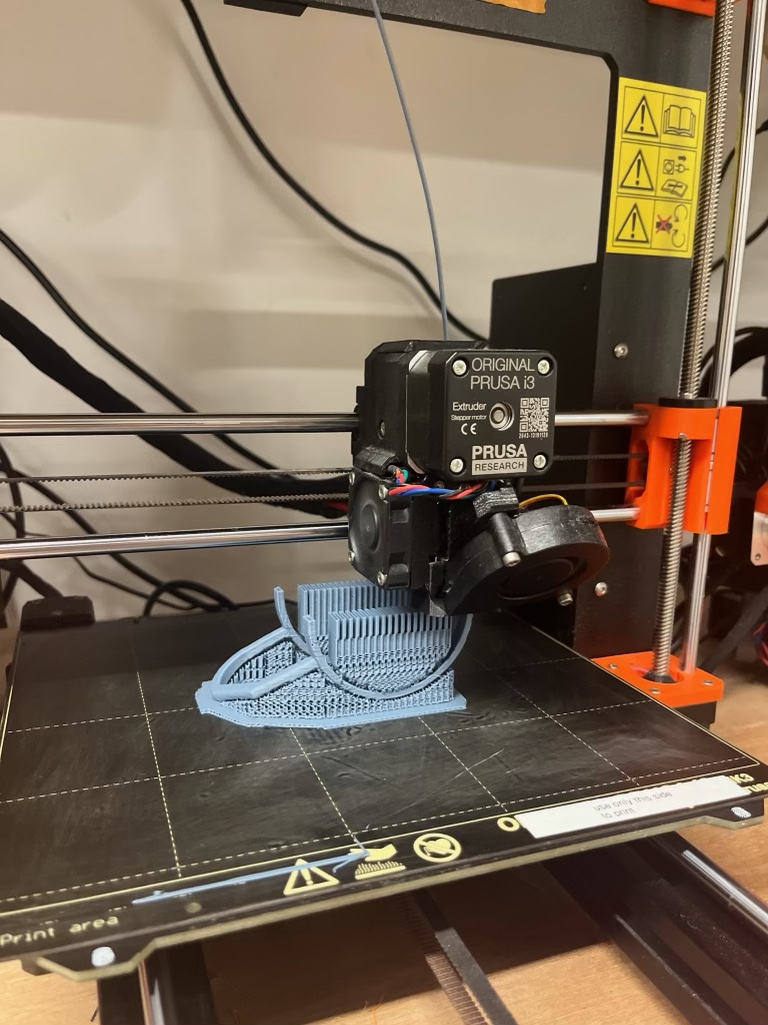
For this design, I used the printers in Nolop (Prusa i3 MK33) with PLA material and various orientation of printing. I tried optimizing this design by minimizing the material needed and print time with a simple design with as little supports as possible. This design also has good stability on flat surfaces and is hollow inside.

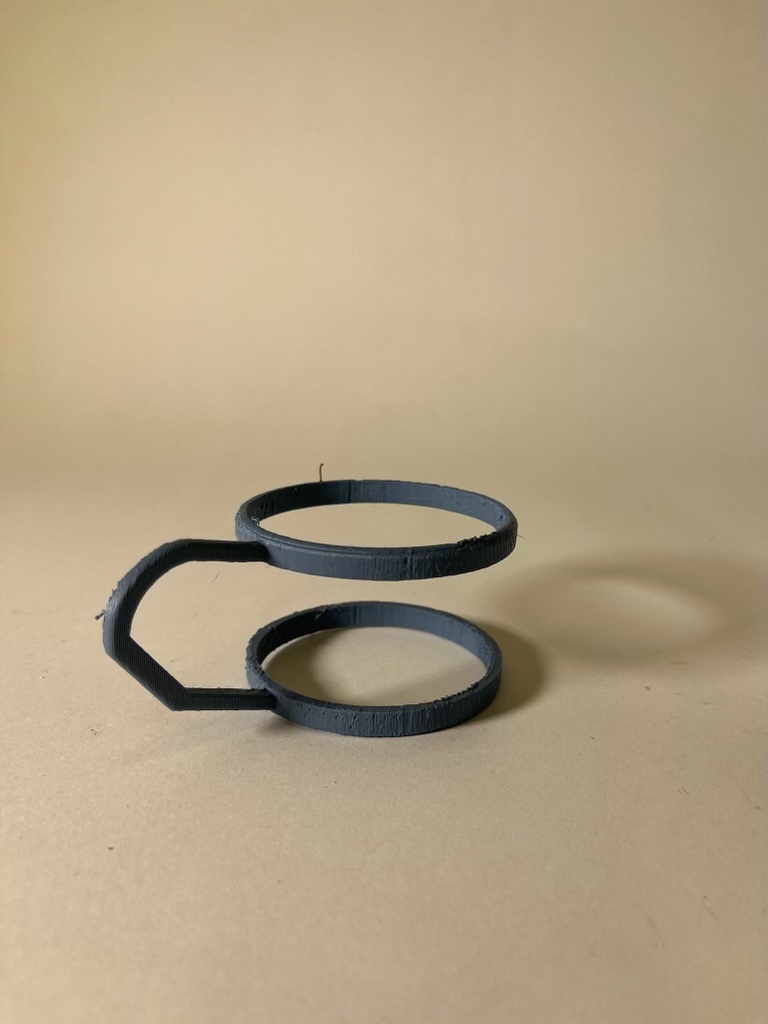

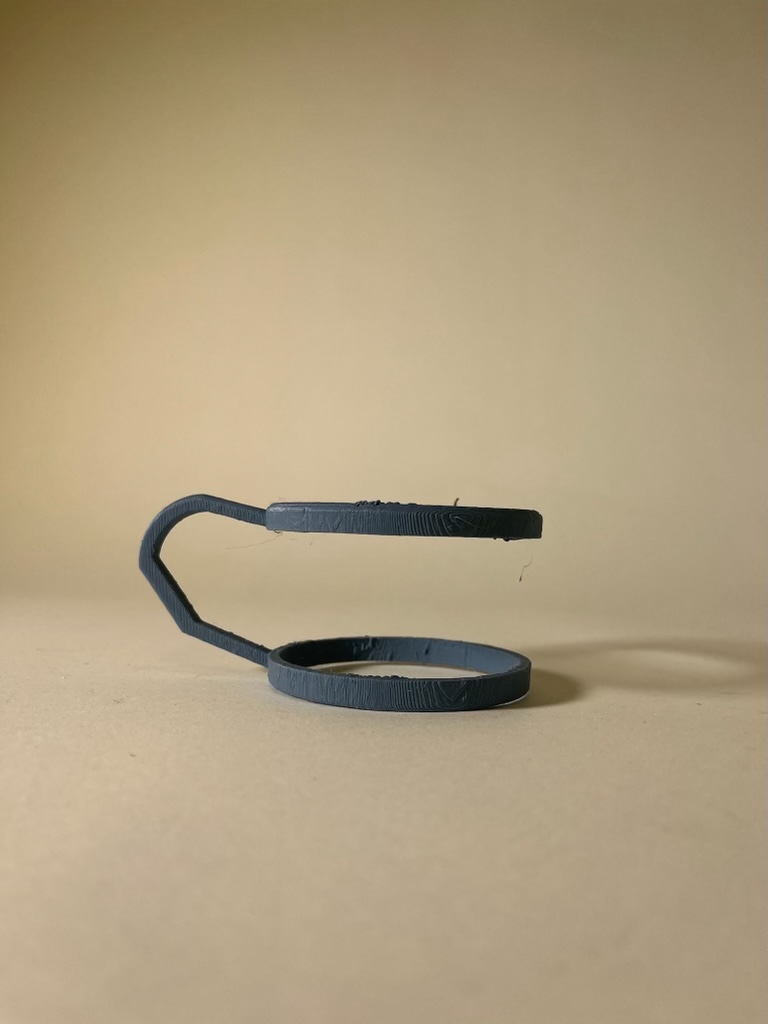
The difficulty was mostly sizing and trying to predict the tolerance of the printer.


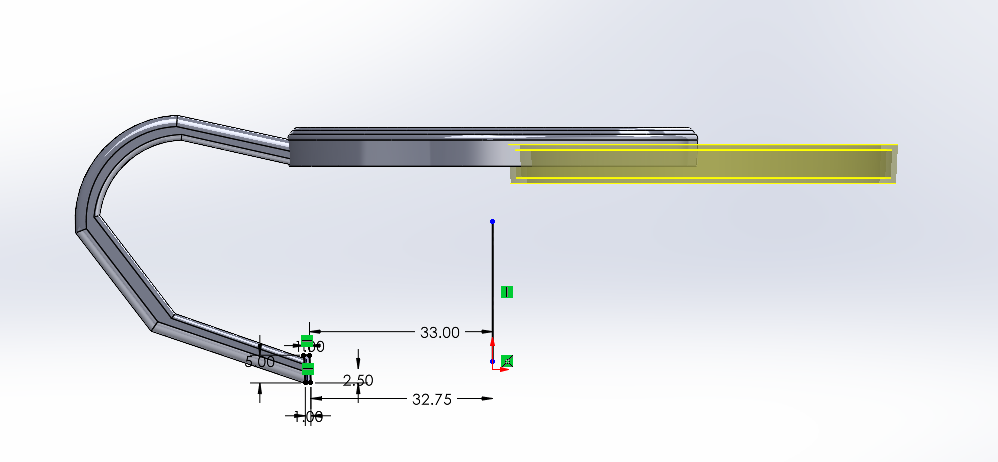
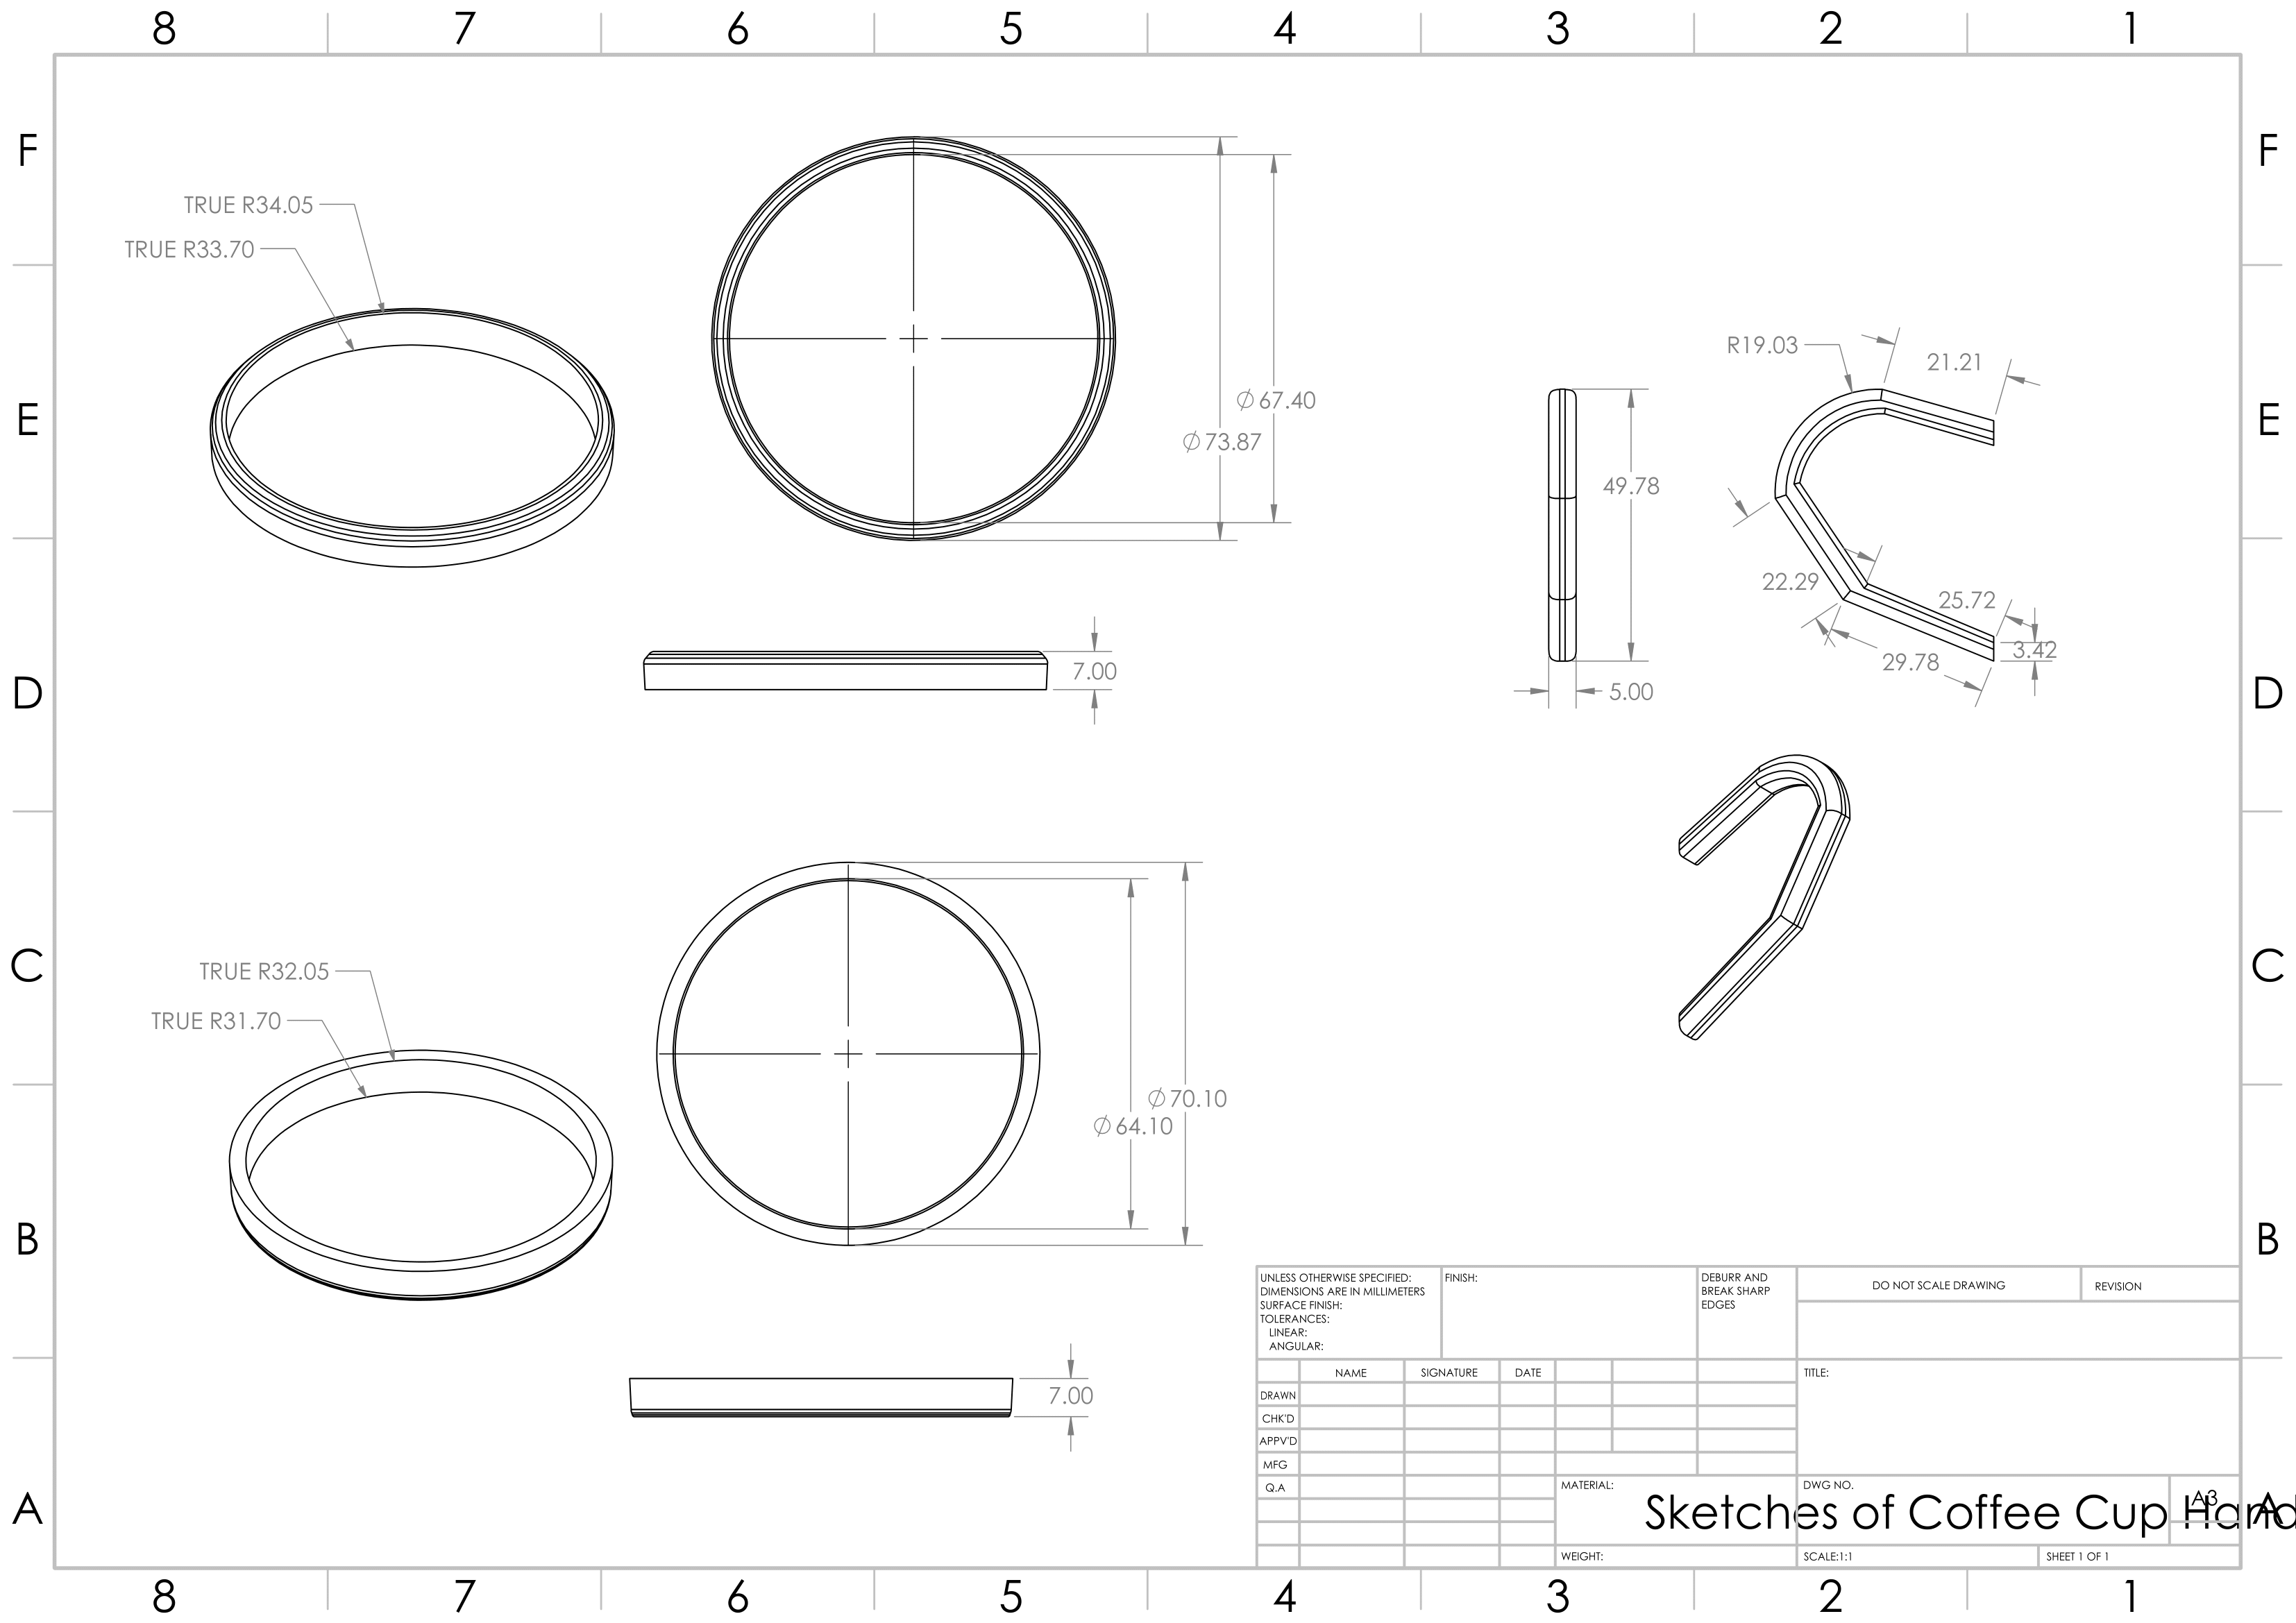
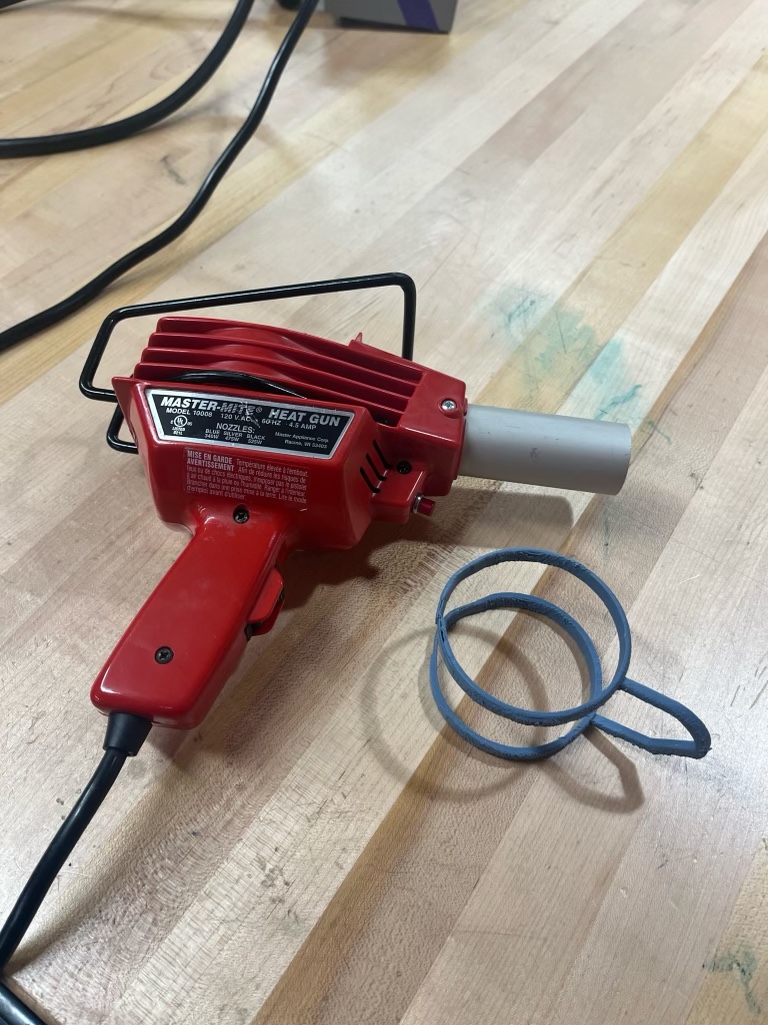
For the first design, I over estimated the slope of the bottle, and made the bottom ring way too small. I tried to mechanically fix this, after some advice from a Nolop employee, using a heat gun, however this ended up not being enough because the heat weakened the material. I also did not wait long enough for the material to cool, and, when testing sliding the device on and off various water carrying containers, the forces cause the rings to have plastic deformation, breaking the device in three places.
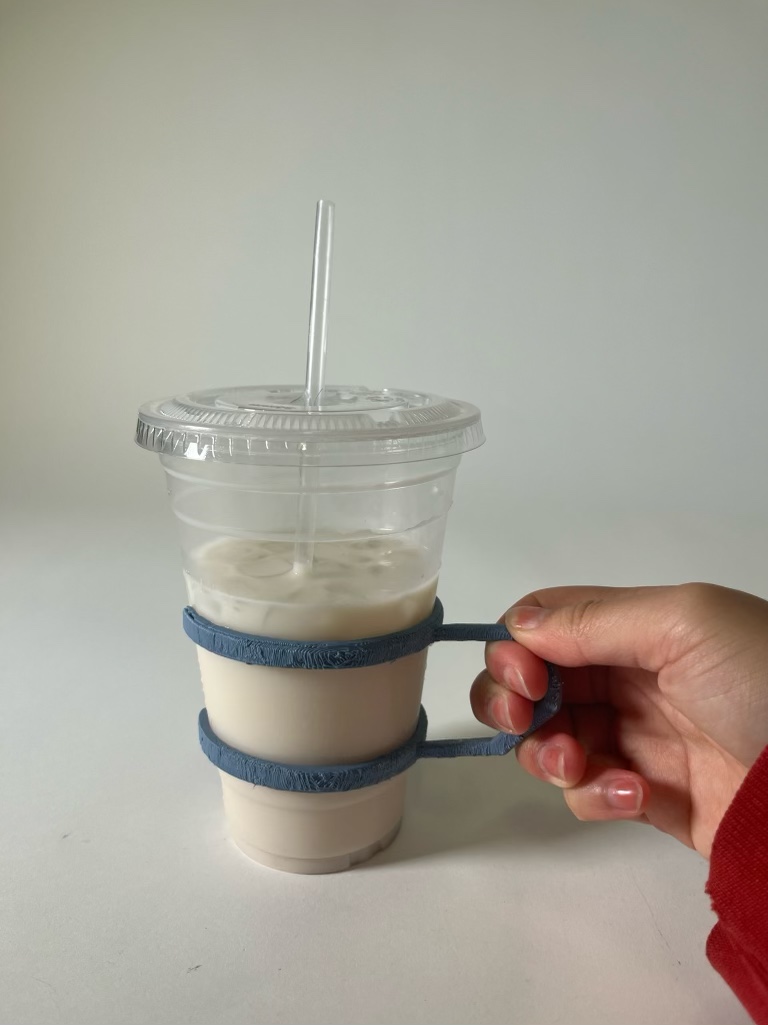
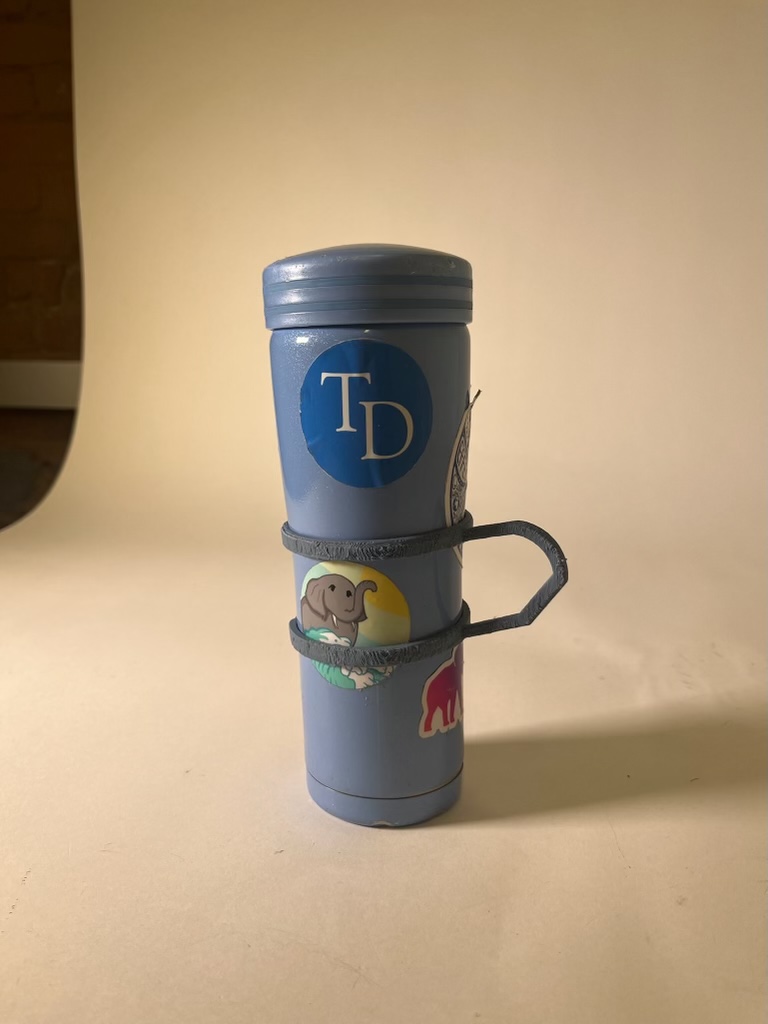
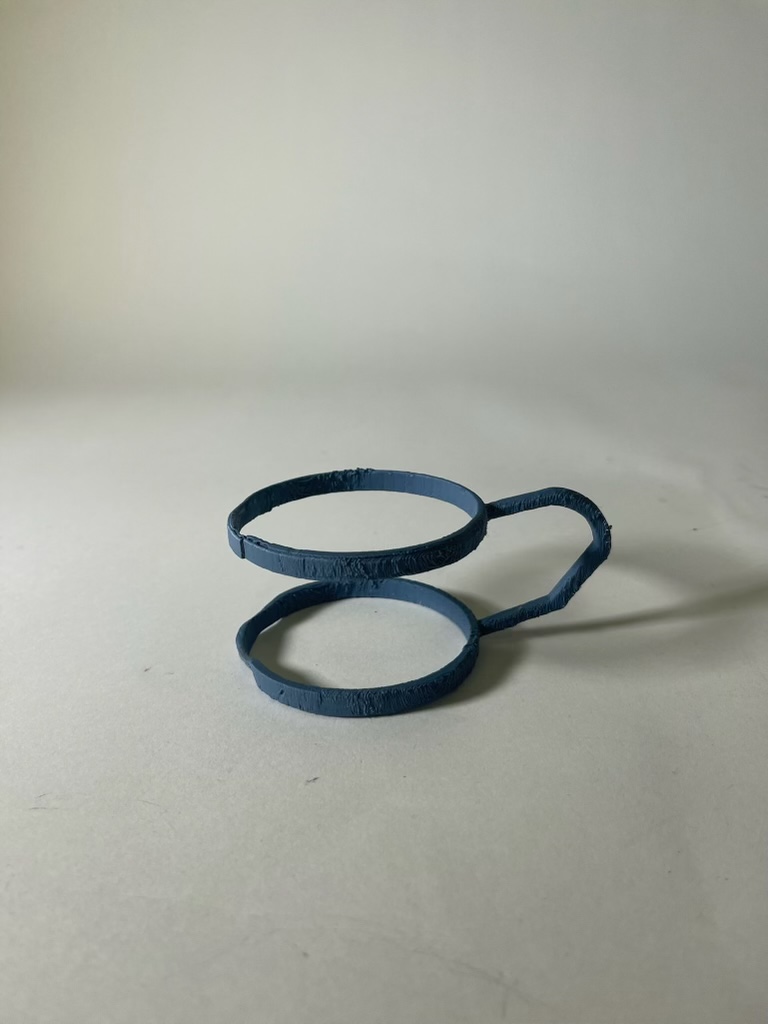

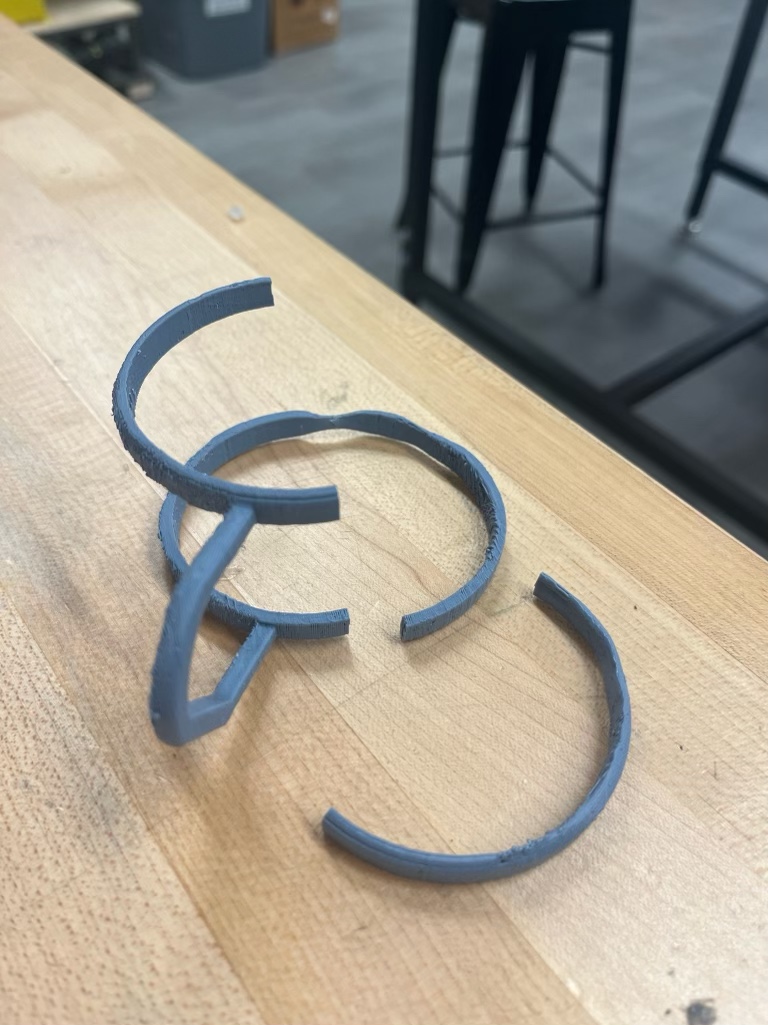
For the next attempt, I had measured the bottle exactly to be around 59.4 mm, but there was shrinkage of the material after the shape cooled. I also attempted to increase the strength of the ring by printing up and down, compared to the slant before (which had used less printing material for supports). It somehow took less time to print, though, going from 3.5 hours to 2.5-3 hours. This orientation ended up weakening the handle, as the handle was the first to break. Furthermore, the ring and handle looked like over time there was separation where the handle met the ring (pictured on the bottom right in the photos below). It was later after a couple drops of the device did the rings of the device break.
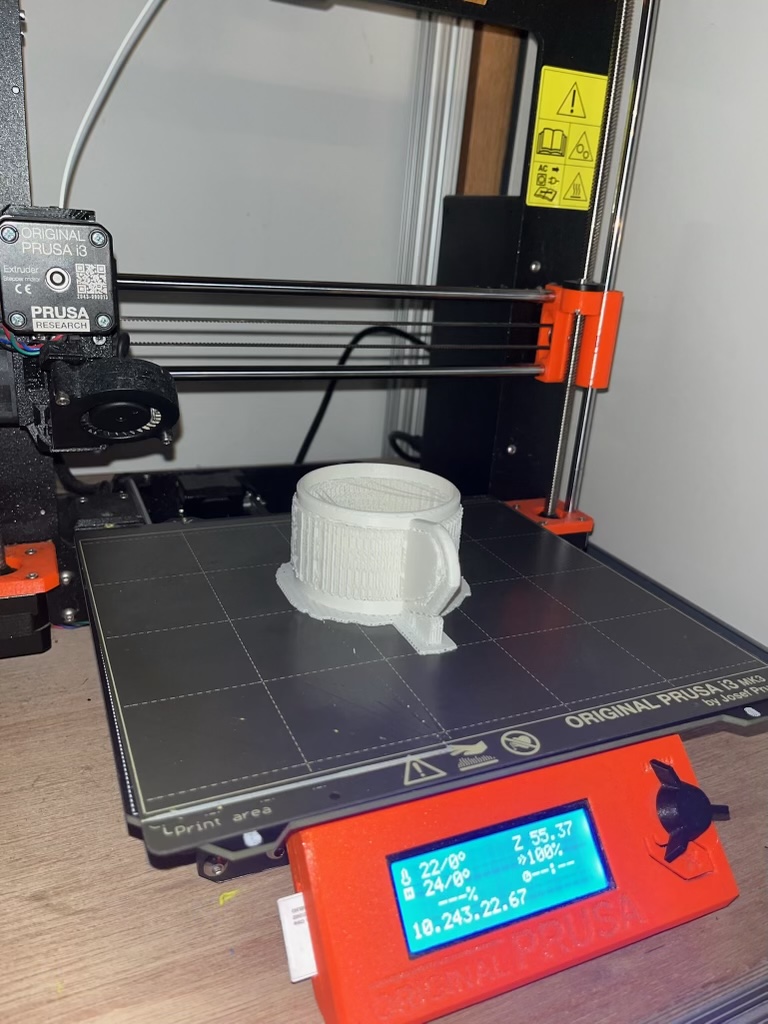

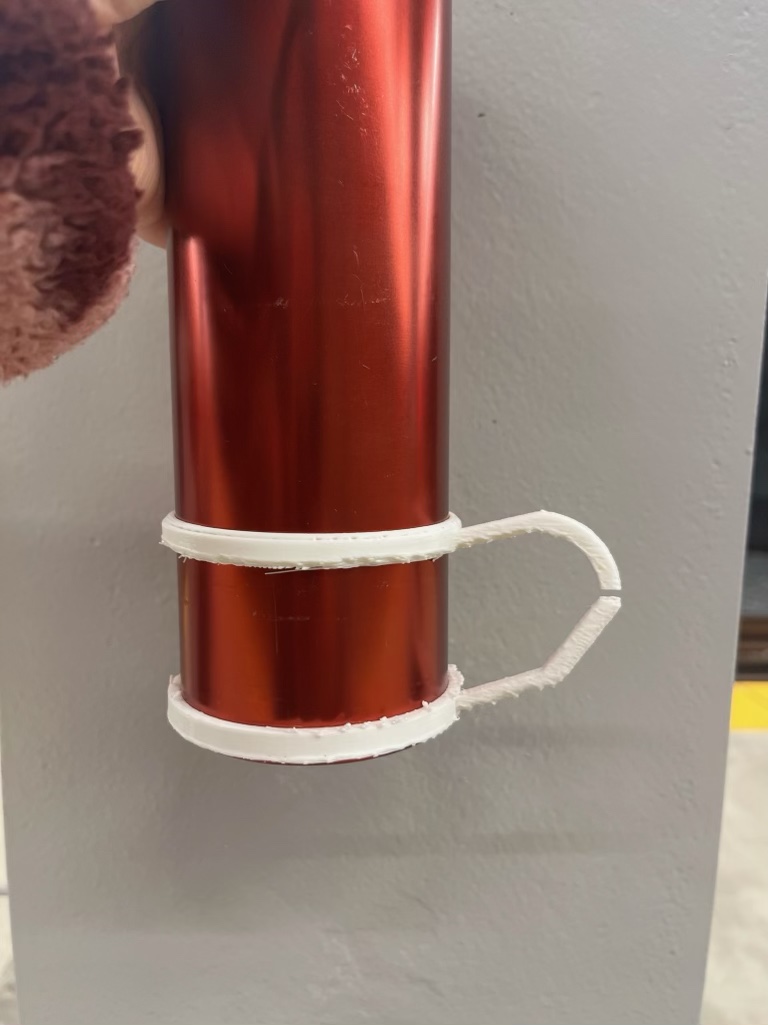
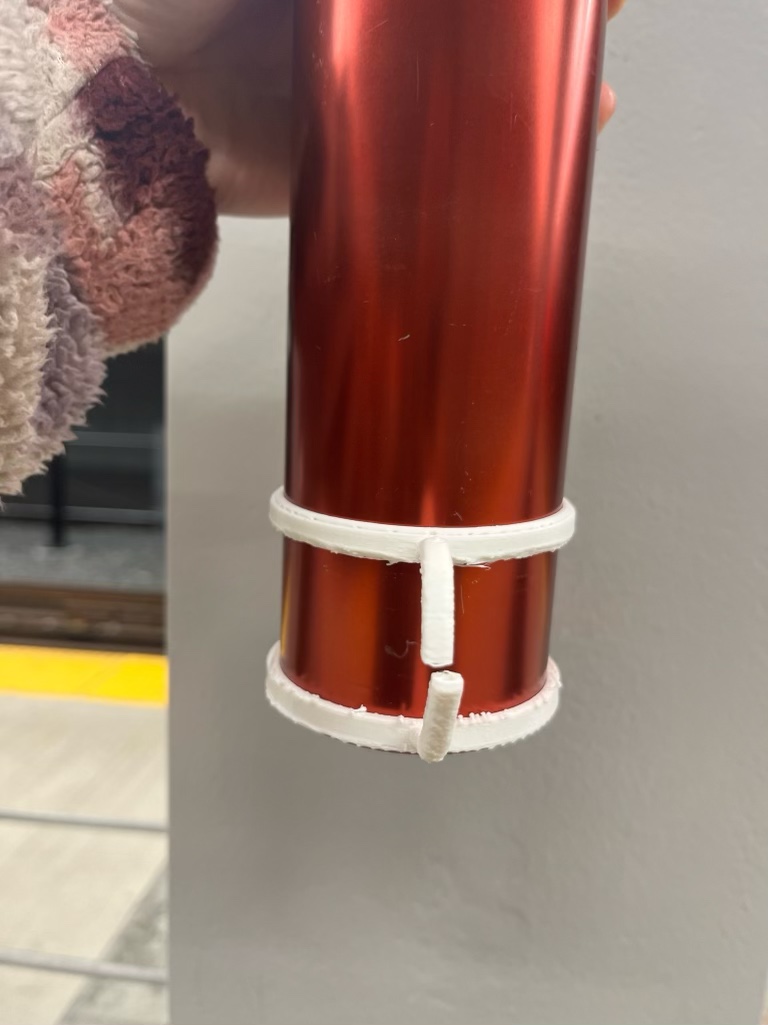


With the next attempt, I decided to prioritize the strength of the handle by printing sideways, and attempted to size up in hopes to combat shrinkage after cooling. This made the item’s print time increase by two hours from 3.5 hours to 5-6 hours.


The issue with this last iteration was that the rings could not be attached to the tumbler with the force of the rings alone, as the diameter was too large. This was an issue that I had foreseen, but figured that a larger size would be a better issue because adding a rubber material or something with more friction than PLA would make device easier to put on, and have a stronger force to stay on.


The materials below are ones I found around Nolop to increase friction, and reduce the diameter of the rings. The first thing I tried was a clear silicone sealant. It did not dry fast enough, and ended up leaving a sticky, slimey cast on the ring. I then tried using the two small pieces blue tubing sliced in the middle and snapped onto the side of the rings, however underestimated the width and accidentally snapped the bottom ring of the device. Because of this, I added rubber bands to help with friction and kept one small piece of blue tubing on to keep the ring parts attached to each other, which worked pretty well. To try and increase friction for the upper ring, I extruded a lining of hot glue on the inside. However, the silicone sealant’s slimey cast made it impossible for the hot glue to stay on, and also left a slimey cast on the water bottle every time I put the device on the tumbler. I resorted to felt, which i sewed onto the top ring to keep it in place, and it worked perfectly! It was the perfect amount of thickening for the upper ring and also the perfect amount of cushioning for the device to be slid on.


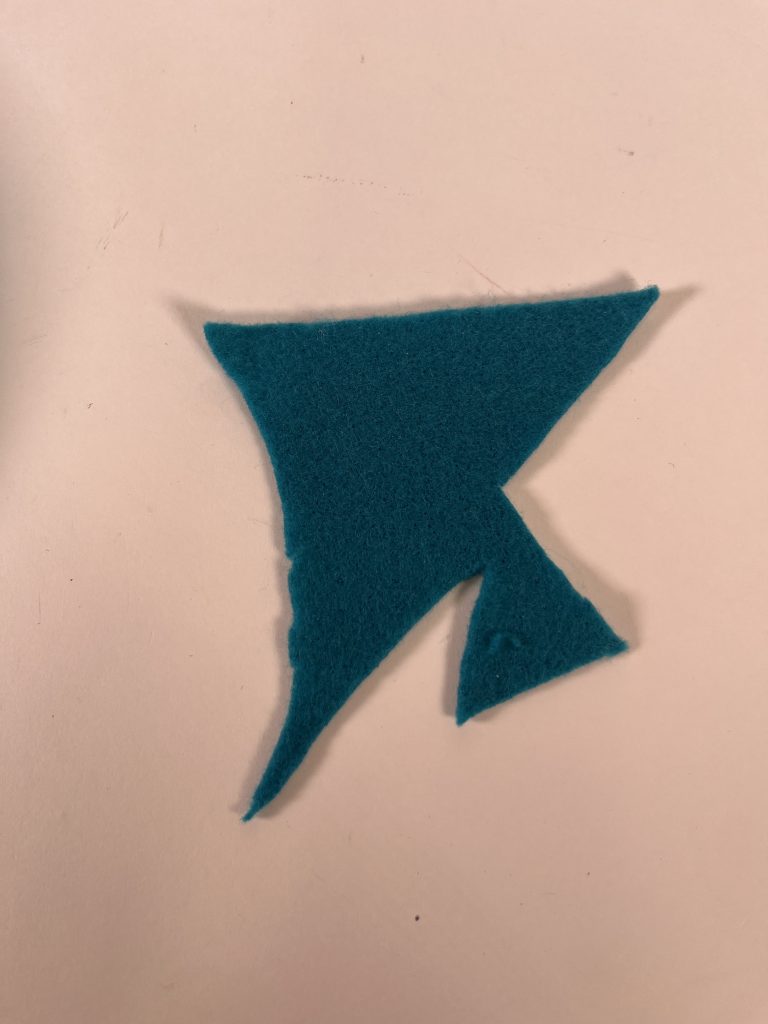
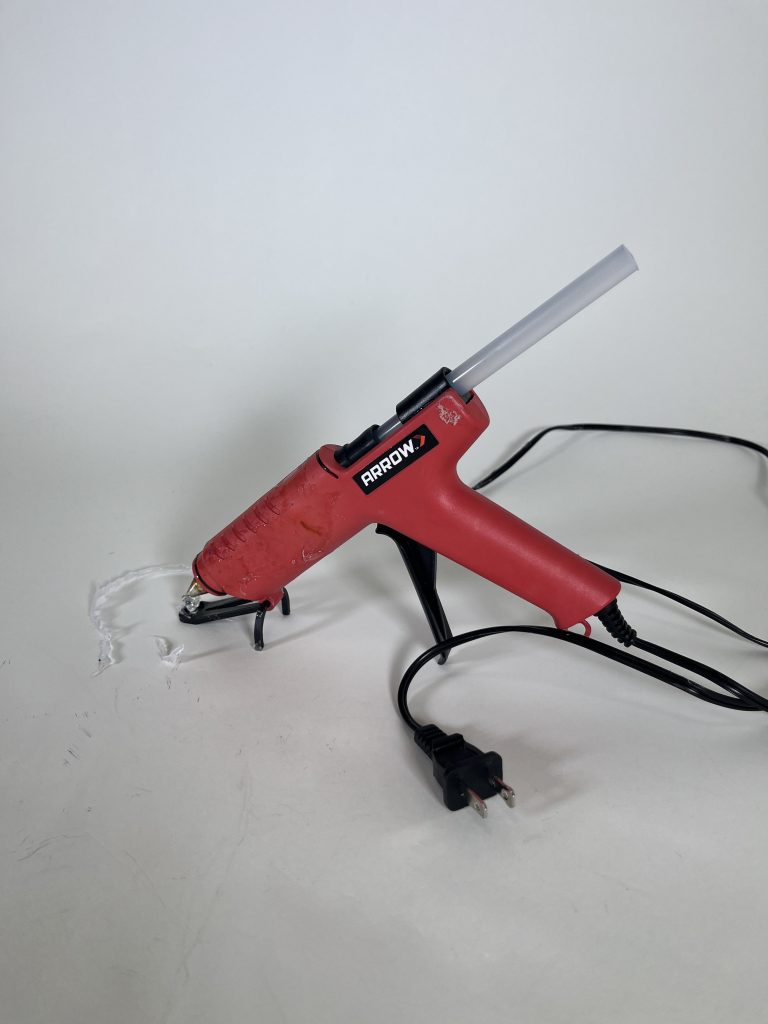
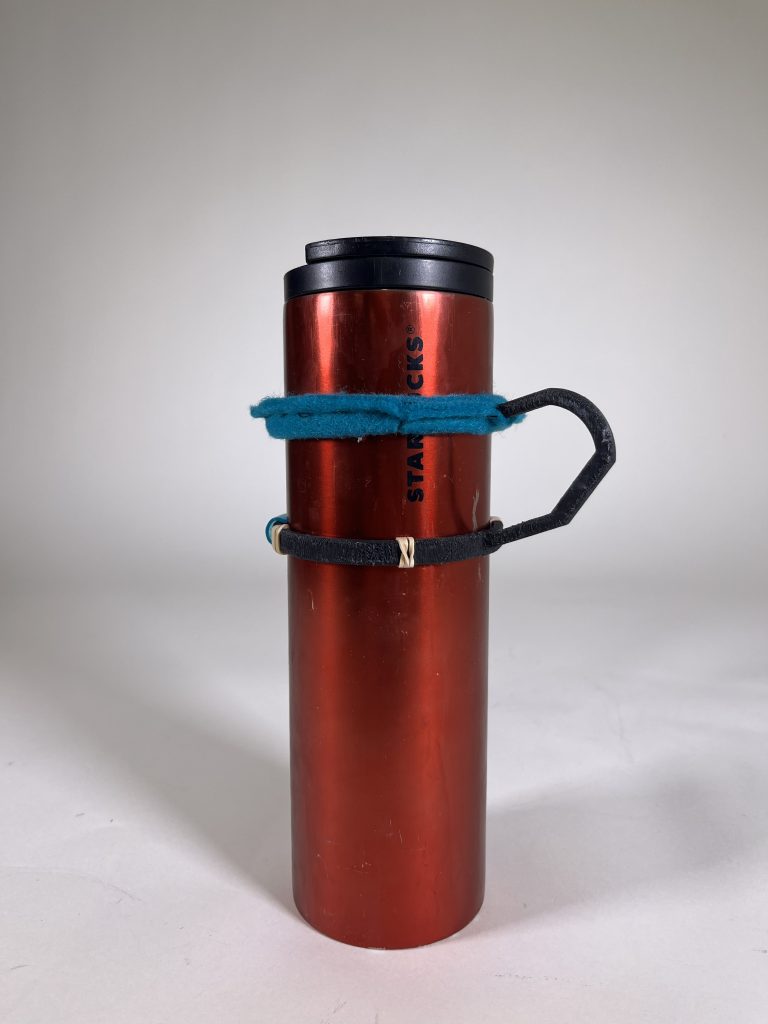

It was only later, when I filled the tumbler, and took a sip, that the handle twisted, pulling on the already broken ring and snapping it in half, which also snapped the top ring in the process of me trying to fix it. Furthermore, when sipping from the tumbler, a little bit of water dripped down and made the felt wet, decreasing the friction with the side of the tumbler. I had forgotten that this fabric smoothens and flattens when wet, and was no longer effective in keeping the product from slipping down the tumbler.
While this particular design and product might not have been perfected, this shape would have been difficult to fabricate without 3D printing. Products that are difficult to fabricate without 3D printing ones with continuous shapes, irregular shapes, and designs with specific sizing that needs to be customizable to each individual. Prototyping is also a great use of 3D printing as rapid design changes can be seen within a couple hours. This product that I made most likely requires a bit more change in the design it self, but also a change in material (such as rubber, a stronger plastic, metal, etc…), or also an additional step after 3D printing such as sandcasting, molding, or something of that sort to add further strengthening support.