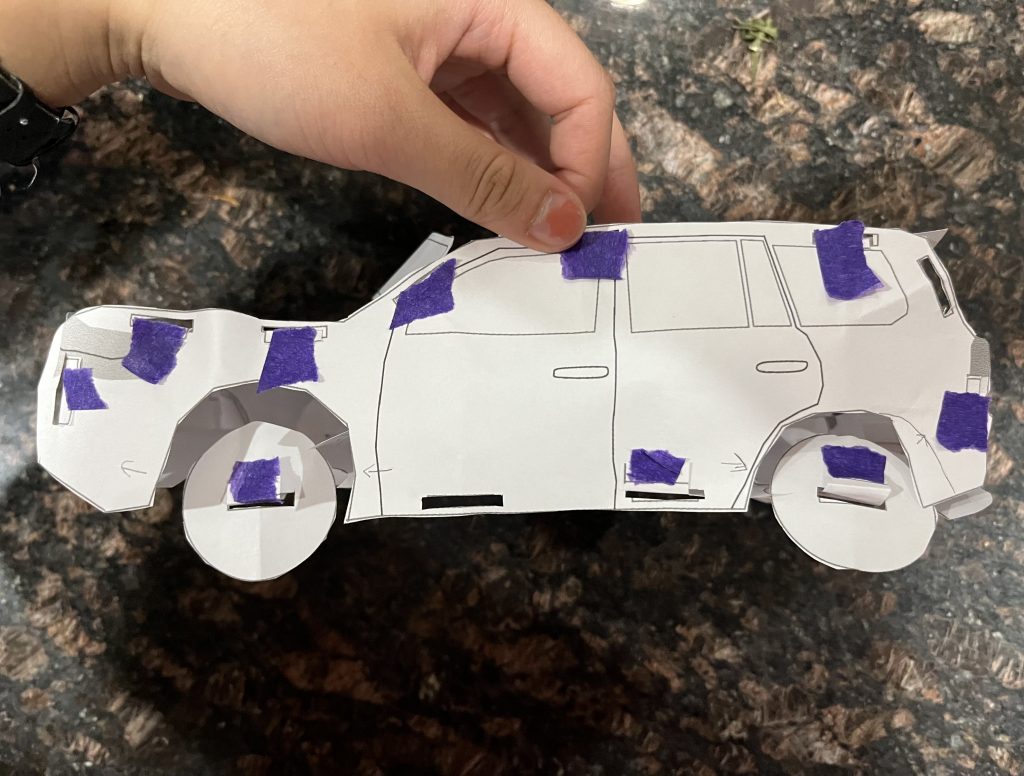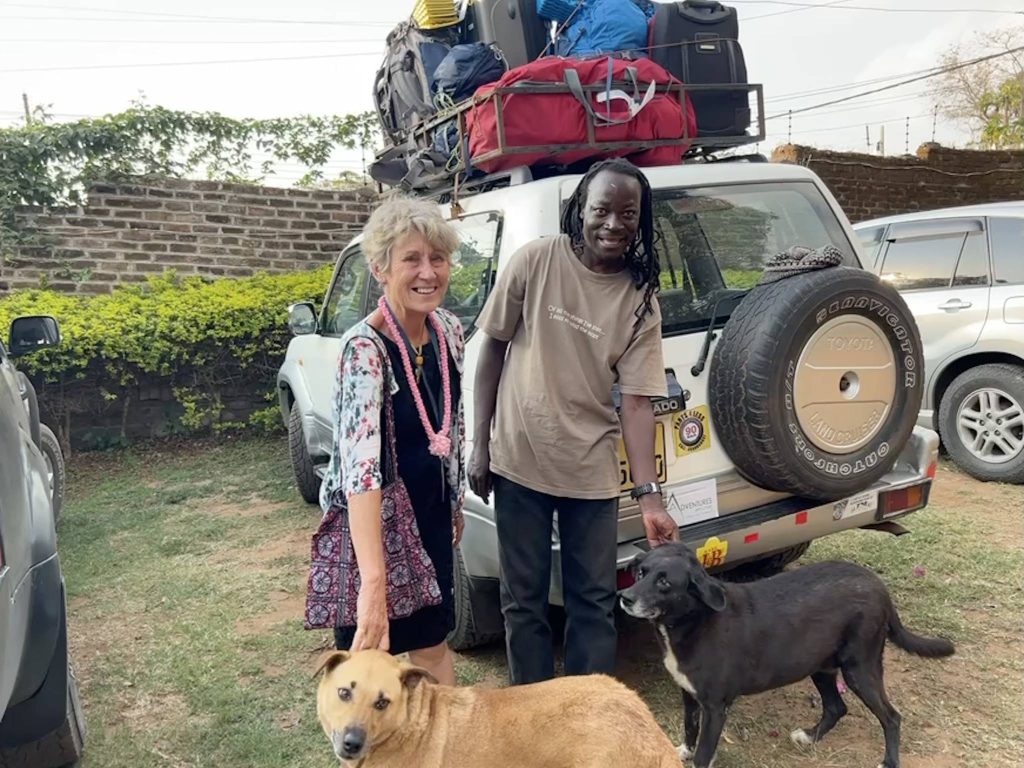
I was inspired to make the Toyota Land Cruiser from my time this summer with Tufts Engineers Without Borders in Solomoni and Blantyre, Malawi. This car was the one me and 5 other travelers packed into from the airport to the village we stayed at for 8 days, and then back through town, and to the mountain where we backpacked for another three days. In making this laser-cut creation, I started with a hand sketch to figure out how exactly will everything fit together. I prioritized keeping the sides most realistic because this was the largest surface and this would give the creation its most defining characteristic.

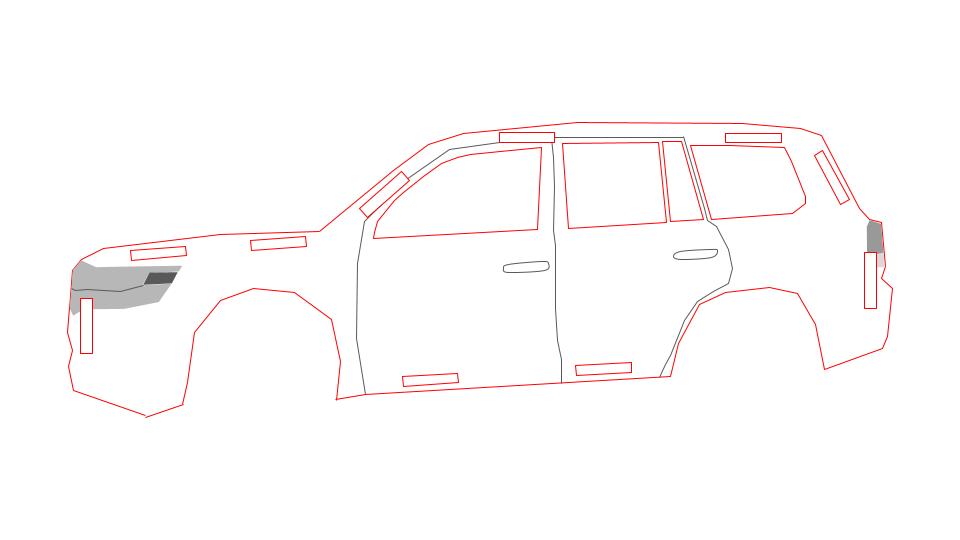
I then took these rough sketches and worked on them using Google Slides for their initial shape. As shown below, there are interior seats, several parts for the top of the car, and its windows.


To try to visualize this and fix the sizing of the parts, I printed the design on paper and fitted everything together.


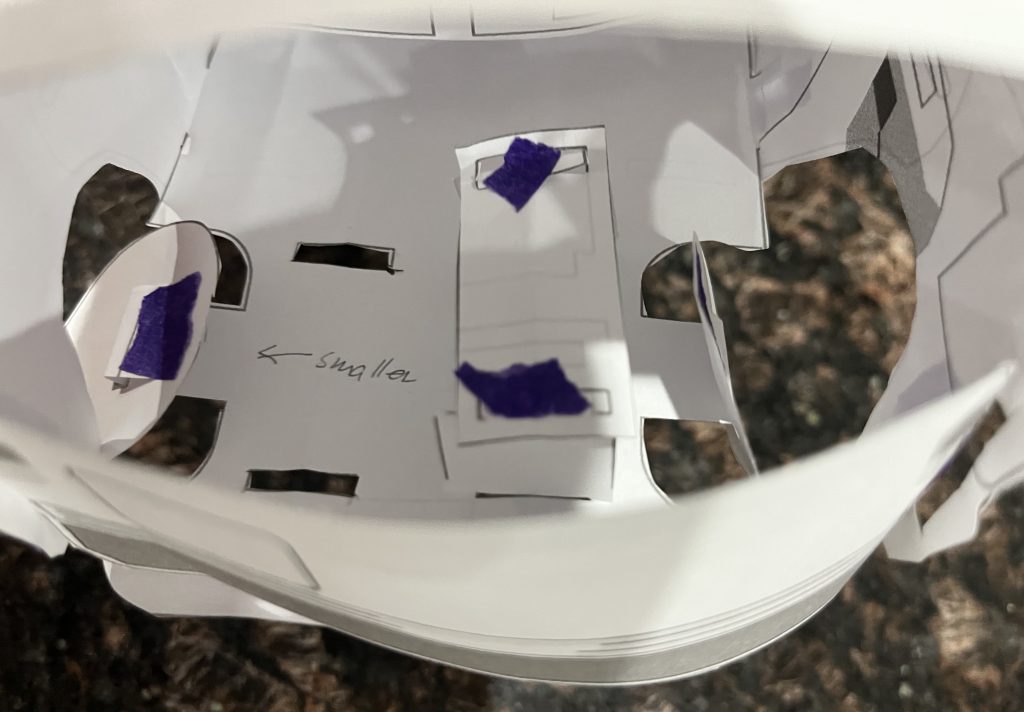
For the side of the car (left above), there were some changes needed for the fitting of the wheel of the car. Also, there was some sizing issue for the side and hood of the car (middle and left above). For the bottom of the car (left below), there were some alignment issues with the chairs (ignoring the extra lines as they were a misprint). The chairs’ seats needed to be less wide and with tabs (middle below), while the back of the hood needed to be moved further from the middle and less wide.


For the floors and benches (below), there needed to be some widening by the wheels and also taller bench sides in general.
In an overall design issue, there was some worry I had about the thickness of the material lining up because it was hard to tell if there was going to be shrinkage and what the tolerance of the laser cutter was.


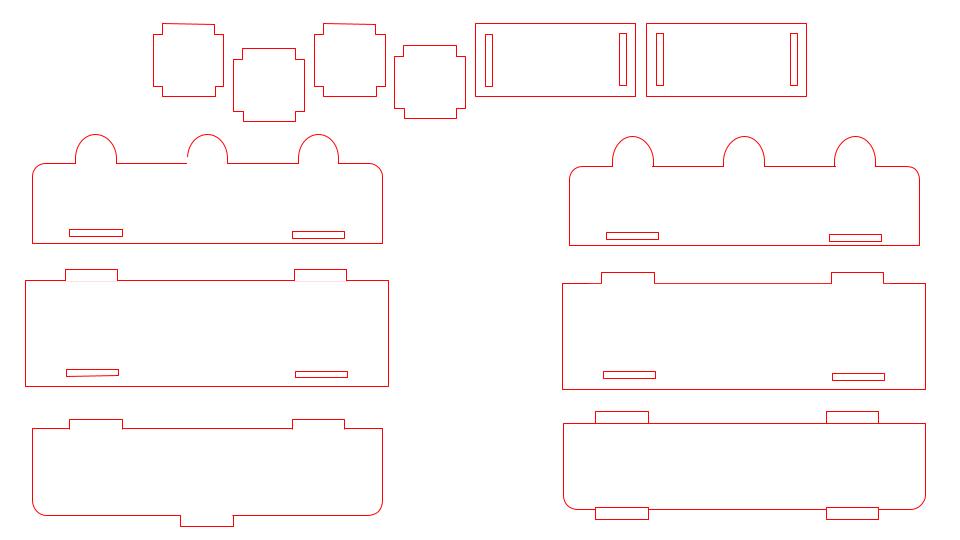

After some changes to the design, (above) I decided to try out a small section of the car to look at the sizing of the hole and tabs (below). The tabs themselves were too narrow, and the holes were too wide.


After uploading to Illustrator, there were some issues in the file so I had to unmask and change the line thicknesses. This proved to take more time than I expected and more difficult than I expected but it was okay because the line for the laser cutter was hours, which gave me plenty of time to mess around with my design.

I also worked on consolidating all of the pieces to cut on one piece to save material and time (above) and was able to get most pieces all together. I was only missing a back window and two wheels. When going to print, I had an issue where the files moved over in only black and white color (and only etched) and because I was short on time, I started the print, and while it was going, worked on isolating just the red lines.


After finally cutting on the Universal VLS 3.60 Laser cutter, I started putting together the pieces and found that the measurements did not line up perfectly as I imagined. With a heat gun, a little bit of hot glue, and a lot of willpower, I was successful in putting my car together! I repurposed the seats by making the legs the back of the chairs (because they fit perfectly while the back of the chairs were spaced weird). They needed a slight curve to them (top right), but otherwise it was perfect! The back of the chairs was used to hold the steering wheels (hot glued to the hood of the car), and some other side pieces’ tabs were bent so one of the two tabs could fit into the base of the car.


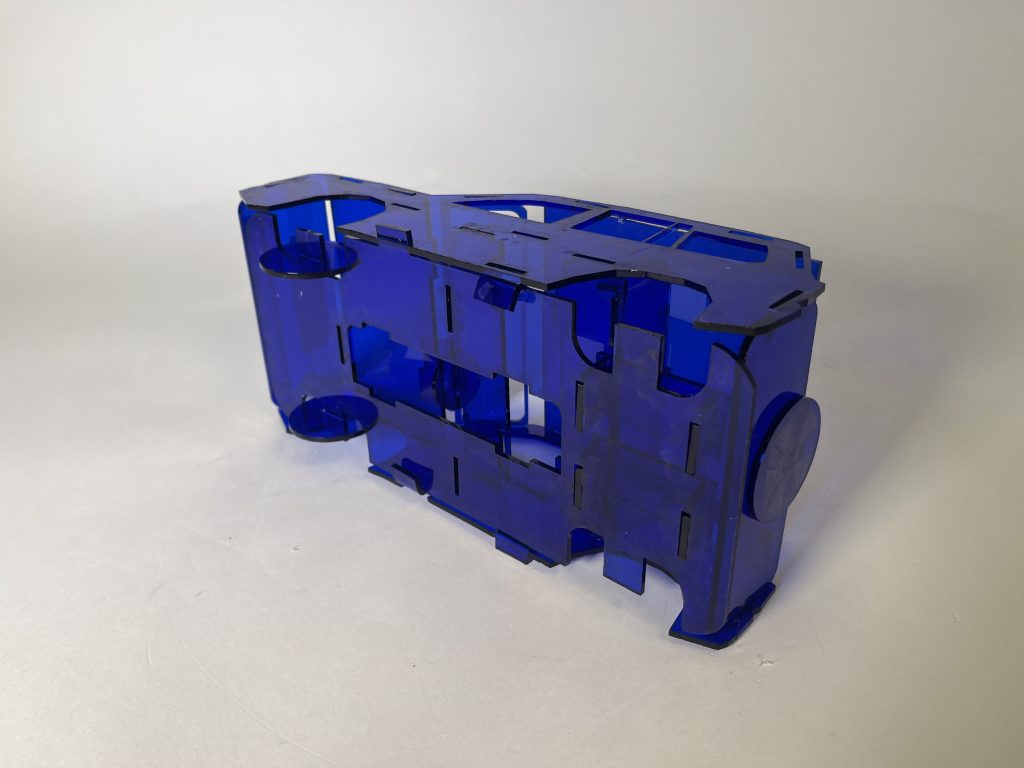
Objects that would be difficult to fabricate using something other than a laser cutter would be things with a lot of details, precise etching, or too thin be able to be hand saw or hand etch. The thin windows, curved circular wheel, and etching of little flowers are examples of this. Furthermore, a laser cutter ensures the same thing can be cut or etched over and over again almost exactly every time.
