Part One: The One Part Mold
Making the design
When figuring out what to mold, our group looked into multiple options, from molding a finger, to a case for the button, to a handle bar for the walker we were rough prototyping.
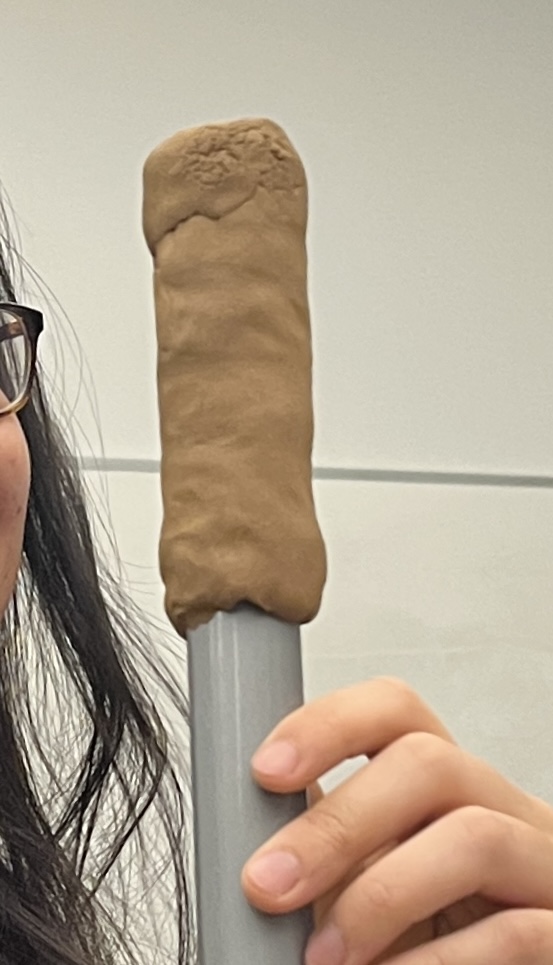
We figured we would try something simple to start, with the handle of the walker, first designing it on a mop handle, then a stand alone clay model with ridges for finger/hand placement.
Making the carrying device
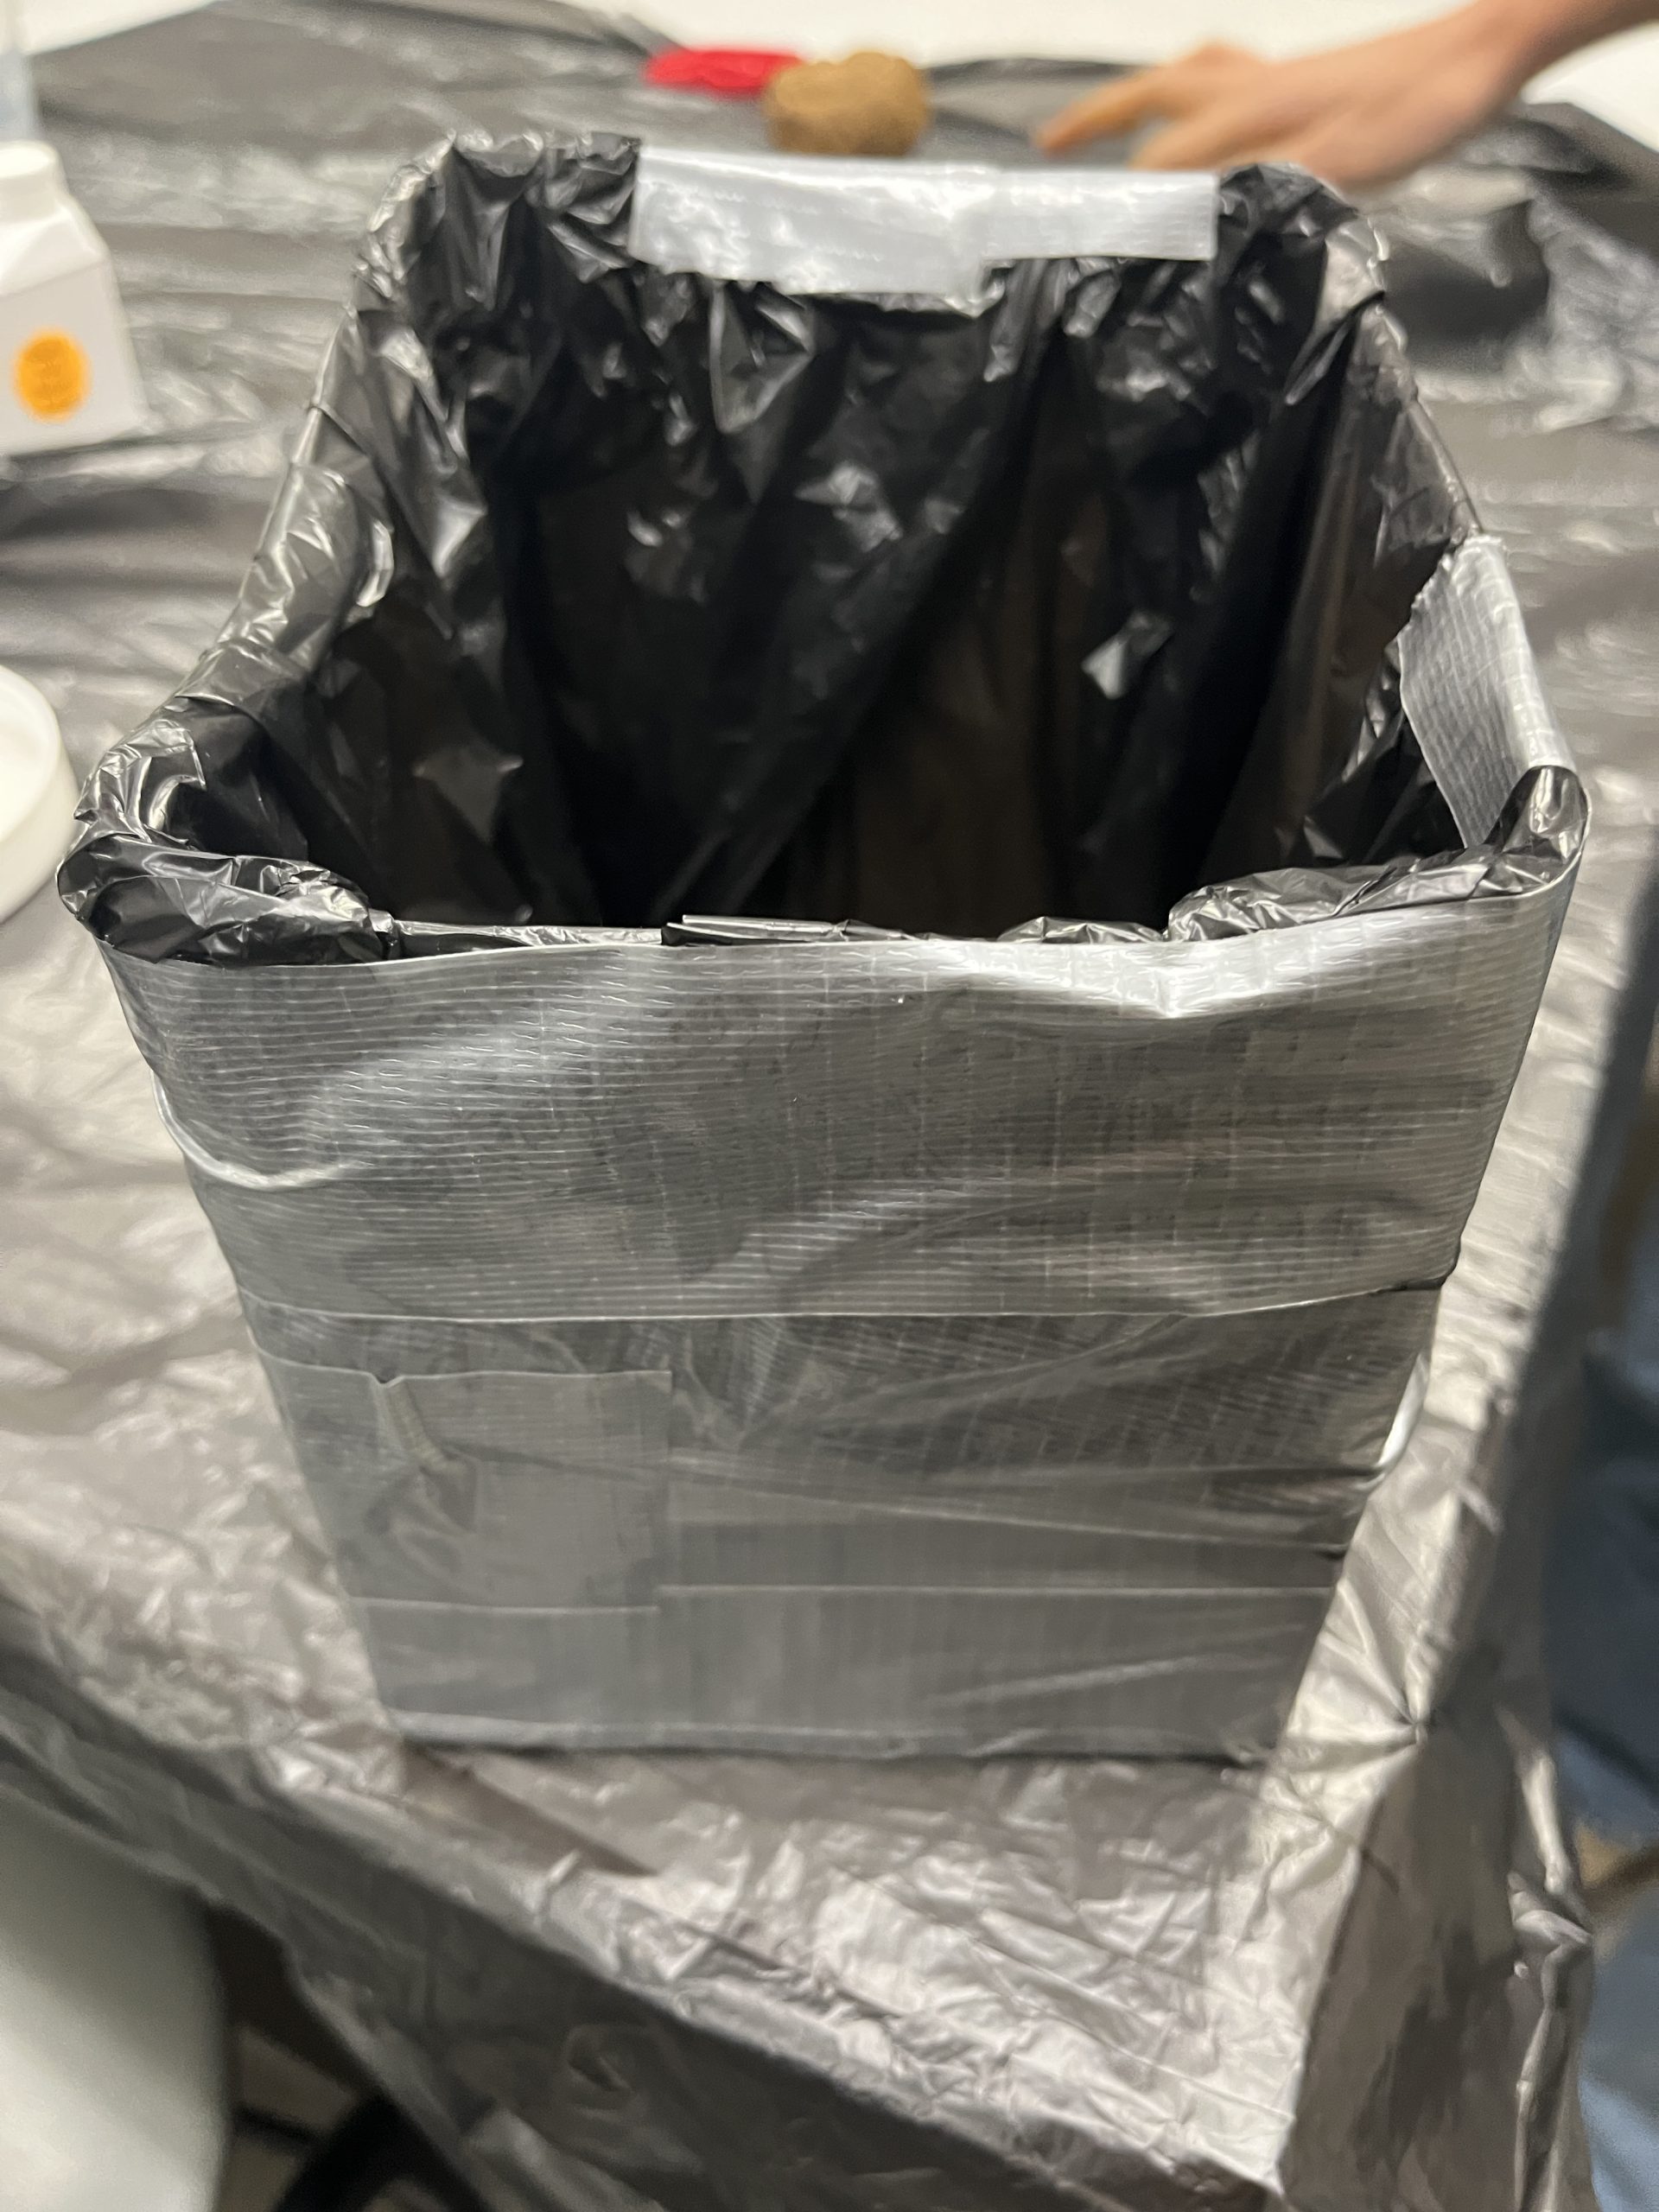
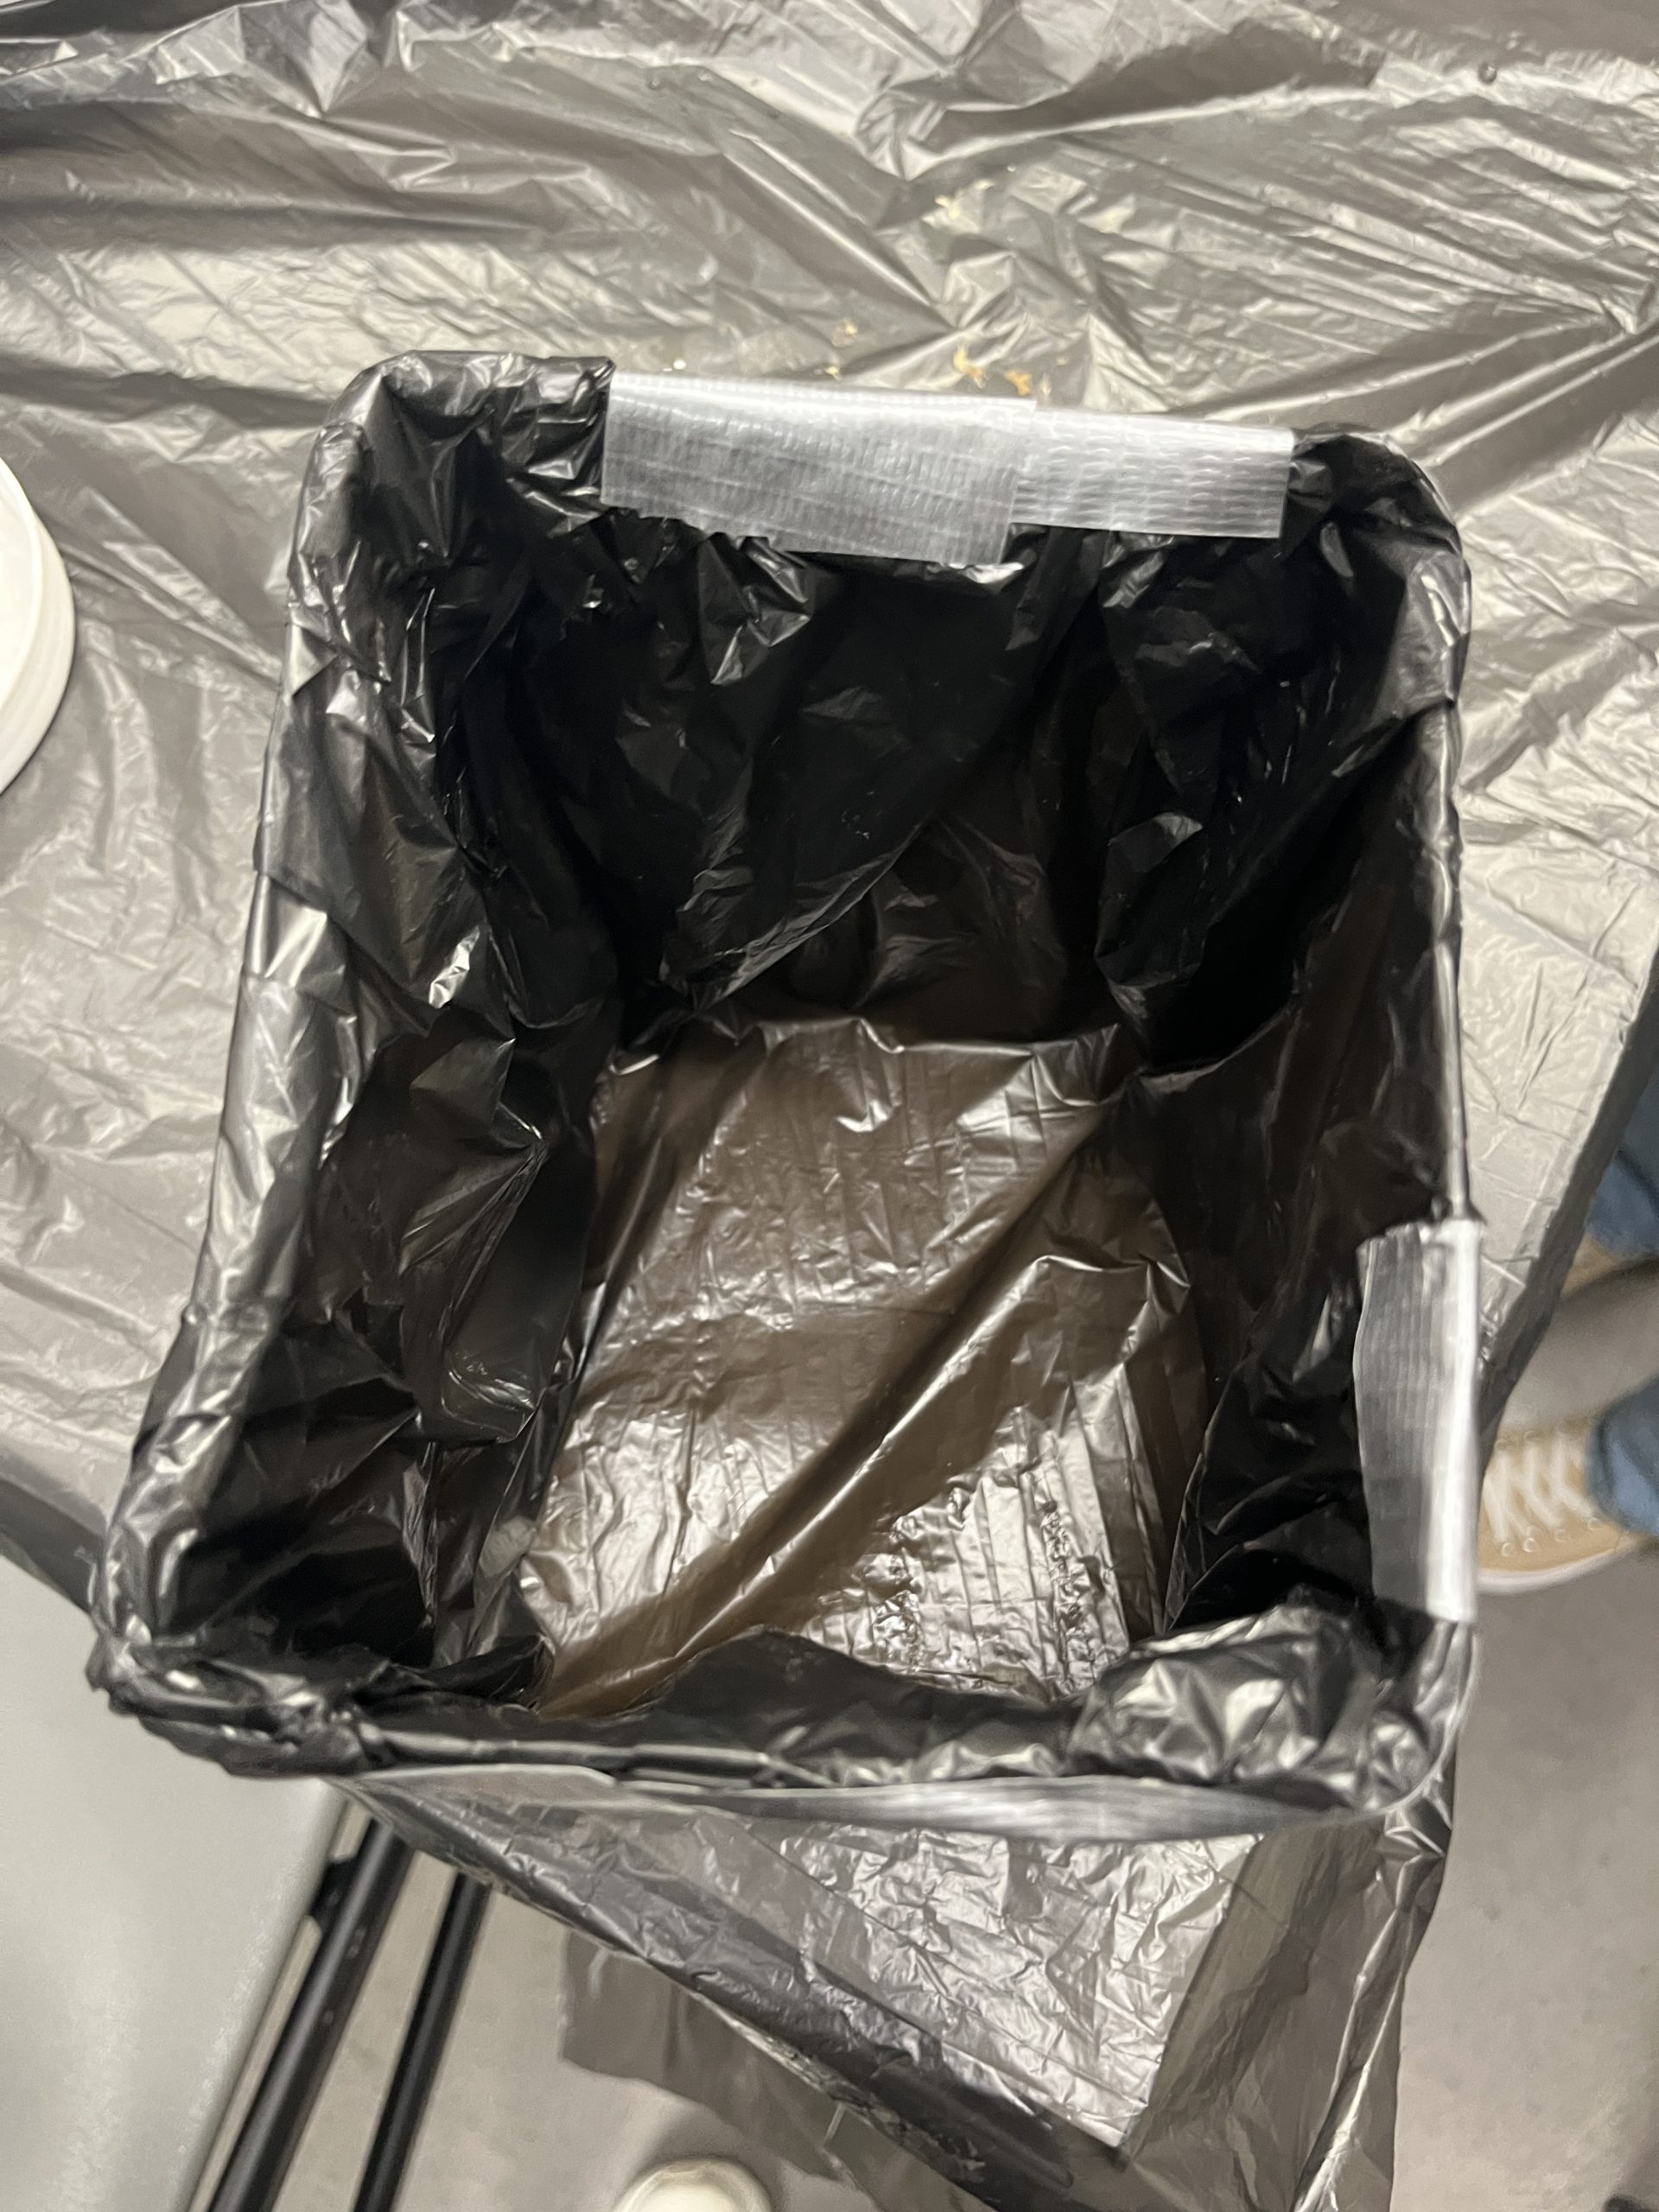
To prep for the molding process, a box was created and water proofed, with some styrofoam padding to reduce the width of the container and the amount of molding material needed.

Pouring the mold
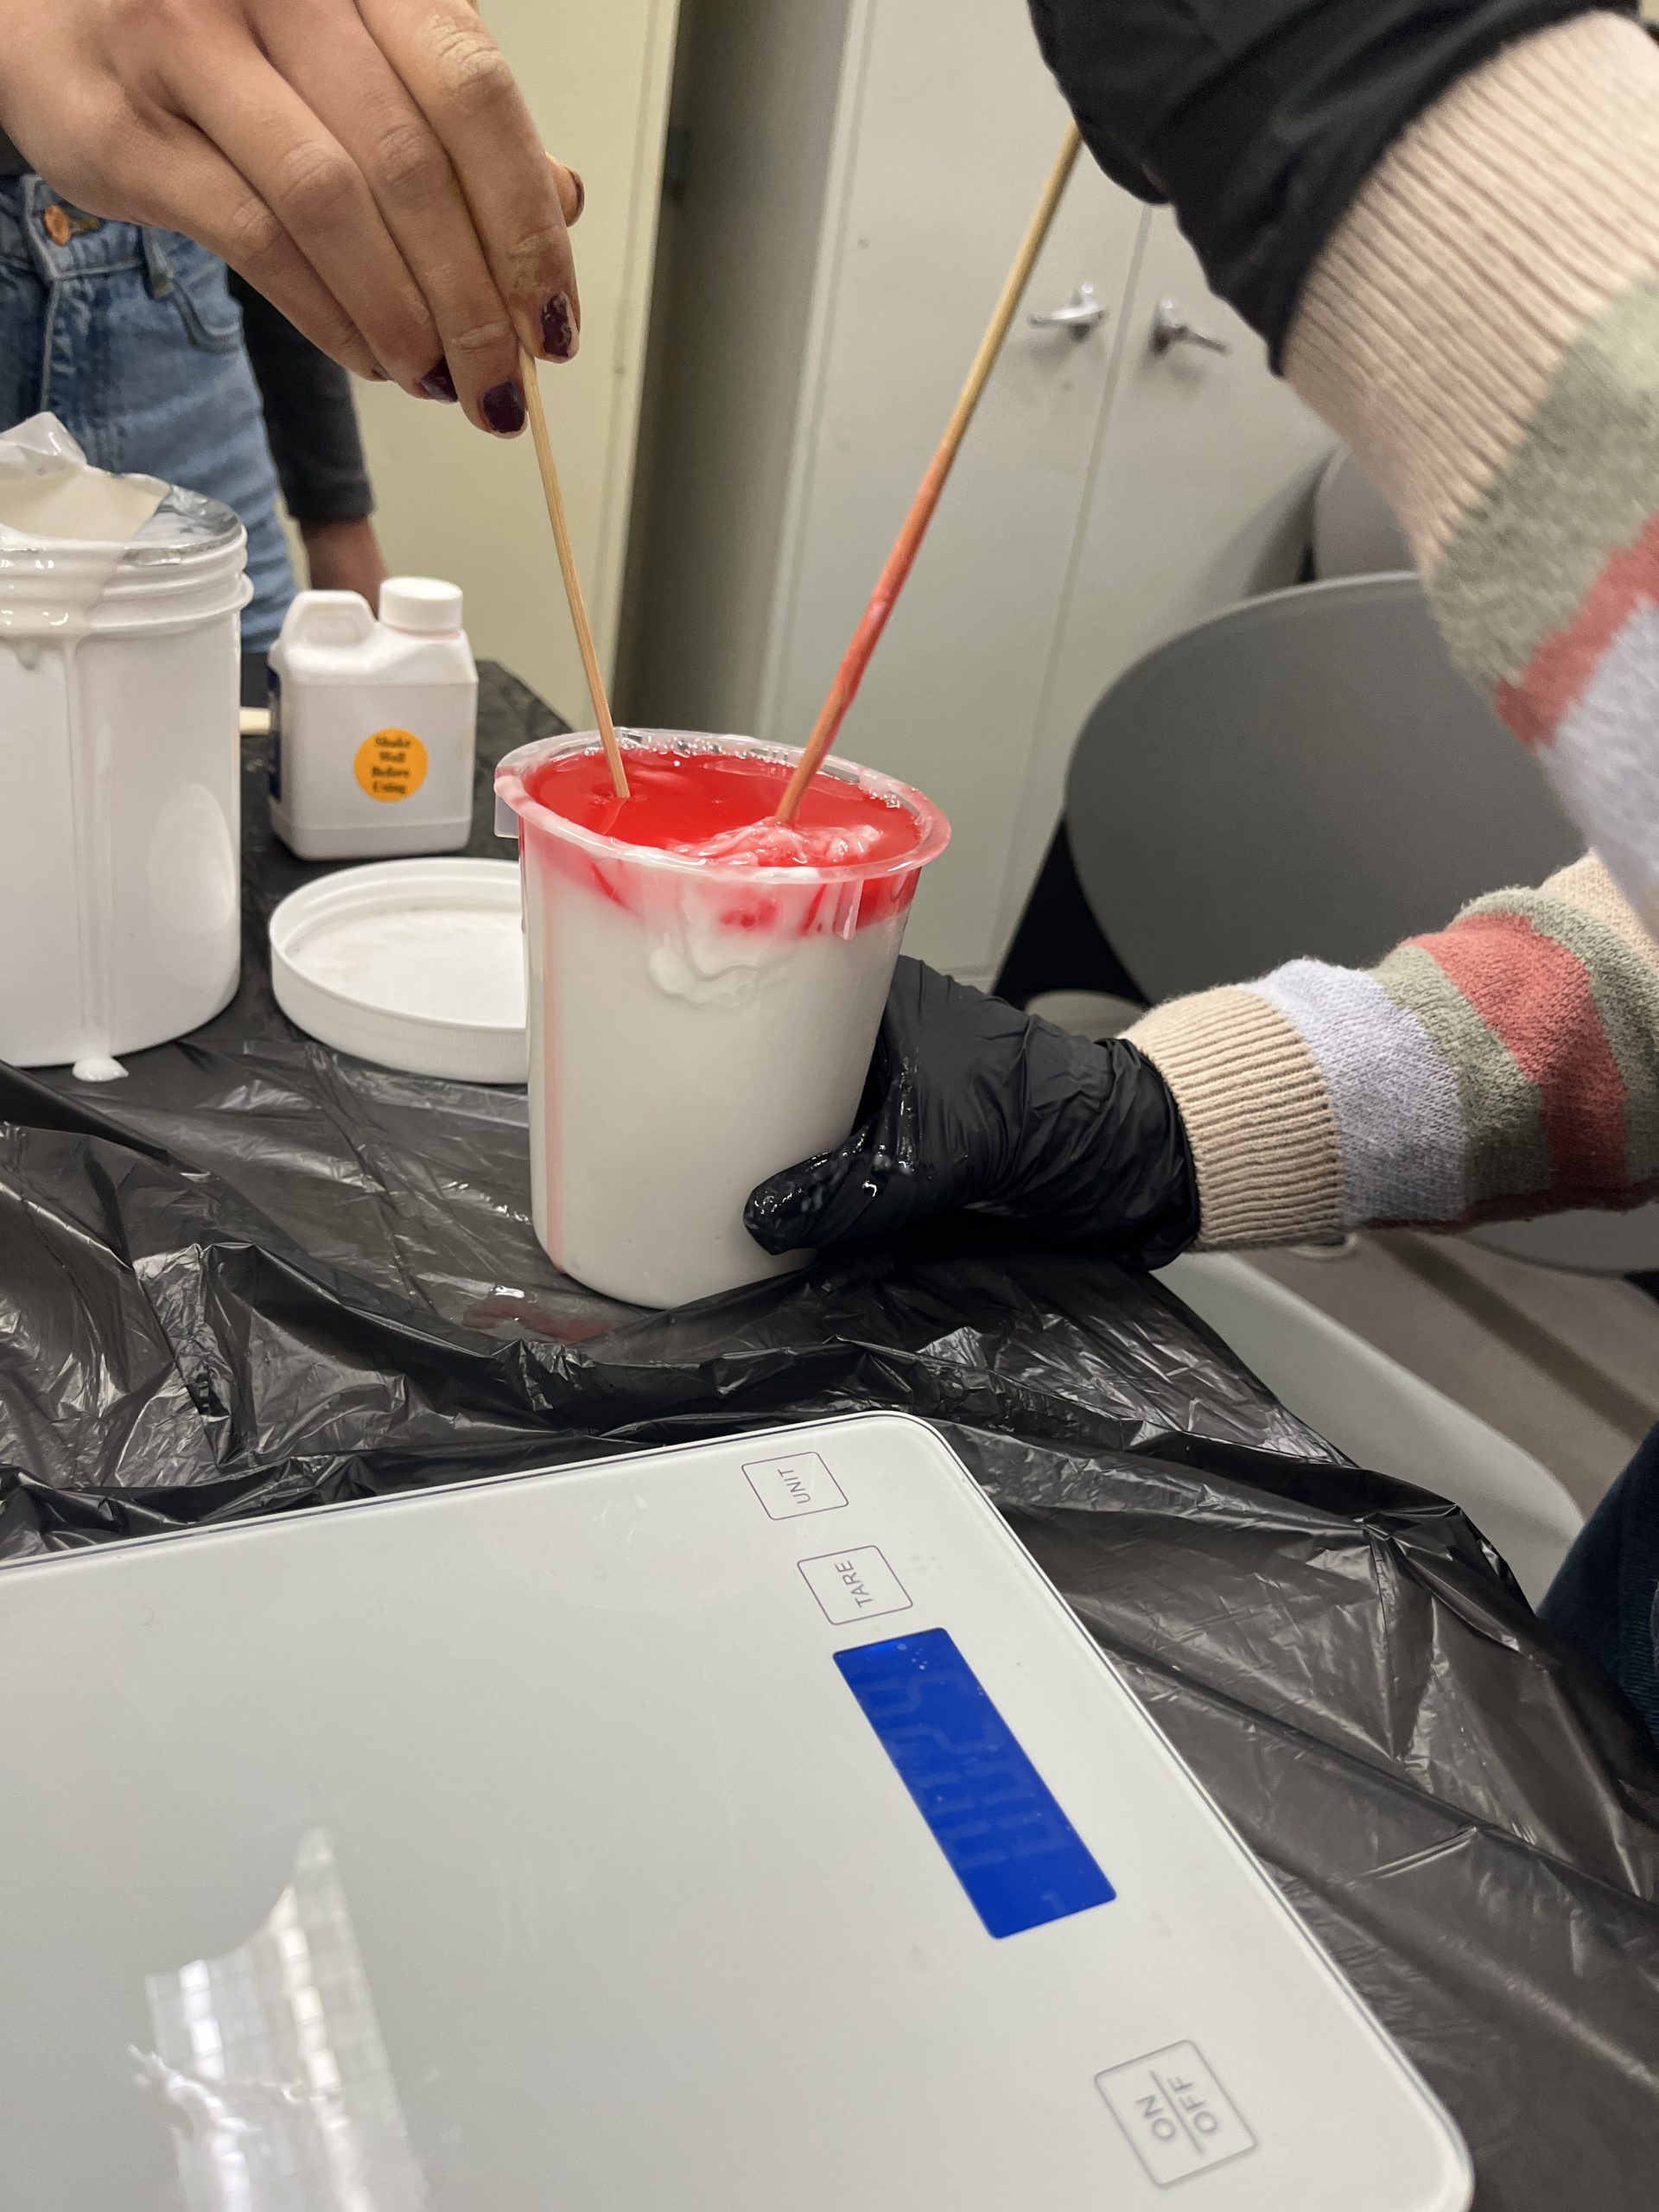
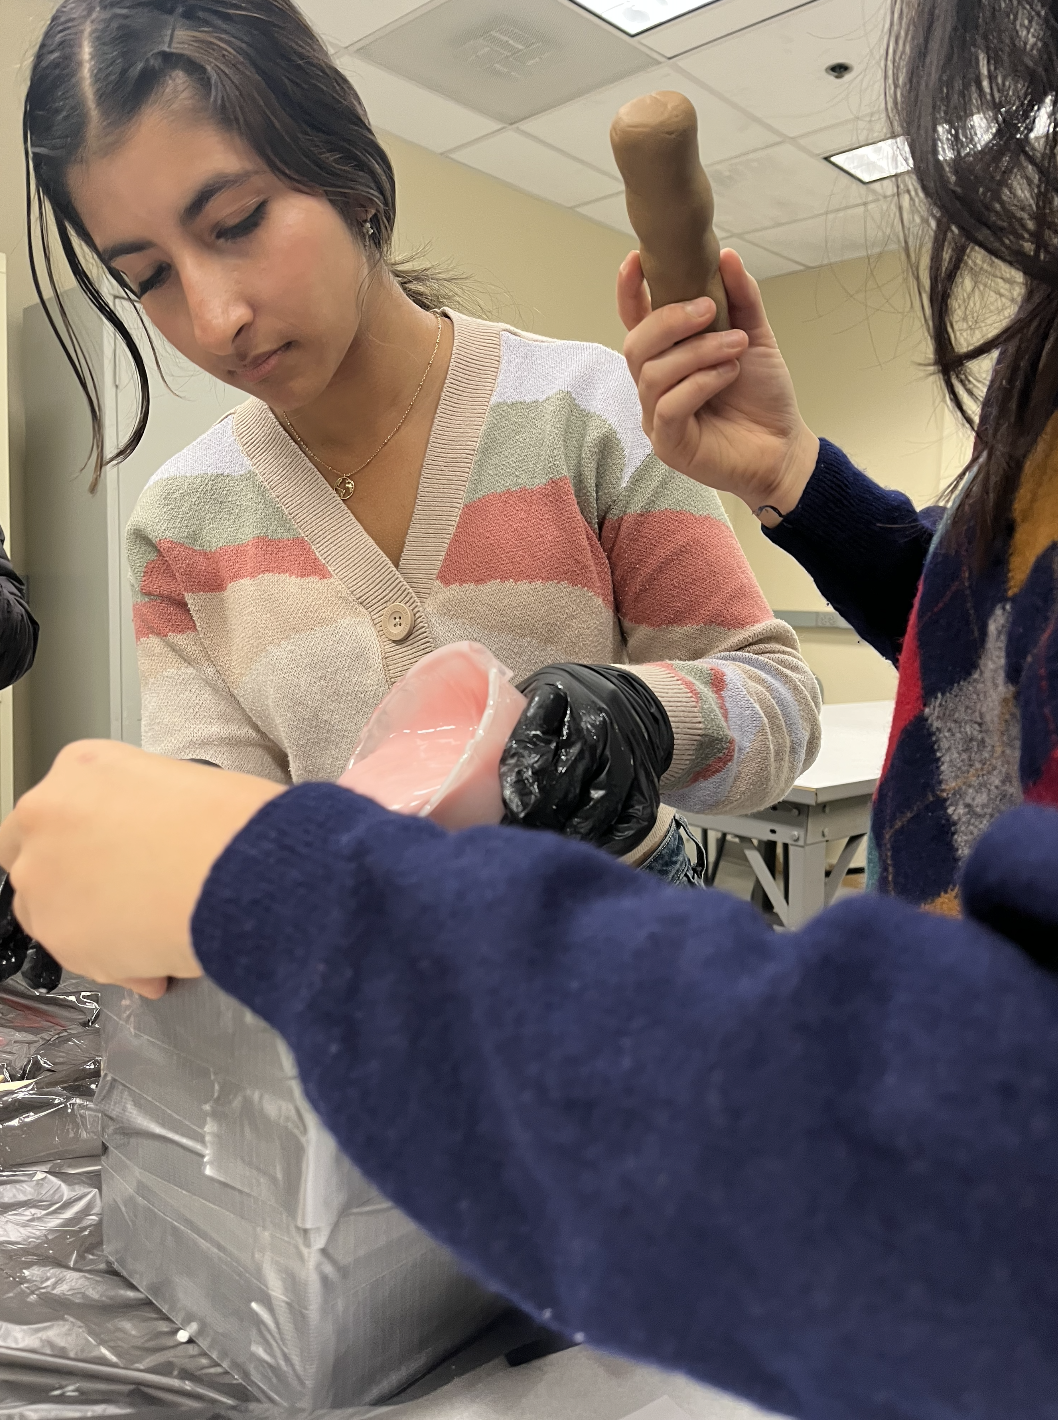
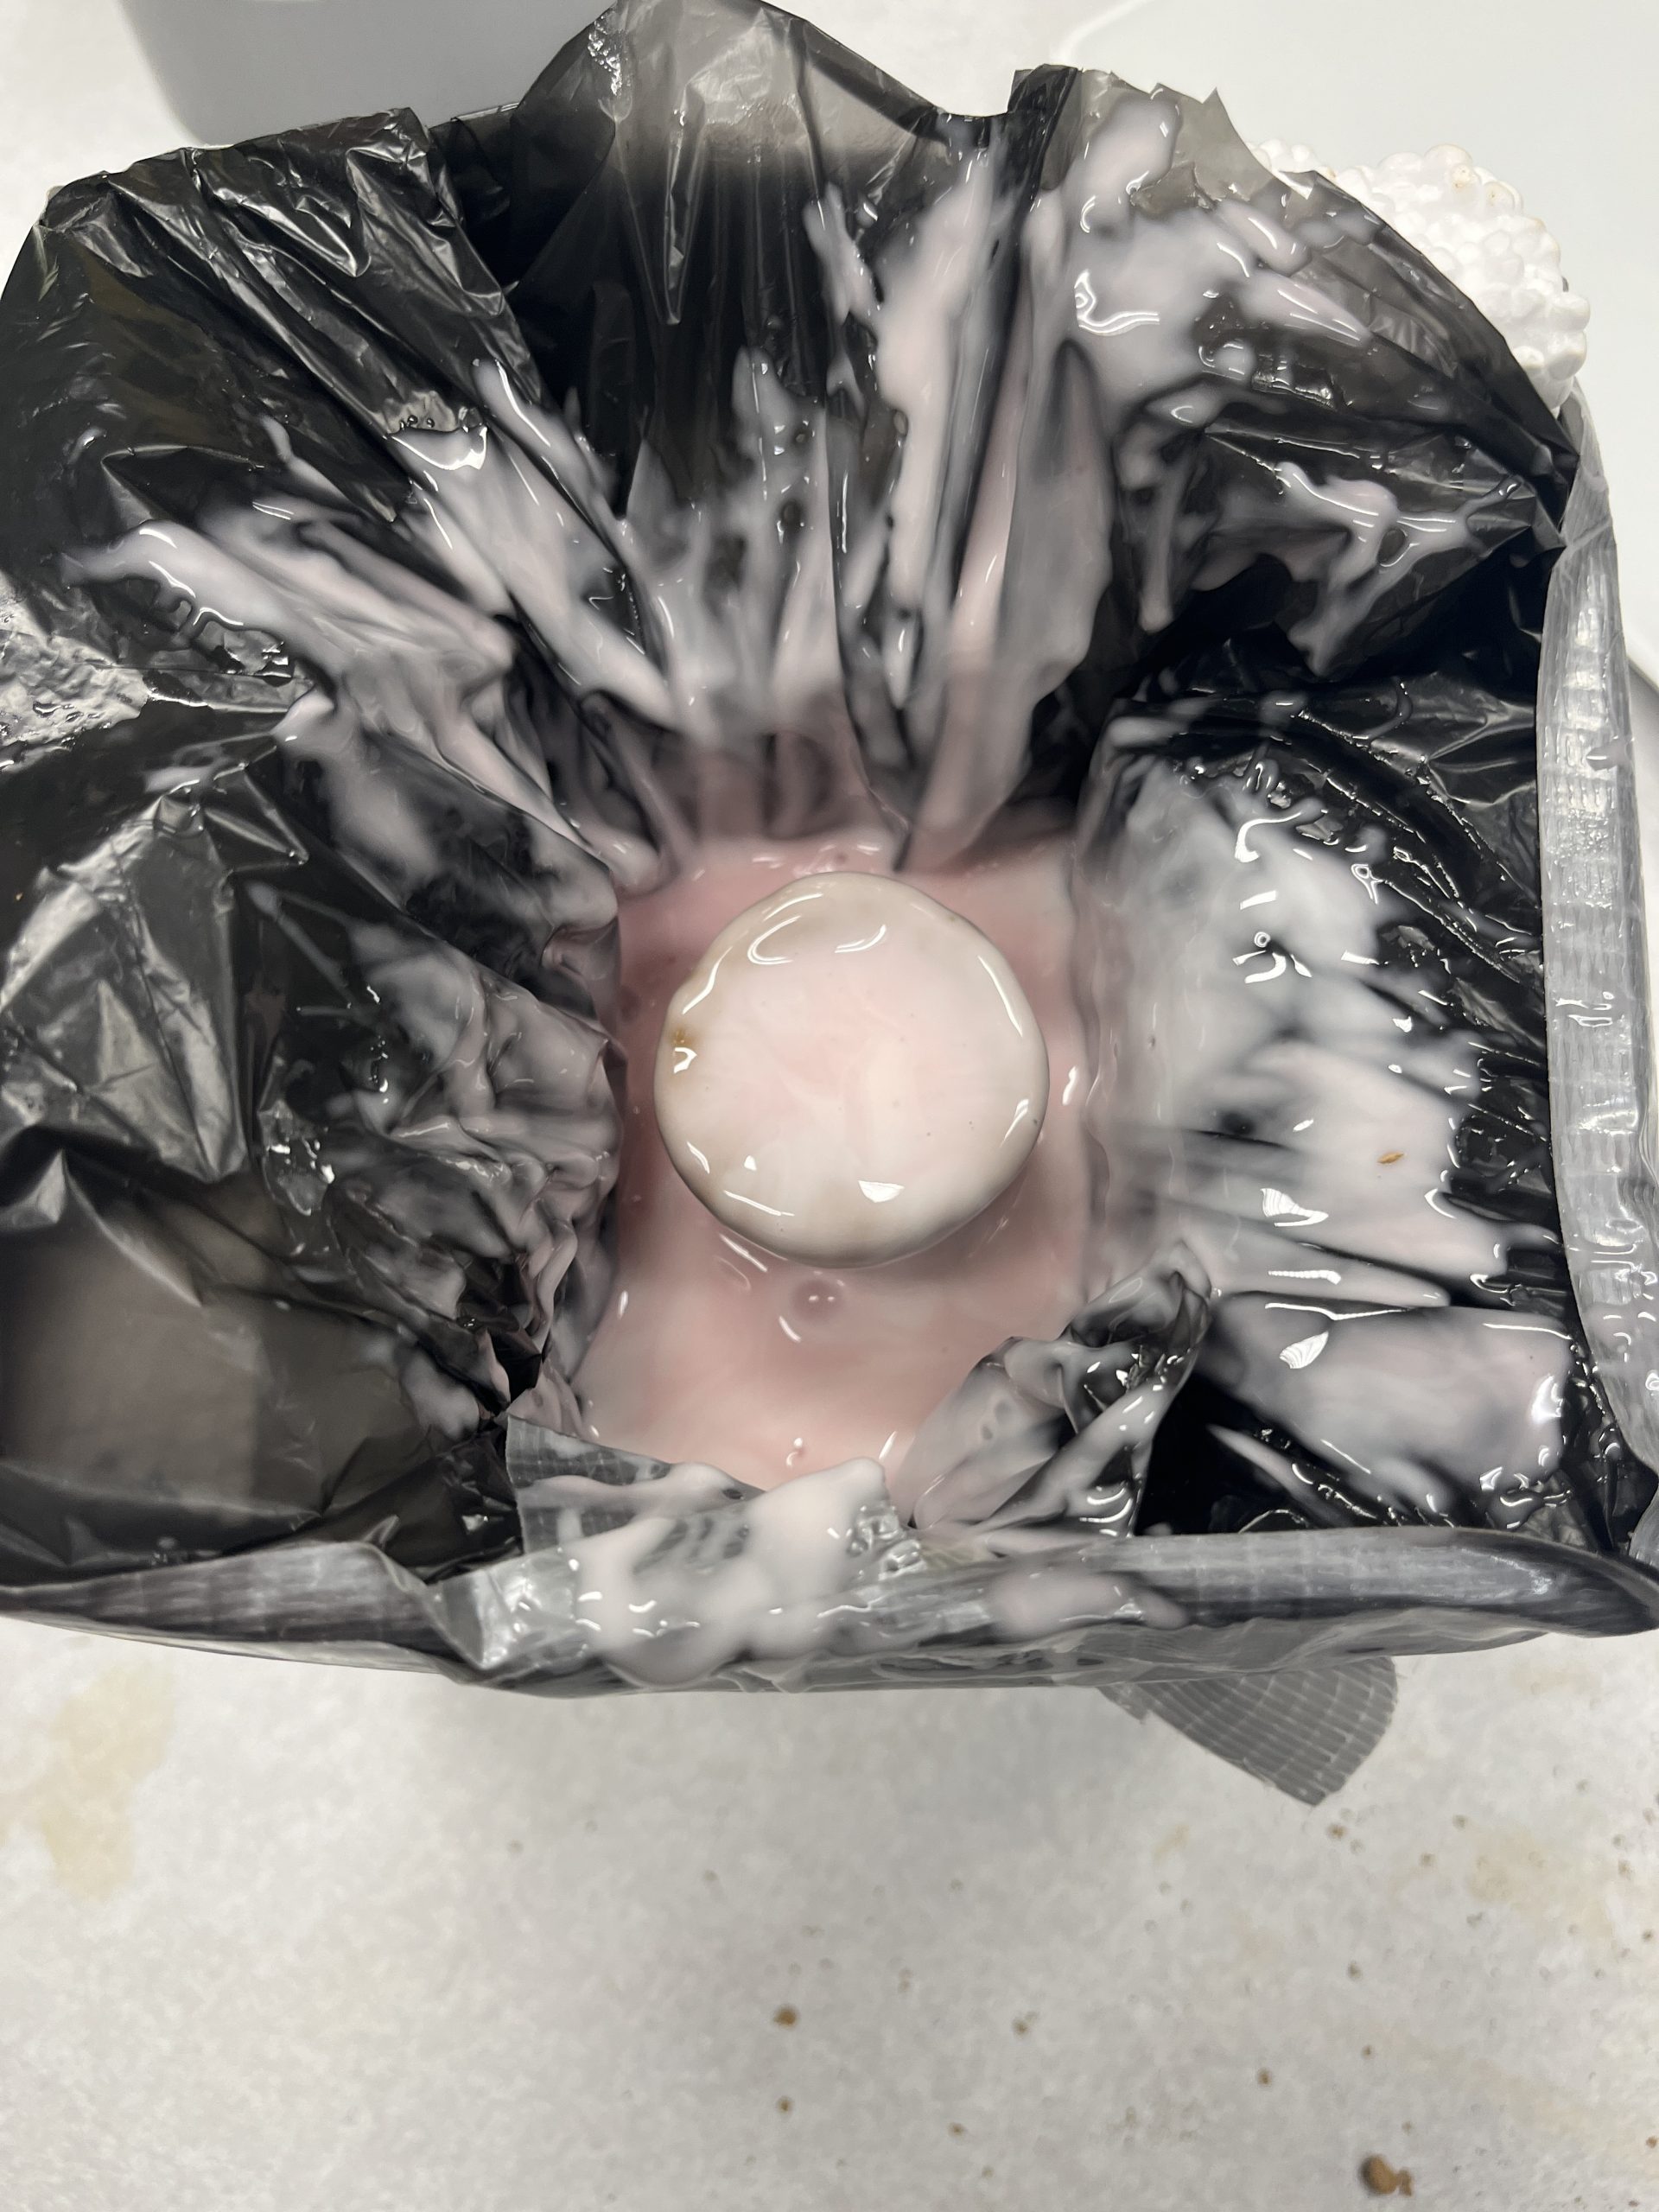
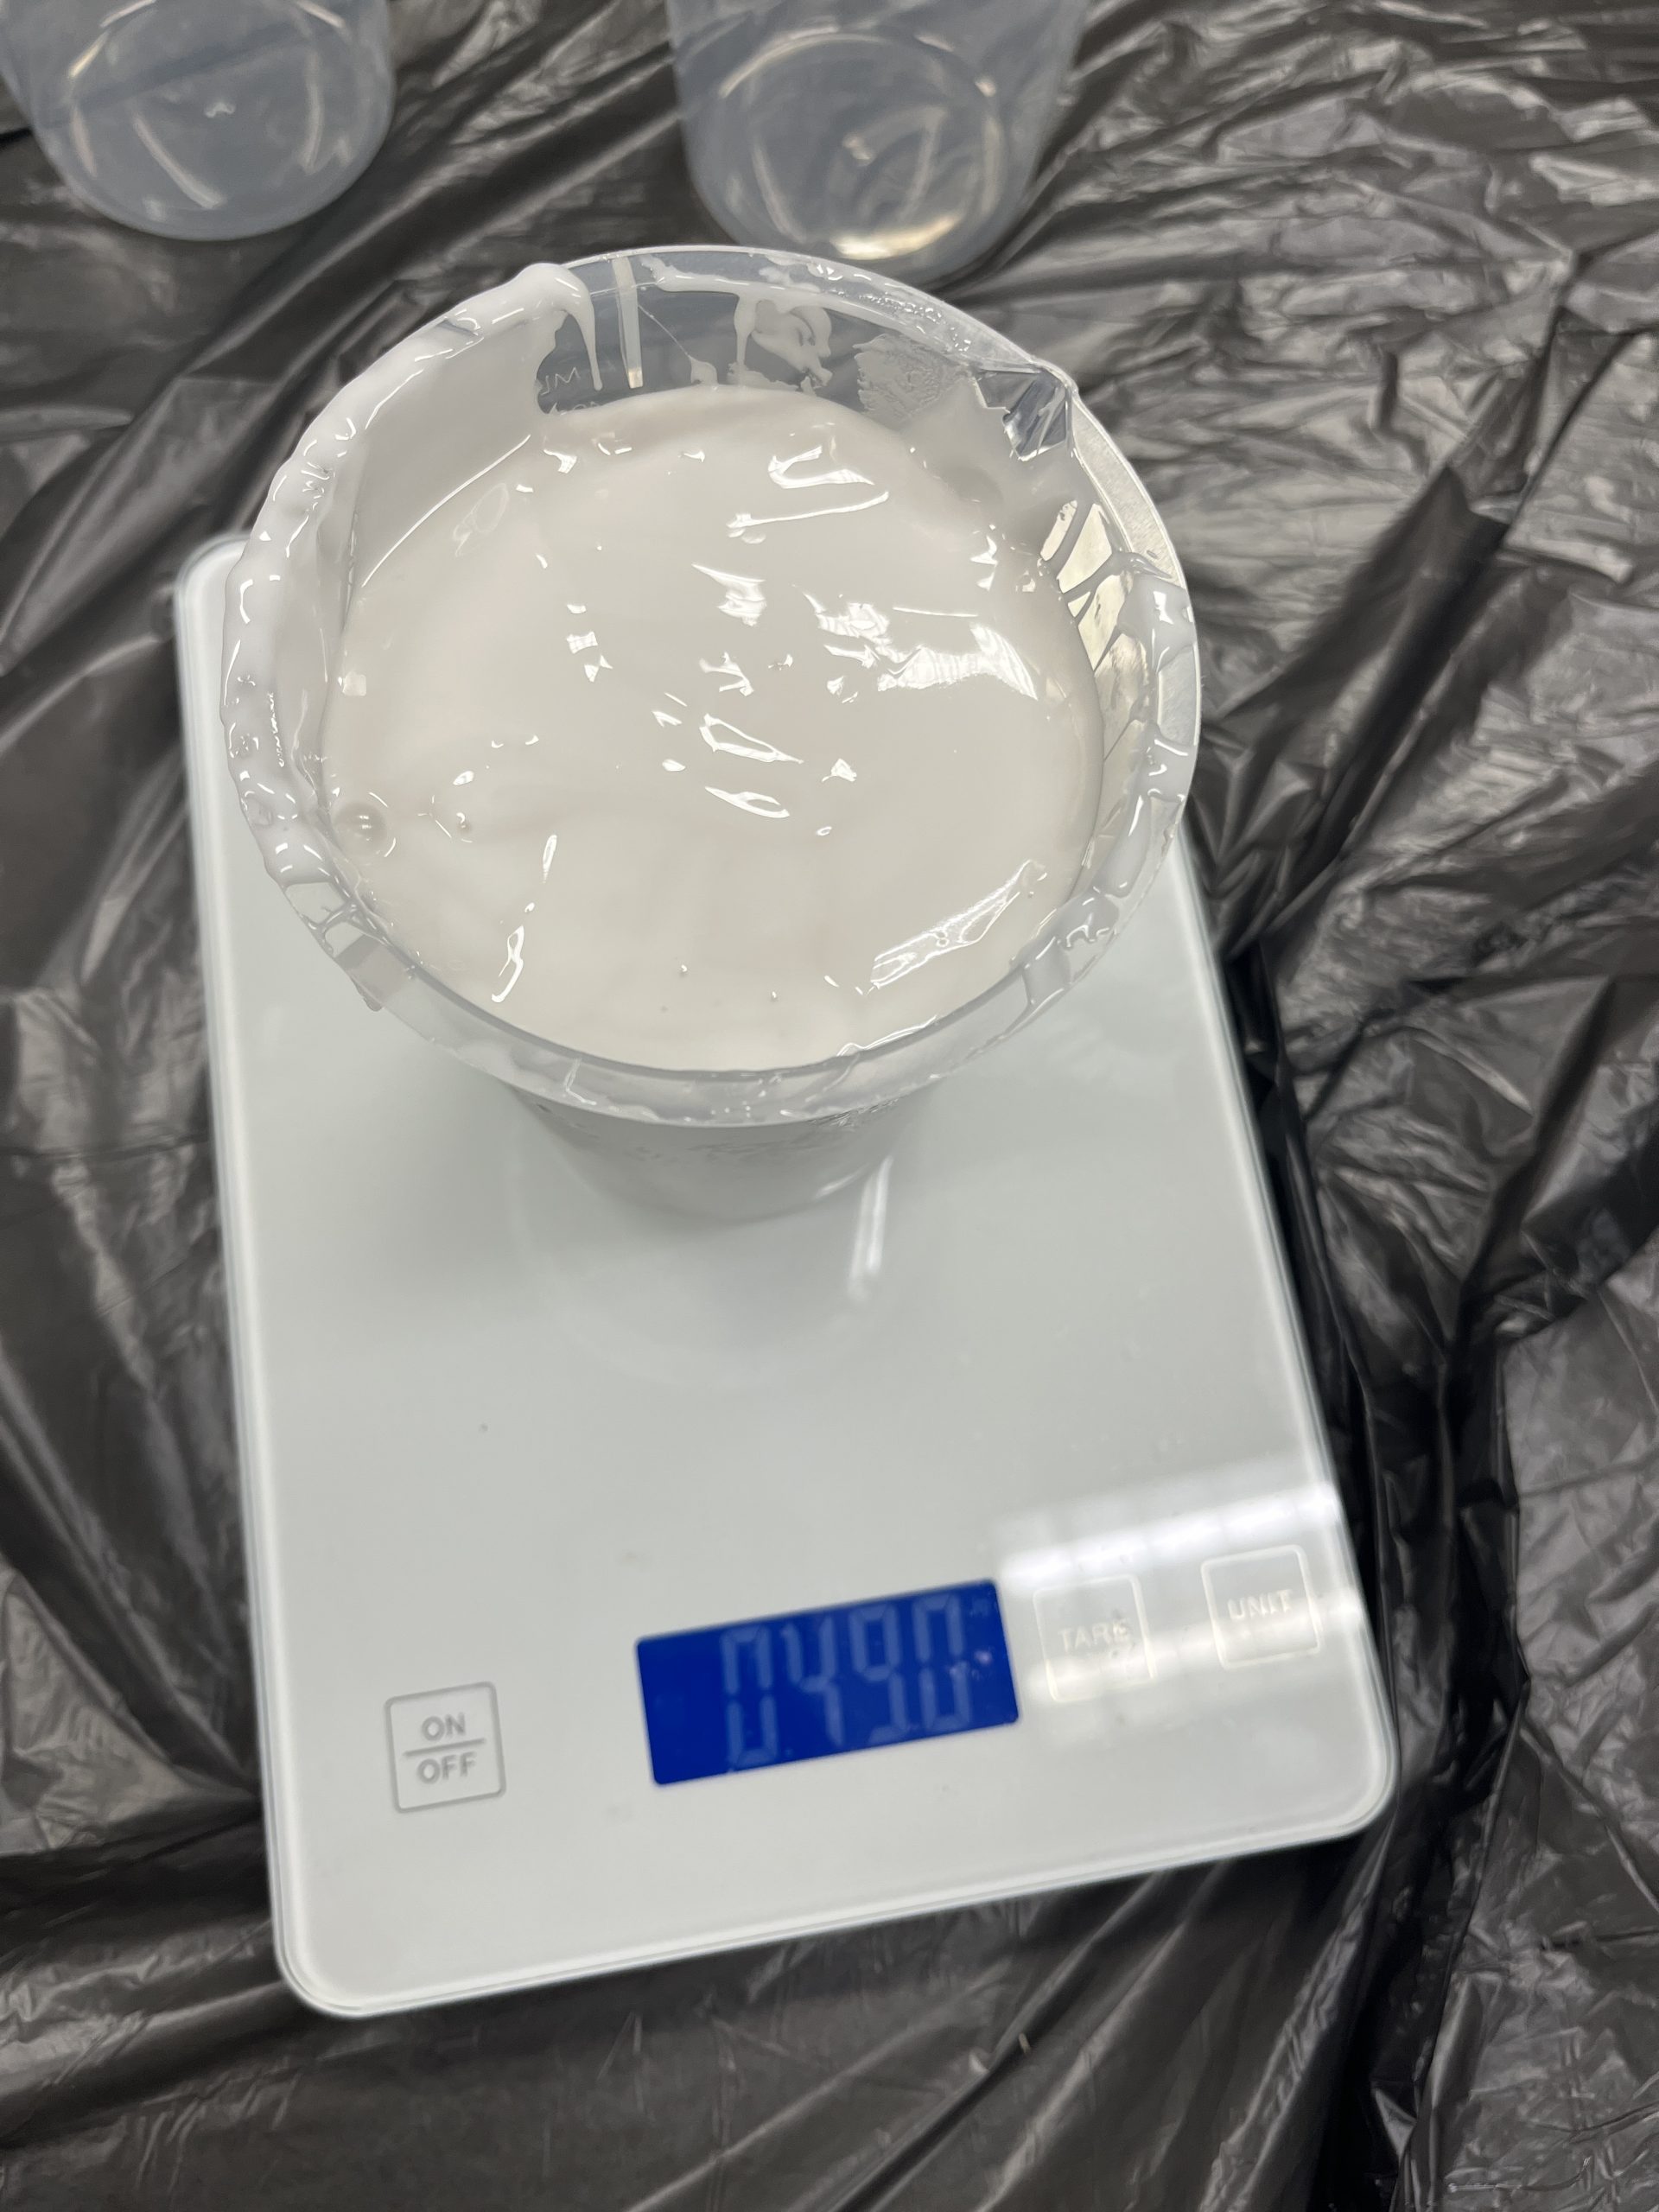
We used the SmoothCast 305 with Mixed Part A and B in a 1:1 volume ratio. The container used to mix the two parts was a little too small, so the amount of SmoothCast 305 used was a little too little. Our process was pouring some Mold material into the container, and then placing the clay model on top and pouring in the rest of the material from the corner.
Removing the mold
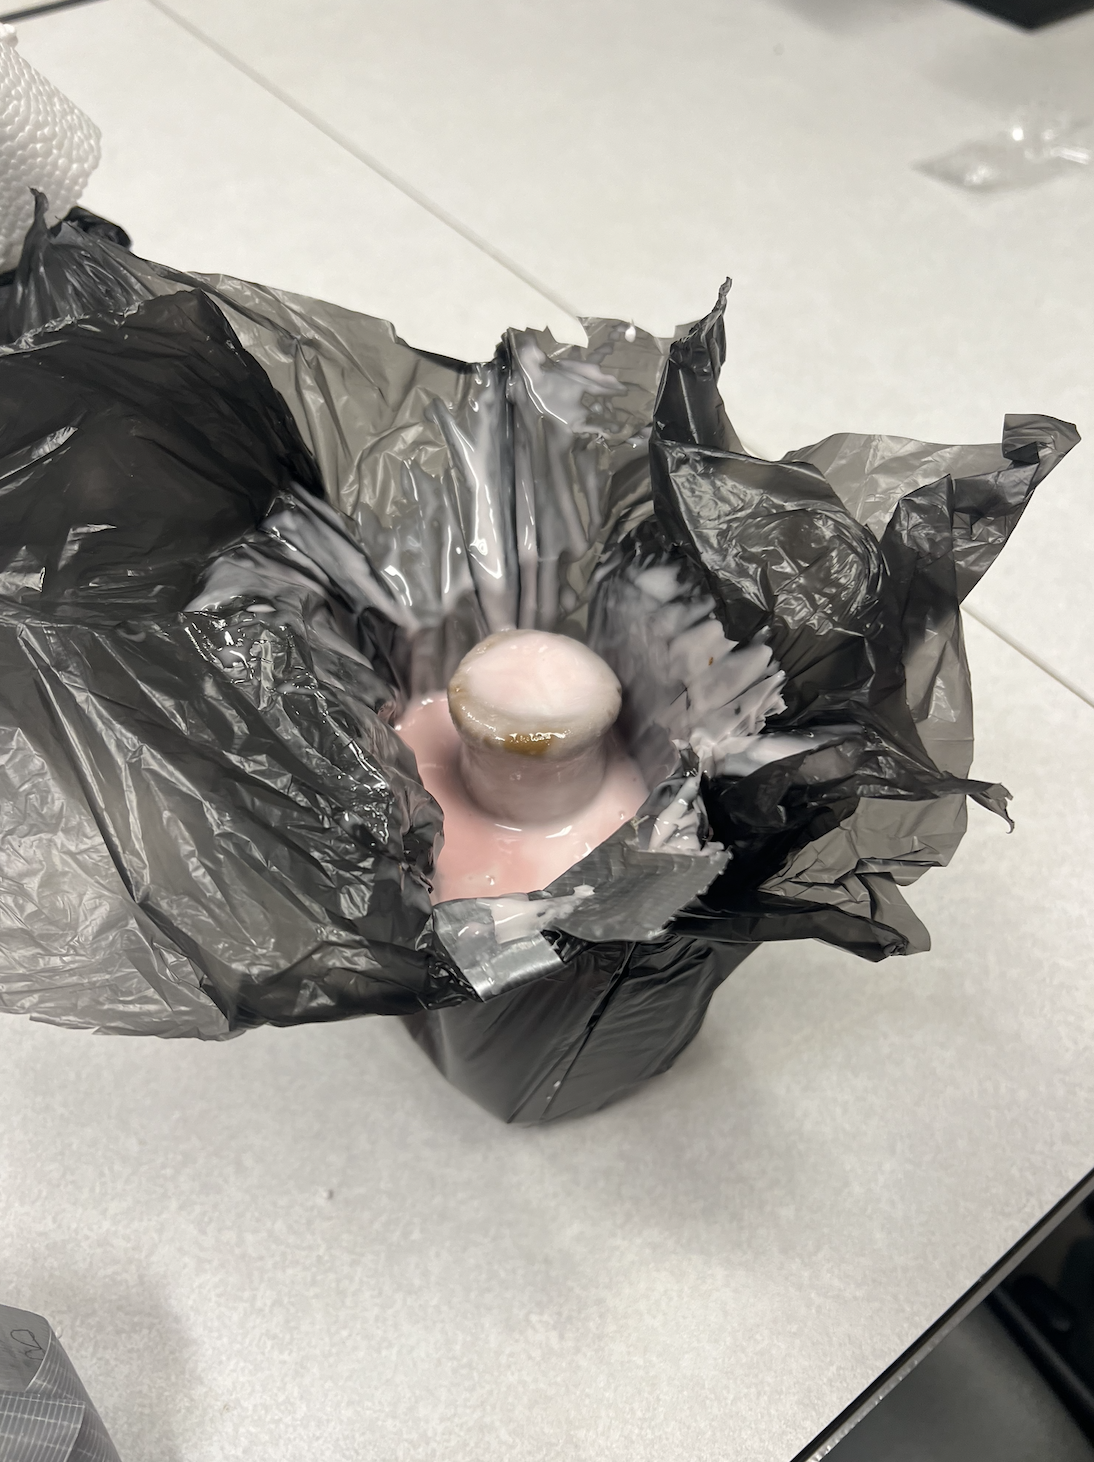
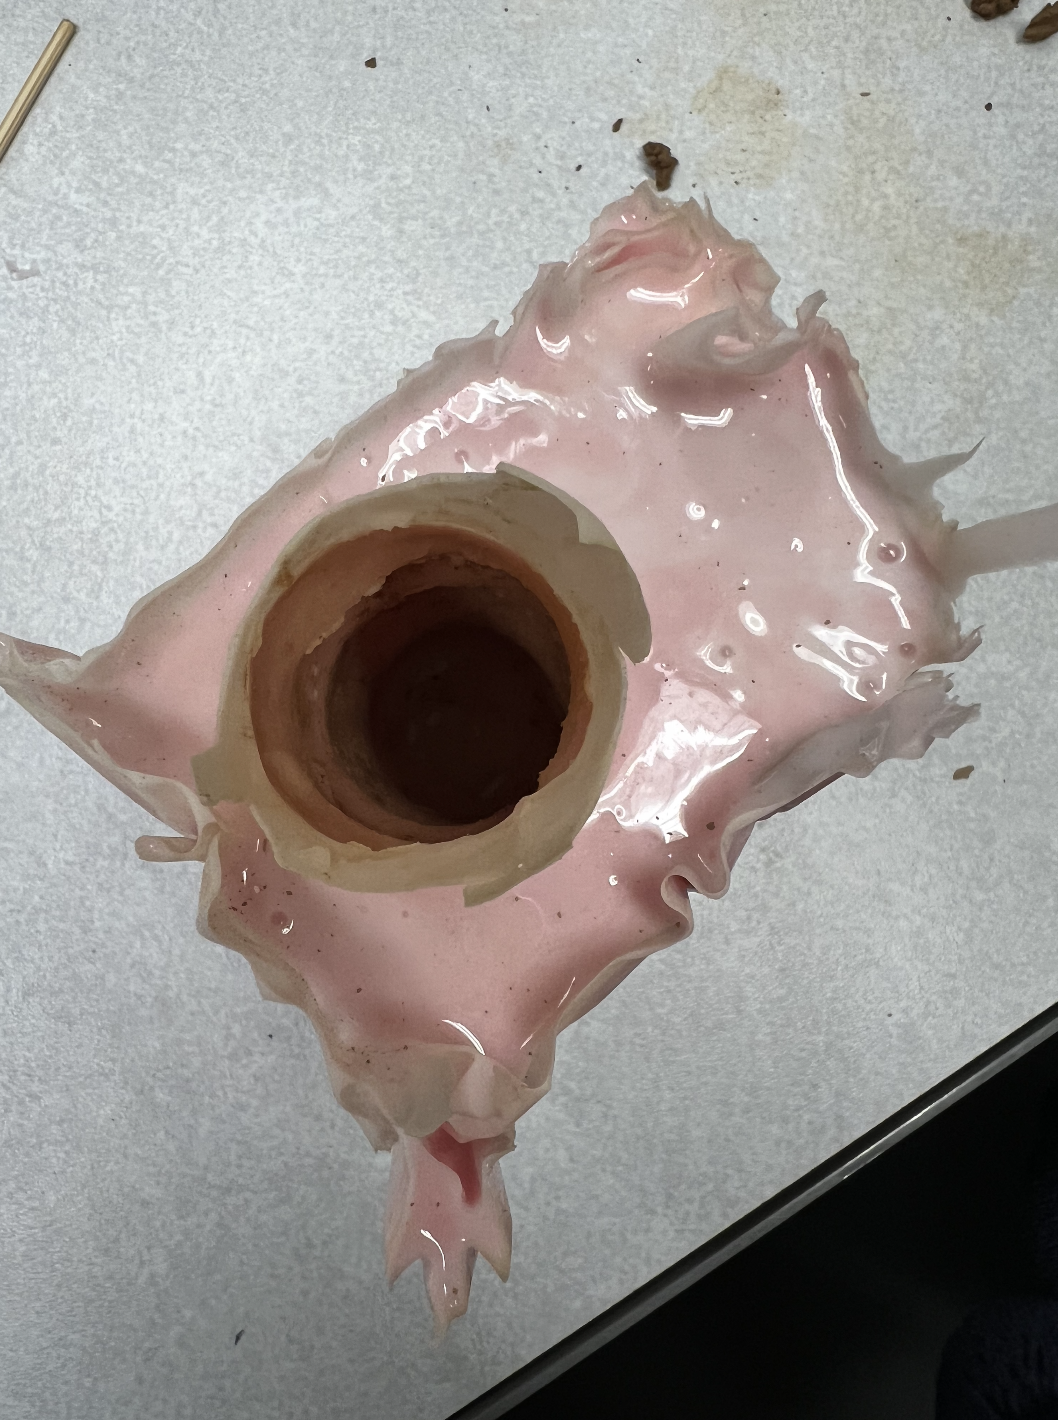
After sitting in the cabinet overnight, the mold was taken out of the container and the clay model was removed from the inside of the mold. Mold Release Spray was sprayed in the interior surfaces and Smooth-Sil 940 was prepared for the casting. The mold had slight imperfections such as a hole at the bottom where the clay model and sunk to the bottom and touched the container instead of staying afloat in the molding material.
Pouring the object
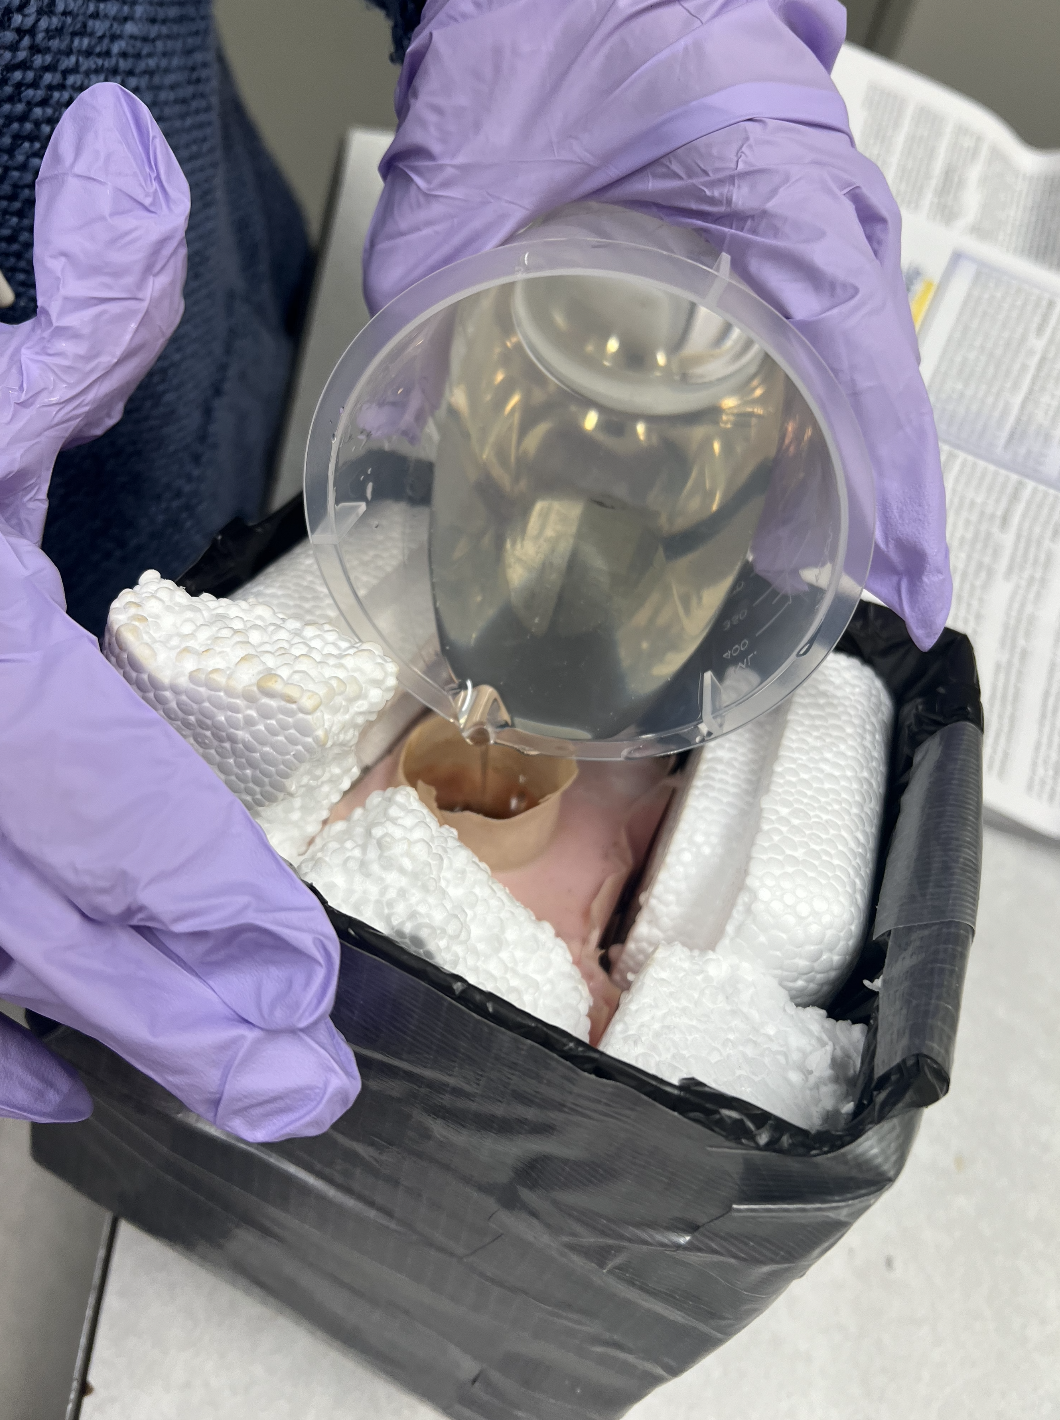
When pouring the cast into the mold, careful considerations of pouring through the side on an angle was taken to minimize bubbles. Last minute, we tried to add a hole on the top so the handle could be attached to a pole, but this was done too late so we decided to do this two part type molding next time.

Removing the object
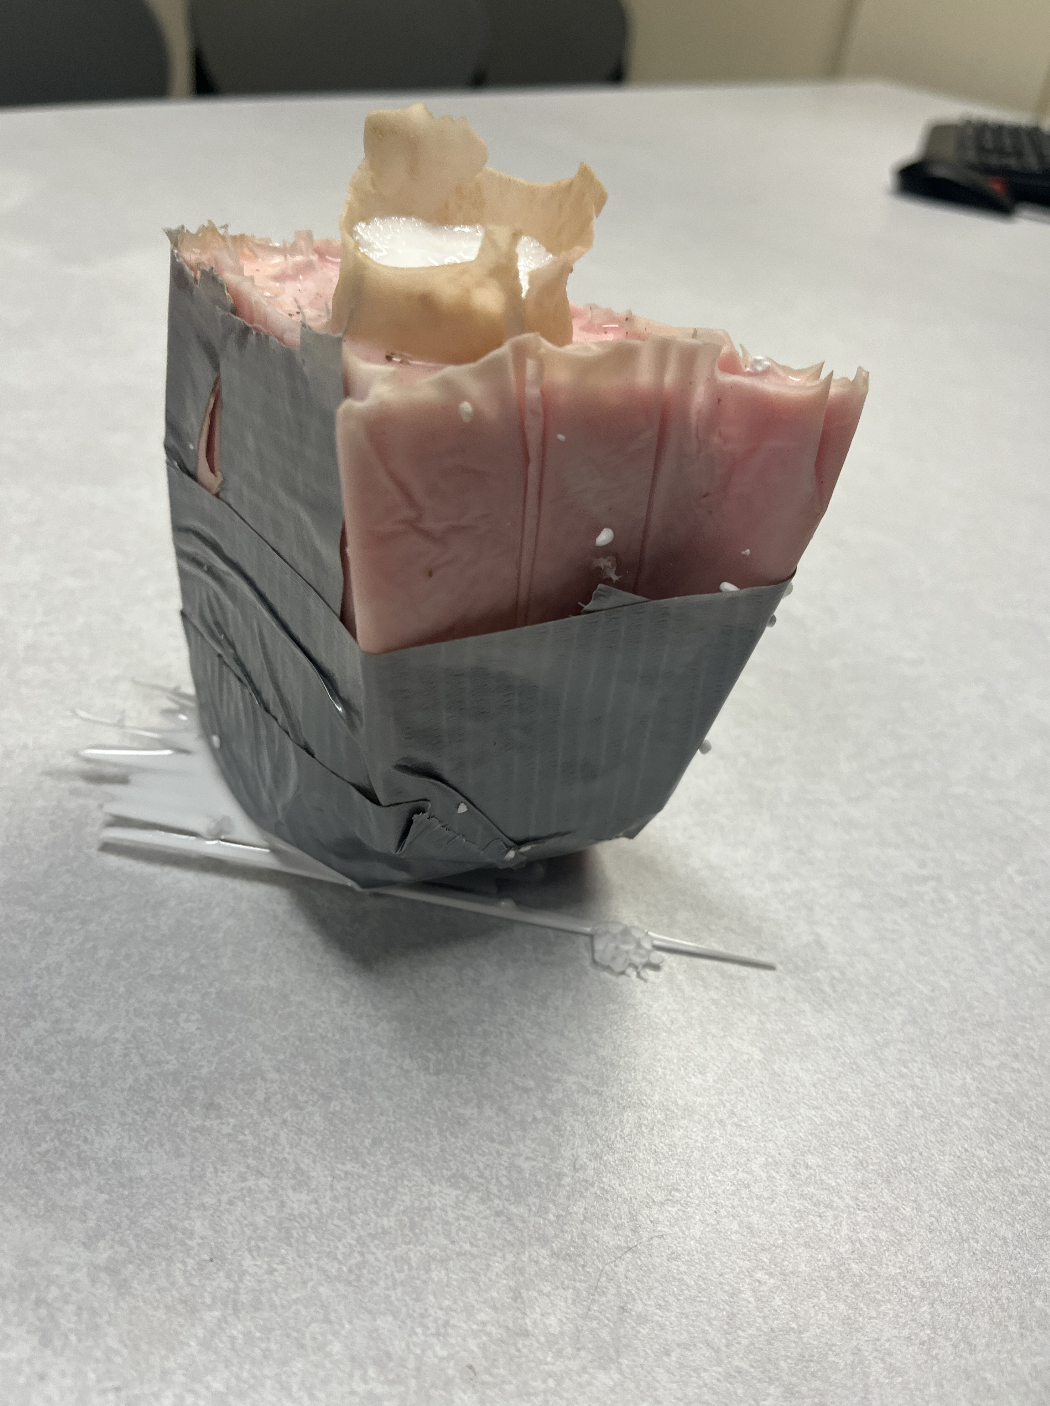
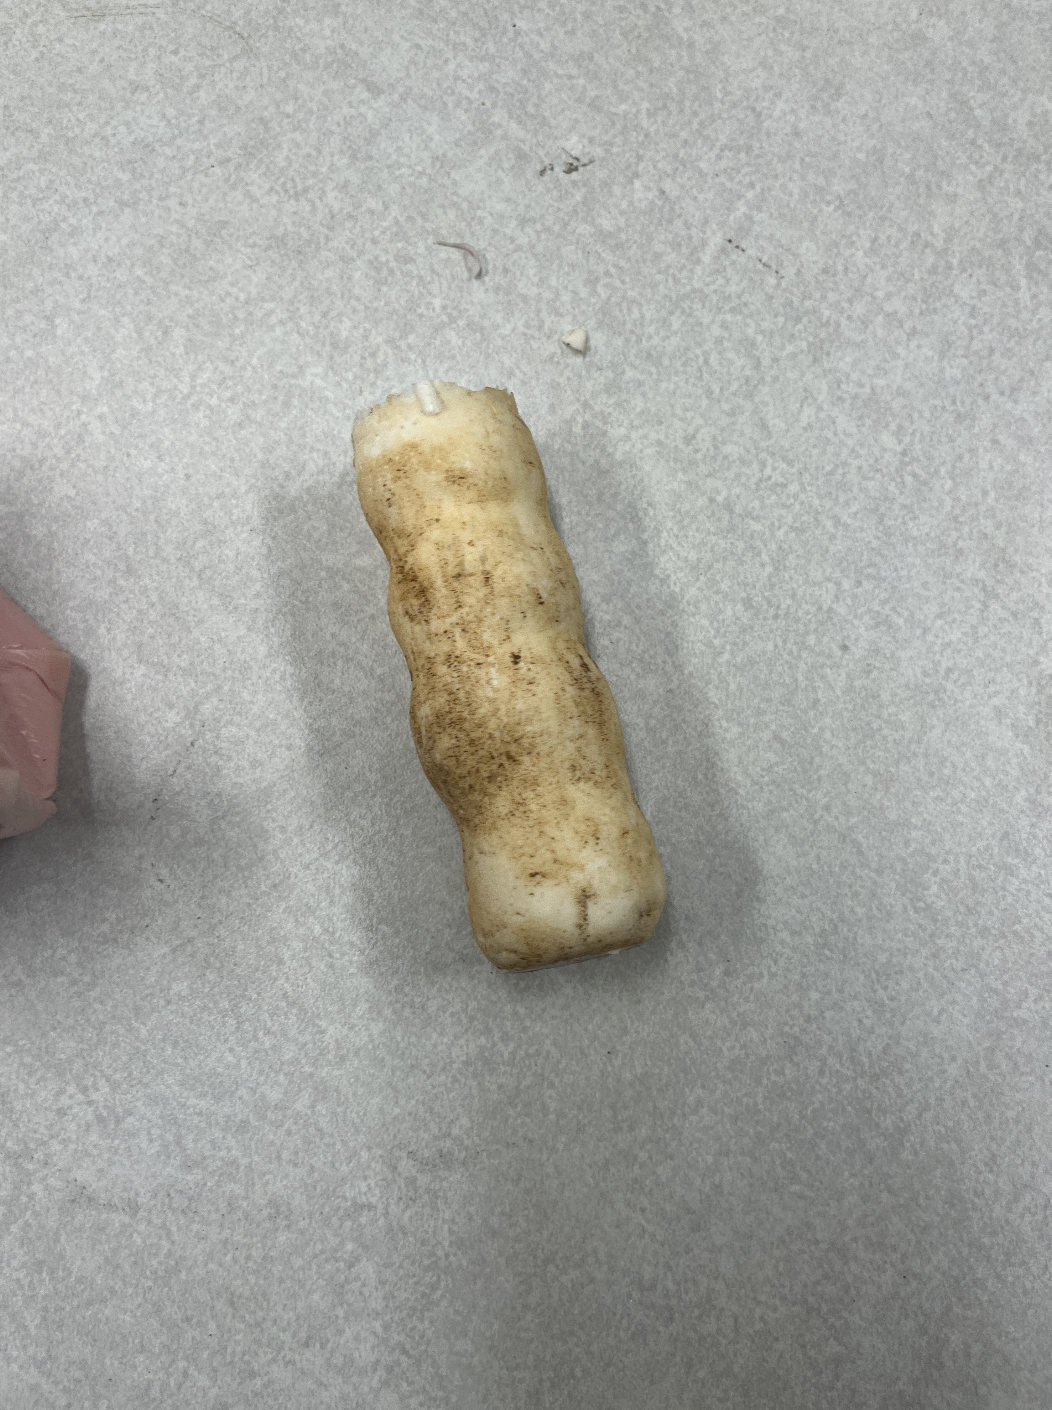
The cast solidified pretty soon after (and heated up pretty warmly) but we decided timing wise it would be easier and safer to let it sit. When removing the cast from the mold, we had to cut it a part a bit and twist it on the way out. There was also left over residue of the clay that left a brown and bumpy finish to the casted item.
Post Processing and Final Product
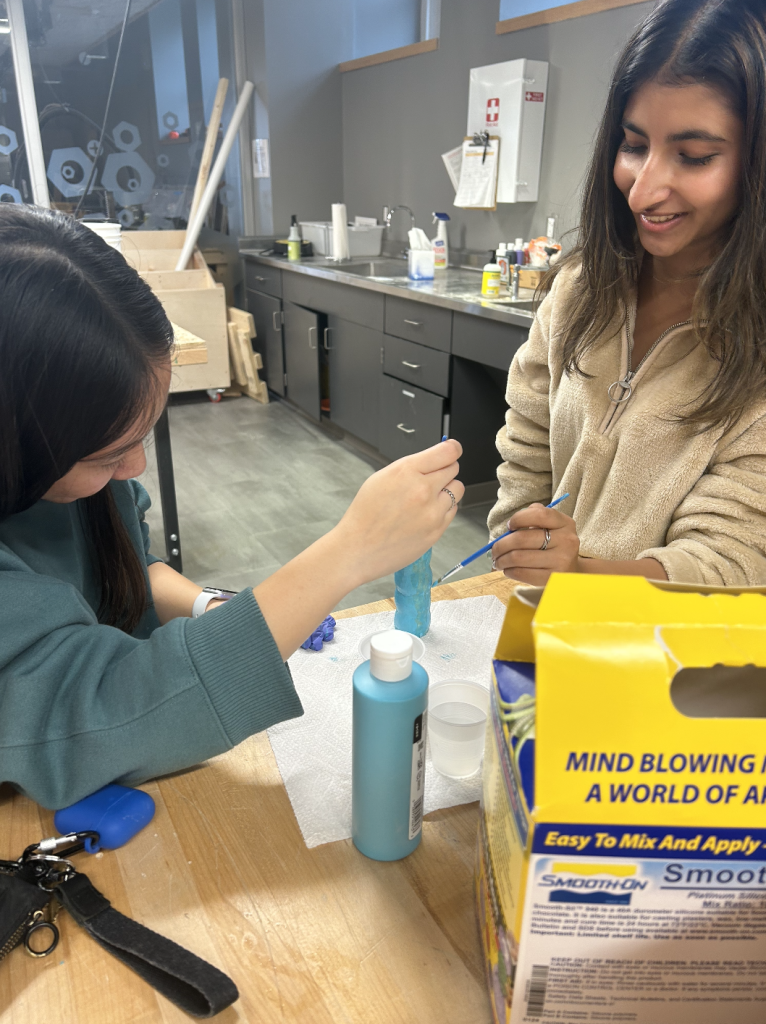
Because of the unappealing look of the handle, we decided to paint it a more health inspiring color, light blue!
Part Two: The Two Part Mold
Making the design
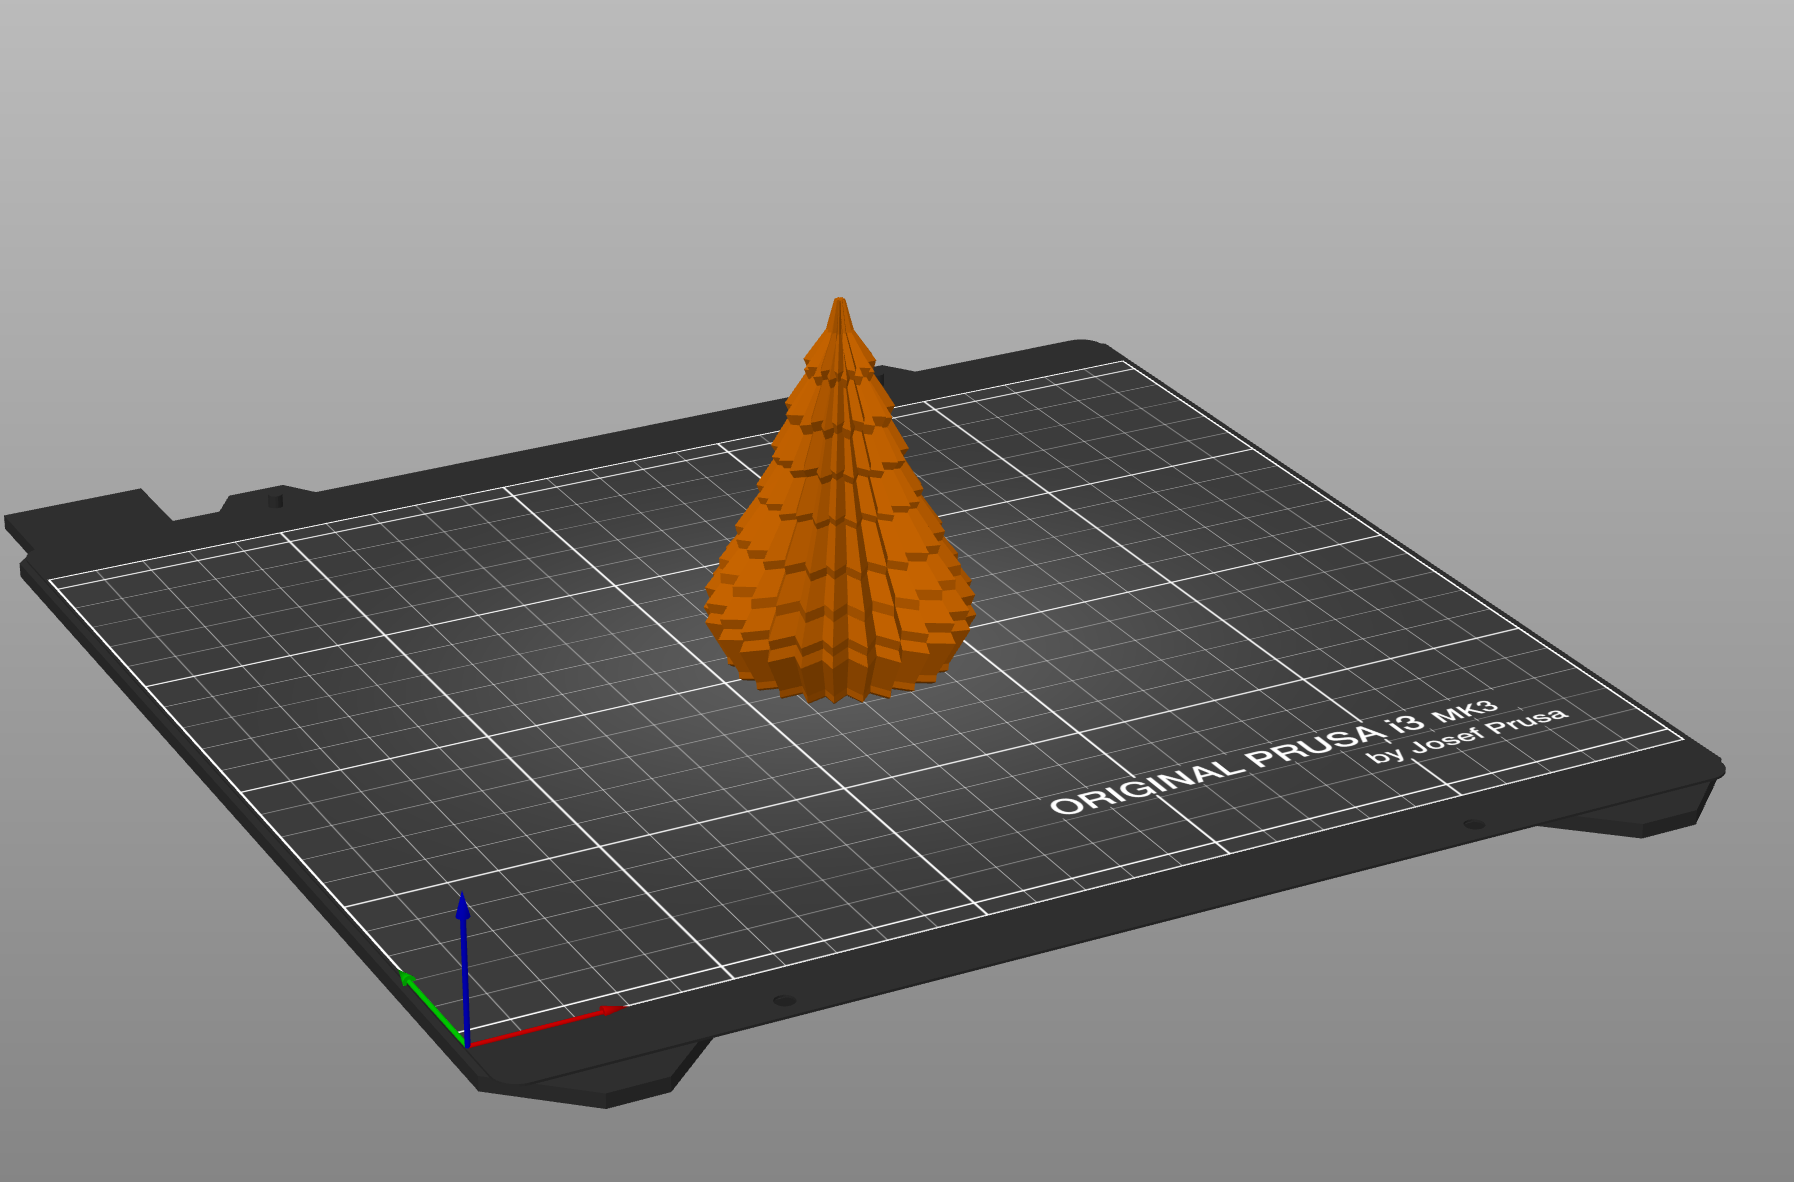
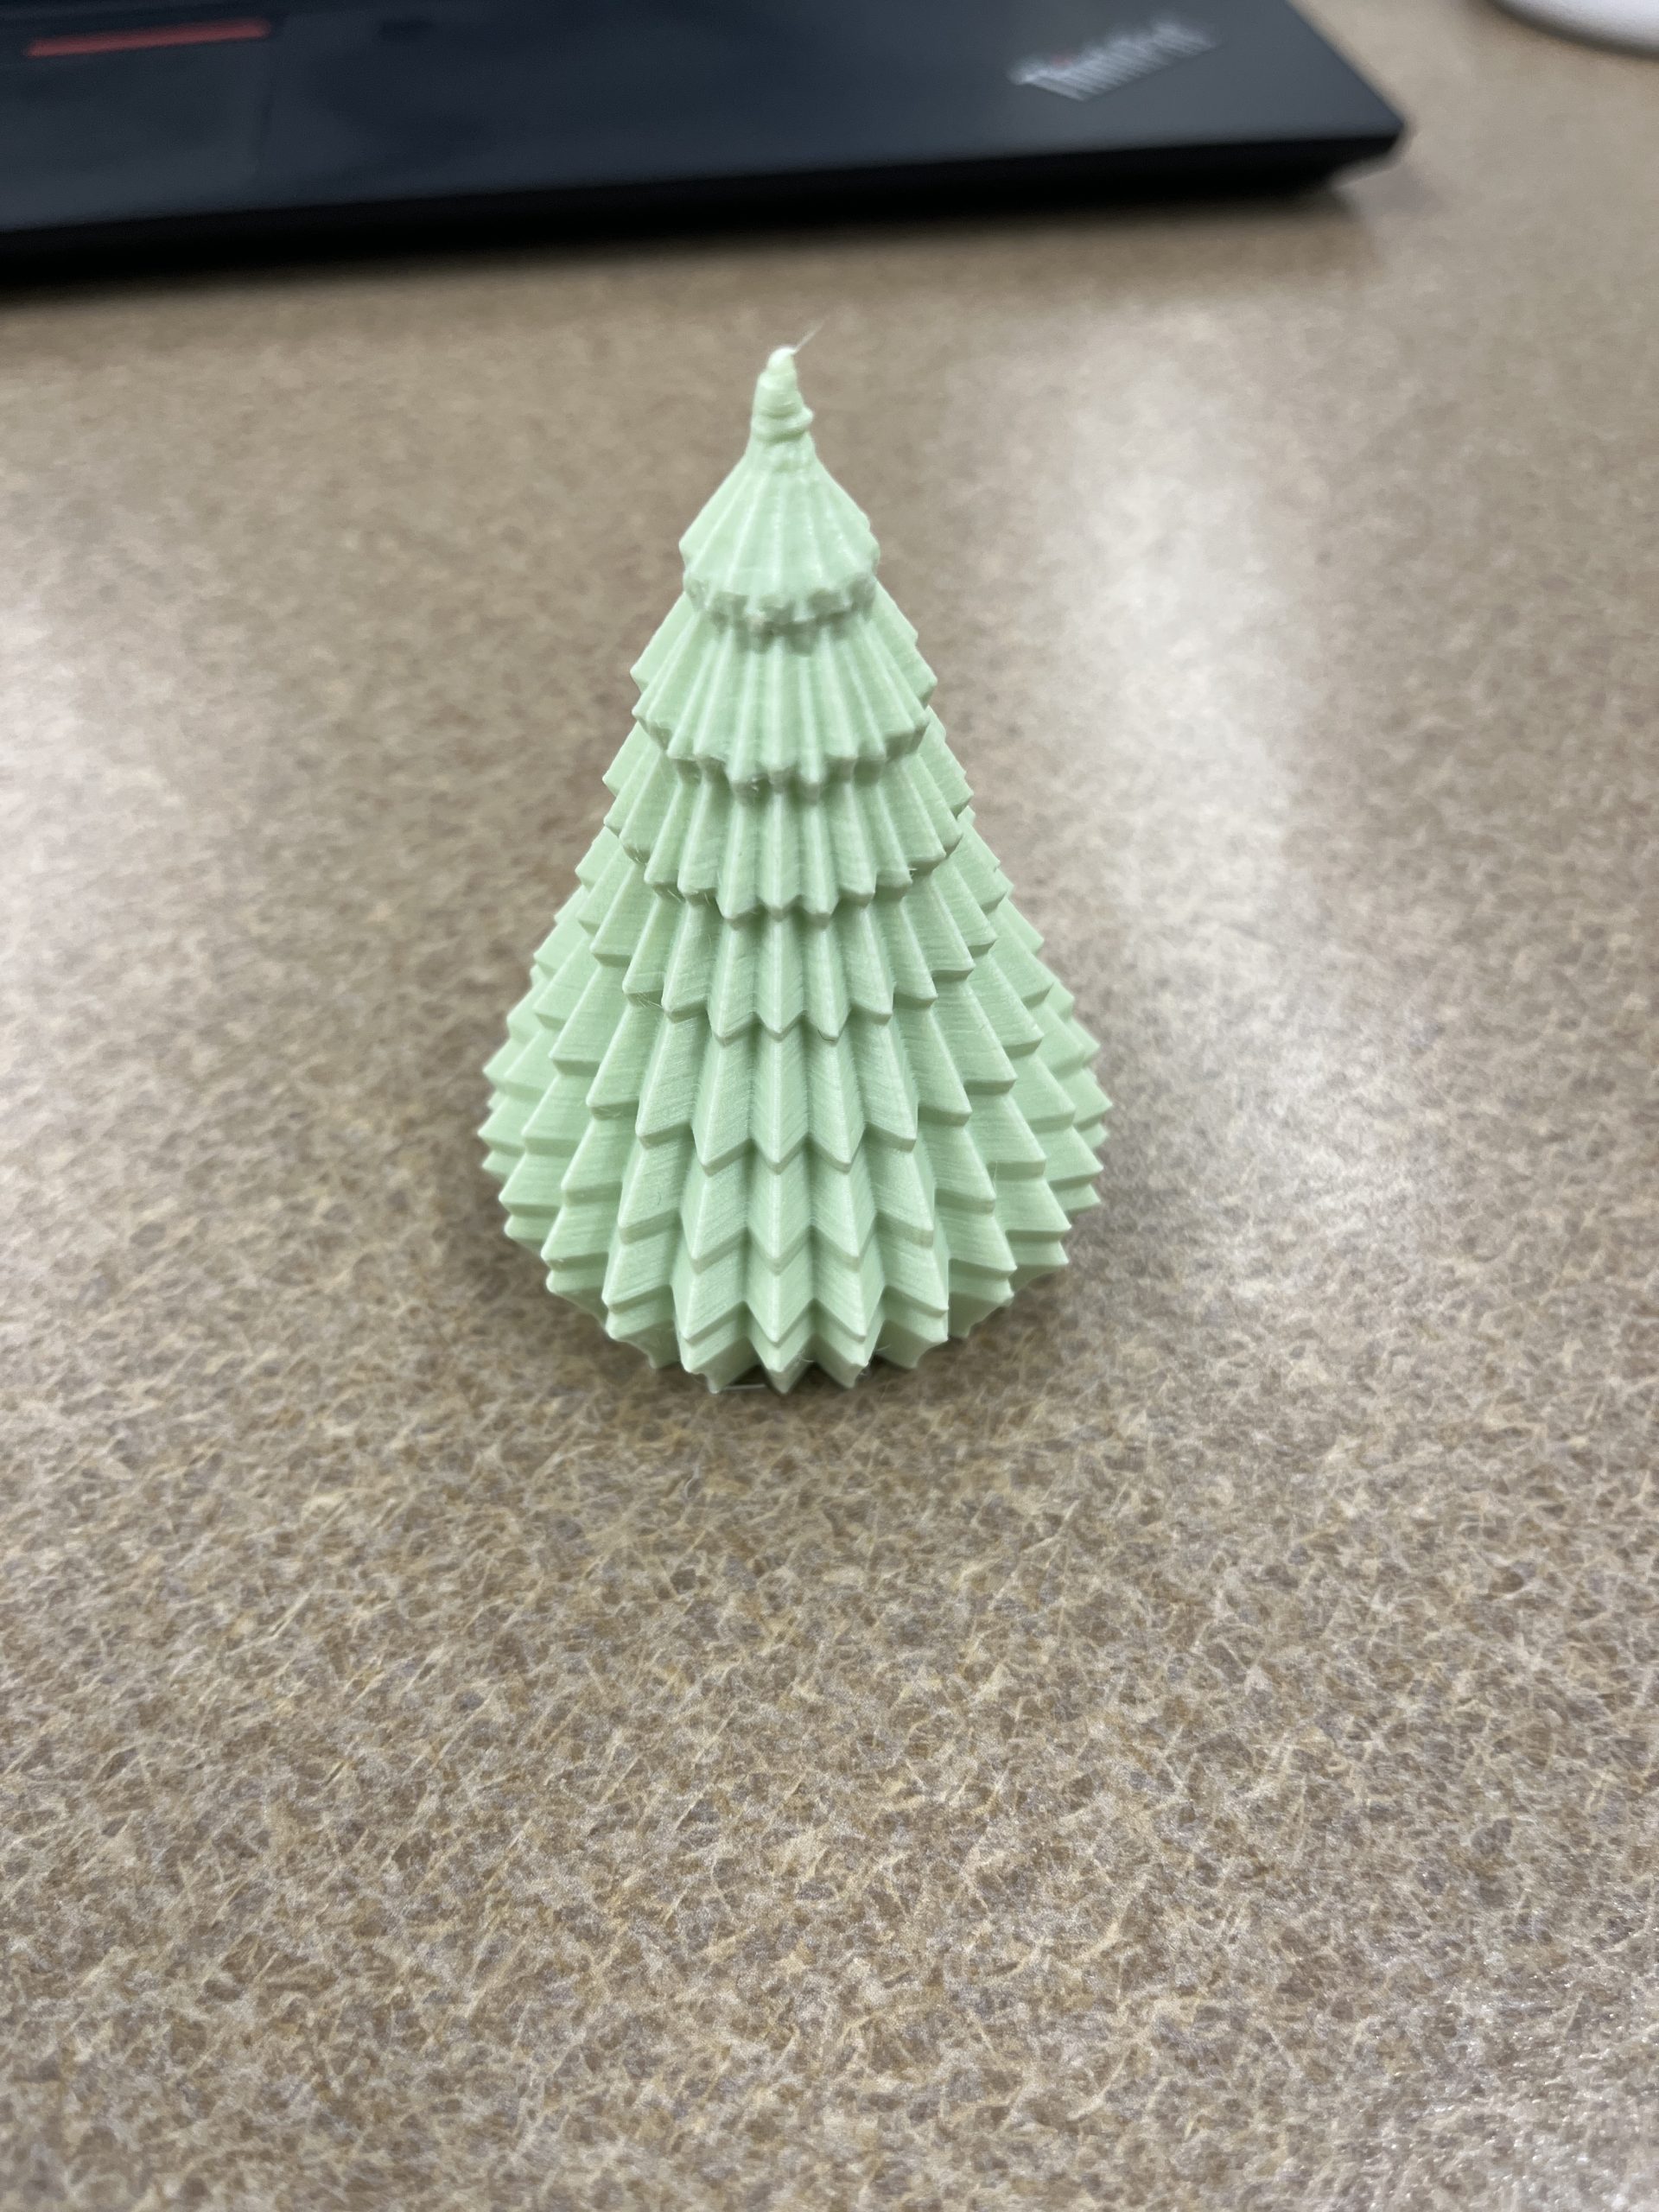
When trying to figure out what to cast for the two part mold, we wanted to try something with more complex. With the holidays coming up, and the temperature dropping, a Christmas/evergreen tree seemed right so we 3D printed one to mold.

Constructing the first side
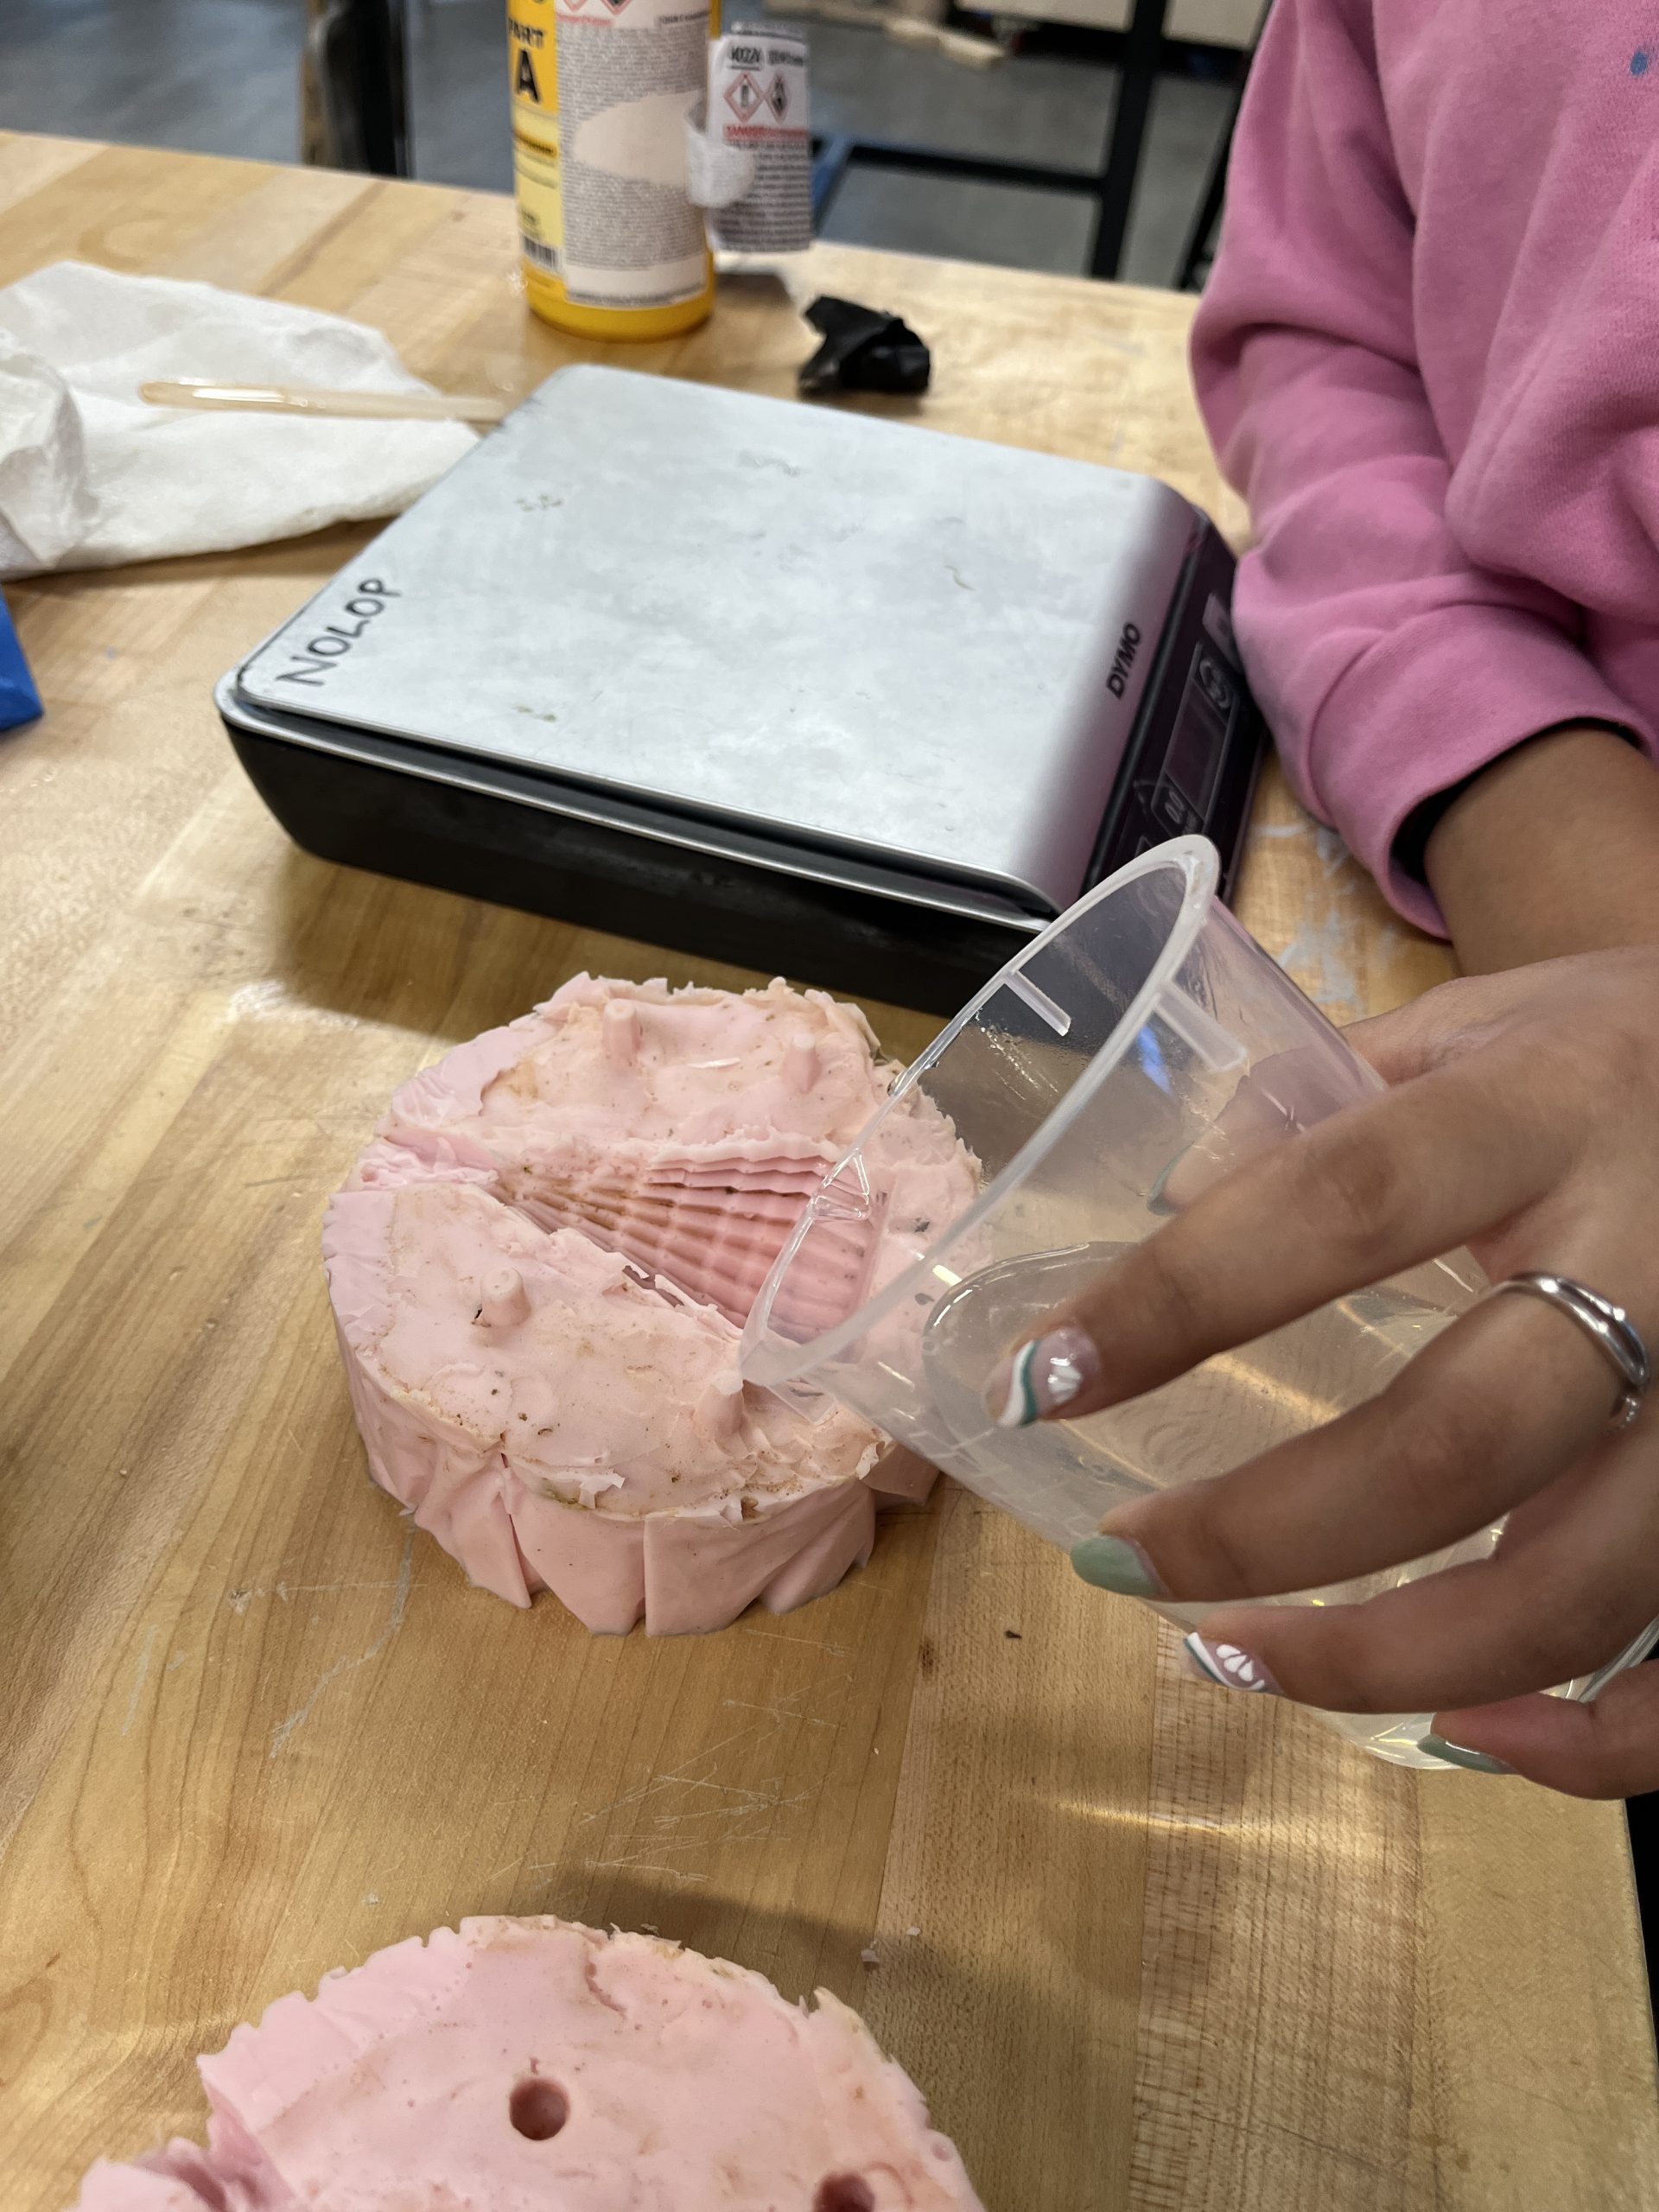
When preparing the first side of this mold, clay was used to block off one side of the tree with dents that are used as the release pins for the two part mold.
Pouring the mold
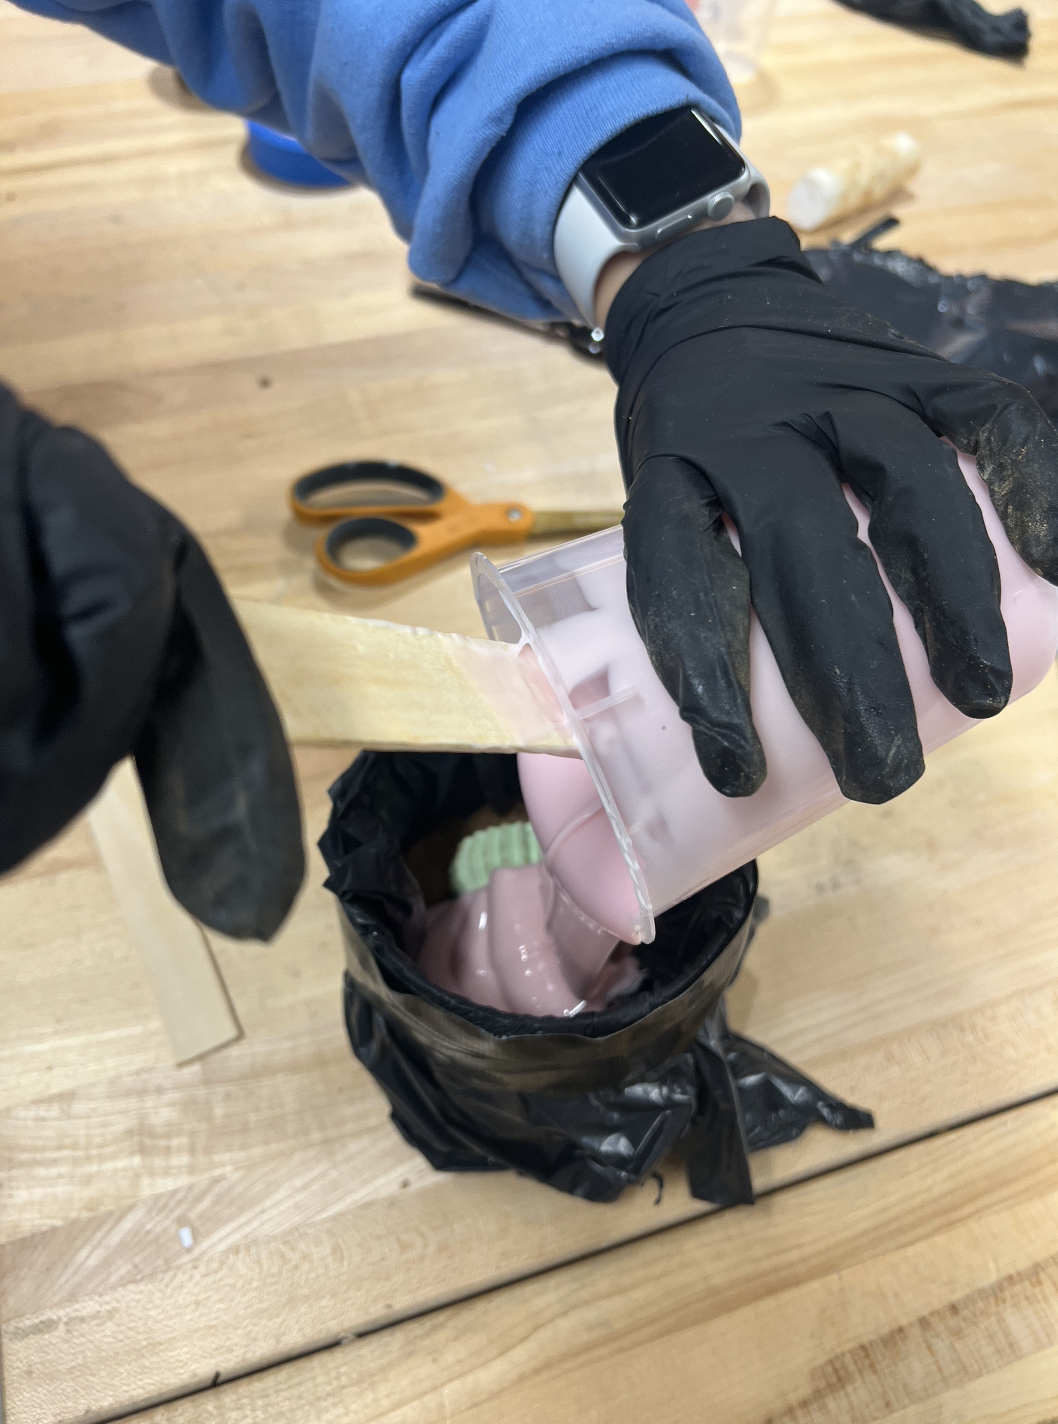
The same mold materials as before was used. This time, the amount measured was enough to fill the cavity and object, which was good and made it so there would be no holes at the top or bottom.


Removing the mold
There was a little bit of spillage but a pretty clean mold.
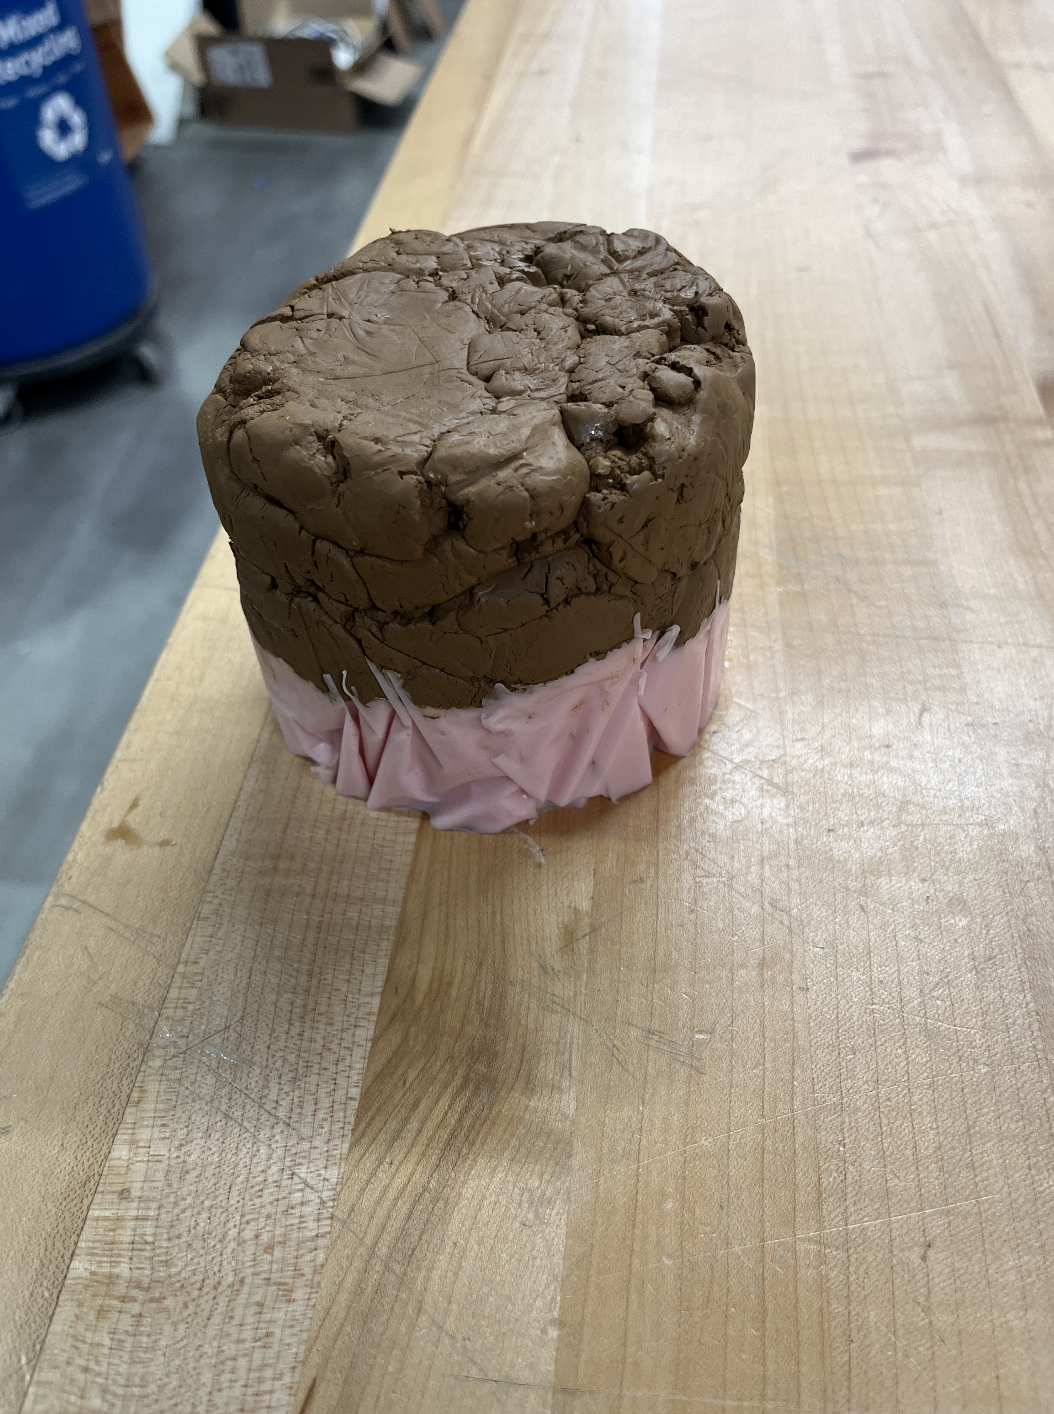
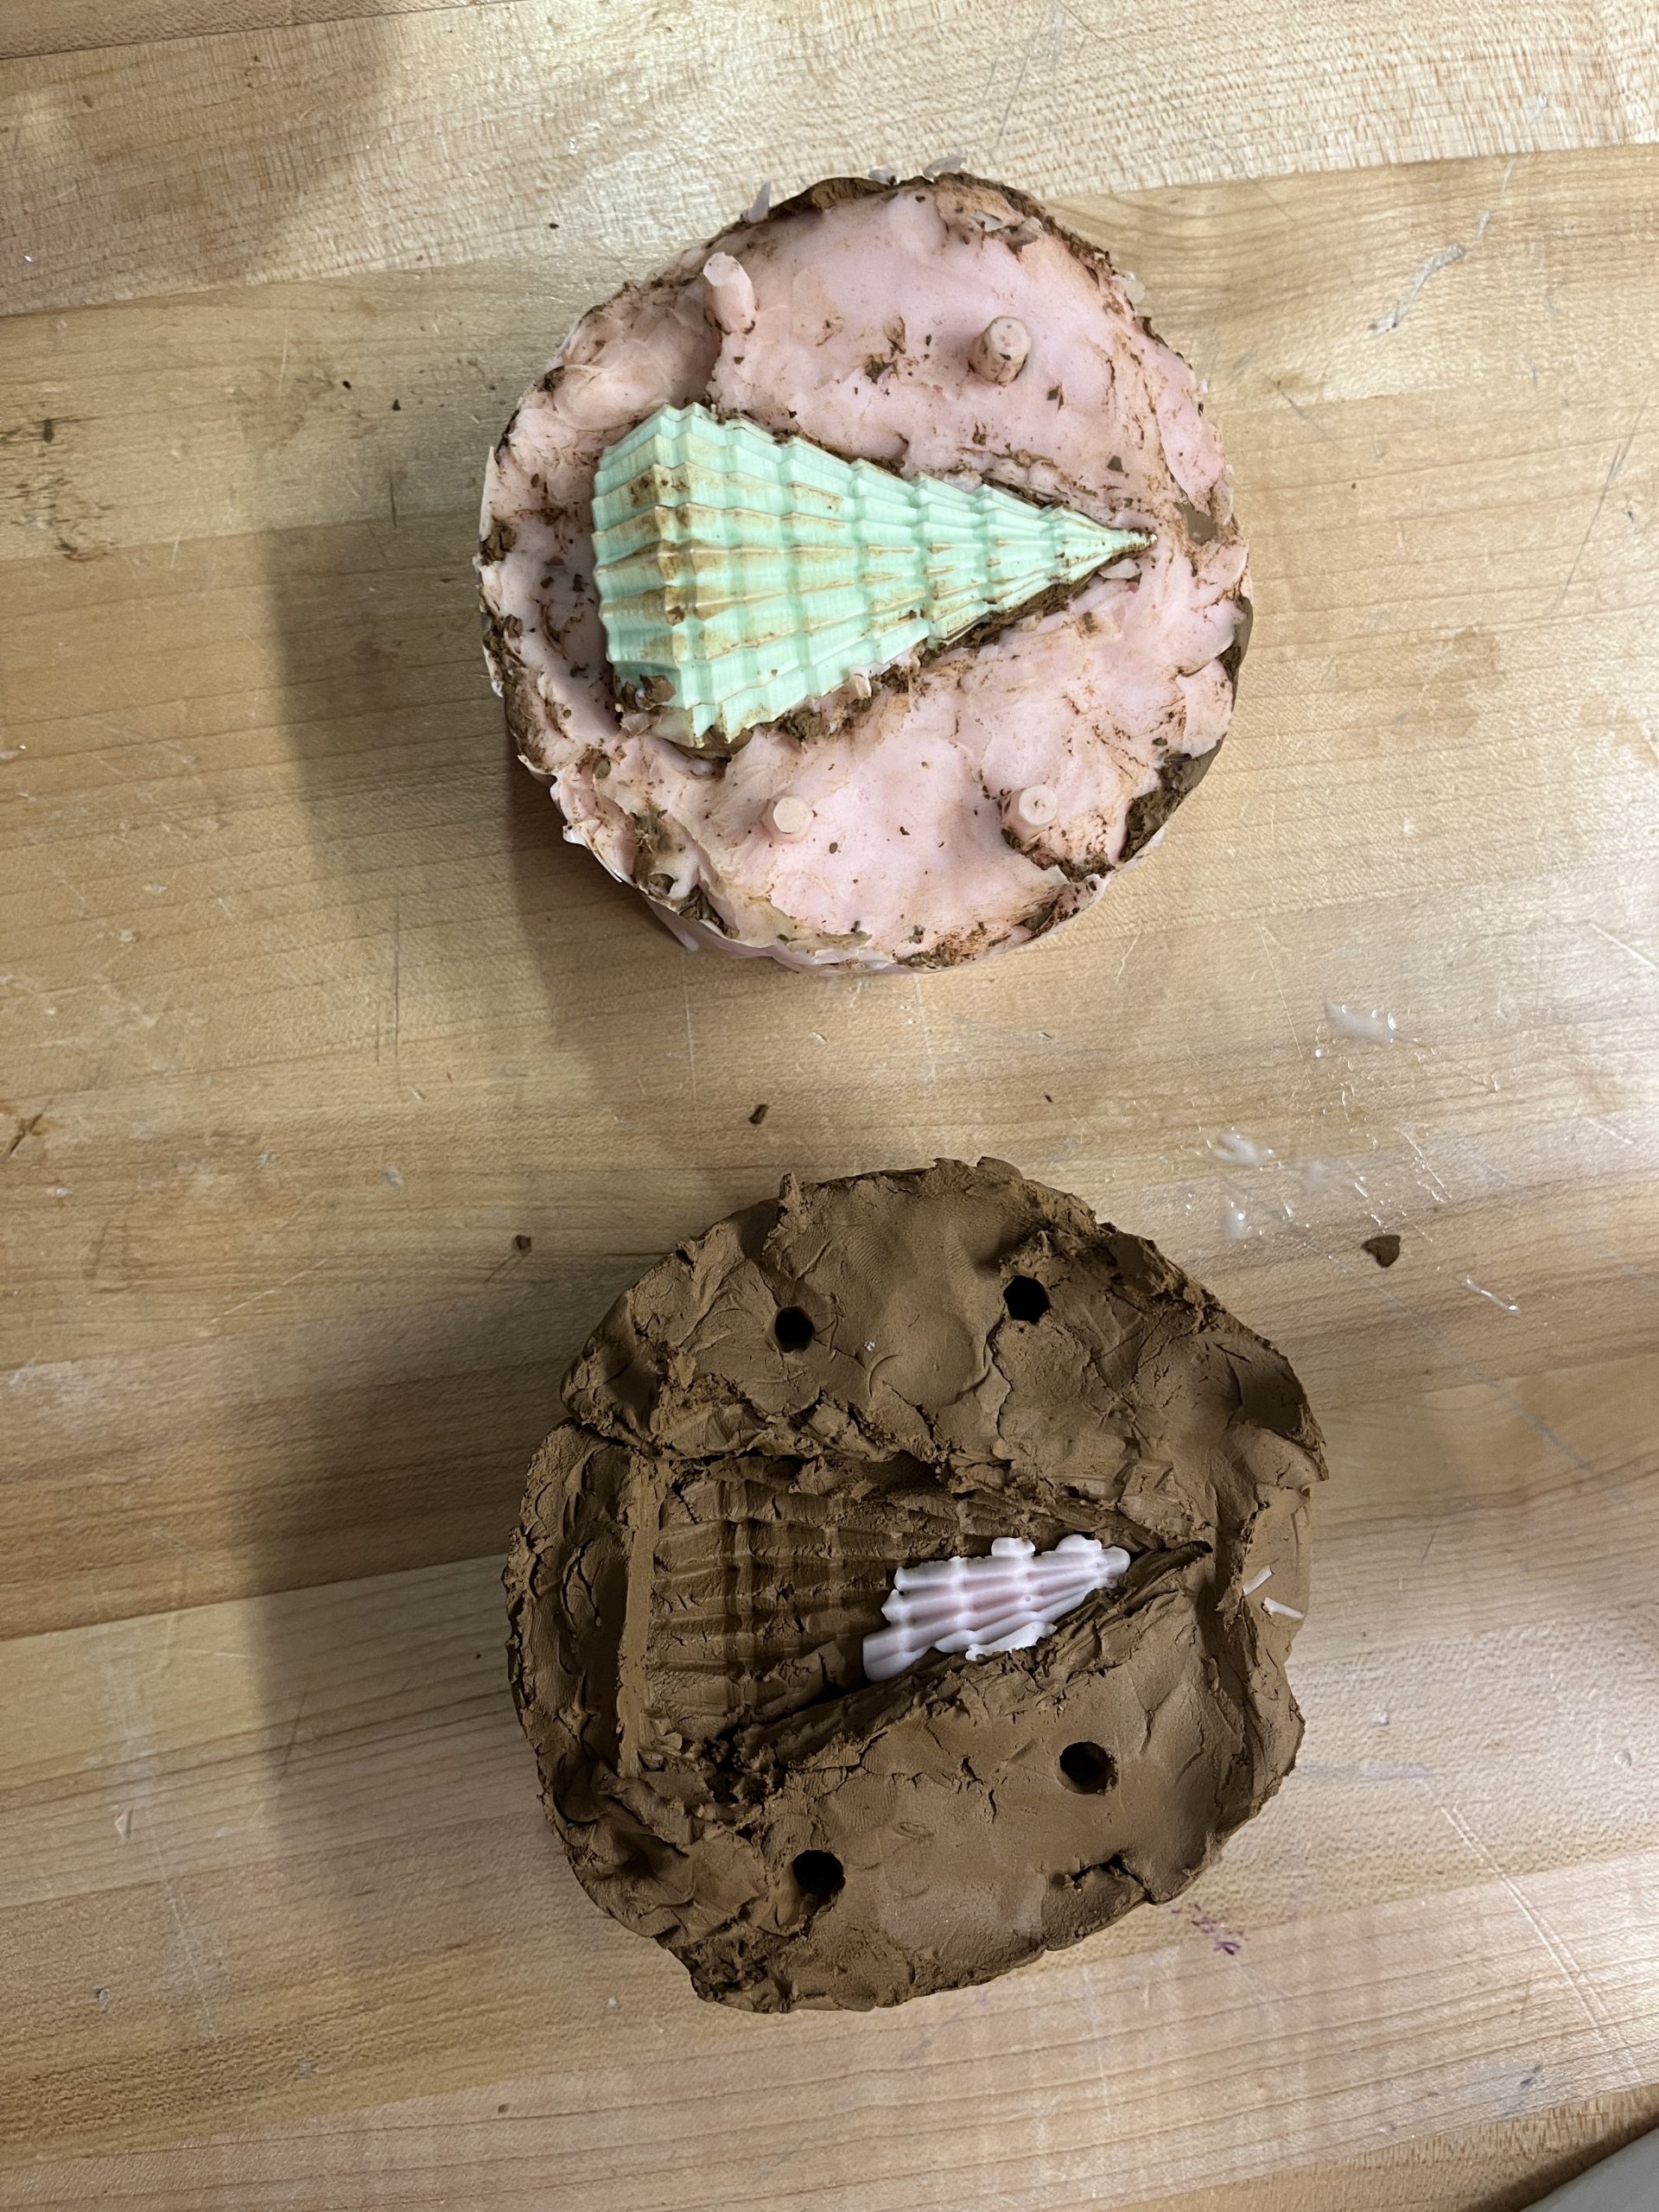
Constructing/Pouring the second side
After placing the first part of the mold and tree back into the container, the second part of the mold was poured in.
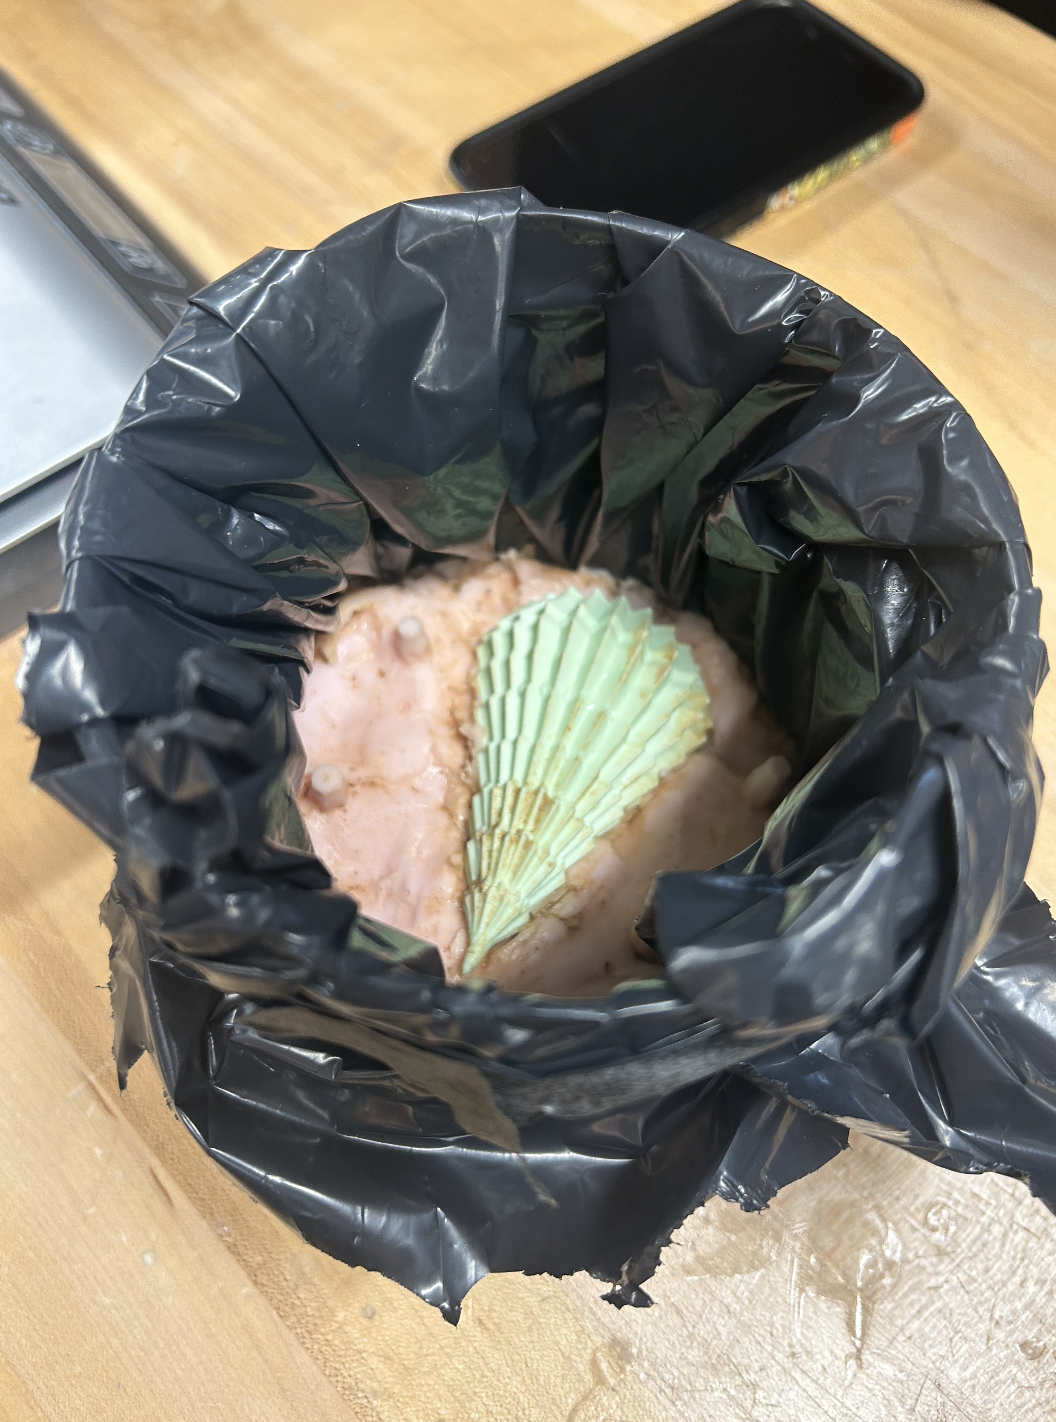
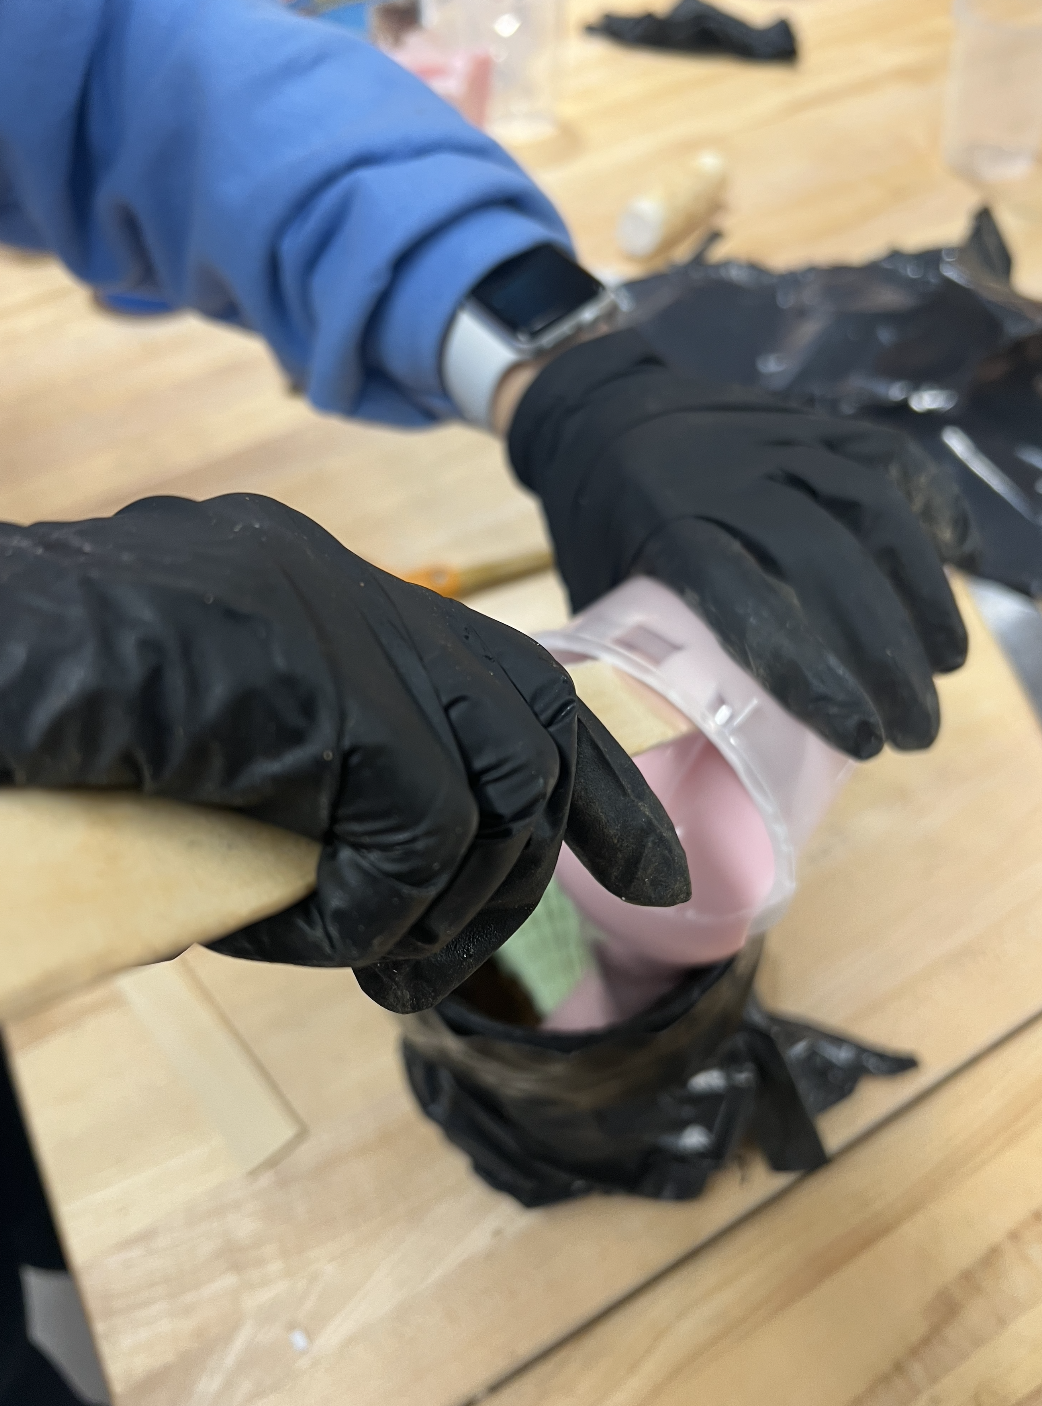
Pouring the object
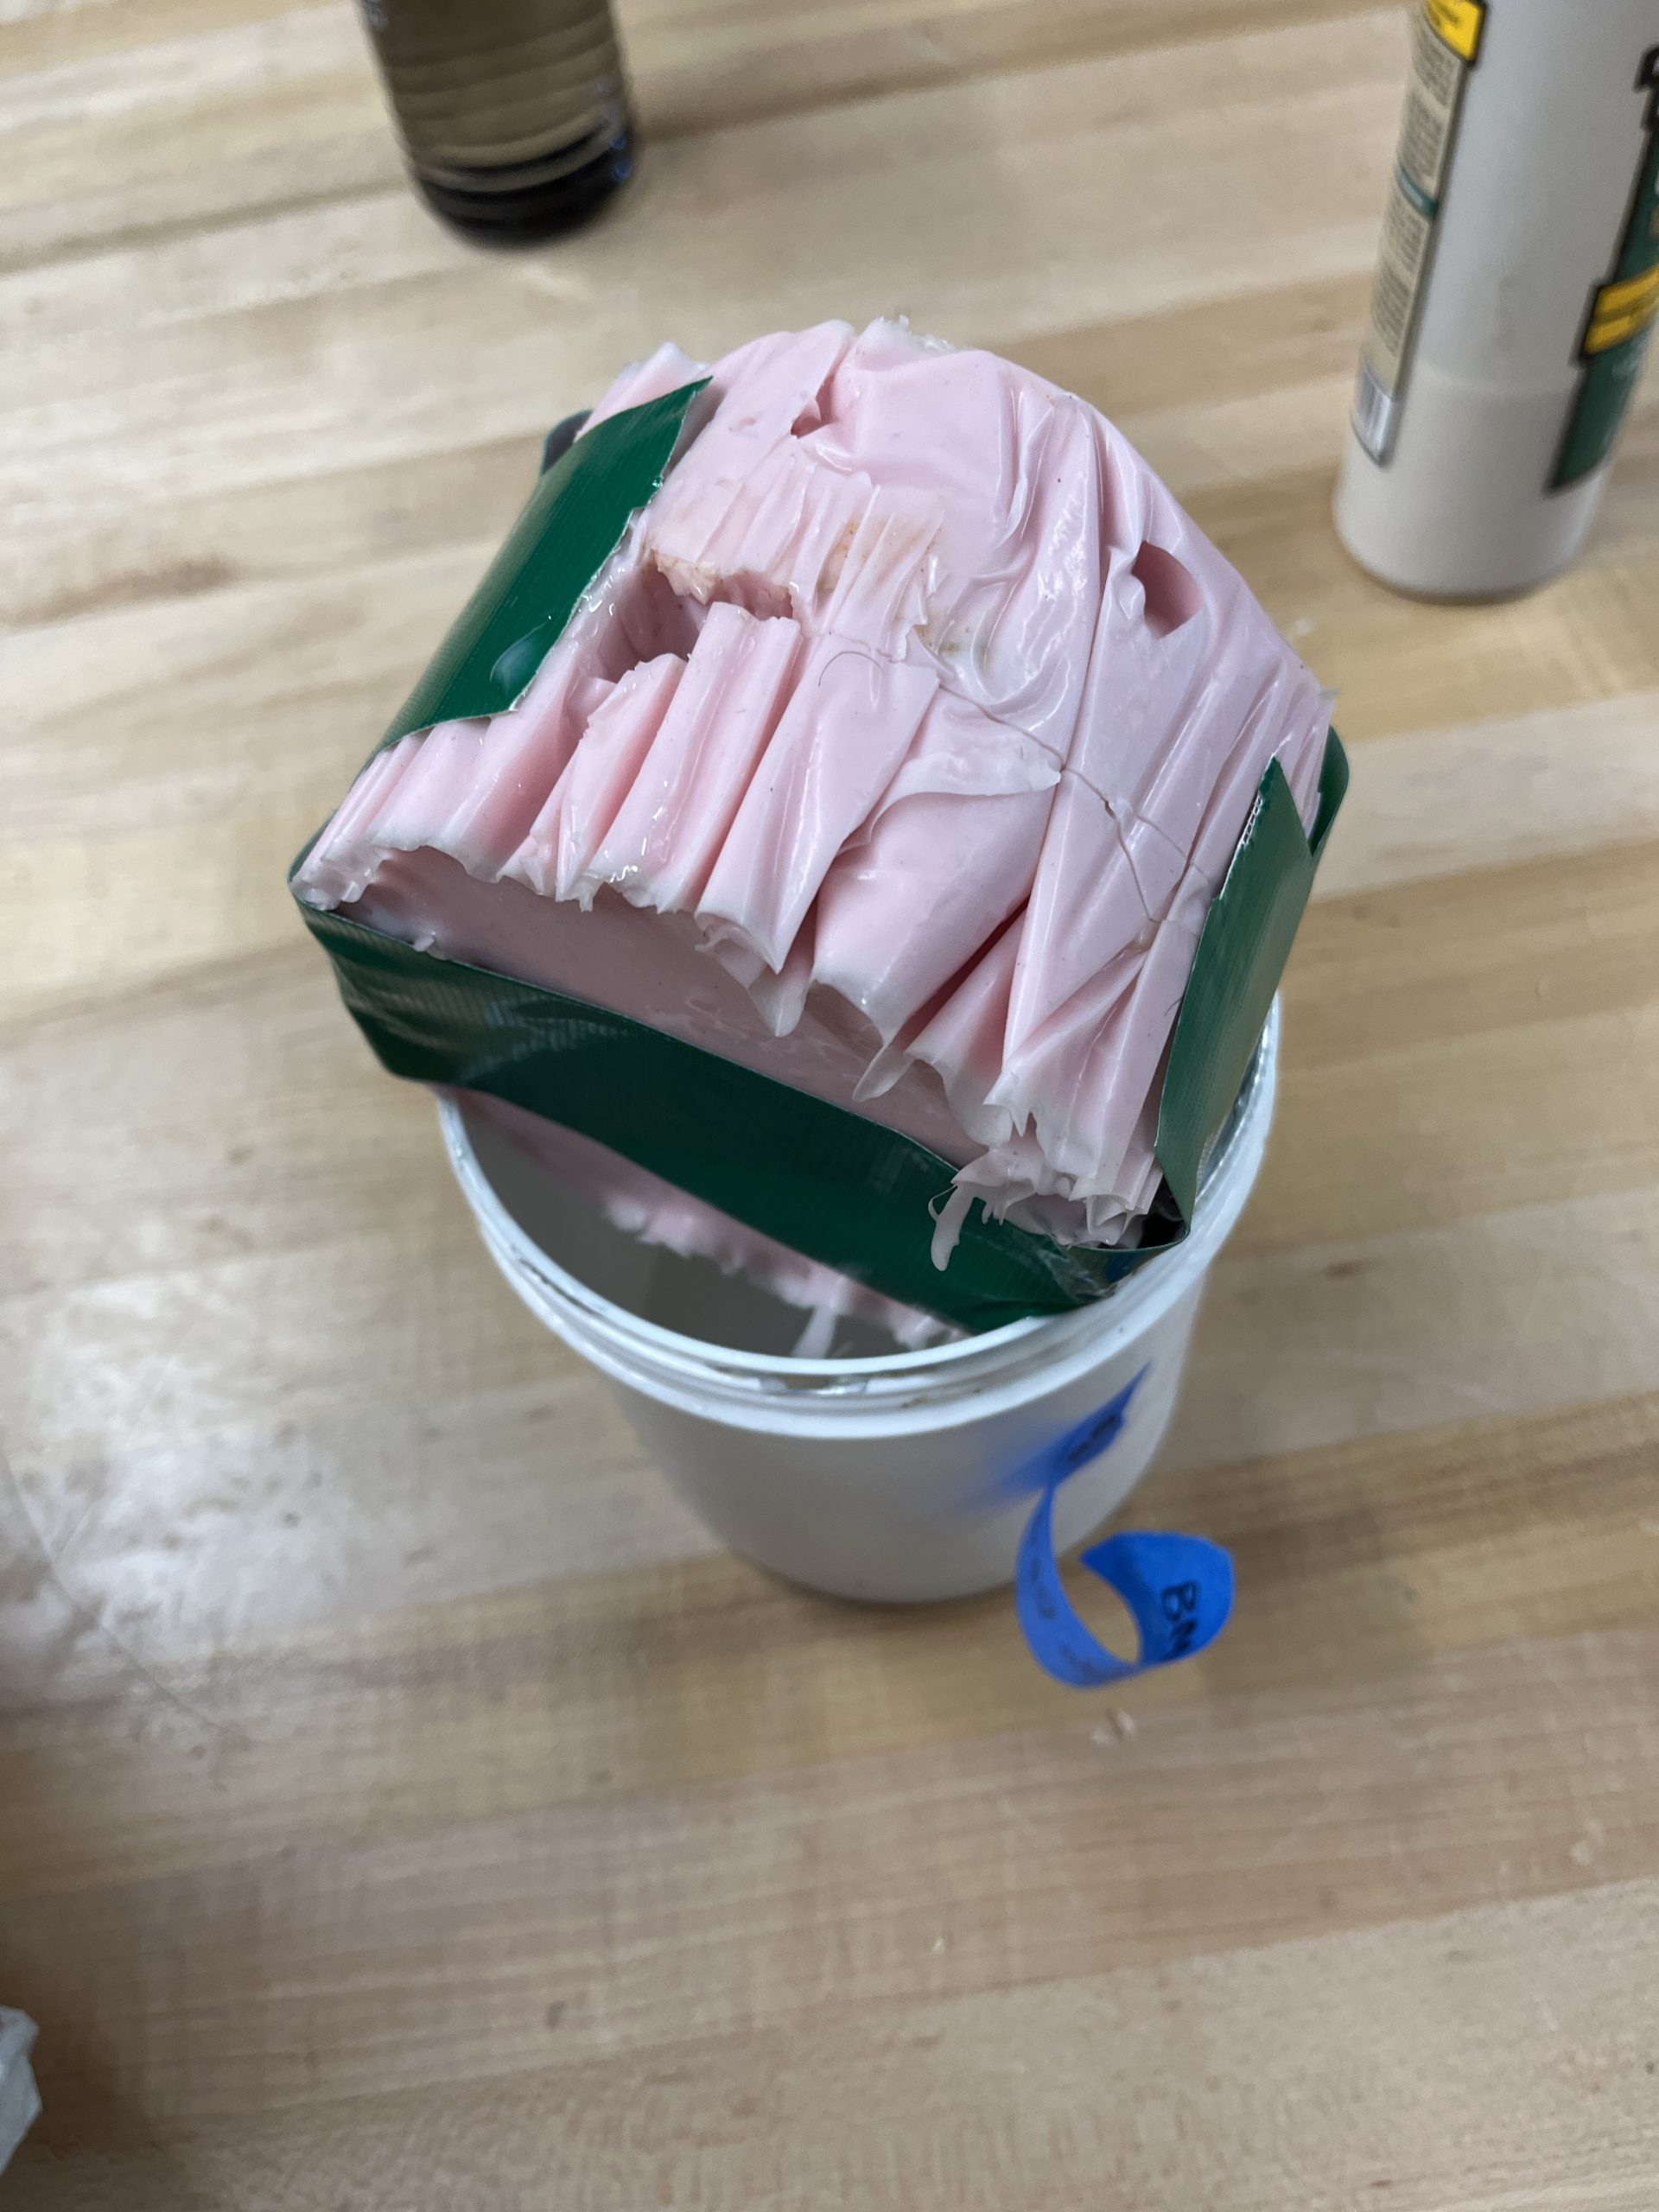
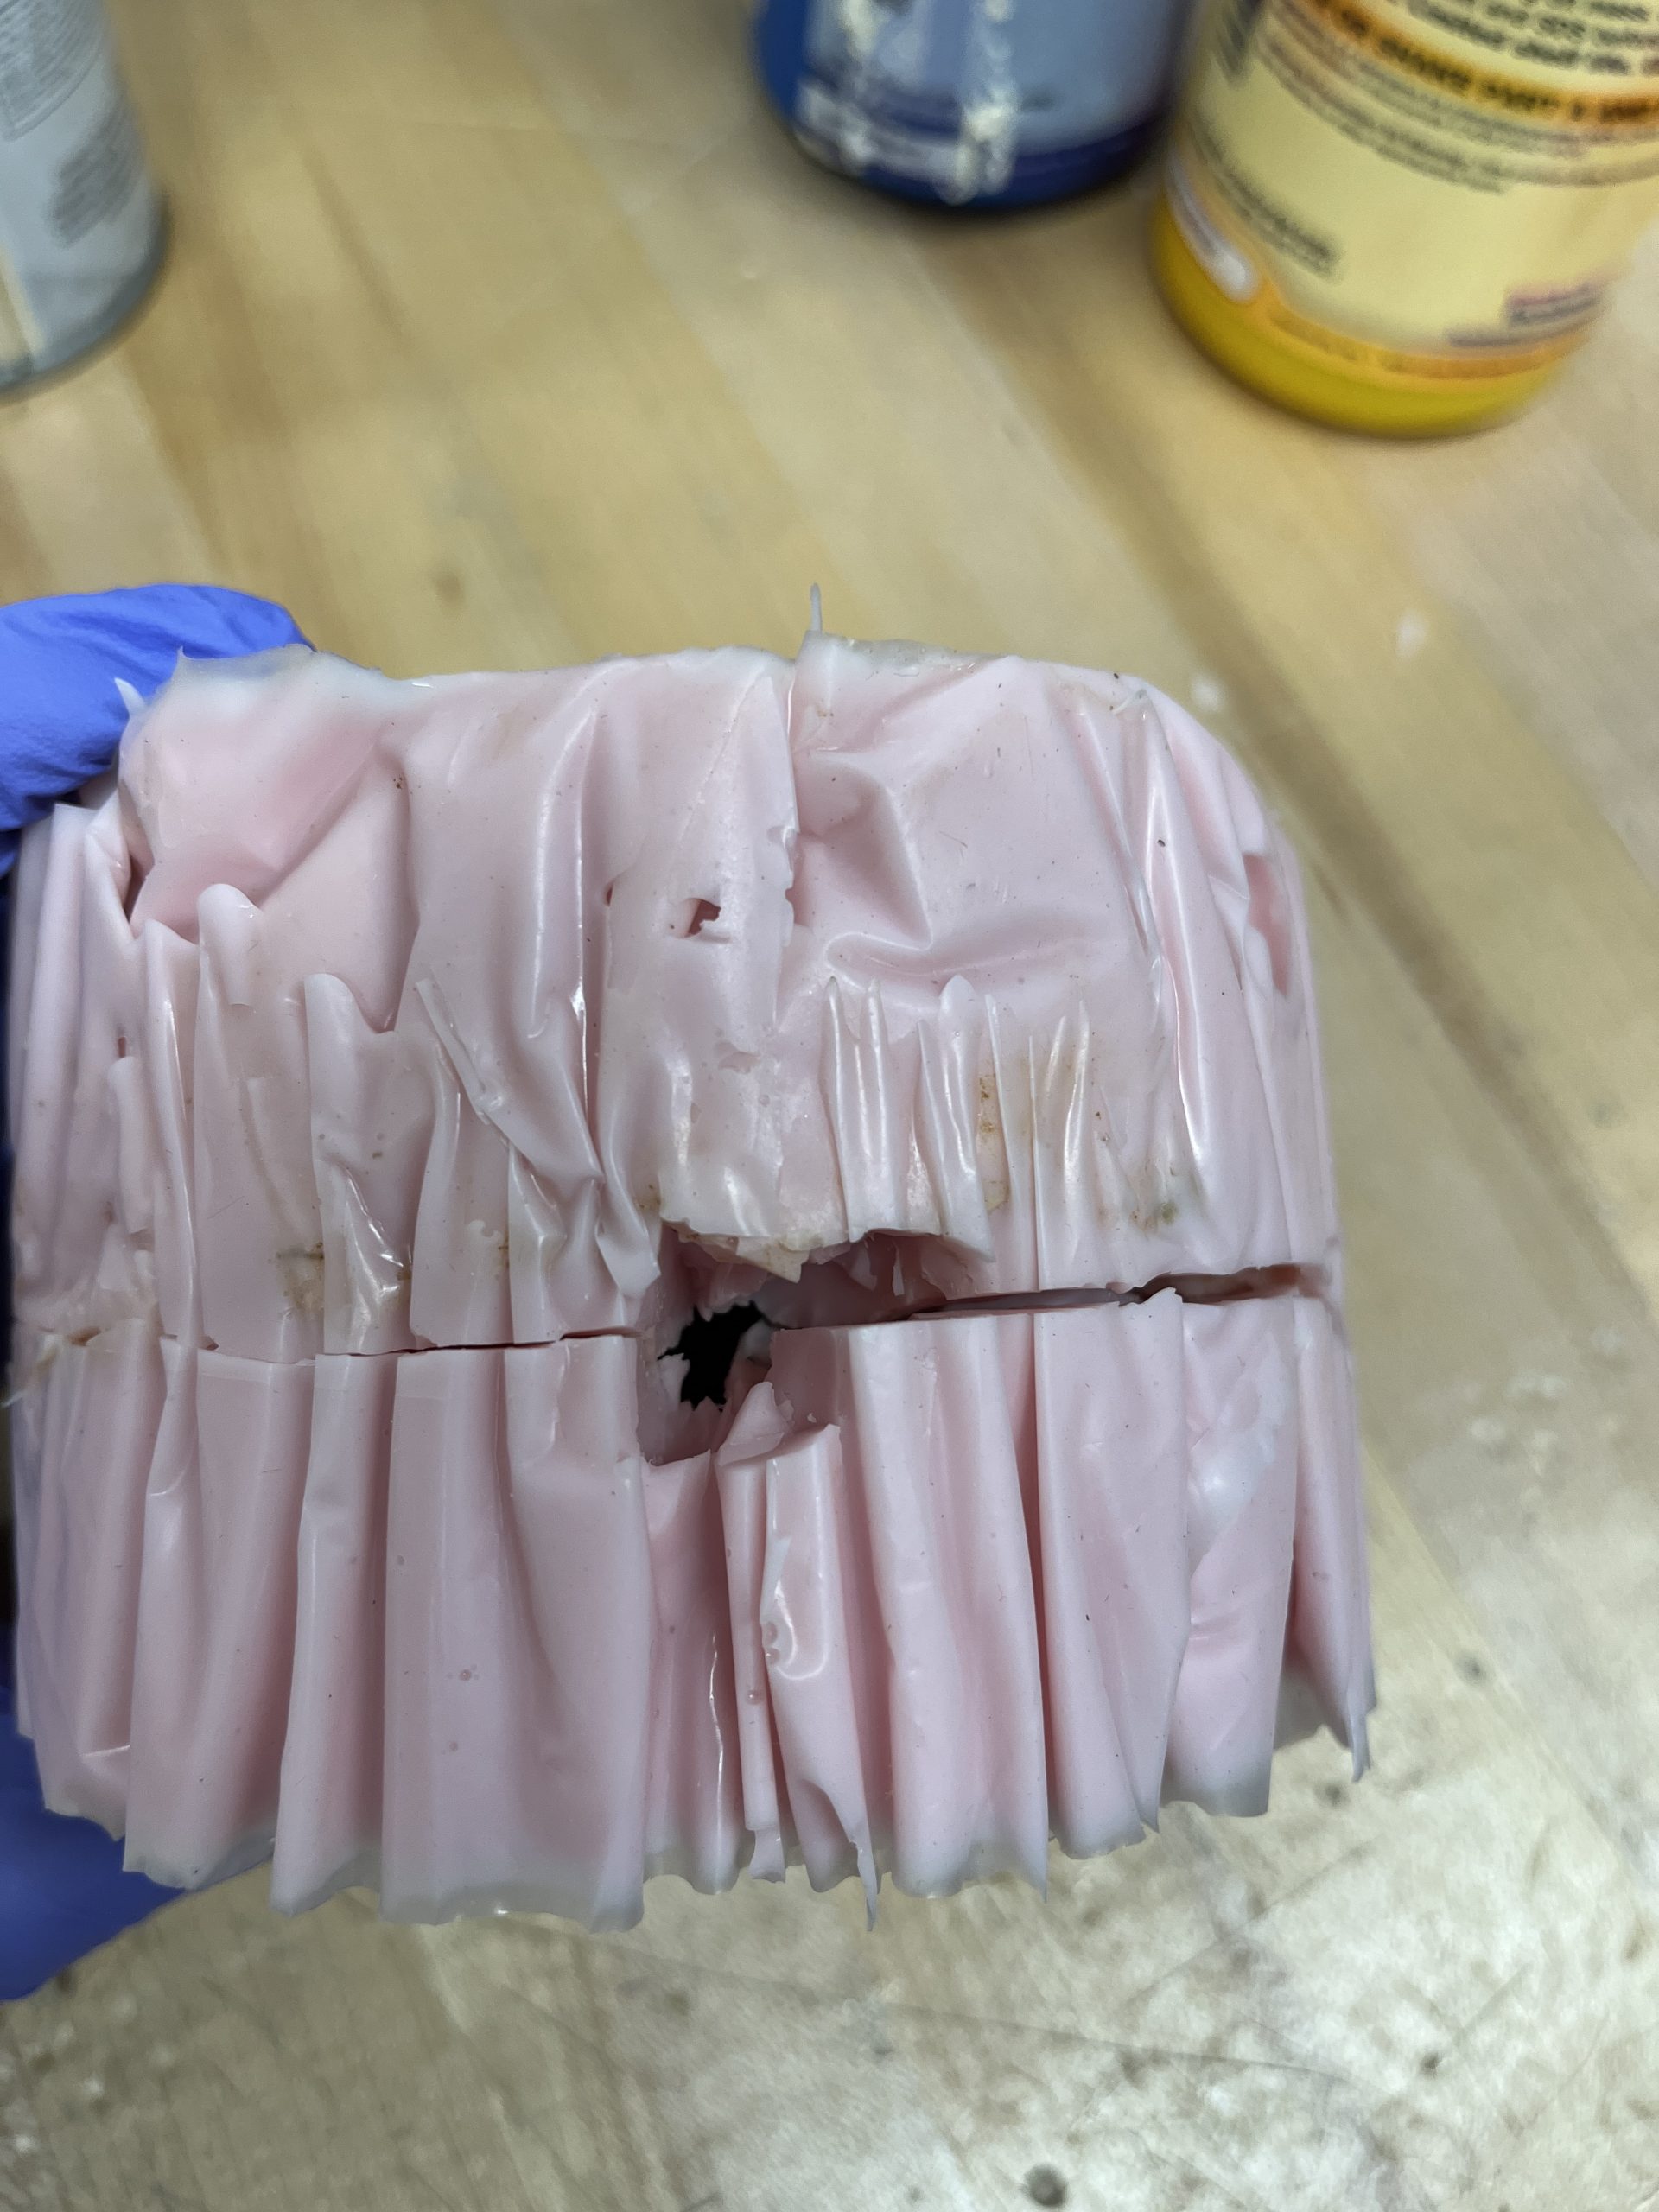
After waiting for the mold to set, it was then taped together and SmoothCast 305 was measured and poured in.
Removing the object
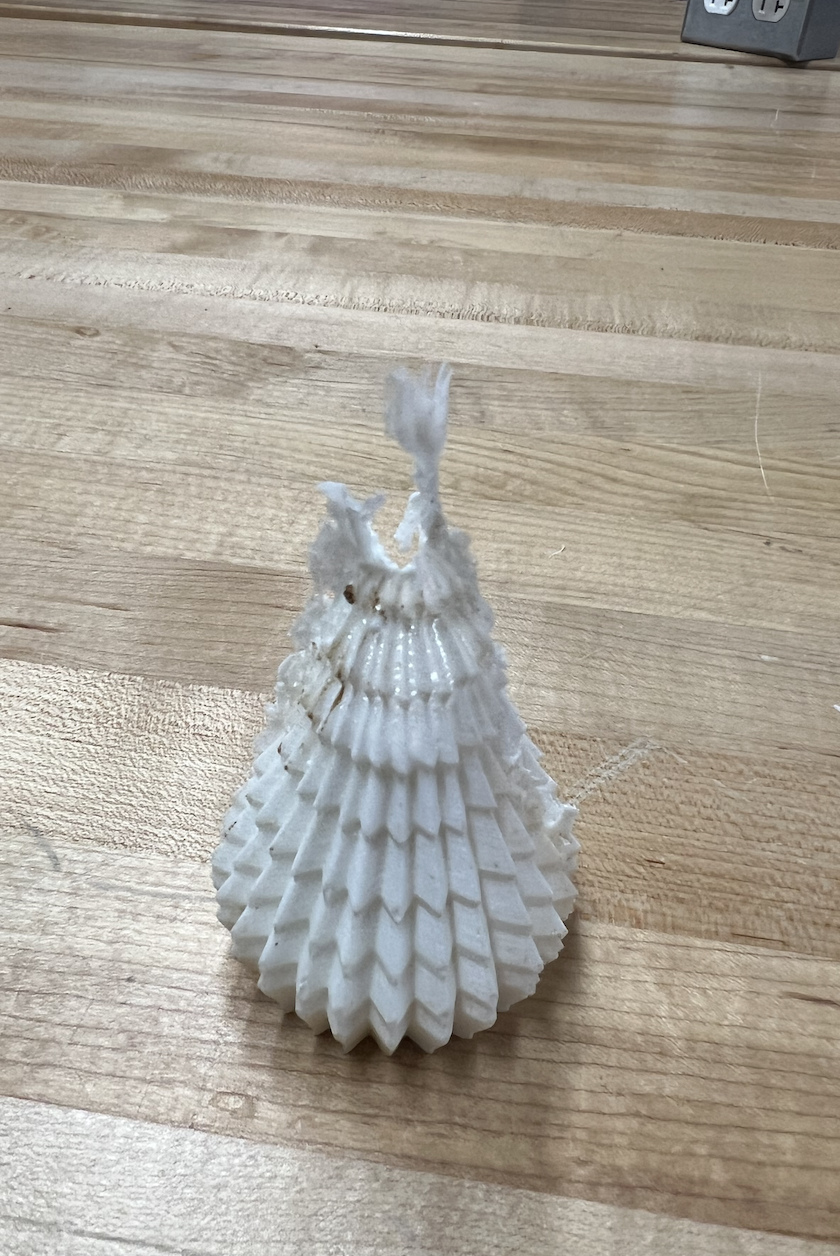
There was slight extra material at the top and the tip of the tree was lost.
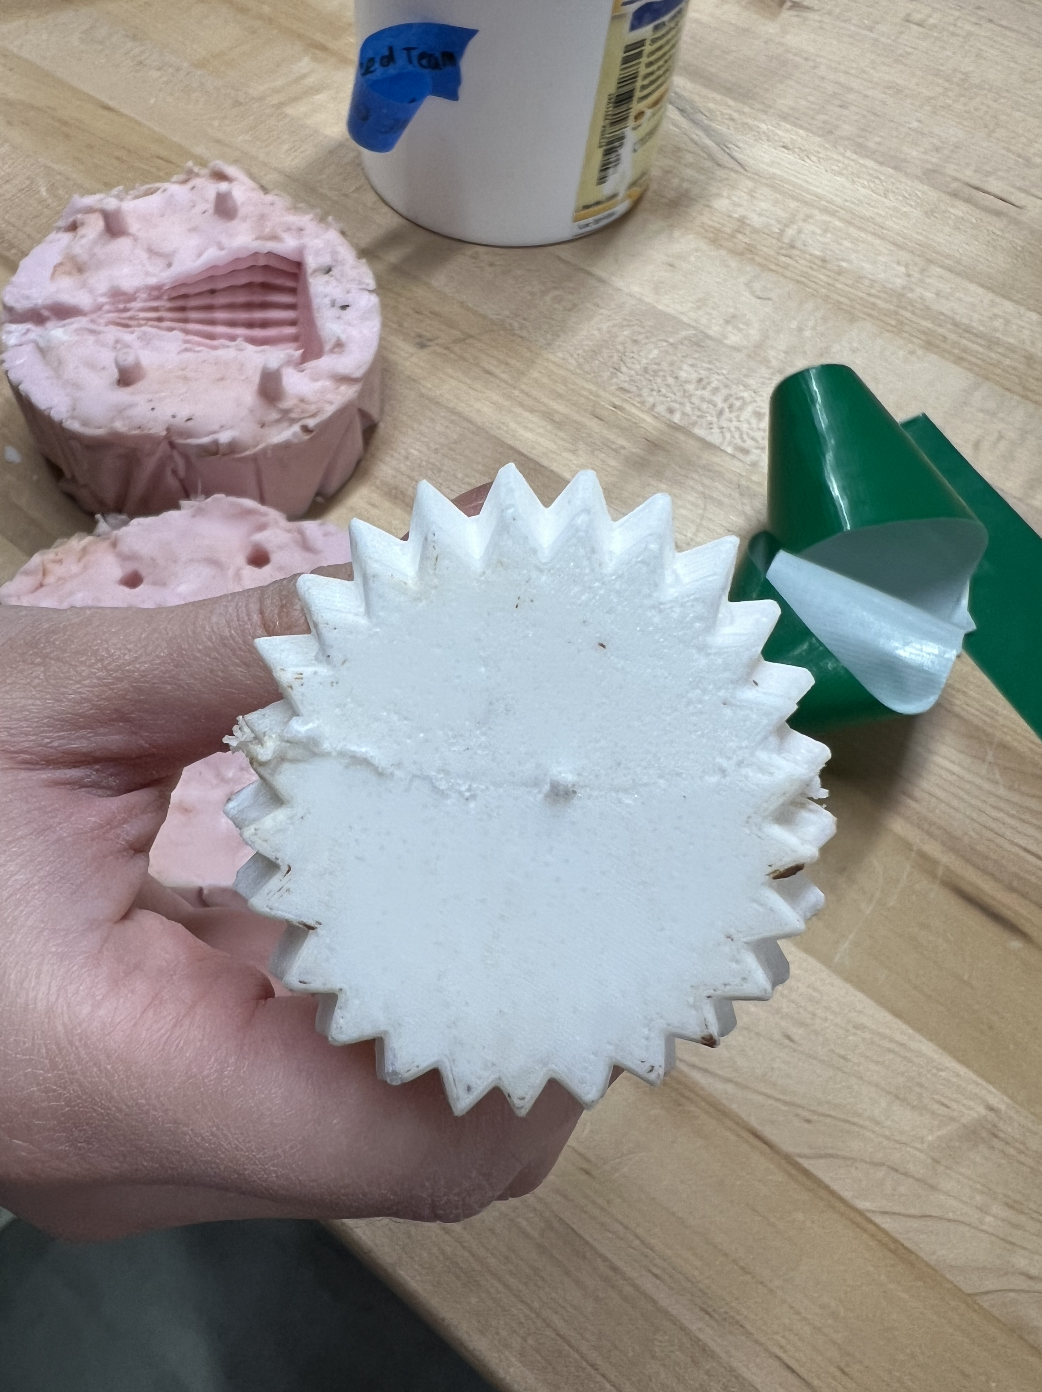
Trial Two
We wanted to try a different material and try to make a cleaner cast. We picked Perfect Plaster after looking at another groups casting project.
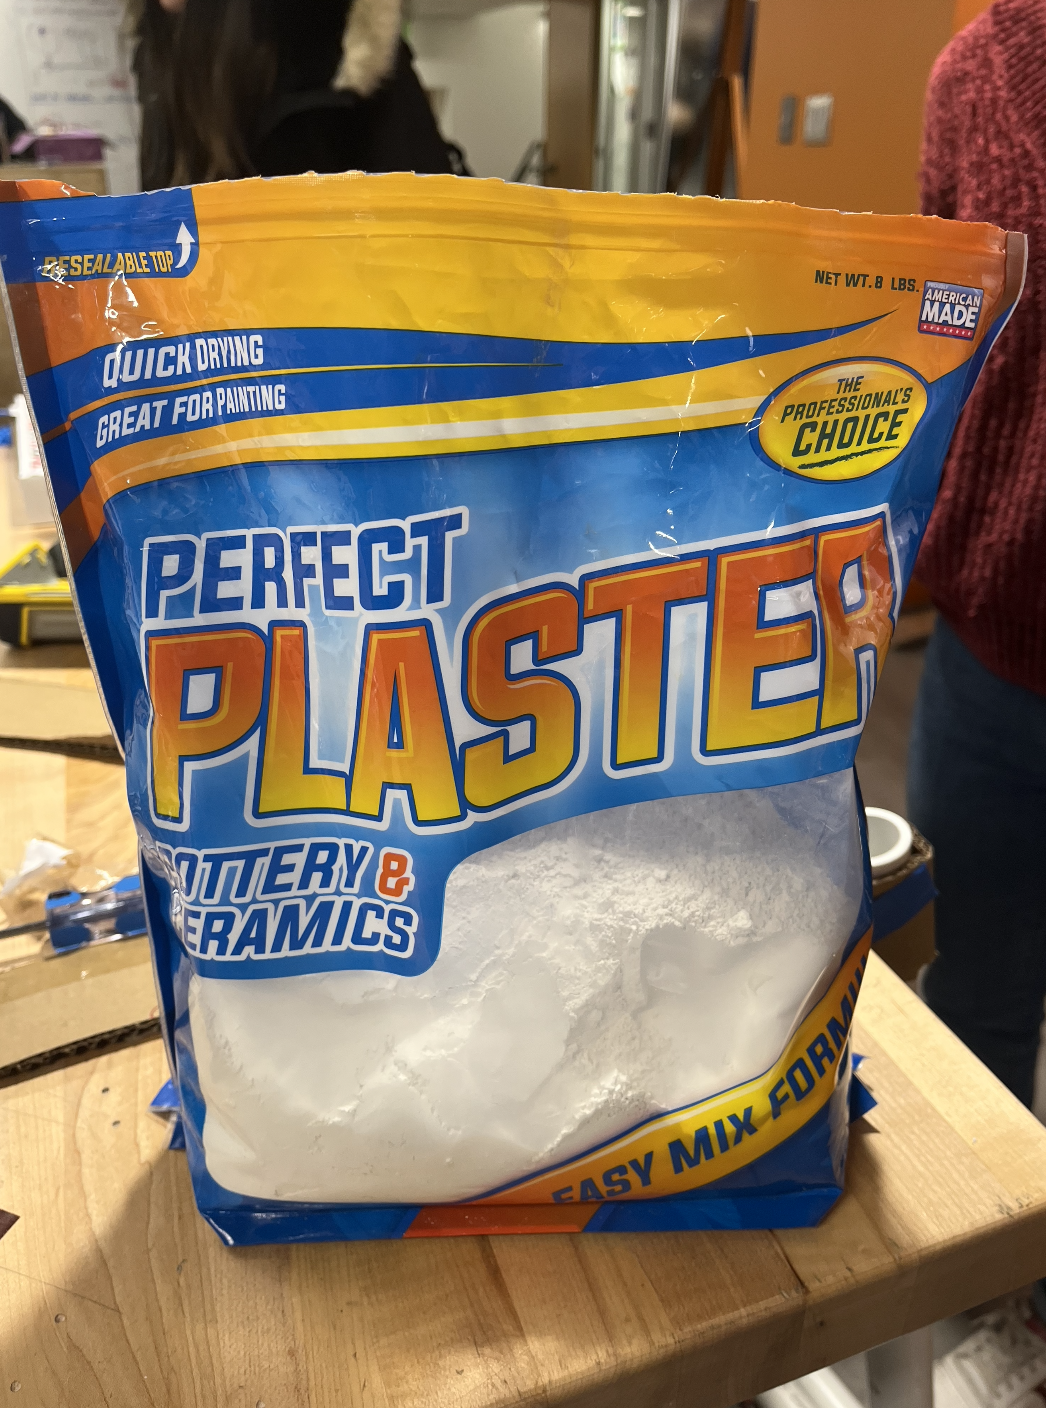
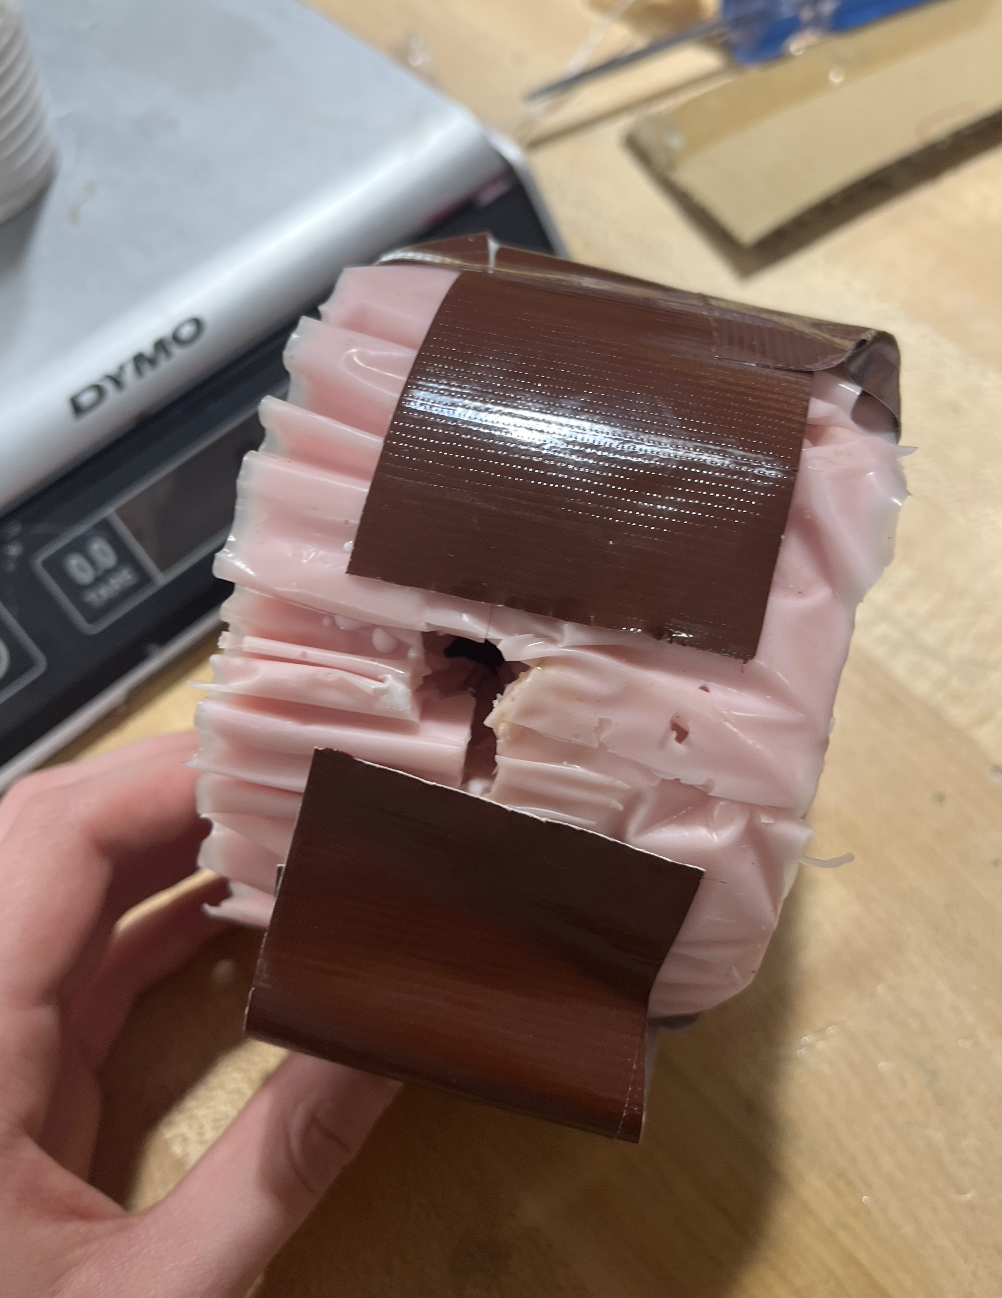
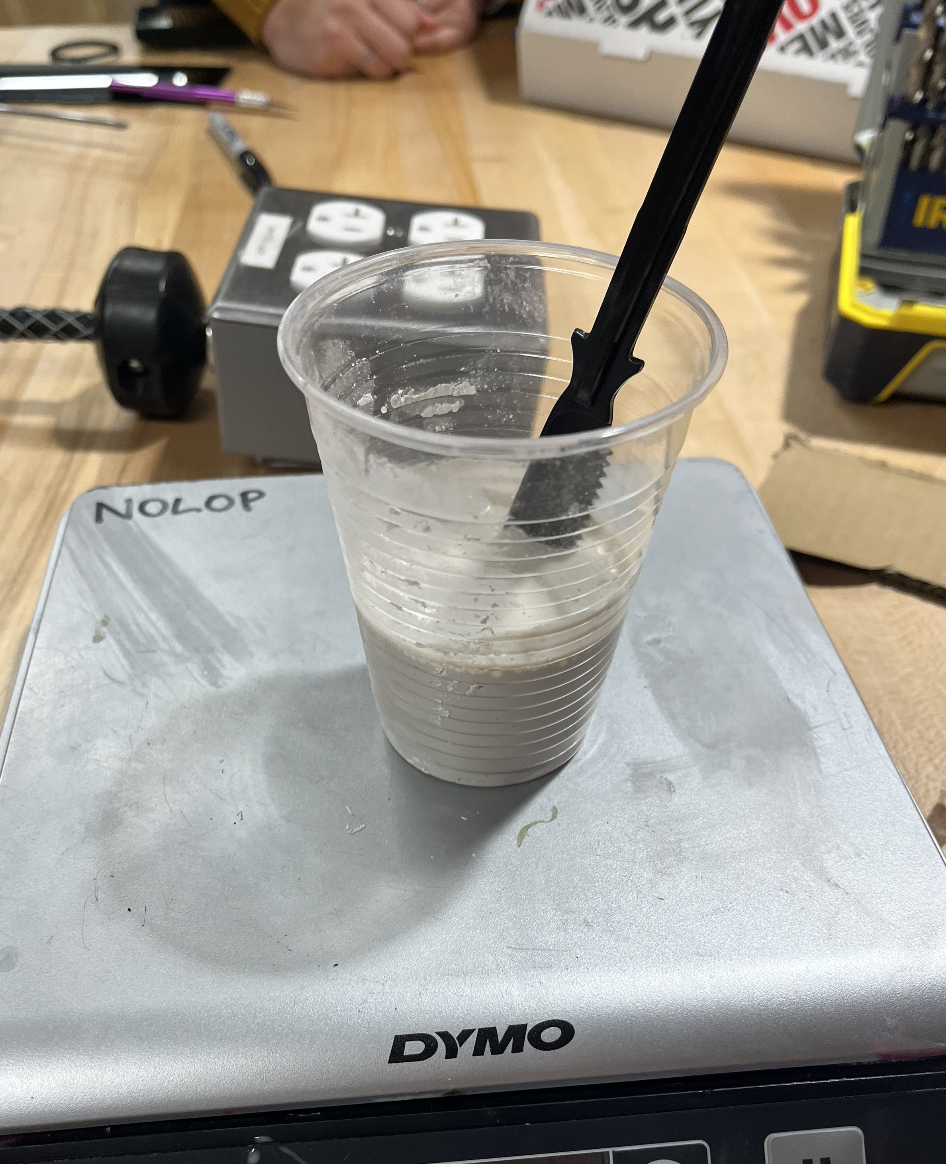
Pouring the object
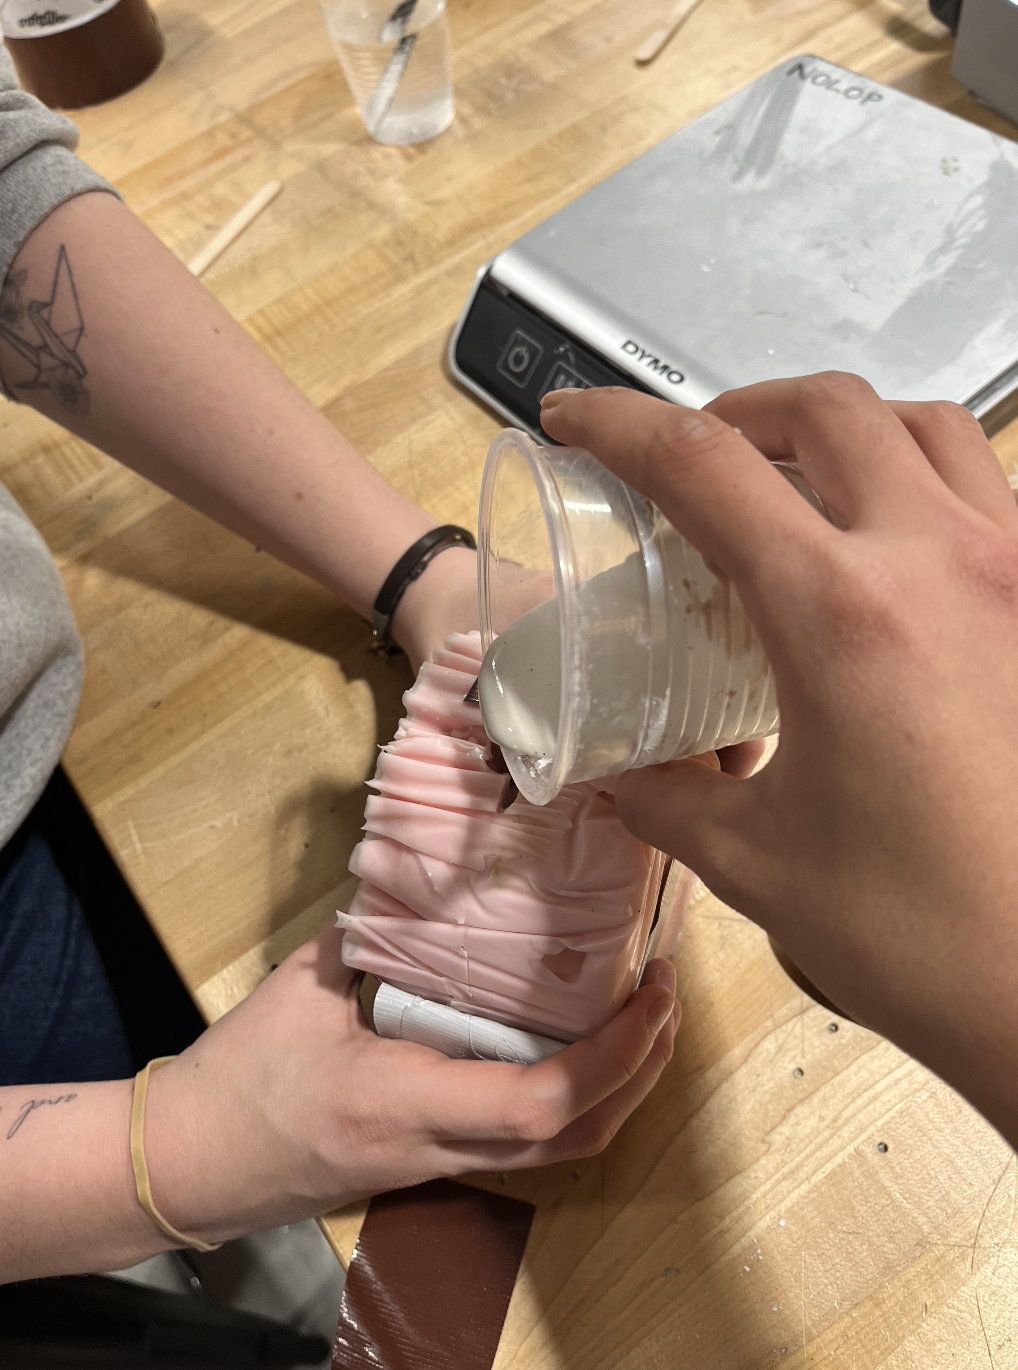
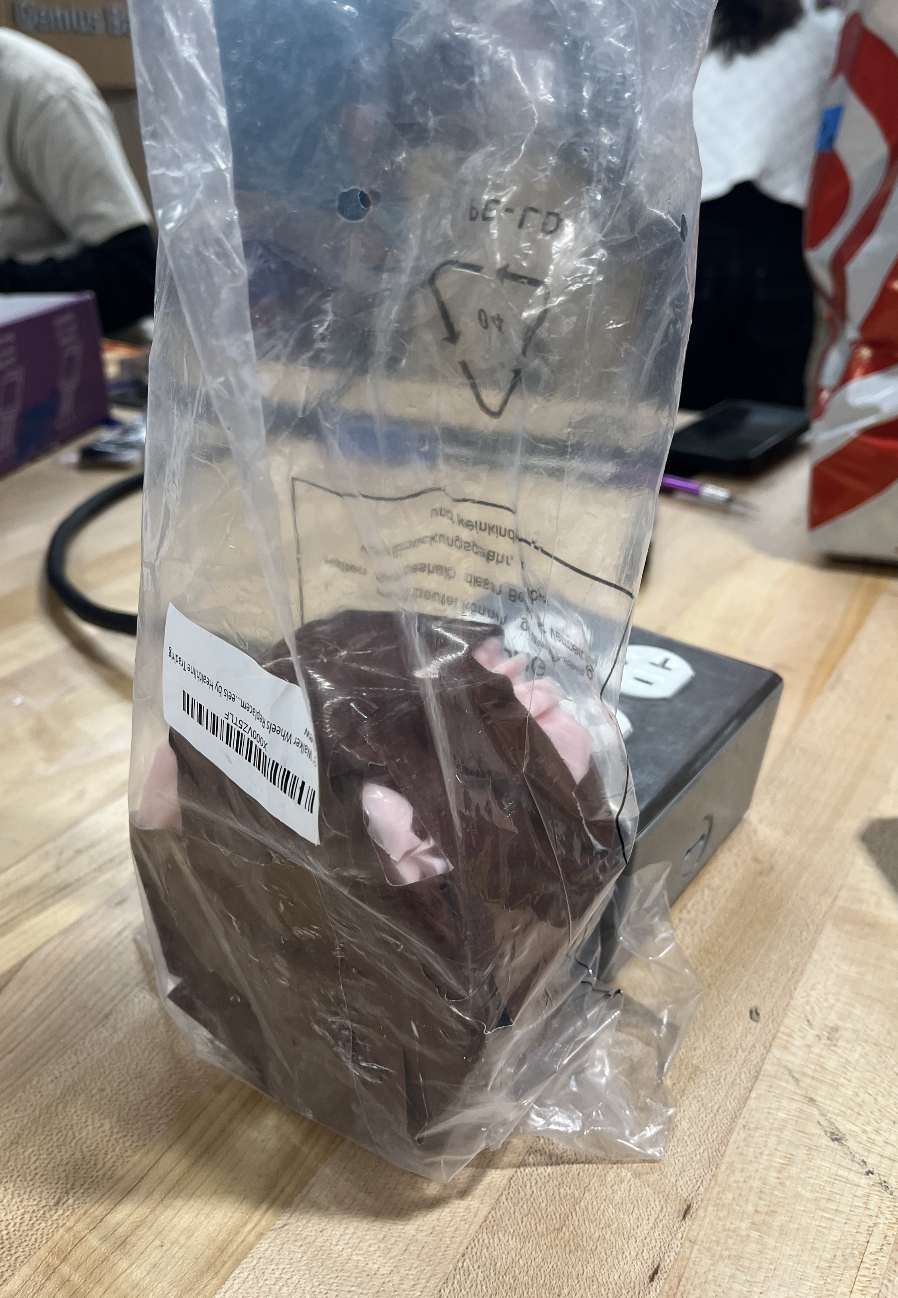
Removing the object
There was not enough casting material to fully fill the cavity so the top part was not filled completely. There was also tons of spillage from the sides, possibly from the roughness of how we handled the mold and cast together.
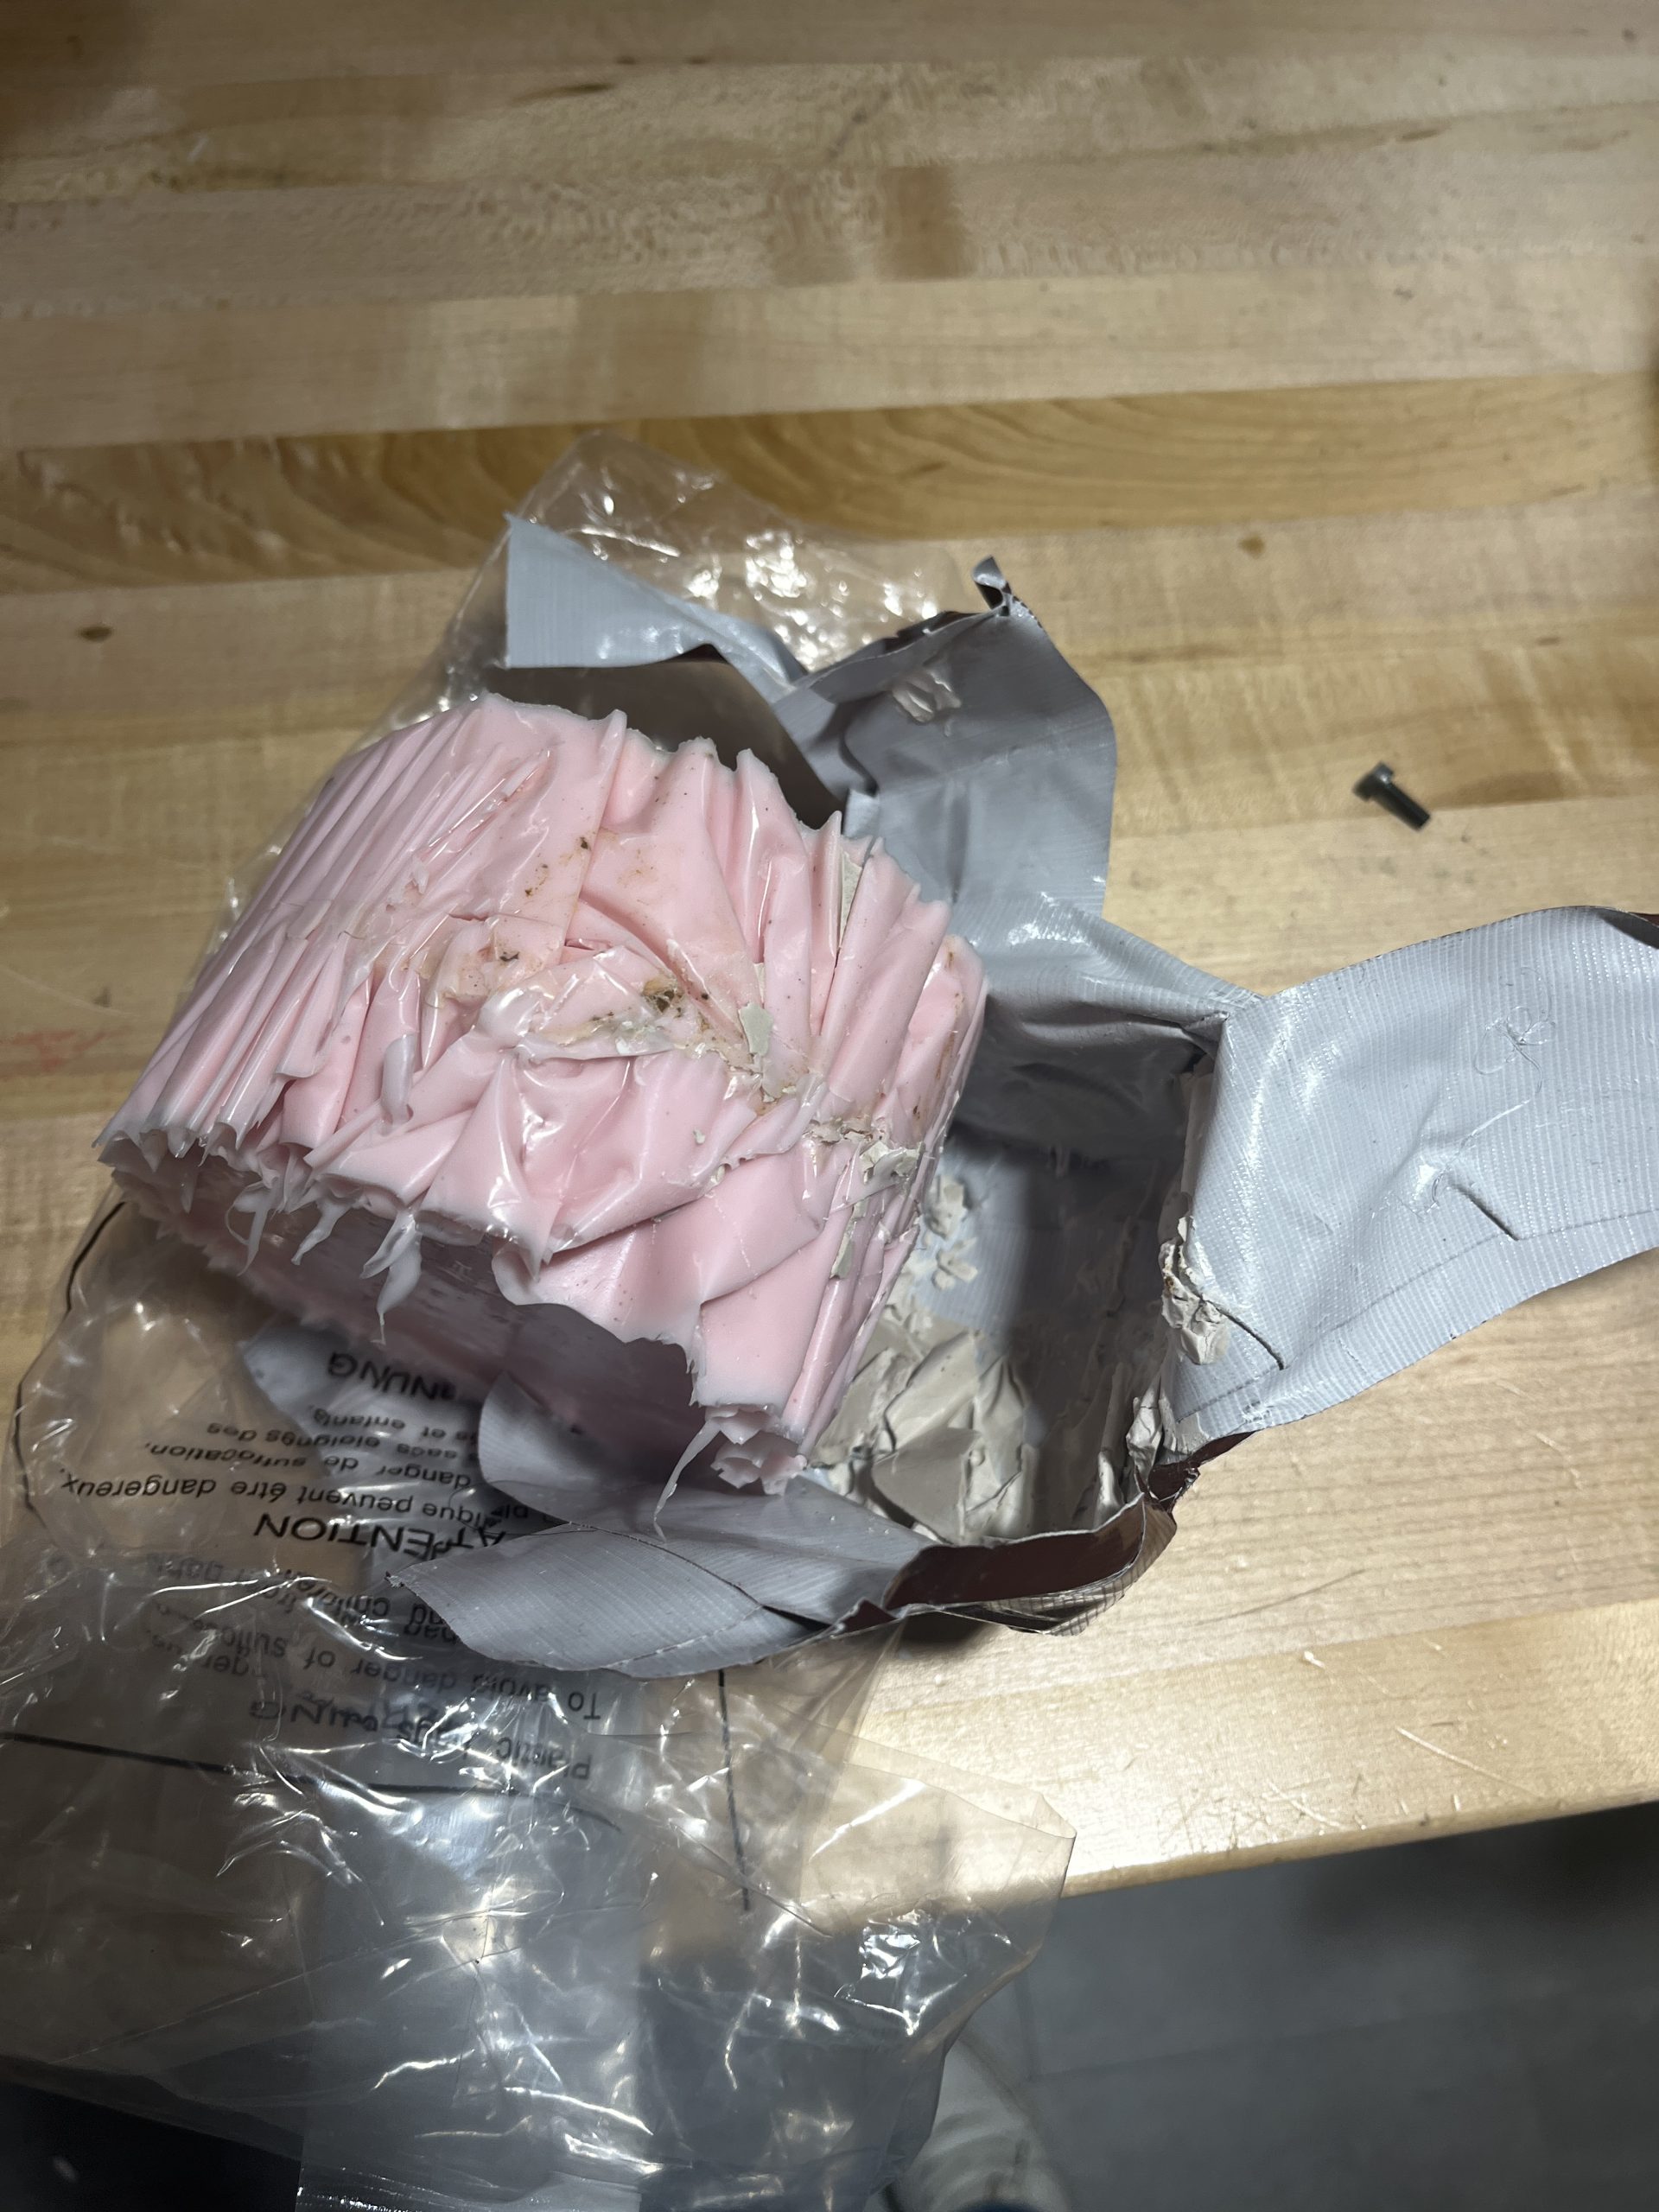
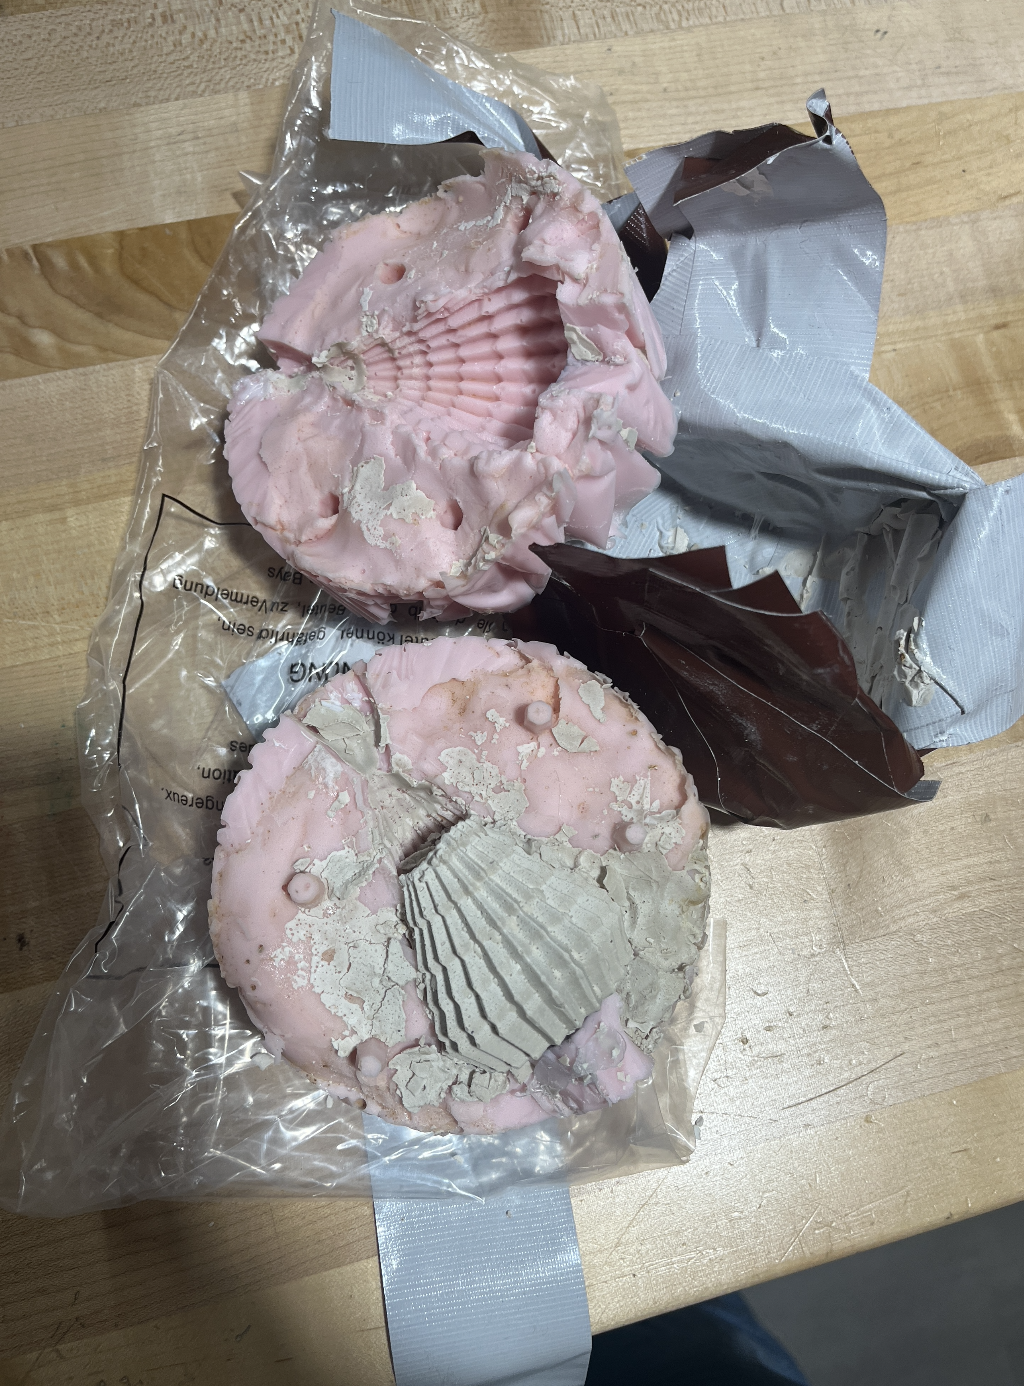
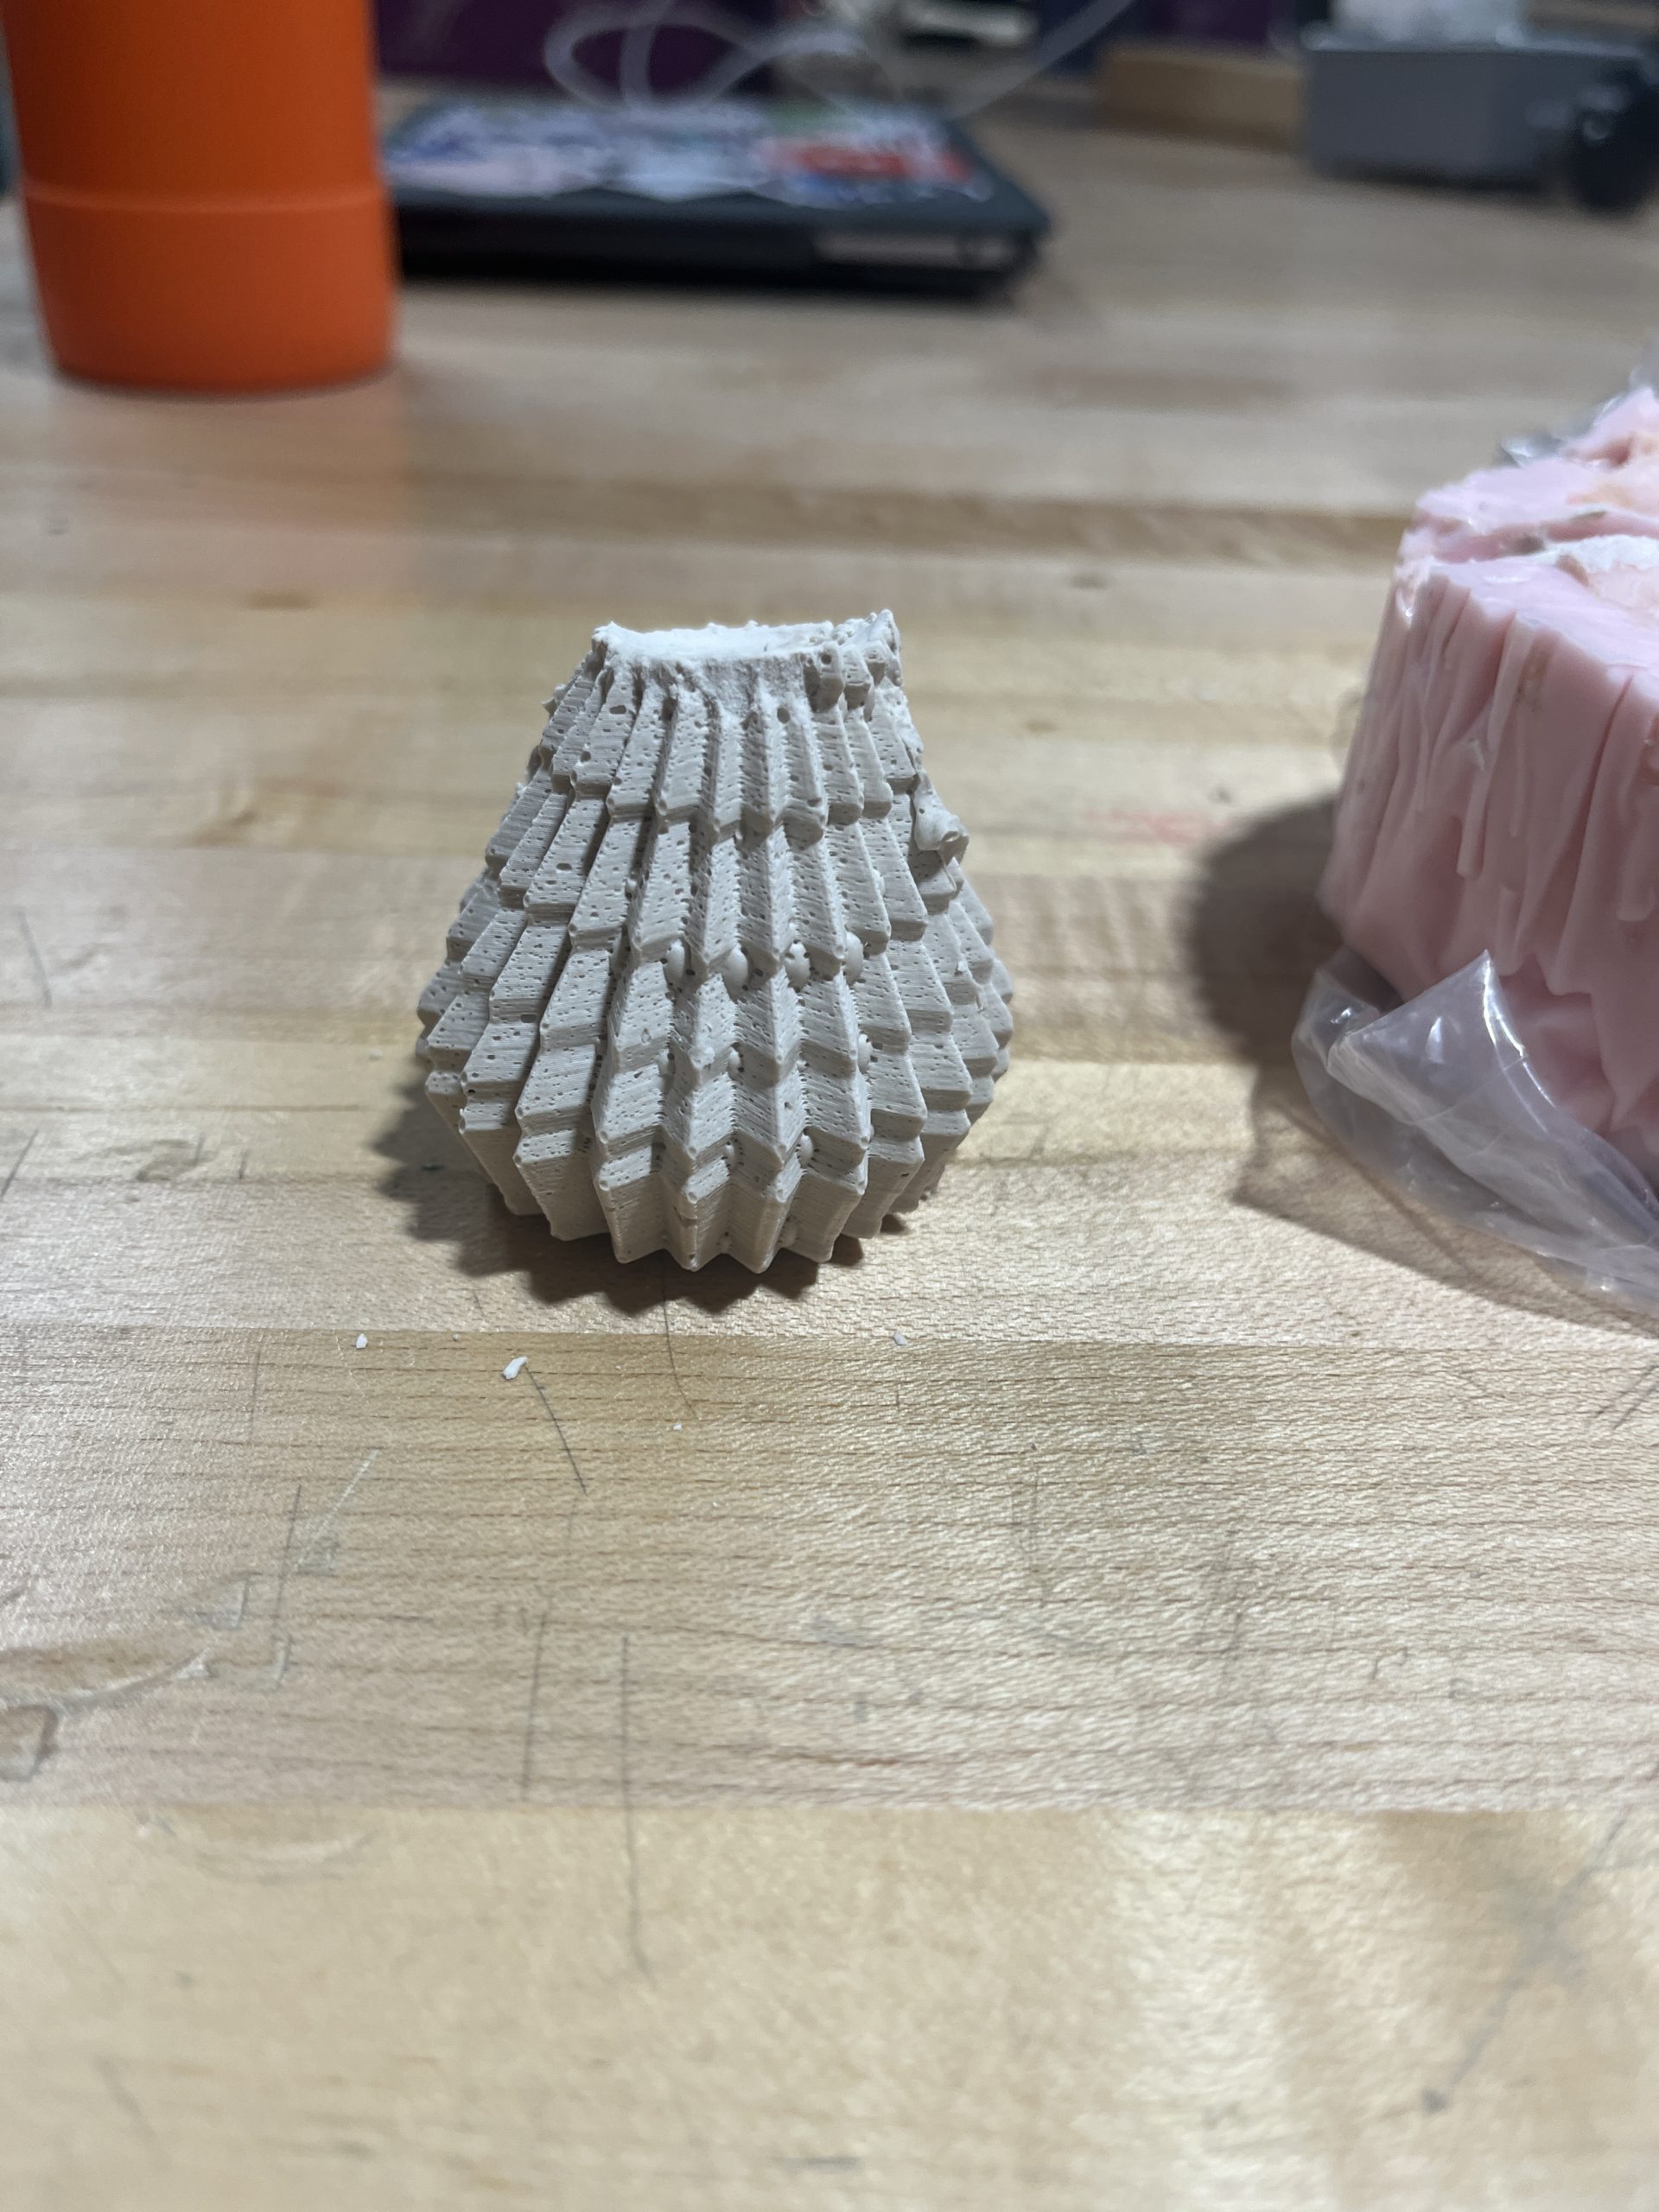
Two Part Mold Final Products

As you can see, the first trial gave a more full object, with more extra artifacts on the sides of the tree. With the second plaster mold, there was more detail and less external artifacts, however the measurement was not done properly so the whole shape was not able to be casted. For the future, proper volume measurement should be taken and kept consistent, as well as better and stronger hold of the two pieces of the mold.
