
I had a little bit of trouble trying to find something to CAD and 3-D print, but I eventually decided to try and design my own Hearing Aid Battery Case! 🐸
Part I : Research

I first had to figure out the dimensions of a hearing aid battery, but since there are so many, all with varying sizes, I decided to go with a Size 10 battery since its the smallest and it would be hard keeping track of such small batteries.
Size 10 Hearing Aid Battery : 5.8 mm X 3.6 mm
Part II : CAD (SolidWorks Design)
Since this is a case design, I had to make two separate models for the base and lid of the product.
Part A : The Base
It was a pretty tedious process, but it was very insightful since I learn some new things such as lofted boss/base, creating multiple planes, and extruded cuts. It was also useful in using accurate measurements since I had to create a case that could hold a battery that was 5.8 mm x 3.6 mm. I made the outer circle (25 mm) and the inner circle – the one that holds the battery holders (20 mm)
If you are curious about the process of how I created the base in SolidWorks you can find it here! : Hearing Aid Battery Case (Base)
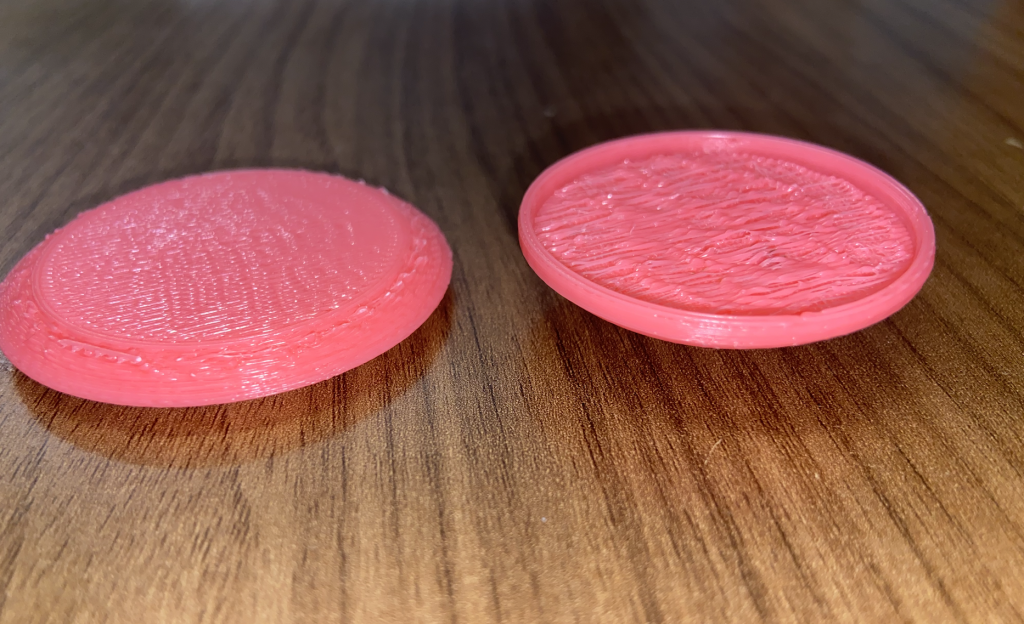
Part B : The Lid
After finishing up the base, the lid wasn’t as hard to create since I was kind of started getting the hang of using SolidWorks. Using the same techniques I learned when creating the base like creating multiple planes, lofting, and extrusion, I was able to create the lid pretty fast. I had to keep in mind that since I made the inner circle (the one that contains the battery holders) 20 mm, I had to make a design that would be complementary to that design. This lead me to make a lipped lid that had a lip of (1 mm) – inner circle = 21 mm and outer circle = 22 mm)
You can find the process of creating the lid here! : Hearing Aid Battery Case (Lid).
Part III : 3D Printing
Printer: Prusa Printer #1 – p1.nolop.org

Before this assignment – specifically after the introduction to 3D Printing class – I got curious about what 3D printing is and how it worked so I decided to 3D print a bunch of stuff I found online beforehand. I also have a few friends who work at Nolop so I decided to ask them for some help and I can say with confidence that I know how to use the printers! 🙂
I first saved my SolidWorks design as a (.STL) file and I uploaded it to the Nolop website so it can print wirelessly
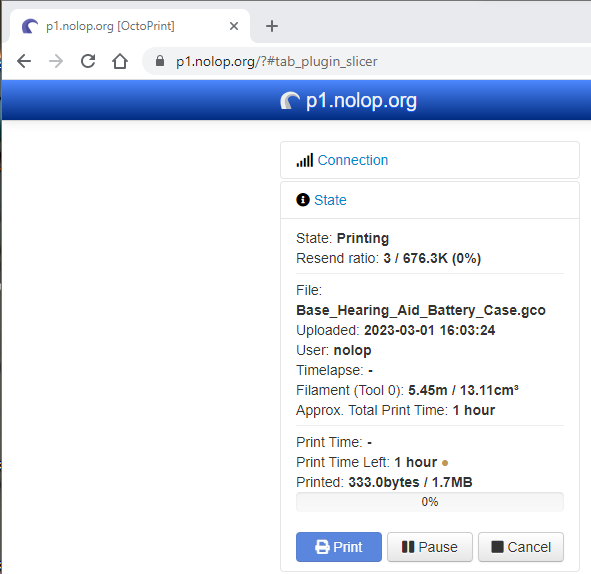
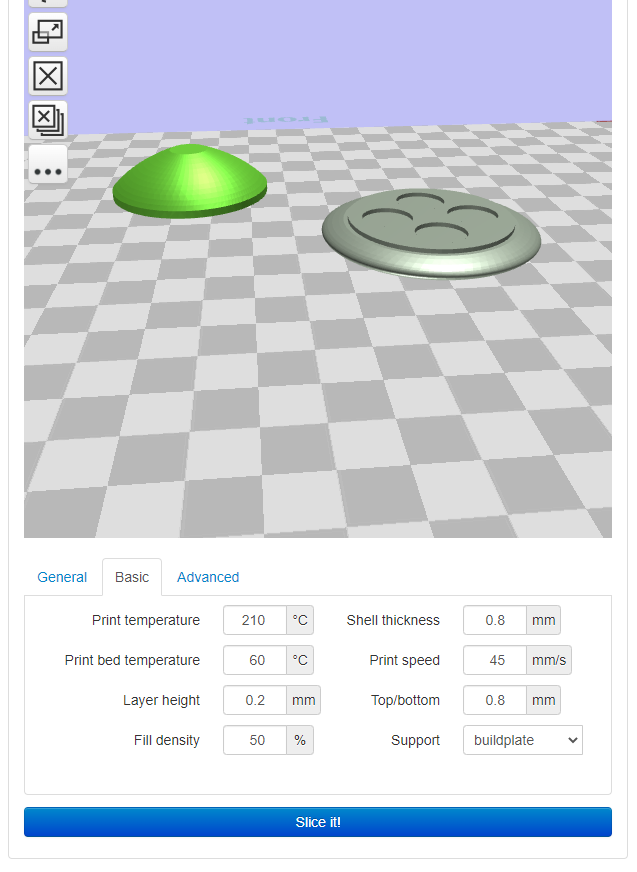
Thankfully because my design was small and pretty simple, the printing time wasn’t too bad since it only needed an hour to print
After I went to class and came back, my design finished printing! So I picked it up, removed the scaffolding that was attached to the case, and took pictures.
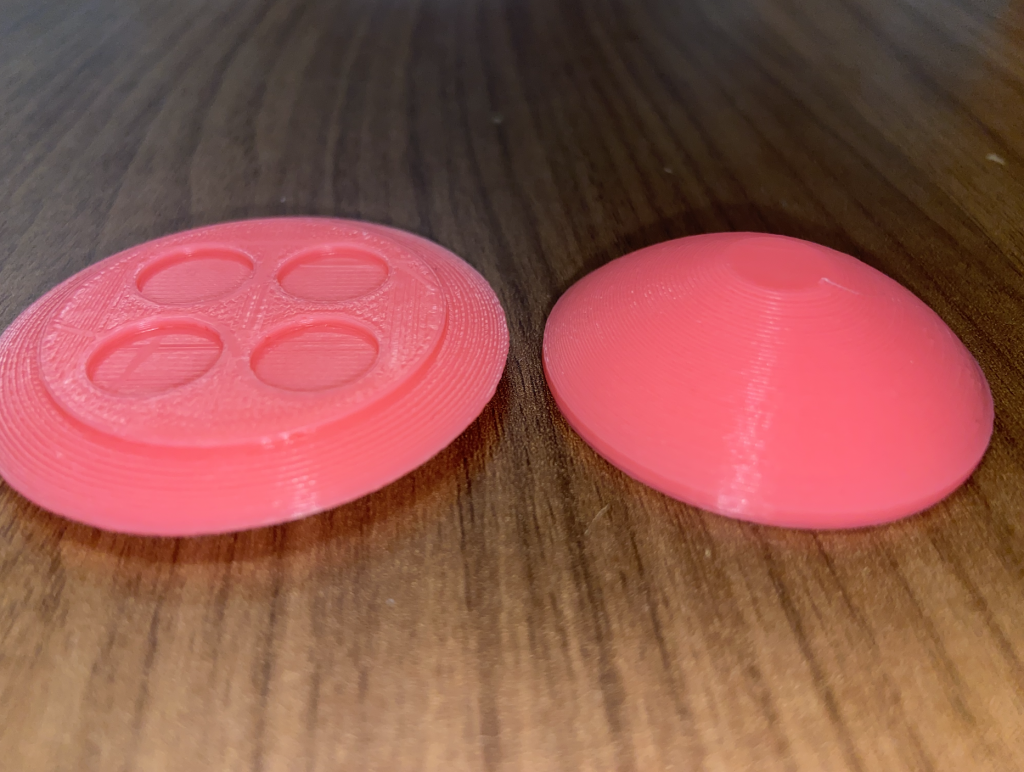

In the end, I’m pretty happy with how the whole process was carried out. I learned a lot about the engineering design process and the trials and errors when it comes to design implementation. From researching the batteries to translating them into SolidWorks. The hardest part for me was trying to find a way to create the little “divets” in the base to hold the batteries, but I was able to do it. Next time, I would want to make the product bigger to hold more batteries and probably implement and “click” feature that seals the lid and base together. I can also implement a key kind at the top so it can be attached to a person’s keys, backpack, or ID.
Some examples of objects to fabricate with traditional technology would be the creation of a minuscule object that requires high detail in terms of mechanical properties but also functional abilities. An object such as this would be hard to create using a hand saw power tool or sander that would be able to carve out the shape of the case from plastic. Unlike 3D printing, however, these machines won’t be able to create the small battery holder, the round shape of the case, or even the lipped lid and base without any difficulties since getting certain details would require skilled work and time.
I am so excited to see what else I can make! 🙂