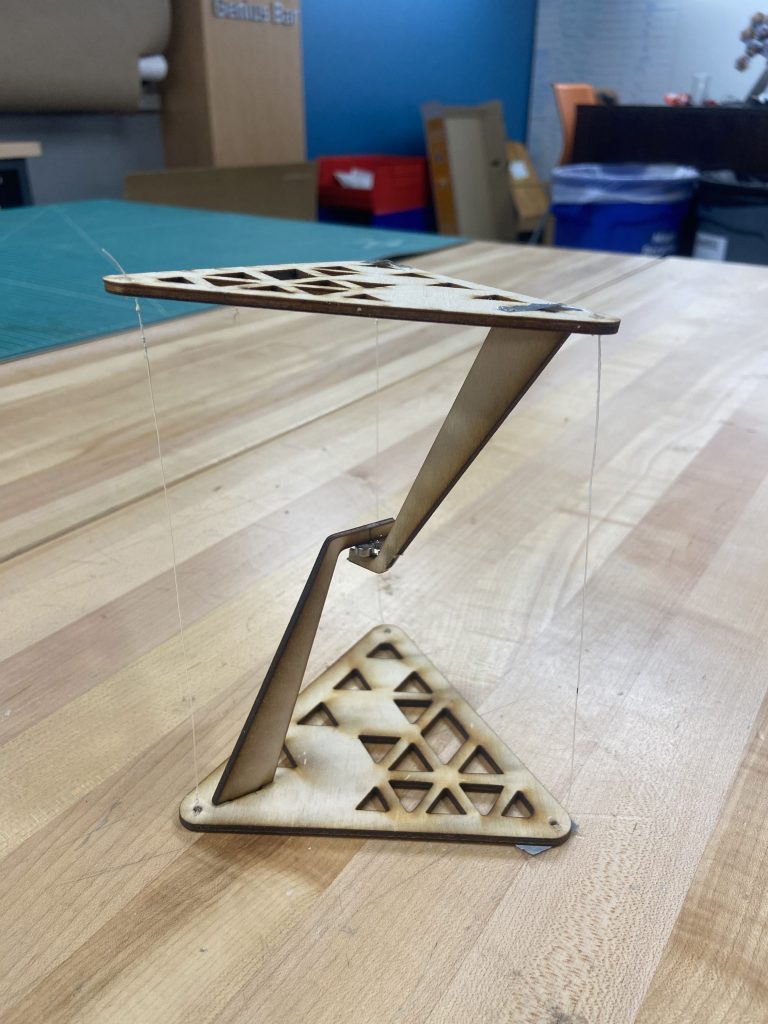
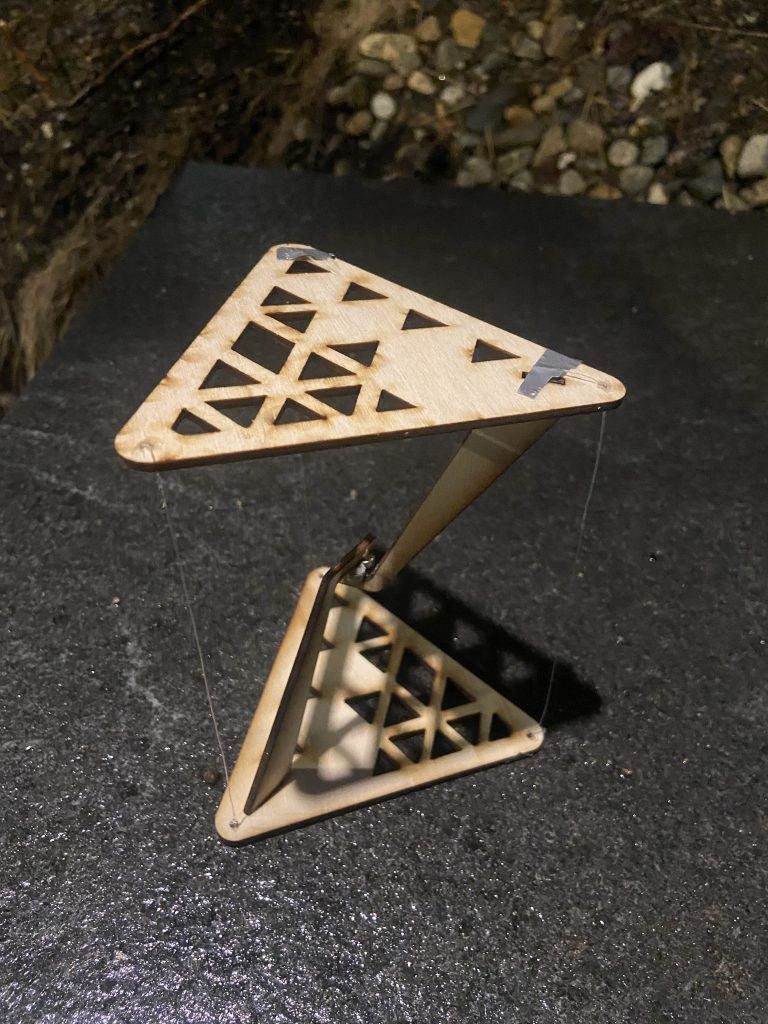
Like everything else, I had a little trouble figuring out what to cut and how to do it, but after looking into what laser cutting is and how it works; I decided to try and make a Tensegrity Table!
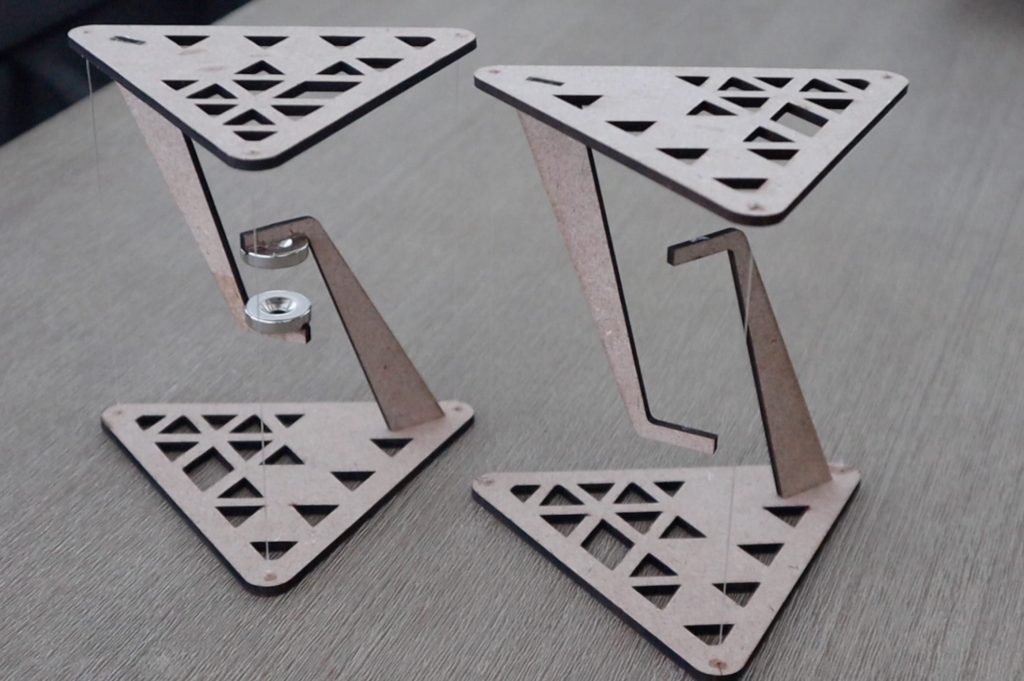
The tensegrity table came from a youtube video I found that helps people try and make the table which can be found here : Make Your Own Desktop Tensegrity Tables
When I opened the files, the files were saved in a .dxf file which isn’t compatible with the laser cutter so I had to import the files into Adobe Illustrator in order to make a .ai file.
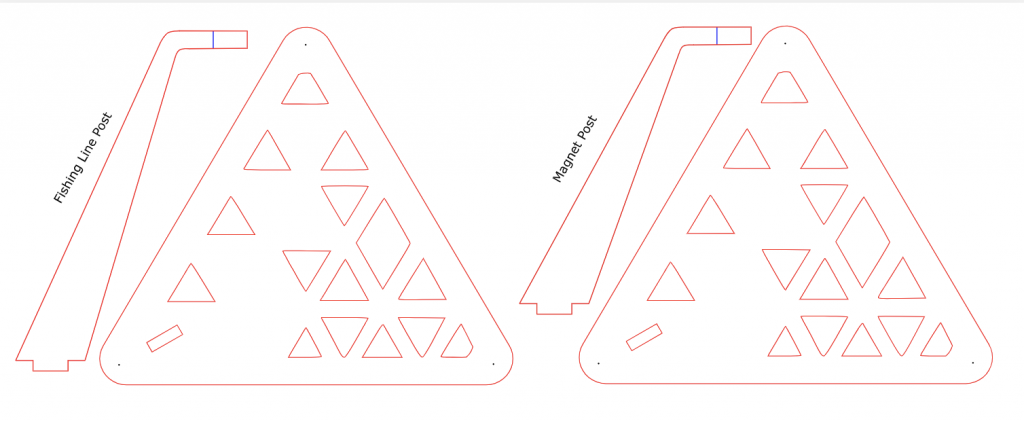
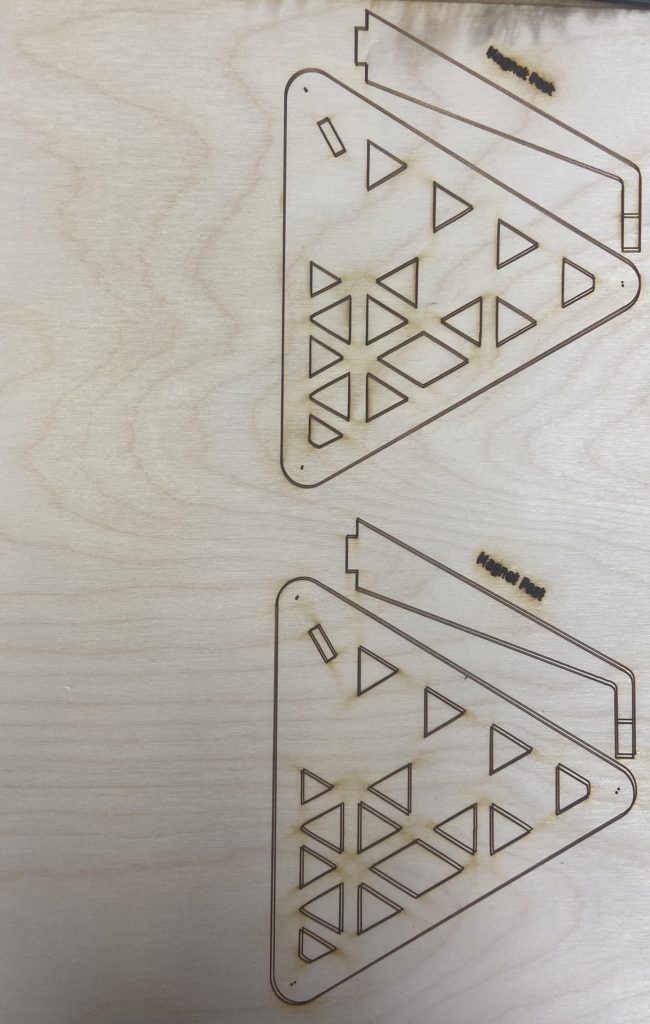
After looking at the file, I noticed that the “Fishing Line Post” and the “Magnet Post” both had different dimensions when it came to the handle post where the fishing line had a longer post than the magnet one. This leads me to modify the file in order to have two of each one on one file, separating the two models into two files.
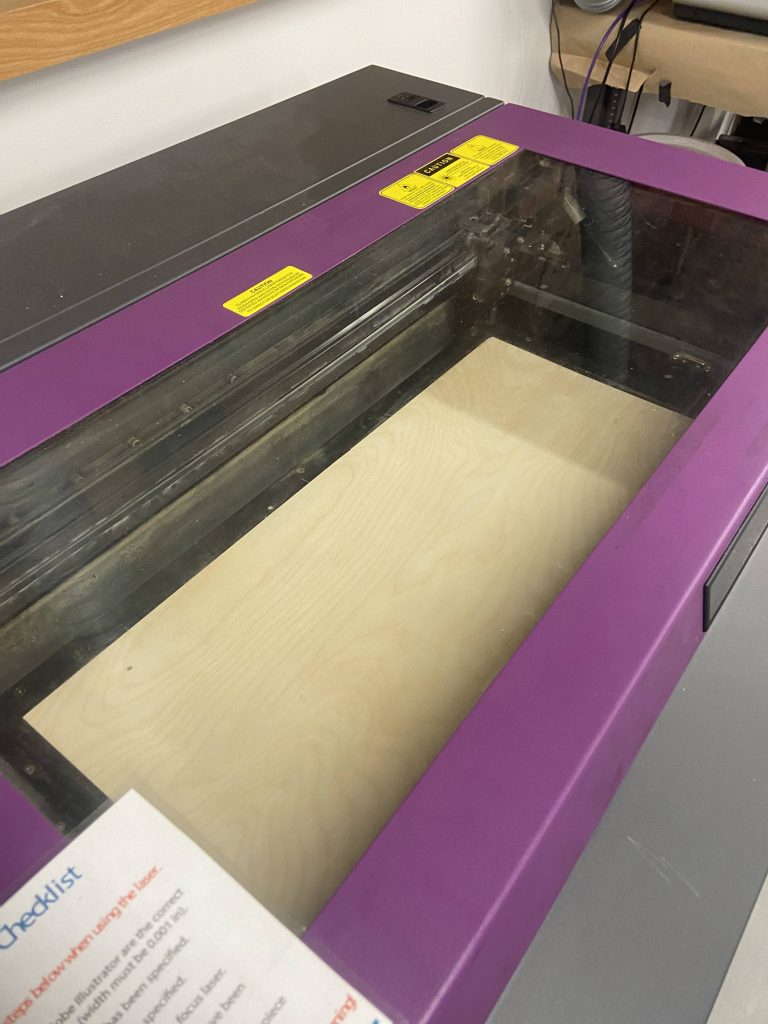
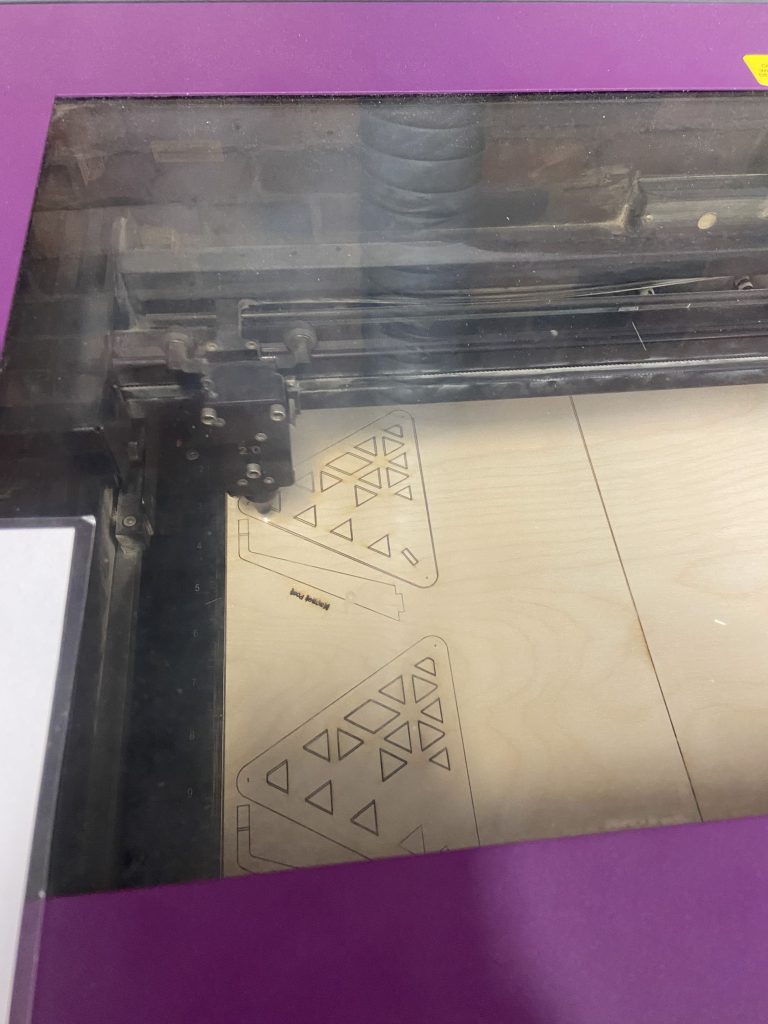
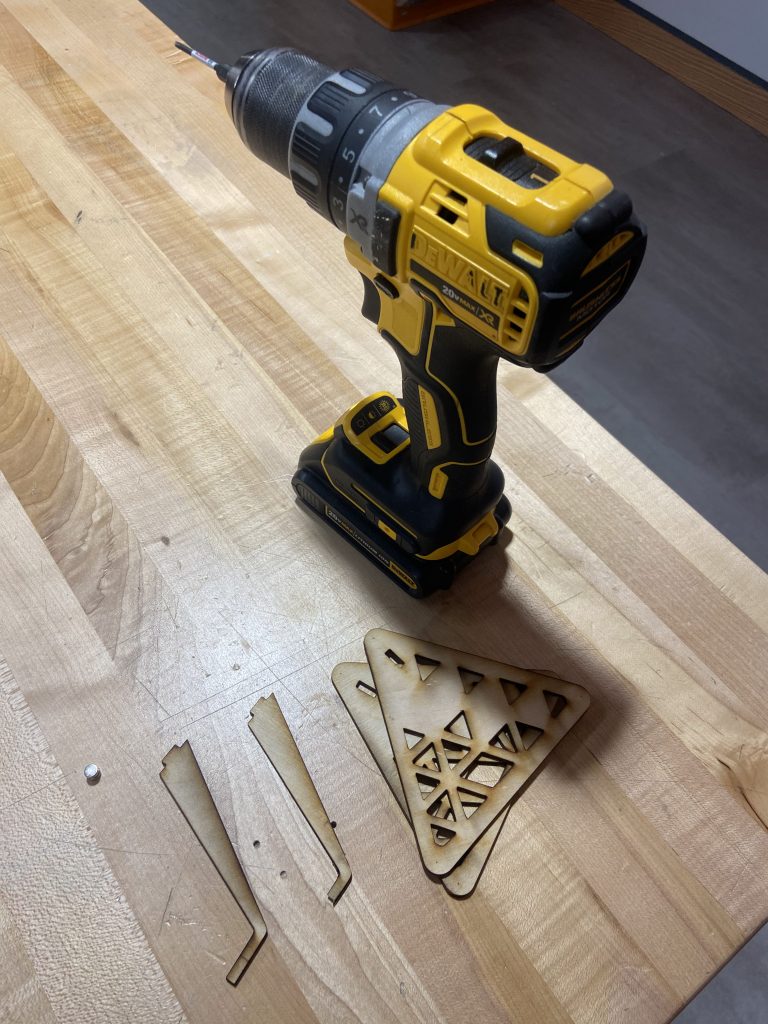
After modification, I decided to try the magnet portion of the design to see if I can pull it off. I then, uploaded the files to the laser cutter to cut out the design
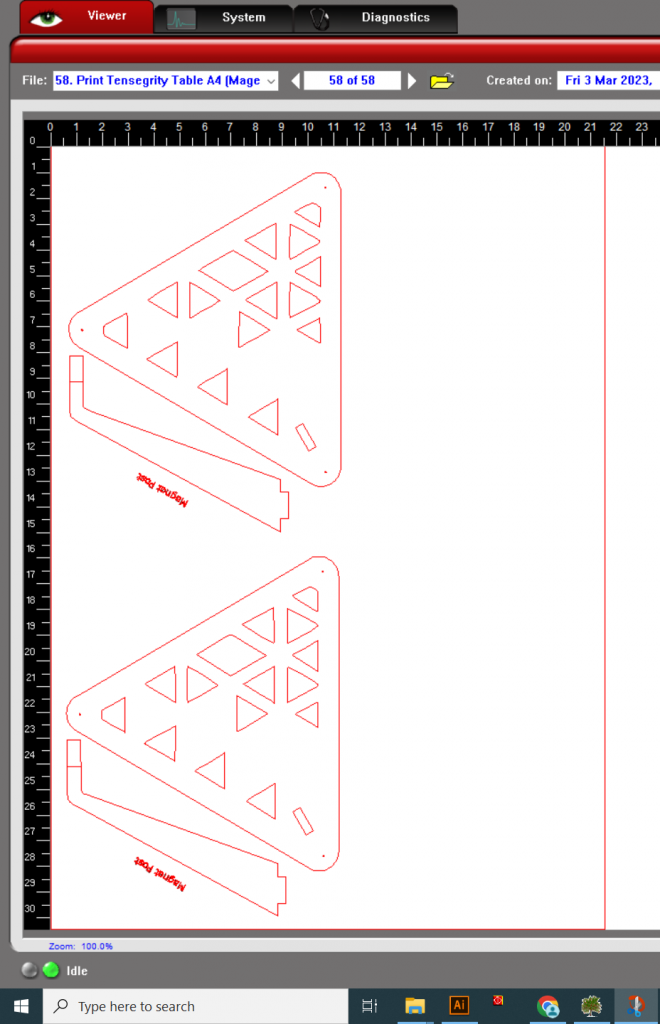
I saw that the file did not have the correct colors that would be efficient for the laser cutter so I set the lines to [225] on the RGB scale for the red and modified the file.
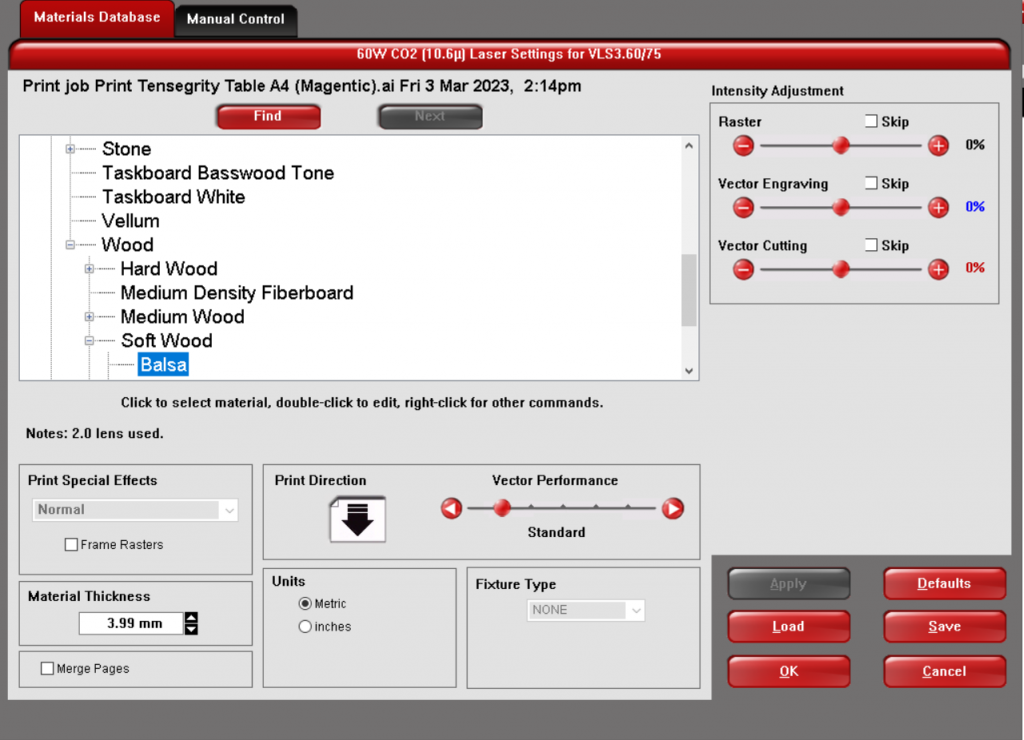
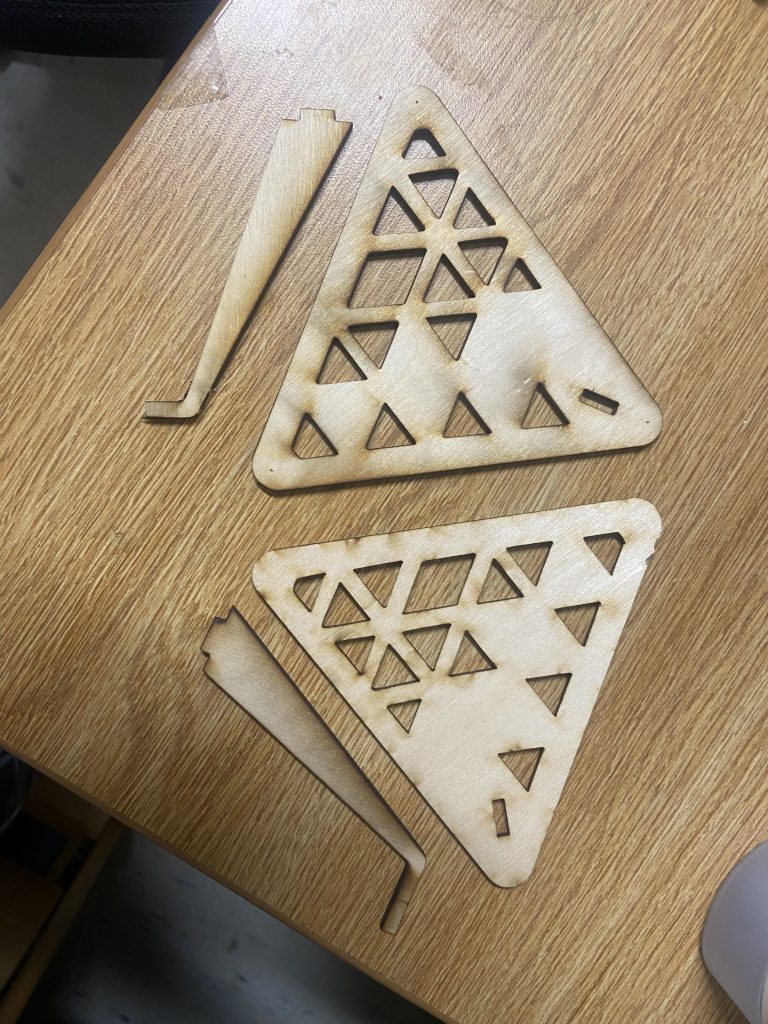
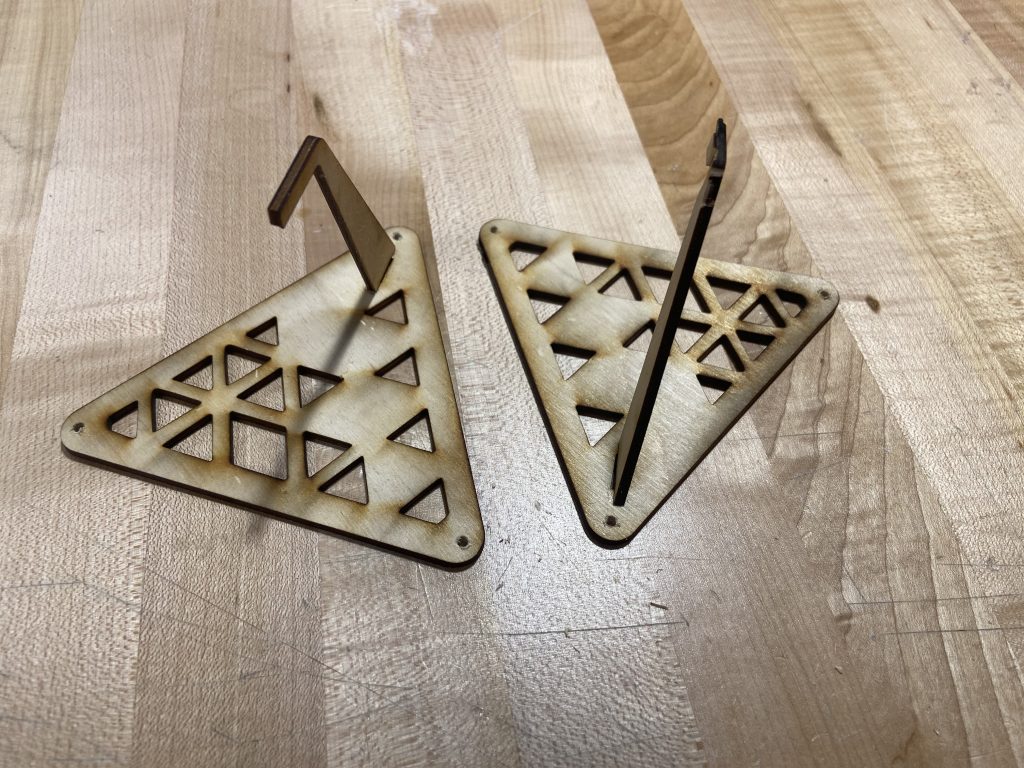
When I first added the .ai file to the laser cutter computer, I set the material thickness to 4 mm so that it can cut through the wood which is at 3 mm. However, after I finished the laser did not cut all the way through so I had to increase the thickness and slow down the laser to about 10%. After putting the wood into the laser cutter for the second time, the laser was able to cut through the wood and I was able to assemble the pieces.
I drilled holes using a 1 mm drill bit and I then super glued the legs onto the triangles into the slits. and let it dry.
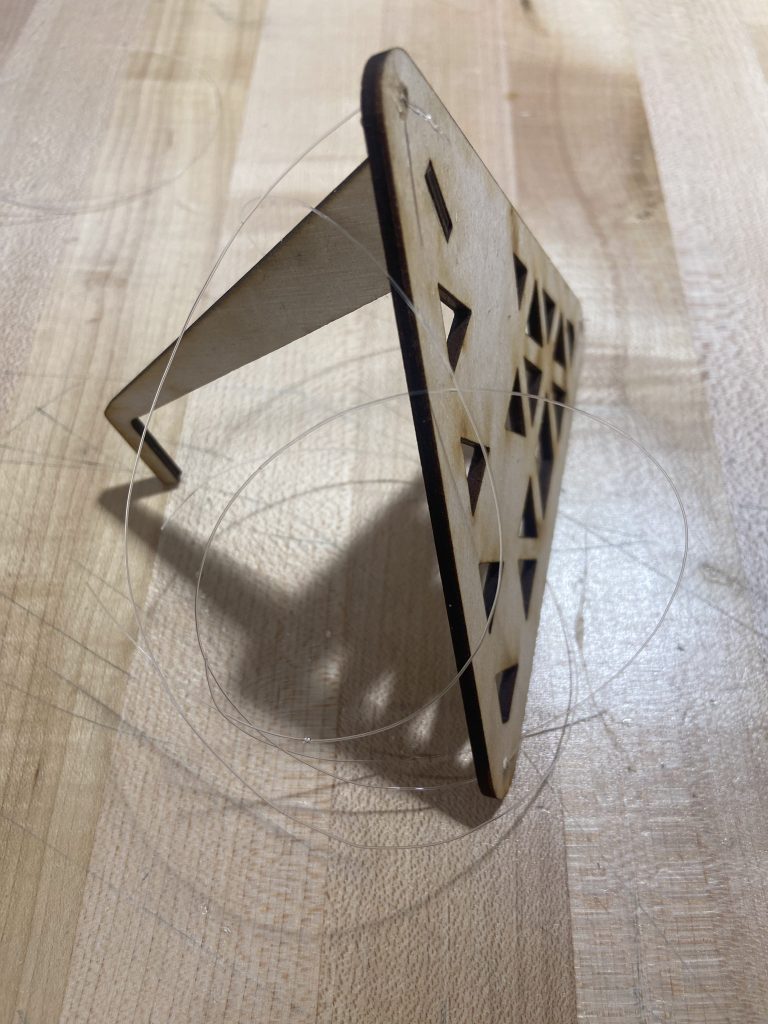
I proceeded to feed fishing line string into the drill holes in the triangle and I secured it with super glue and let it dry for the first hole. I then proceeded to measure the line using a rule and secured the two other strings using a ruler and superglue in order to make sure that the other strings are at the same length.
I FINALLY WAS ABLE TO DO IT !!!
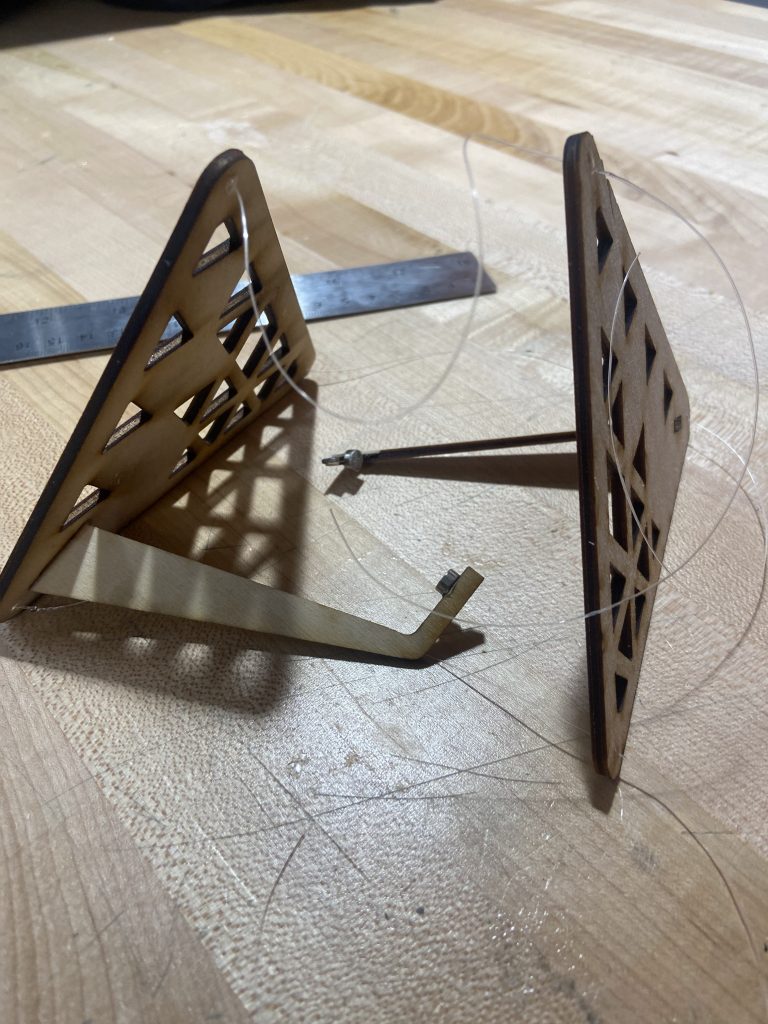
I then proceeded to glue magnets onto the bottom side of the legs with the same poles facing up and left the magnets to do their thing. The magnets would support the tables which would create tension in the strings suspending the tables up. After attaching, some of the strings were not the same length which caused me to reattach the string using tape which allowed for the table to be fully suspended and able to work.
In the end, I am really happy with how the table came out. Next time I would like to get bigger magnets so that the table is suspended better and probably make the table bigger. This would have been difficult to make using subtractive technology because the inner triangles would need to be precise and not affect the surrounding areas like a wood saw and lathe.

