HWK F4: Laser Cutting
Laser Cutting Homework Documentation
Project Overview
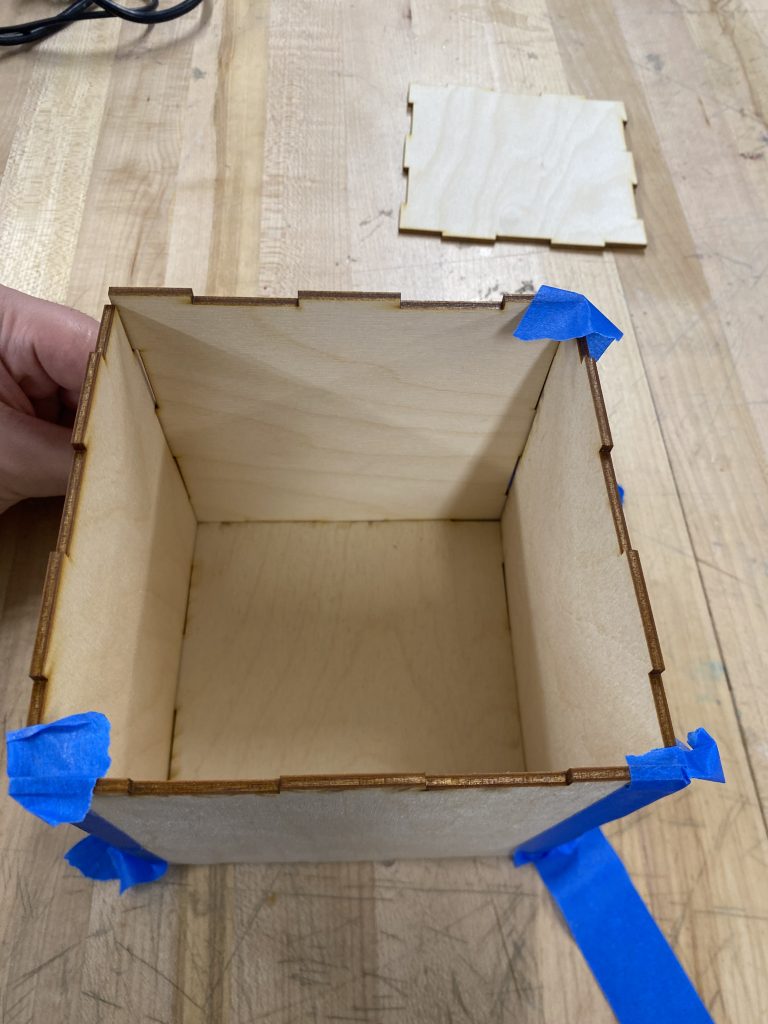
For this assignment, I chose to make a 5x5x5-inch cube using a laser cutter. The goal was to explore laser cutting techniques, understand file preparation, and successfully construct a 3D object from 2D materials. I had 6 flat faces that I could put together to make a 3D box.
Materials & Equipment Used
- Material: Birch wood (3mm thickness)
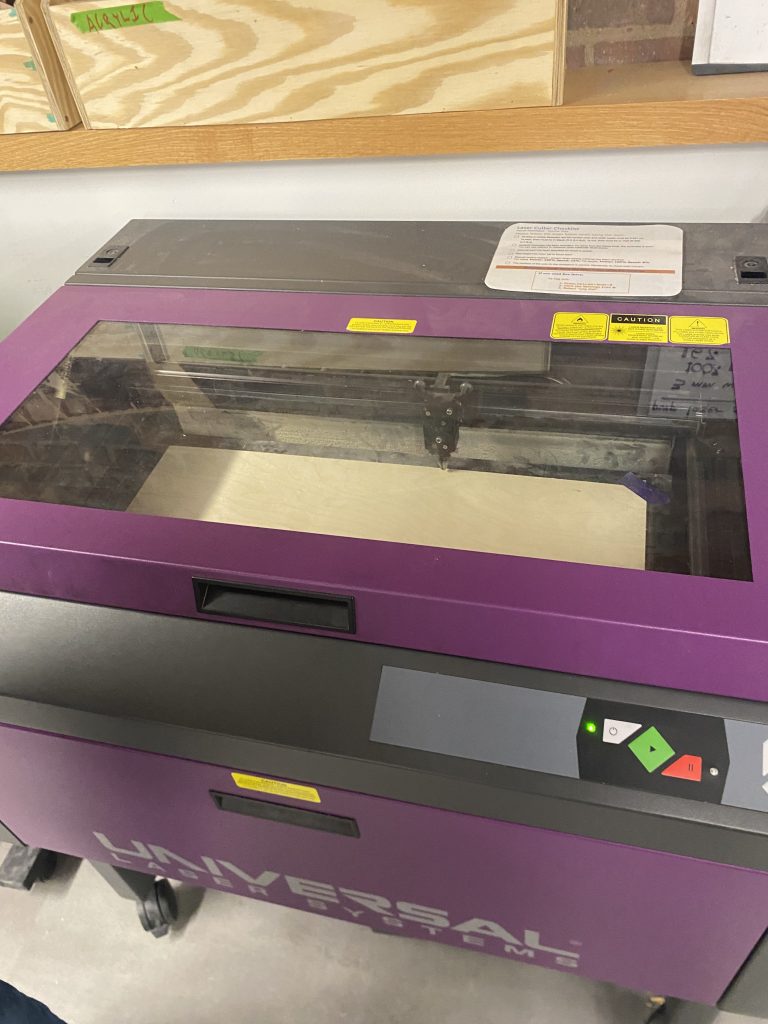
- Laser Cutter: Universal Laser Systems (Purple)
- Software: Adobe Illustrator
- File Format: SVG (originally attempted DXF but had compatibility issues)
- Additional Supplies: Blue masking tape, Wood glue
Design & Preparation Process
- Concept & Design
- I decided to make a cube with finger joints to ensure a snug fit without requiring adhesives.
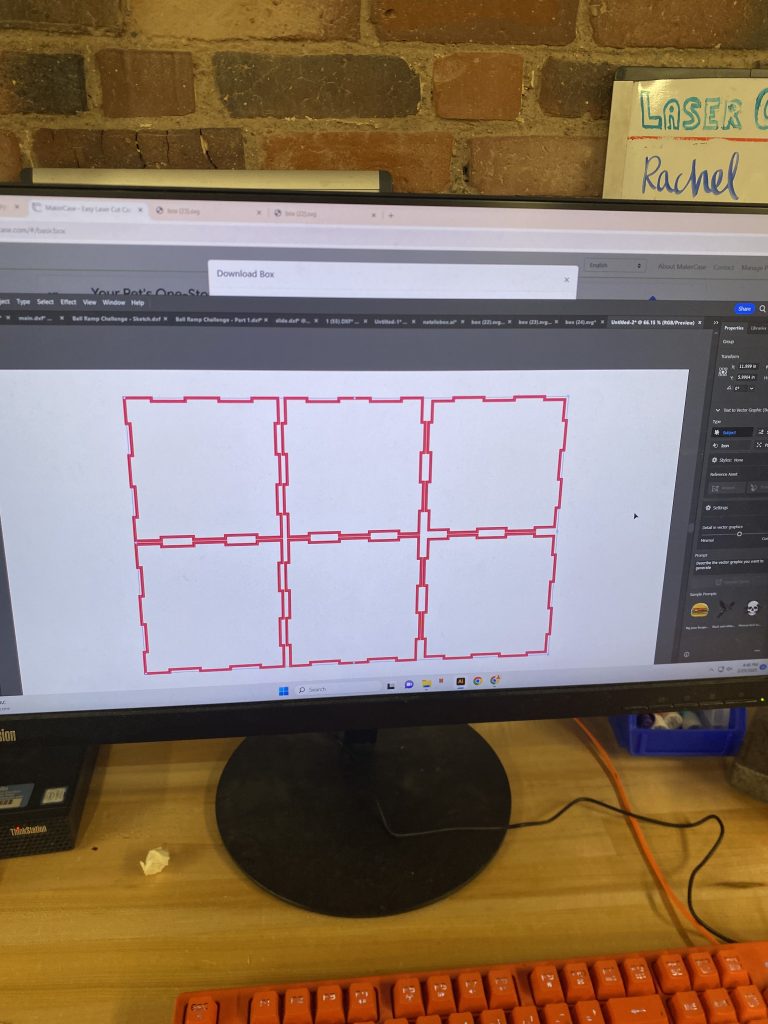
- Used Adobe Illustrator to create the vector design, ensuring all pieces aligned correctly.
- Set line colors and thickness for appropriate laser cutting:
- Red lines (0.001-inch width) for cutting through the material.
- Red lines ensures that the laser fully cuts through the material
- The laser width is 0.001 inches
- 1Laser cut at 100% intensity and 15% speed
- File Preparation & Troubleshooting
- Initially saved the design as a DXF file, but the computer had trouble reading the file.
- Switched to SVG format, which worked seamlessly with Adobe Illustrator and the laser cutter software.
- Ensured all stroke widths were 0.001 inches to be recognized as cut lines.
- Laser Cutting Process
- Material & Machine Setup:
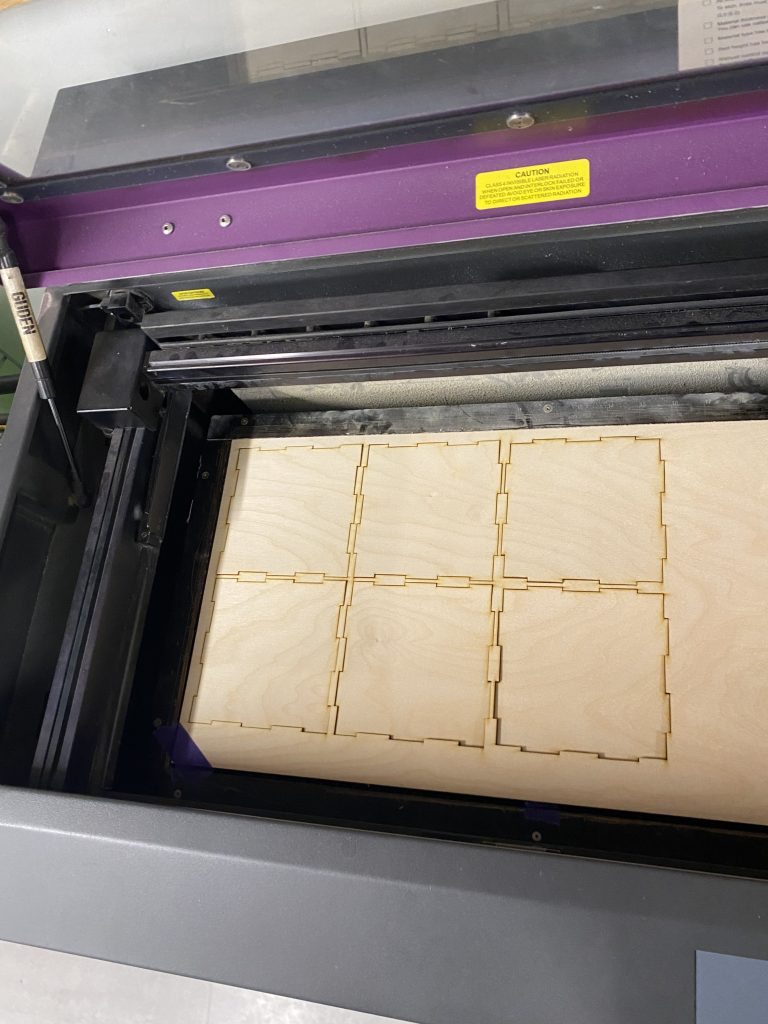
- Placed 3mm-thick birch wood inside the laser cutter.
- Calibrated the laser height using the focus tool for precise cutting.
- Adjusted the power, speed, and frequency settings to match birch wood specifications.
- Cutting Execution:
- Sent the SVG file to the Universal Laser Systems cutter.
- Tested to make sure laser is not cutting off the canvas of wood to ensure accuracy.
- This was simple to do and I could click on any point in Adobe Illustrator and the laser would move to that point
- Completed the full cut, ensuring minimal charring and clean edges.
- This process took less than a minute, it was extremely fast.
- Material & Machine Setup:
- Assembly
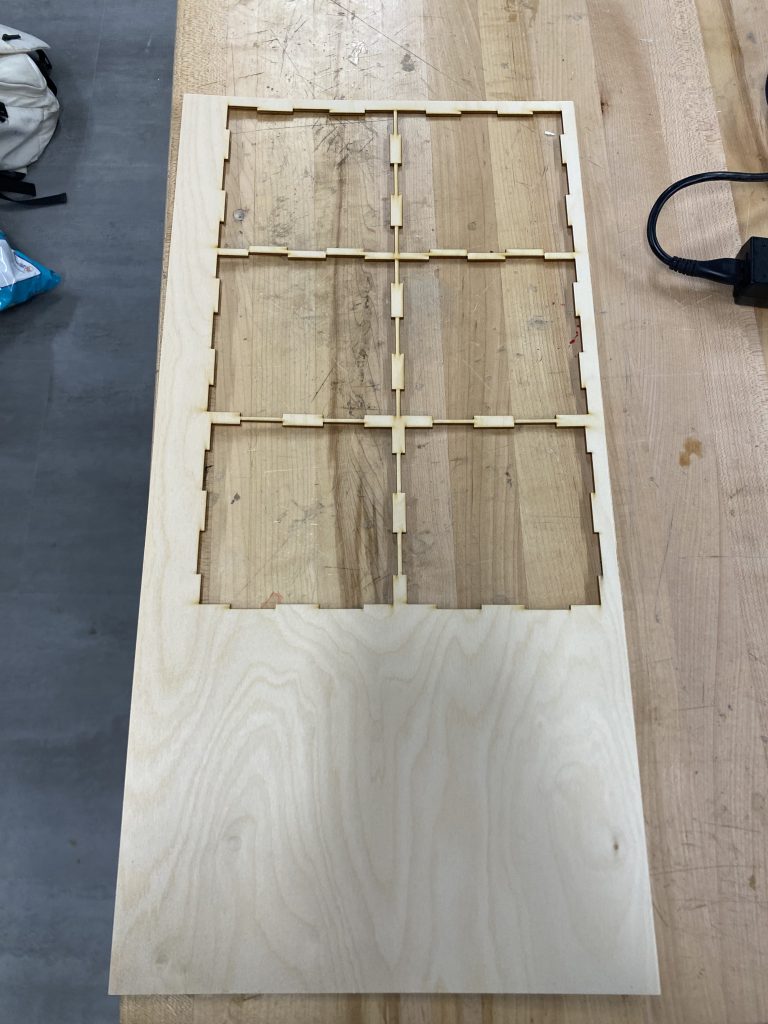
- Removed the pieces from the laser cutter bed.
- Sanded edges slightly for a smoother fit.
- Assembled the cube using finger joints, ensuring all pieces were locked securely.
- Used Blue Masking Tape on outside edges to temporarily keep the structure standing
- Then wood glue on the inside for long-term stability.
Challenges Faced & Solutions
- USB Drive Issues: The computer had trouble reading the USB drive, which delayed file transfer. Solution: Used a different USB drive and transferred the file directly to the laser cutter-connected PC.
- File Format Problems: The original DXF file was not recognized by the software. Solution: Converted the file to SVG format, which worked flawlessly.
- Laser Calibration: Had to ensure the laser was properly focused on the material for an accurate cut. Solution: Used the built-in focus tool and manually adjusted the height.
Why Use Laser Cutting?
Laser cutting is particularly advantageous over traditional fabrication methods like milling, lathes, or saws when:
- High precision is needed for detailed designs and exact fits.
- Fine details such as engraving or intricate cuts are necessary.
- Repeatability is crucial for mass production.
- Speed is a factor, as laser cutting is often much faster than manual cutting.
Comparison to Traditional Fabrication Methods
| Method | Advantages | Disadvantages |
|---|---|---|
| Laser Cutting | High precision, fast, repeatable, minimal waste | Limited to certain materials, can burn edges |
| Milling | Can cut thicker materials, 3D shaping | Slower, tool wear, complex setup |
| Saw & Table Cutting | Accessible, easy for large cuts | Less precision, requires manual labor |
Photos & Documentation

Conclusion & Final Thoughts
This project gave me hands-on experience with laser cutting technology and designing for digital fabrication. The process reinforced the importance of file preparation, material calibration, and troubleshooting common issues. Overall, laser cutting proved to be an efficient and precise method for creating a well-fitted 3D object with finger joints.
Thank you to the Nolop staff for all of your support Thanks for following along on my laser cutting journey!