HWK F6: Molding and Casting
Kirby Figure Molding & Casting Documentation
🎨 What Ideas Did We Explore?
For this project, our team explored the process of molding and casting by designing and fabricating a Kirby figure display. While we originally planned to create a candle and holder, we didn’t have the right materials. So, we pivoted to something we all liked—Kirby! We thought it would be a fun and manageable figure to mold and cast.
We explored:
- Creating both 1-part and 2-part molds
- Using 3D printed designs as mold positives
- Trying out different casting materials
- Testing different techniques to reduce air bubbles and improve cast quality
🧪 What Materials Did We Use and Why?
We used a variety of materials, chosen for their properties and availability:
- PLA filament – Used to 3D print molds and the Kirby figure
- Smooth-Sil 940 – Used to cast the base of the display. We chose this because it’s easy to use and cures well in a 1-part mold
- Alja-Safe – Used to make the 2-part mold for Kirby. It captures fine details and is safe to use for quick molds
- Mold Max 30 – Used to cast Kirby. It’s flexible and strong—and conveniently pink, so no painting needed!
🧩 Two Types of Molds
We created two distinct molds:
1-Part Mold: Kirby’s Base
- Designed in Fusion 360
- 3D printed using PLA filament
- The base was cast with Smooth-Sil 940
- This mold was simple and open, which made pouring easy
2-Part Mold: Kirby Figurine
- Created using Alja-Safe around a 3D printed Kirby
- Included alignment features (like washers) to help line up the mold halves
- A straw was added to allow pouring
- Kirby was cast using Mold Max 30, which is flexible and sets with detail
📸 Pictures, Videos, and Accessibility
CAD Renderings
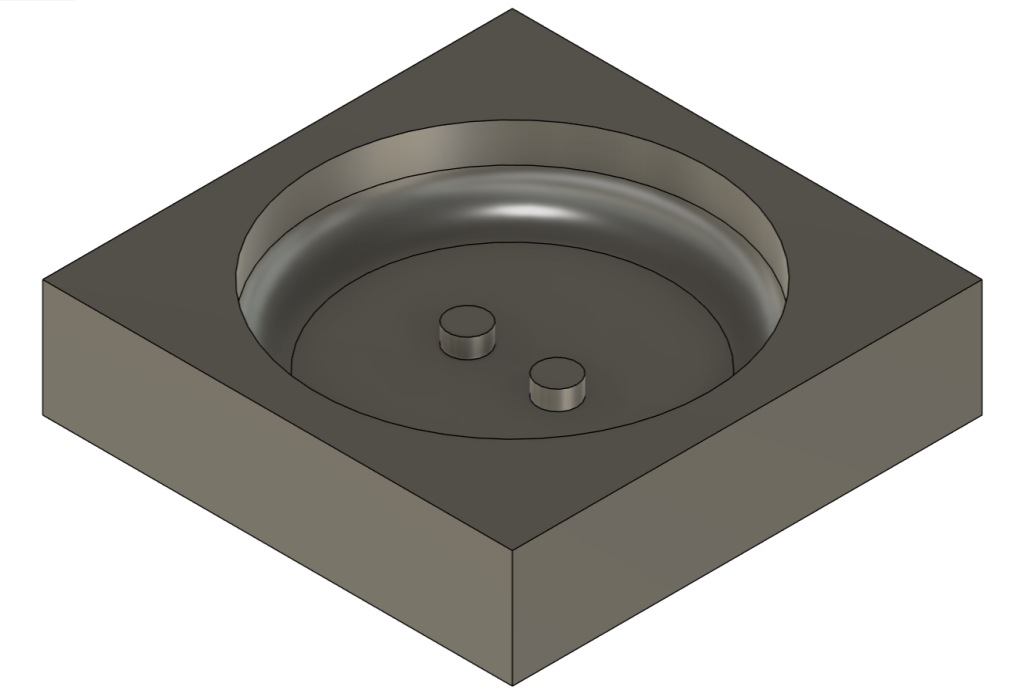
Single-part mold for creating Kirby’s display base


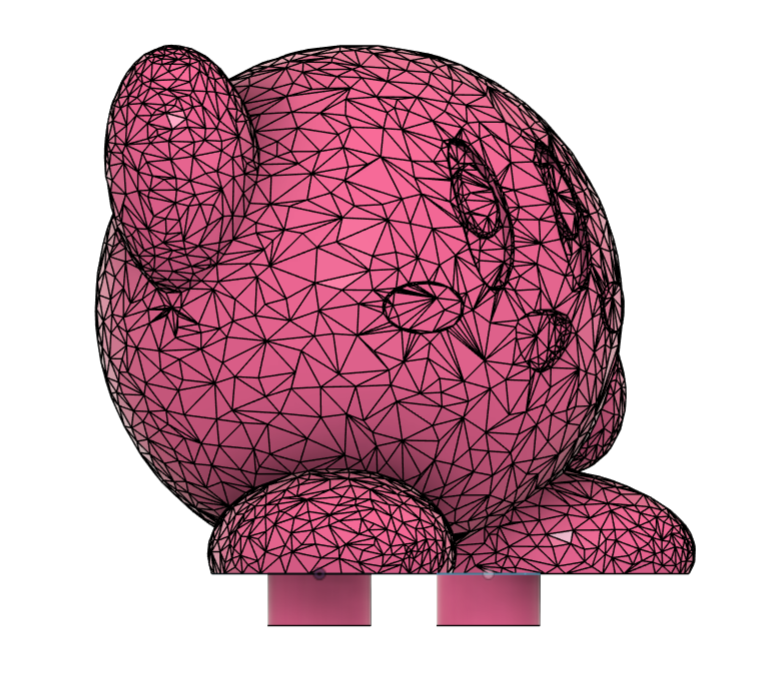
Two-part mold for casting the Kirby figure


😰 What Was Difficult?
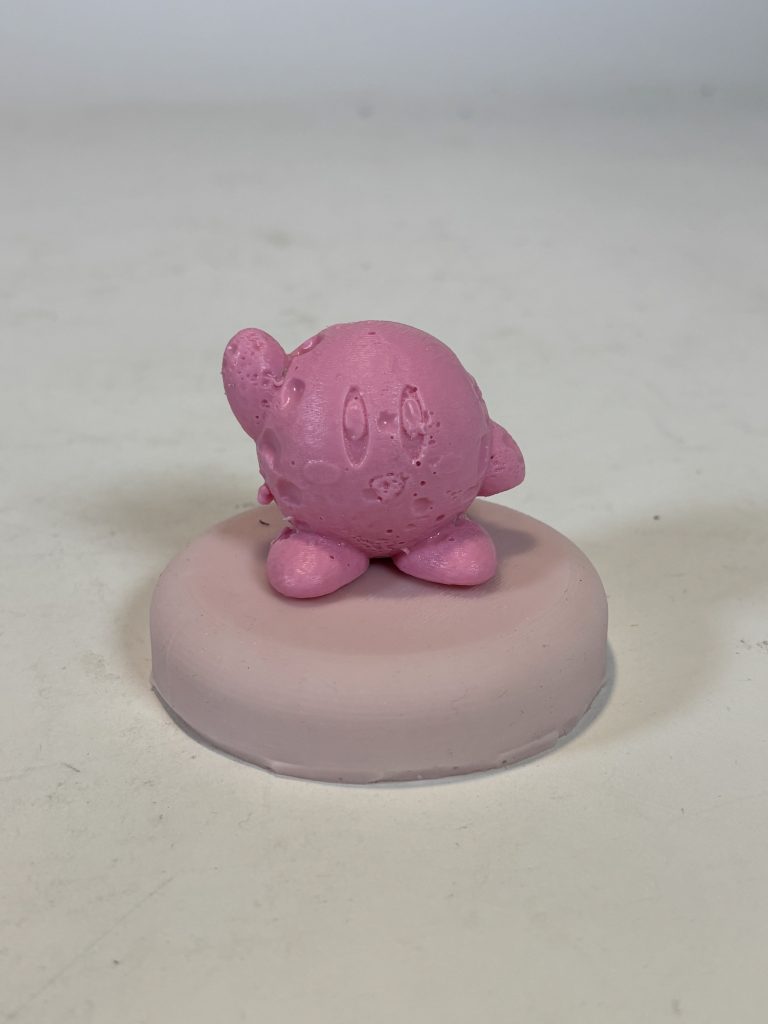
The most challenging part was casting Kirby with Mold Max 30. It’s a thick, viscous material, so:
- It was hard to pour at a steady rate
- Air bubbles got trapped in the mold, leaving pockmarks on Kirby
- We had to use a dowel and funnel to push the material into the mold
We also faced scheduling difficulties—group members had different availabilities, so tasks were split up and done at different times.
What we’d improve next time:
- Use a larger pour hole and add air vents
- Consider using a less viscous material or a vacuum chamber to remove air
- Coordinate group sessions earlier
📚 What Did We Learn?
This project taught us:
- How to design for molding and casting, especially choosing where to split the mold
- How to mix and cure different materials correctly
- The importance of team communication and planning
- That air flow and mold design are key to avoiding bubbles
We also learned how to adapt when original plans don’t work out—and found a fun and creative solution with Kirby!
AI was used to edit website content and notes for clarity and grammar so that it can be polished and also aesthetically pleasing!
Thank you for following along!