HWK F2: CAD
3D Model Project: Chess Piece in SolidWorks
CAD Experience
Before this project, I had no prior experience with CAD software or SolidWorks. This was my first time using SolidWorks, and I found it to be both a challenging and rewarding learning experience. I decided to model a chess piece because chess holds sentimental value for me; I used to play a lot with my family when I was younger. While my design may seem simple, it took significant effort and troubleshooting to complete.
Software Package Used
For this project, I used SolidWorks exclusively. I did not experiment with other CAD programs, as my focus was on learning the fundamentals of SolidWorks. I used the IPS measurement system.
Challenges Faced
One of the first things I realized about SolidWorks is how precise it is. Every click performs an action, and for almost every feature, you need to press ‘Escape’ before moving on to another tool. At first, this was frustrating because I would accidentally activate unintended features, but as I continued working, I got more comfortable with the workflow.
Another major challenge was navigating the interface using my laptop’s touchpad instead of a mouse. Zooming in and out was difficult because even the slightest touch would cause a drastic change in size. This made it tricky to maintain control over my design.
I also encountered difficulties using the Smart Dimension tool. Initially, I struggled to input numerical values in inches. I eventually discovered that I needed to click down, wait, and then input my desired measurements. This troubleshooting process was frustrating at first, but overcoming it helped me understand the software better.
Key Features and Tools Used
- Revolve Feature: I enjoyed working with this tool the most, as it allowed me to create the cylindrical and symmetrical shape of the chess piece efficiently.
- Fillet Tool: This helped smooth out edges and make my model look more polished.
- Chamfer Tool: I experimented with this tool to create subtle design elements.
- Smart Dimensions: Essential for ensuring accurate measurements and proportions.
What Was Hard?
The hardest part was getting used to SolidWorks’ precision and tool activation process. Understanding how to move between features efficiently took a lot of trial and error. Additionally, working without a proper mouse made navigation cumbersome.
What I Need to Learn to Advance Further
To improve my CAD skills, I need to explore more advanced features beyond basic shaping and dimensioning. I would like to learn about:
- Assemblies and how to create more complex multi-part models
- Additional surface modeling techniques
- Using constraints effectively for more precise control
- Other tools like Loft and Sweep to create intricate shapes
Final Thoughts
Overall, this was a great learning experience. While it was frustrating at times, I gained a foundational understanding of SolidWorks and 3D modeling. I now feel more confident in using CAD software and look forward to exploring more advanced features in future projects.
Steps
Drawing the Half Silhouette
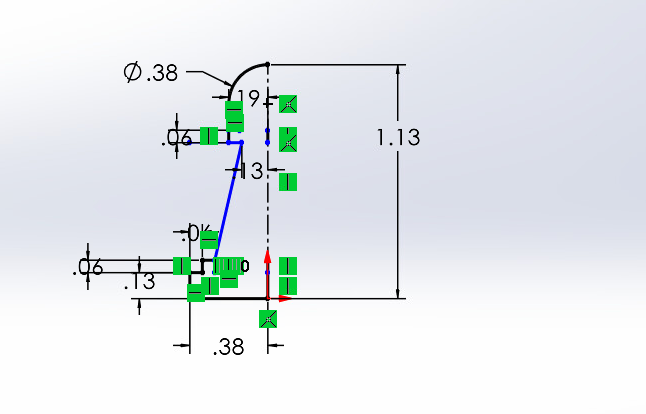
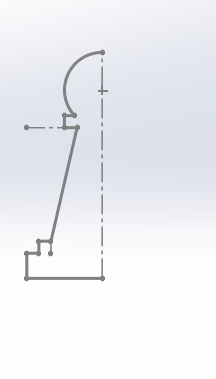
Using the Sketch tool, I outlined one-half of the chess piece’s profile on a 2D plane. I used straight lines, the circle tool, and corner rectangle tool to define the shape. I used the trim feature to get rid of the overlap of lines.
Applying the Revolve Feature
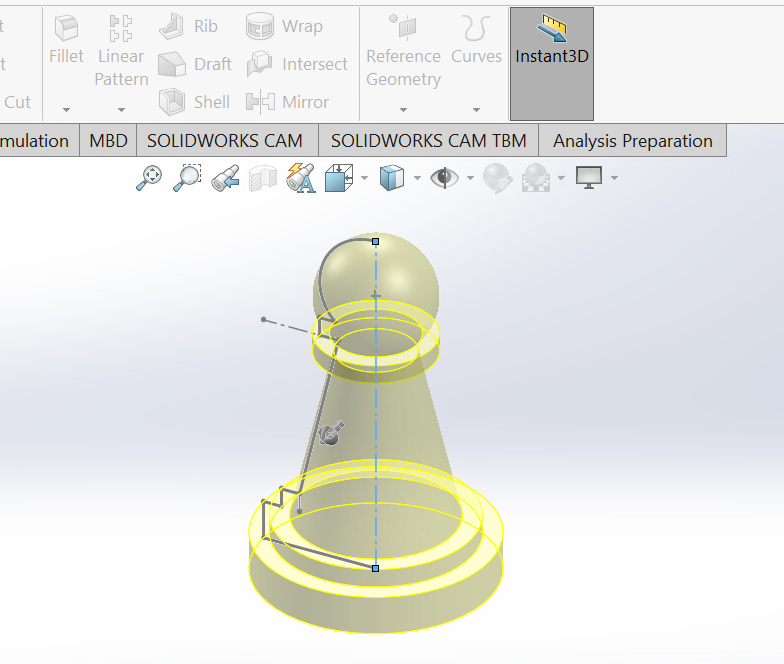
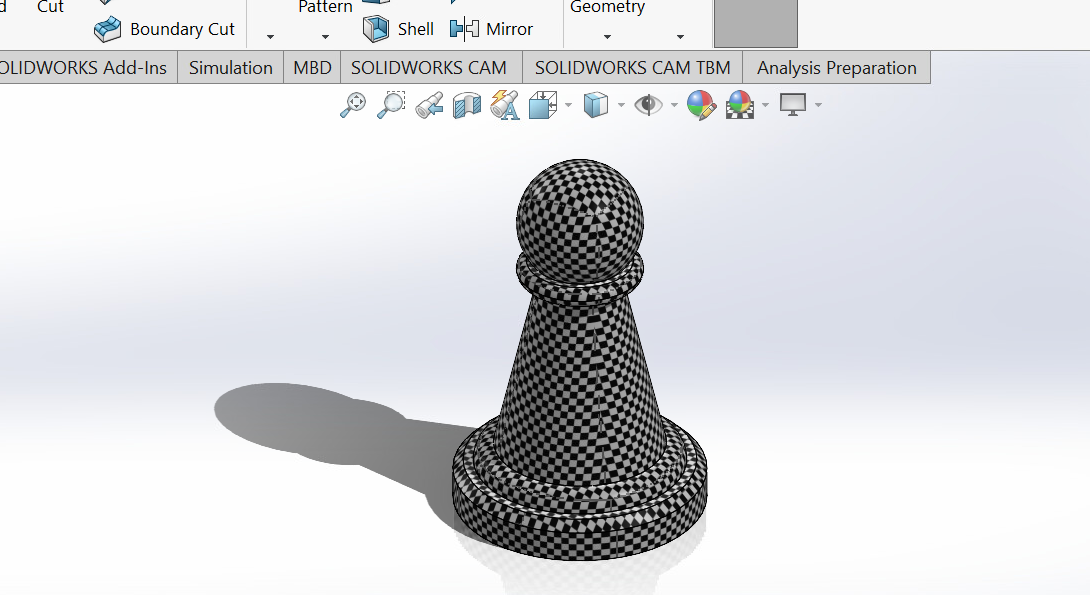
I revolved the 2D sketch around a central axis to create a symmetrical 3D chess piece.
Filleting and Chamfering Edges
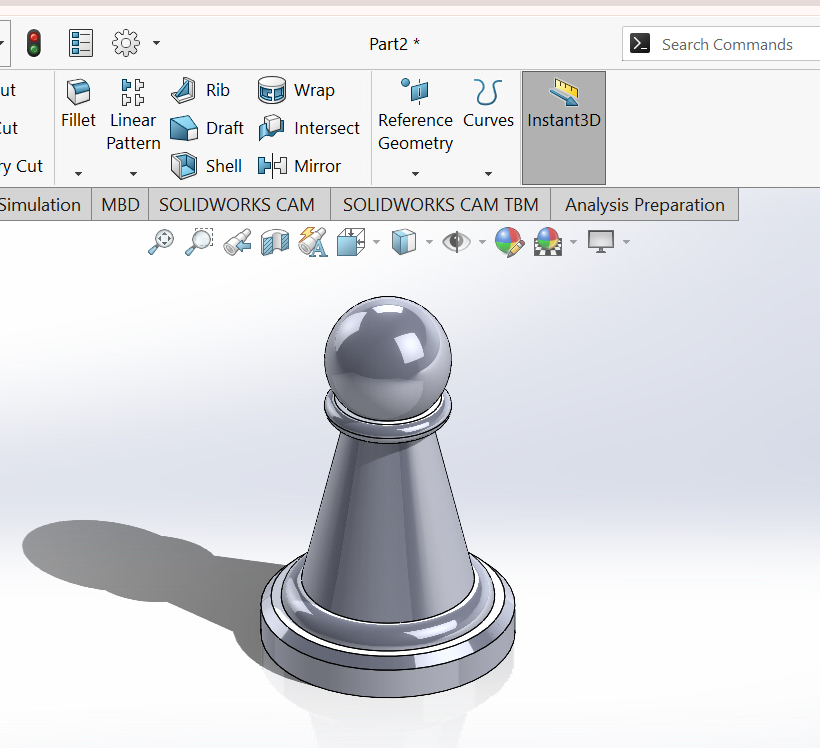
I used the Fillet tool to round out sharp edges and the Chamfer tool to create subtle design details on the base.
Final Design Touches
I added an eye-appealing pattern coating to my chess piece!
Thank you for following along on my CAD journey!