HWK F3: 3D Printing
3D Pen Holder
Printer and Material Used
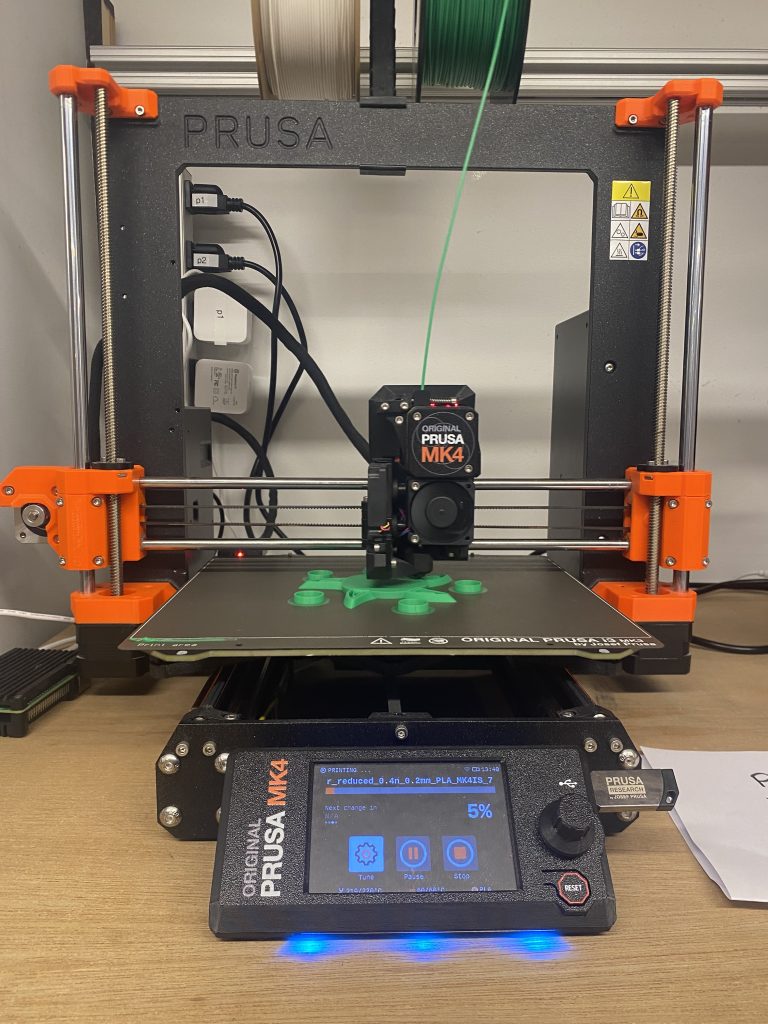
- Printer: Prusa MK4
- Slicing Software: PrusaSlicer
- Material: PLA filament (Green color)
- File Upload Process: Used USB to transfer STL file to PrusaSlicer before printing.
Design Overview
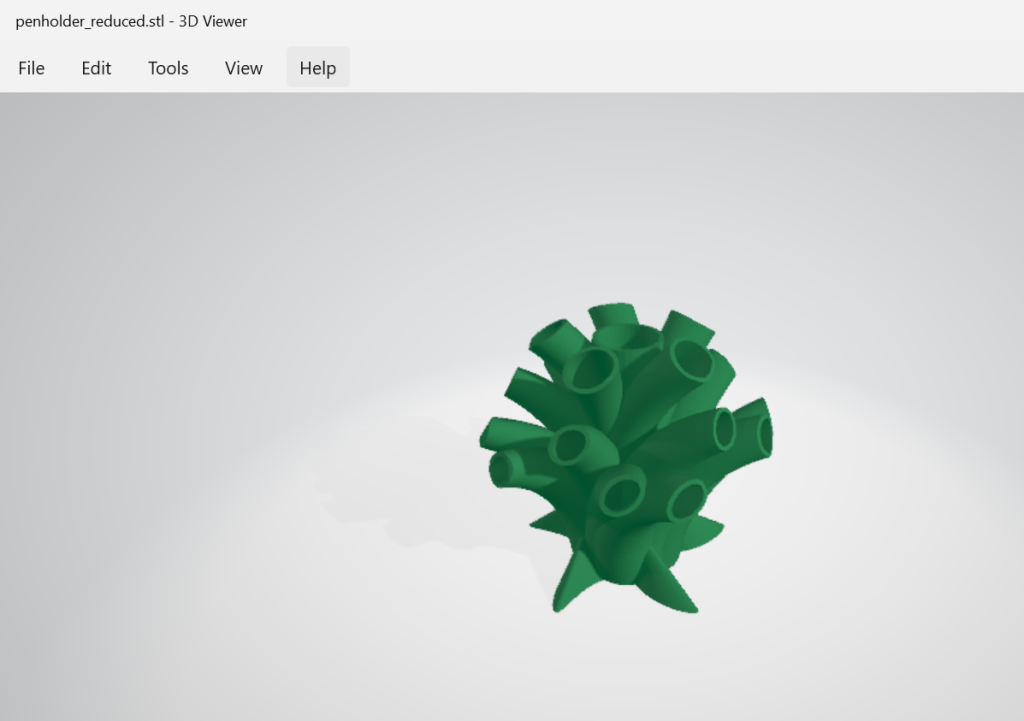
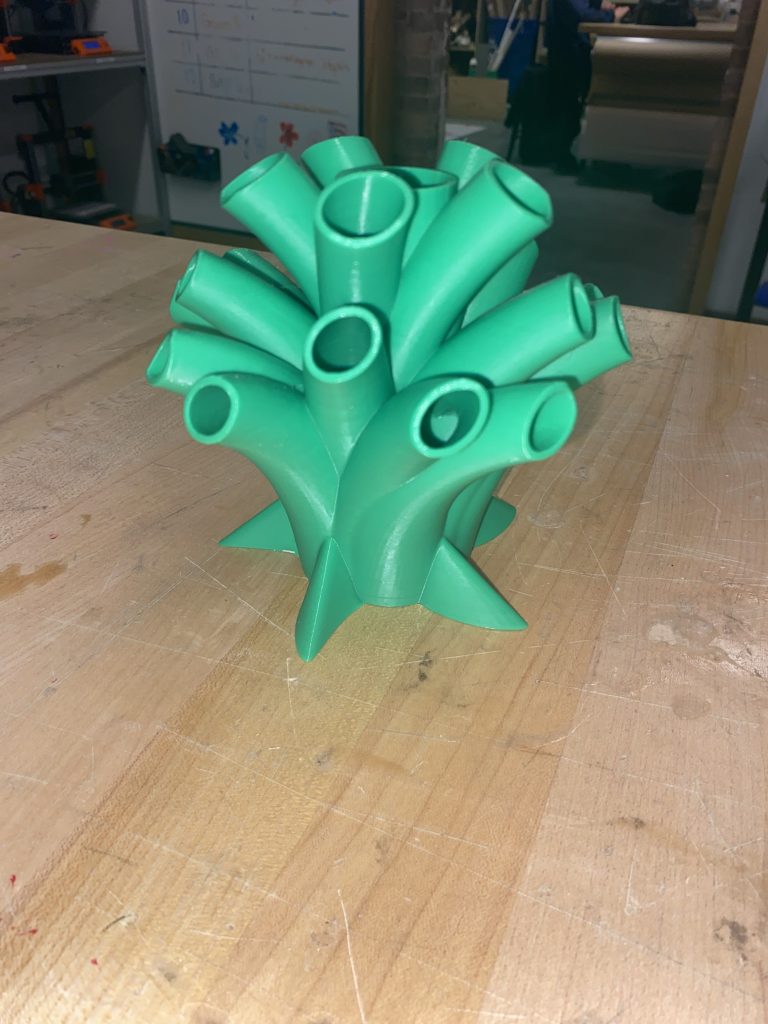
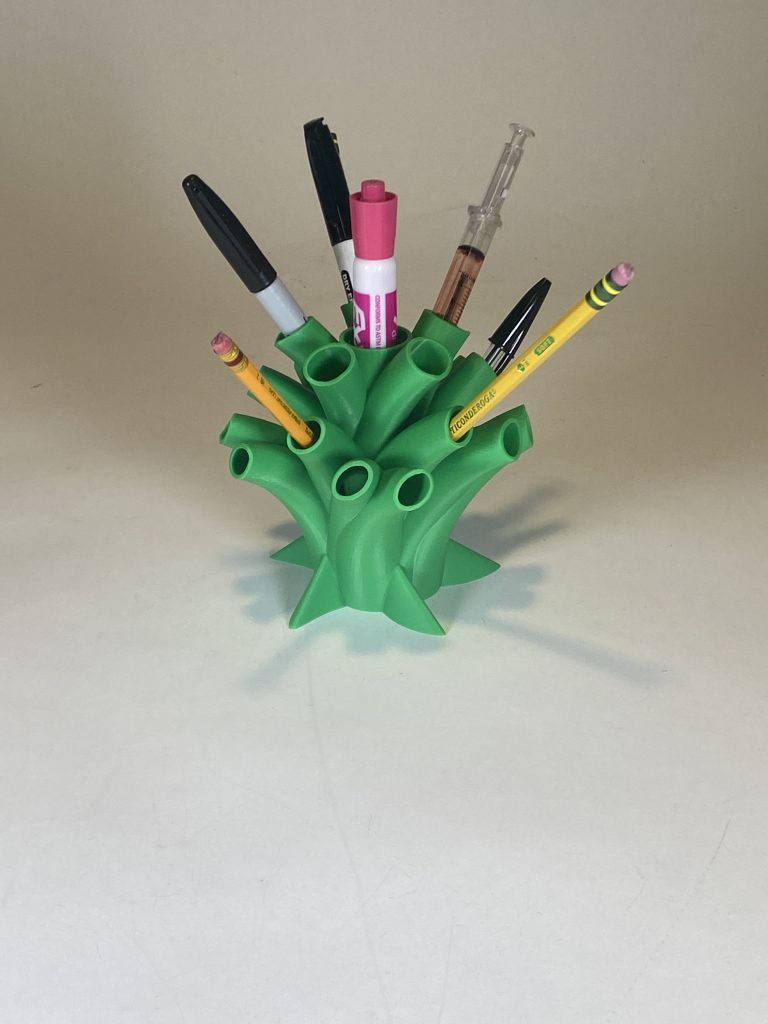
- The design is a circular-shaped 3D pen holder featuring tree-like branches extending outward.
- The holder is hollow inside, optimizing material use and making it lightweight.
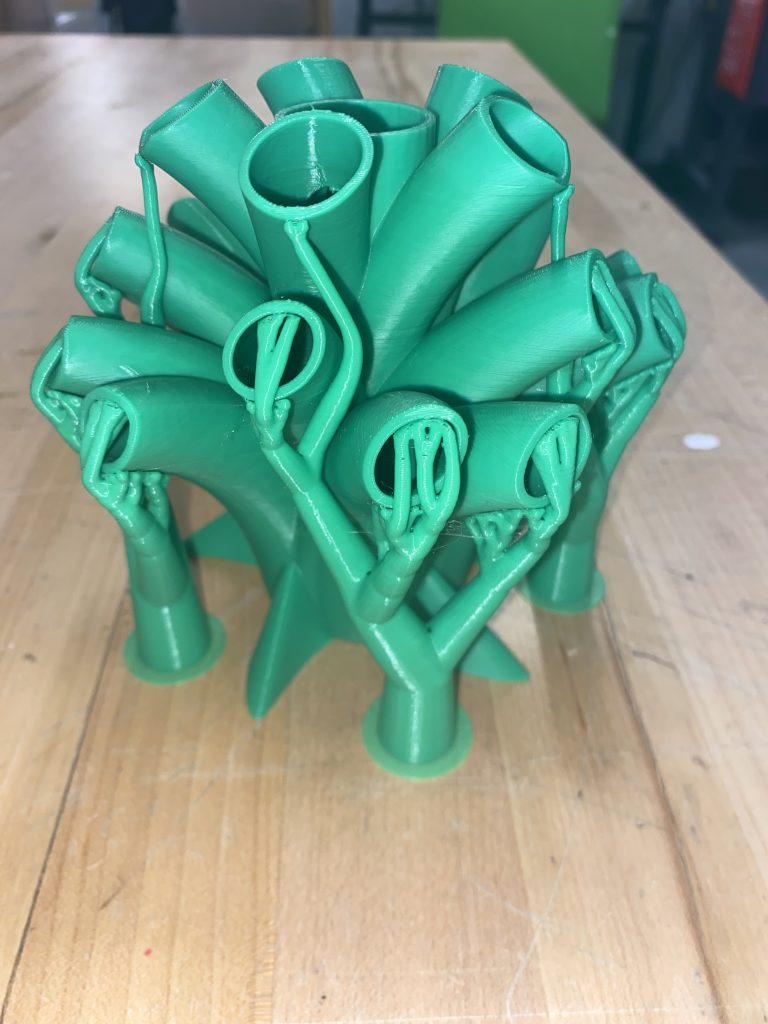
- The entire print, including the organic supports, is hollow to minimize filament usage.
- Final dimensions: 4.7″ x 4.7″ x 4.7″ to fit within the required 5-inch cube limit.
- The original design was 5.7″ x 5.8″ x 5.3″, which would have taken 14 hours to print. Reducing the size cut print time in half to 7 hours.
- The design is very sturdy and stable on a flat surface and can hold many pens and pencils, and even an Expo marker in the middle!
Optimization Goals
Changes Implemented and Their Impact
- Primary Goal: Minimize material usage and print time.
- Additional Goal: Ensure stability on a flat surface.
- Used hollow organic supports, reducing material consumption.
- Used the concentric infill pattern, which follows the model’s outer contours for efficient printing and material savings. This significantly cut the time down.
- I switched from the monotonic lines infill pattern to concentric witch contributed to the time reduction
Optimization Summary
| Change Made | Before | After | Impact |
|---|---|---|---|
| Overall size reduction | 5.7″ x 5.8″ x 5.3″ | 4.7″ x 4.9″ x 4.3″ | Cut print time from 14 hours to 7 hours |
| Organic supports | Solid | Hollow | Reduced material usage |
| Concentric infill | Monotonic lines infill | Concentric pattern | Faster print time and better efficiency |
Difficulties in the Printing Process
- Since the supports were hollow, they were easier to remove but still required careful handling to avoid damaging the structure.
- Ensuring the object remained stable while reducing material was a challenge.
- Some areas required some sanding to smooth out minor imperfections.
- My print stuck to the bed a little too well, making it slightly hard to remove. I had to carefully pry it off without damaging it. Next time, I might try using a flexible print bed to make removal easier.
- One challenge was getting the STL file onto the Nolop USB. I had to try multiple USBs before my laptop recognized one. A Nolop employee mentioned that some USBs are corrupted, so I didn’t need to worry too much. Once I found a working one, everything was fine.
Examples of Objects Difficult to Fabricate with Traditional Methods
- Complex Internal Structures: Traditional manufacturing methods, like injection molding, struggle with creating hollow, intricate designs like this pen holder.
- Customized, One-Off Designs: Traditional machining would be inefficient for producing a unique, tree-branch-styled pen holder with internal hollowness.
- Interlocking and Moving Parts: Objects such as, gears, or custom joints can be printed in a single go without assembly.
- Highly Detailed Mini Objects: Fine details, such as those found in architectural models, figurines, and prototypes, are difficult to achieve with traditional carving or molding.
- Lightweight, Strong Lattice Structures: 3D printing enables the creation of strong yet lightweight lattice structures that would be nearly impossible to machine conventionally.
- Personalized Medical Implants and Prosthetics: Custom-fitted implants, and prosthetics benefit from the flexibility and precision of 3D printing.
Conclusion
This 3D printing project reduced material use and print time while staying strong and stable. Hollow organic supports and a concentric infill pattern helped make it more efficient. The final design works well and shows how 3D printing can create complex, lightweight, and effective structures.
Thank you for following along on my 3D printing journey!