
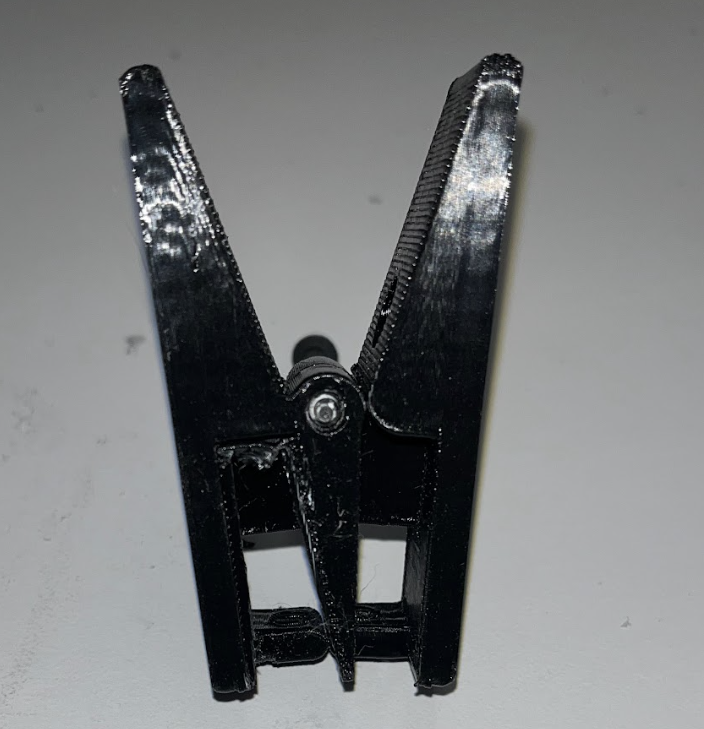
As our first physical prototype, we wanted to make sure that our initial design worked before moving forward. In this version, the design was non-directional and did not use bearings to close. We 3D printed a prototype in Sci-Tech 252 using the Ender and Creality PLA printers.

Notes on printing and settings:
- Import the .stl files in millimeters, not inches
- Print on the newer version printers (those in the back corner of room 252)
- Print the two main halves on their ‘backs’ with most surface area touching the printing bed
- Use the usb to microSDs to transfer .gcode files onto the microSD cards on the front of each printer
- Note that PrusaSlicer will automatically export .bgcode files (binary gcode), which the printers in R252 will not accept
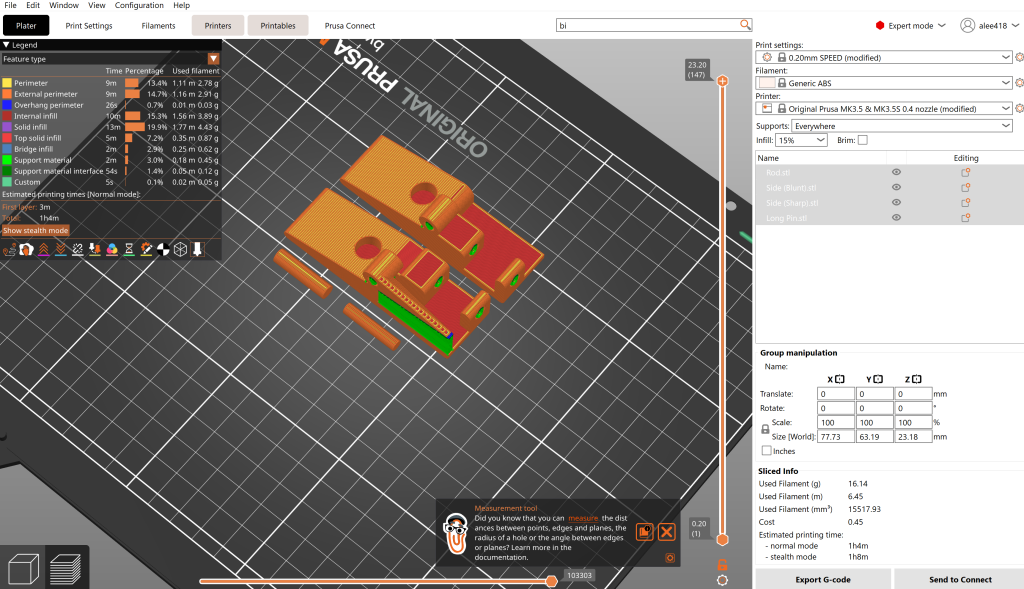
Below is a screenshot of the layout and some basic settings from the PrusaSlicer software:
To remove the supports under the extrusion, we used scissors to cut straight lines and removed the rest of the support material by hand. To remove the support material within each tubular structure, we used a hammer and nail to ‘nail out’ supportive structures.
On April 7th, we met with Professor Lai to discuss our current prototype and in which direction we should move forward in. From this session, we look to improve our design for our users by including the following considerations:
- How we will attach the spring to 3D print
- If we want to retain 3D print as the majority material
- What hinge mechanism we will use and making a more secure interface with the hinge mechanism
- How to ensure the bearings stay in place
- Threading the material -> non-PLA / 3D print material
- Threading the dowel
- Small nut to secure bottom edge
Without a bearing mechanism, it is hard to use the prototype to close the bag. However, the opening mechanism works as demonstrated below.