This next fabrication project is about laser cutting, another process that I have absolutely no experience with but am excited to try out! My initial plan was to laser cut the Spotify code that I designed in CAD and 3D-printed, to see how the same design would change through different fabrication processes. I imported the .stl file from my CAD design into Slicer for Fusion360, and looked at the options for cutting.
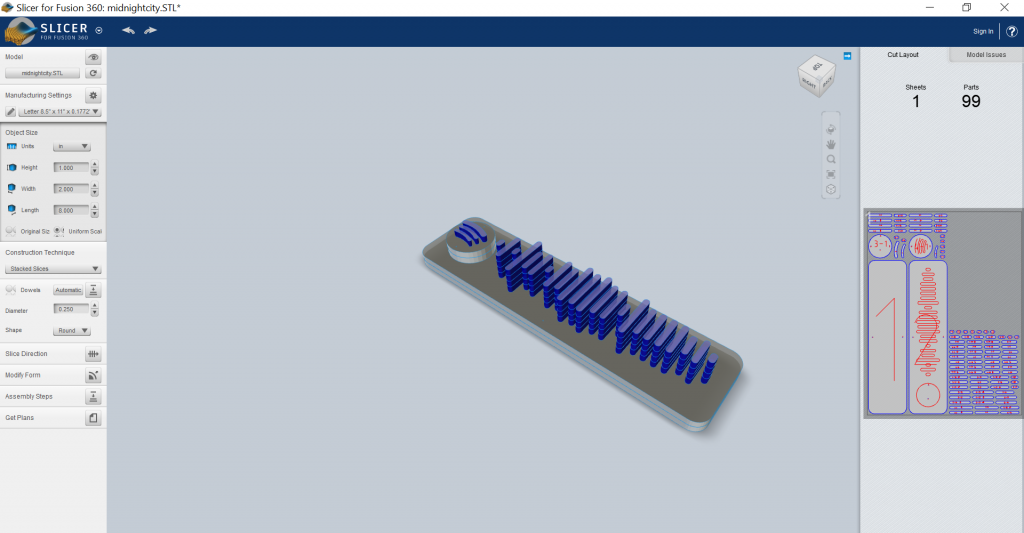
Due to the nature of the design (mainly 2D with 3D extrusions) , the only construction technique that made any sense was the stacked slices. The rest of the construction techniques showed a jumbled mess with unattached pieces in the preview, and I wanted to have a clear idea of what my product would look like for my first time laser cutting. However, the stacked slices method also looked like a nightmare, as the preview showed that 99 individual parts would need to be created, many of them very tiny and identical. This would be an absolute headache to put together, and the final product would likely not look very good.
Therefore, I decided to scrap this idea and use another, something more 3D-oriented. I went to thingiverse.com and spent some time (literal hours, oops) looking at files. There were lots of cool things that I could have chosen to laser cut (and a few things I might try to 3D print in the future), but I chose to download the file of a rubber duck-inspired design. I wanted a design that was relatively simple, yet distinctly 3D and could feasibly be laser-cut.
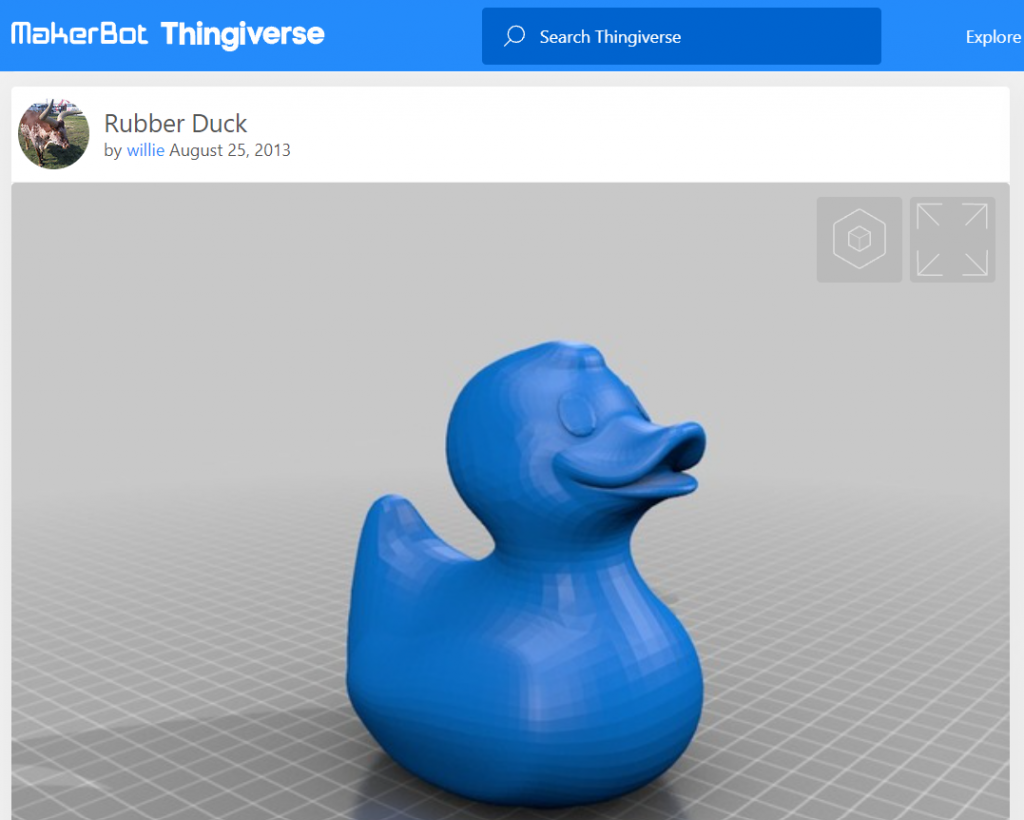
I wanted to add my own touch to this design, so I imported the model into Solidworks, and found out that this model is MUCH more complex than I anticipated. The model was made almost entirely of triangles, and somehow with a different method than the standard solidworks shapes that I was used to. I decided to just make an extruded text cut reading “QUACK QUACK QUACK” on the bottom of the duck.
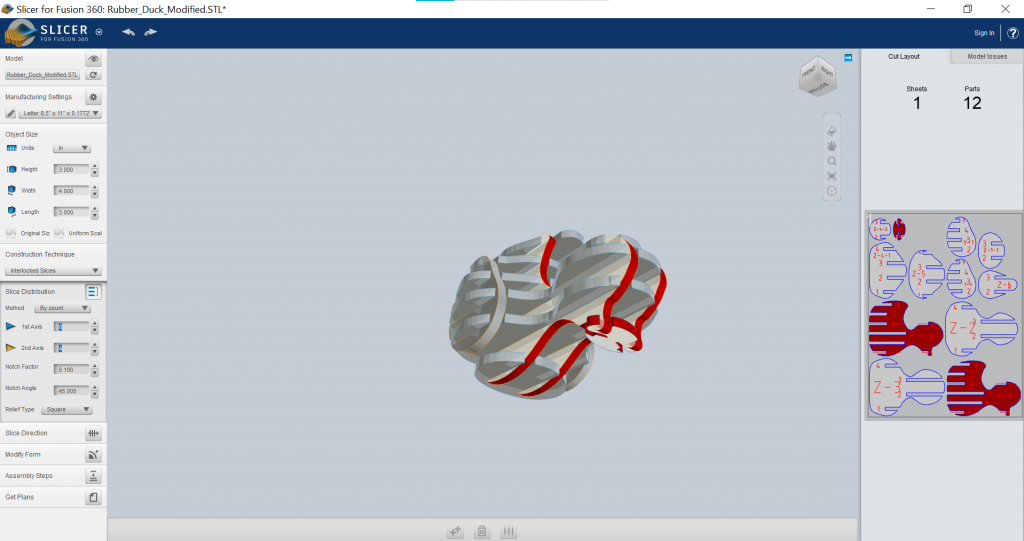
I then exported the file to the Slicer for Fusion360 software, and explored the construction techniques. I decided that interlocked slices would be best, and stayed with the default suggestion of 10 slices on the 1st axis and 7 slices on the 2nd axis.
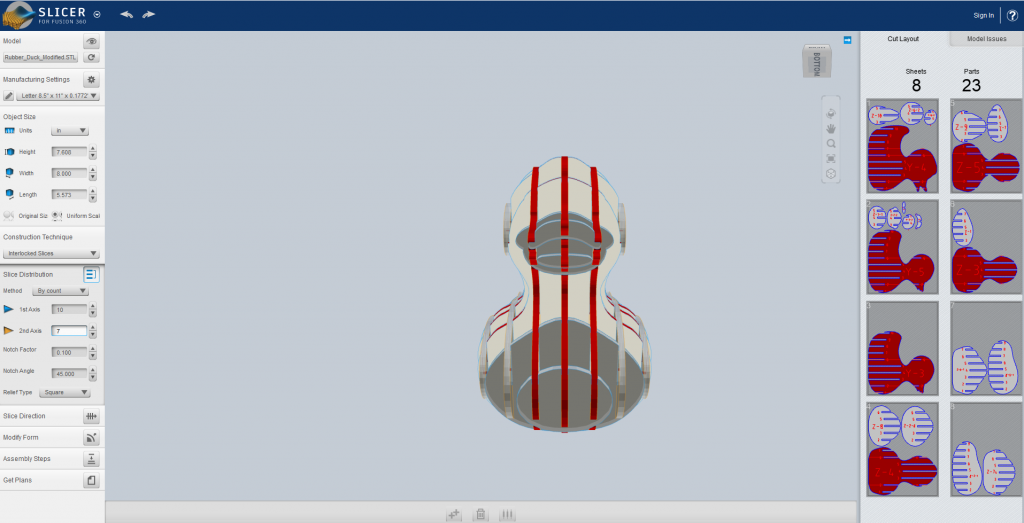
I then went to NOLOP to laser cut my design! Again, I had no experience with laser cutting, so I asked around if anyone could help me with the process. A wonderful mechanical engineering student helped me get started and showed me how the machine and software works. I exported my 8 Fusion360 Slicer sheets (seen in the image above on the right) as dxf files, and transferred the files onto the laser cutting computer. I then moved the first sheet into Adobe Illustrator and after some troubleshooting (I had no experience with illustrator either- so many new things!), I began the laser cutting of the first sheet.
I realized pretty early that I made the duck model much bigger than I probably should have- about 8x8x6 inches. This means that the laser took a while to cut the first of 8 sheets, and it also means that I wasn’t really able to import more than one sheet onto the illustrator file at a time. Also, for some reason I’m not really sure of, the laser went over each cut twice, adding to the total time. NOLOP was pretty busy when I went in on Friday afternoon, as there were some EN1 classes doing Halloween projects. Therefore, I wasn’t gonna spend an hour plus at the laser cutter when other students were waiting to use it. I cut that first sheet, and planned to rework my approach for next time.
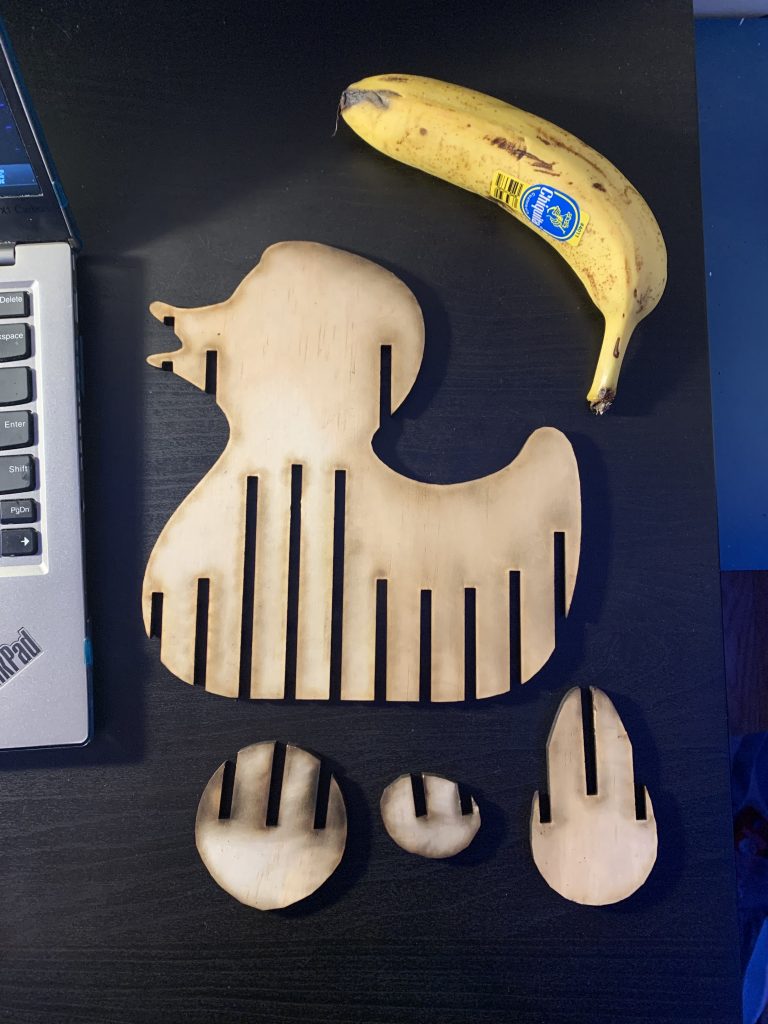
A few days later, I returned to NOLOP to give my laser cutting attempt another shit. I decided to go back into the Fusion360 Slicer and make the overall scale much smaller. I chose to make the dimensions 4x3x3 inches, which are the same dimensions as the standard, ubiquitous yellow rubber duck. I also lowered the slice count to 6 on the 1st axis and 4 on the 2nd axis. I did this so that everything would fit on one sheet, and I wouldn’t need to merge different sheets together or cut multiple times. Luckily, the model still seemed detailed enough with this lower slice count, likely thanks to the reduced size. Finally, I moved the notch factor up from 0 to 0.1, because I had some trouble fitting the pieces together in my original model. I’m not sure how much this will help, but It’s worth a shot.
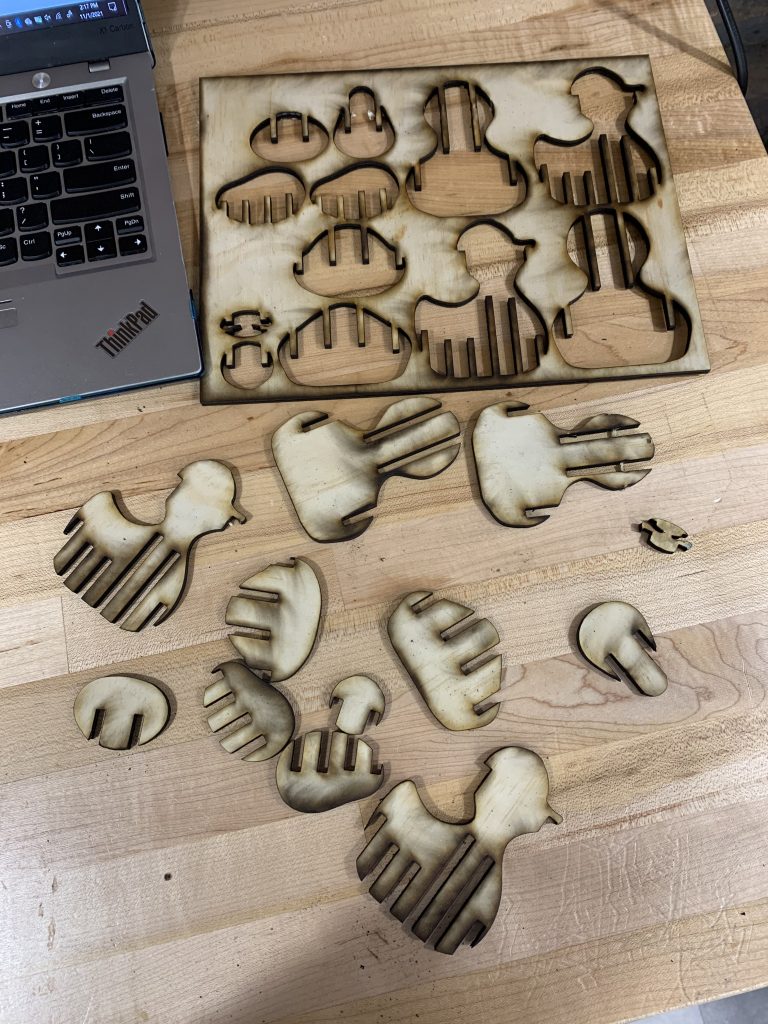
I laser cut my new pieces, and got my complete materials of assembly.
I went to assemble my model, and quickly realized that most of the pieces wouldn’t fit together, because the notches were essentially the same size. I thought raising the notch factor would fix this issue, but I guess I didn’t raise it enough. I assembled what I could to the degree that I could, and came away with the assembly below.
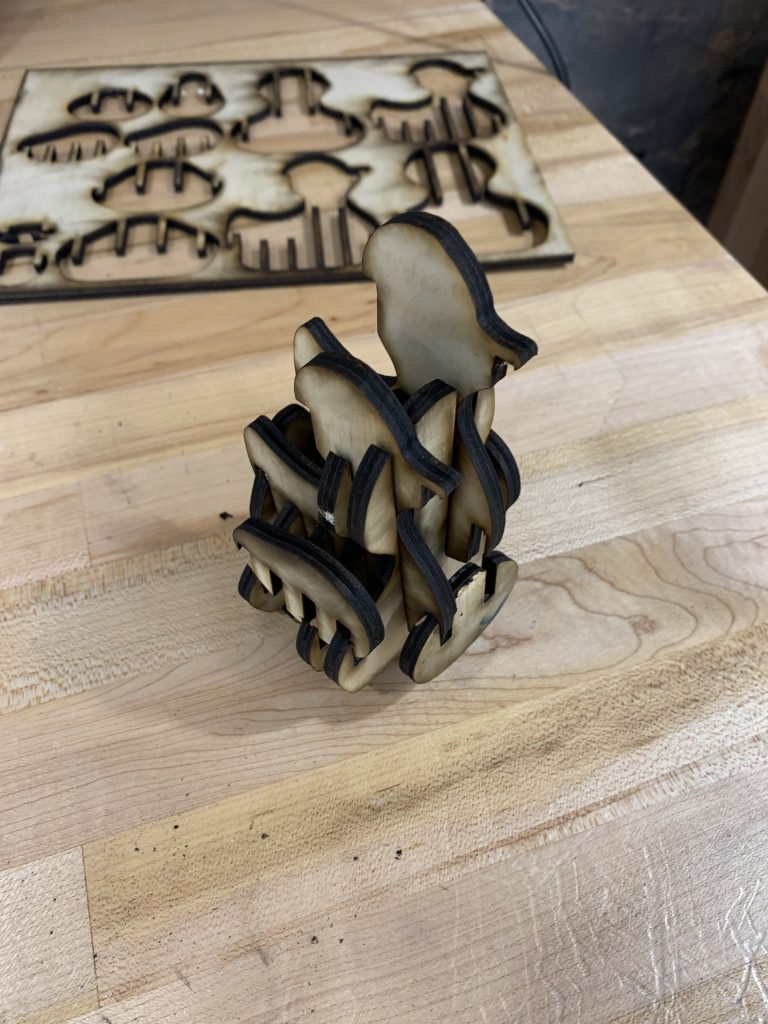
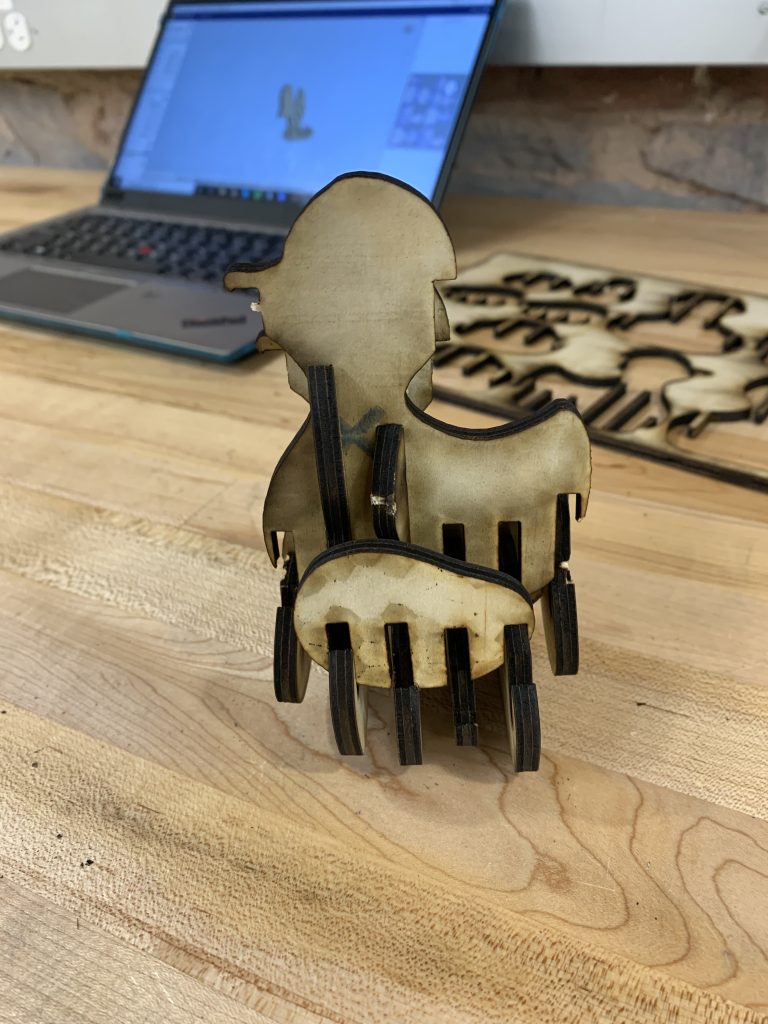
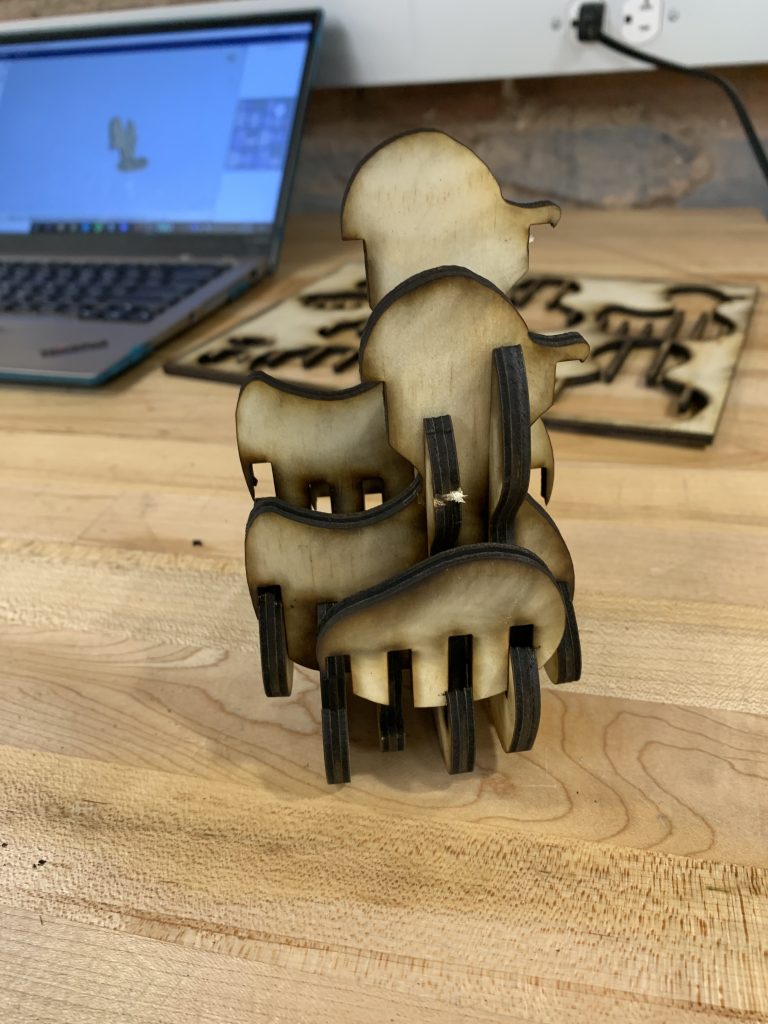
So….. it doesn’t super look like your classic rubber duck. However, I still think it looks pretty cool, like its some form of abstract art depicting two ducks swimming together through rough waves (like a metaphor for this project, except there is only one duck (me) and the waves are meant to represent the laser cutting software).
While I am happy with my end result, this whole process was mainly a super cool learning experience for me. I feel that if I changed the right settings, I could nail this design on the third try. I now know the capabilities and utilizations of the laser cutting machine in NOLOP, and I’m excited to add this knowledge to my future arsenal of potential projects!
