Finally, time for the final fabrication assignment- molding and casting! This is yet another engineering design technique that I have no experience with, but I am excited to try it out. I’m especially eager to experiment with this process, as it seems like a very cool hands on way to make any 3D object in a less computer-oriented sense and a more tangible, hands-on sense.
One-Piece Molds
Elysia, Bailey, and I headed down to NOLOP on a chilly Friday morning to begin our one-part molds, but a shortage of materials severely limited our options. Our original goal was to mold our 3-D printed mask insert prototype, as our final design would ideally be made from a soft material for maximum comfort on the face. However, because our 3-D printed mask insert prototype was a awkward shape with undercuts that would likely break off in a mold, and the softer casting materials we wanted for an improved prototype weren’t available, we decided to do our one part mold with our prototype comfort straps.

Due to the lack of material, we decided to make our first one-part mold using a gelatin/glycerol recipe that Prof. Krevolin sent out as an alternative until more material came in. We began by mixing 40mL of room temperature water, 8 grams of beef gelatin powder, and 48mL of vegetable glycerin. The process in the video showed the mixture being mixed over a stove top to reach a temperature of 135 degrees Fahrenheit, as that is when the bonds break down and the chemical reaction that creates the hardened material occurs. However, we didn’t have access to a stove top or any microwave safe materials in NOLOP(we didn’t wanna risk using an unsafe material in one of the SEC microwaves that people use for cooking), so we ran the mixture under hot sink water. The hot water certainly heated up the mixture, but we don’t think we reached the temperature needed to create a hardened material. Nevertheless, we pressed out comfort strap print down into this mixture and waited for a mold to form.
Around the same time that we finished our gelatin mix, Nilay came by with some new materials. Therefore, because we weren’t very confident in our gelatin mold, we decided to make another mold with plaster. We used another comfort strap, so that we could compare the two one-part molds. We followed the instructions by mixing 2 parts plaster to three parts water, put the plaster mixture in the mold box, and pressed down the comfort strap just like before. Below is an image of both of these molds hardening.
Soon, it was time to take the printed molds out of the two mixtures and pour the casting material in. About an hour after pouring, the gelatin mold hadn’t fully hardened and took on a spongy texture. We knew it wasn’t going to get much harder, so we decided to run with what we had. On the other hand, the plaster mold was as hard as a rock. It was a struggle to remove the 3-d printed mold, but we got it done.
We created our casting material by mixing the Smooth-Cast 305 parts A and B in a 1:1 ratio. We applied mold release spray to both, and poured the material into the two molds. Despite our best efforts, our molds overflowed a little bit upon pouring. We wiped as much excess off with a paper towel as we could, but it seemed like the casting material expanded somewhat during the casting process.
After waiting about 1 hour for the two casts to dry, we removed our one-part casts. The cast was very easy to remove from the squishy, soft gelatin mold, but very difficult to remove from the plaster mold. To remove the cast, we had to smash the plaster mold, and even then some bits of plaster had somehow bonded to the casting material.
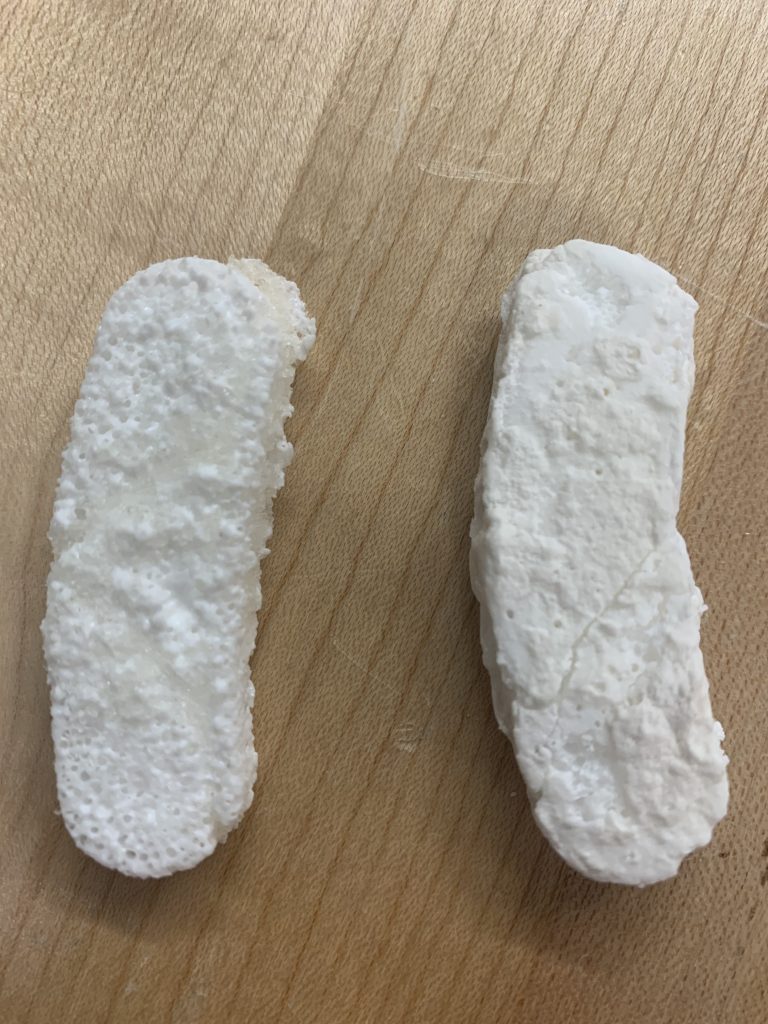
The gelatin cast came out as expected, as the spongy material created a lot of tiny air bubbles in the cast. In addition, the finer concave details on the underside of the comfort strap prototype were not translated to the cast, despite being sorta-translated to the mold. The top side of the cast was more solid, but still showed signs of air bubbles, signaling that air bubbles were dispersed throughout the entire interior of the cast.
The plaster cast was an entirely different story, as it seemed impossible to get the cast out without breaking the mold to smithereens. Therefore, that’s what we did. The plaster cast also didn’t have the more intricate details on the underside of the comfort strap, despite the plaster mold also somewhat preserving these details from the 3-D printed comfort strap. Little bits of plaster remained stuck to the cast, despite the liberal amount of mold release spray we applied. Overall, plaster was a very unpleasant molding material to work with.

Two-Piece Mold
A few days later, during class time on Monday, all of our group went to NOLOP to get started on the two-piece mold. We had an idea of using alginate as the molding material, as it was very flexible and had a quick setting time. We saw another group use alginate when doing their one-piece mold on Friday, and it seemed like it was a very easy material to work with. Again, we originally wanted to mold our mask insert prototype, but due to complexity in the design and material concerns, we decided to just mold a hard blue ball we found on the NOLOP floor.
We began by forming a clay base at the bottom of a plastic cup. Then, we put the ball that was to be molded and casted halfway submerged into the clay, and pressed some popsicle sticks into the clay around the ball as registration keys between the mold halves.
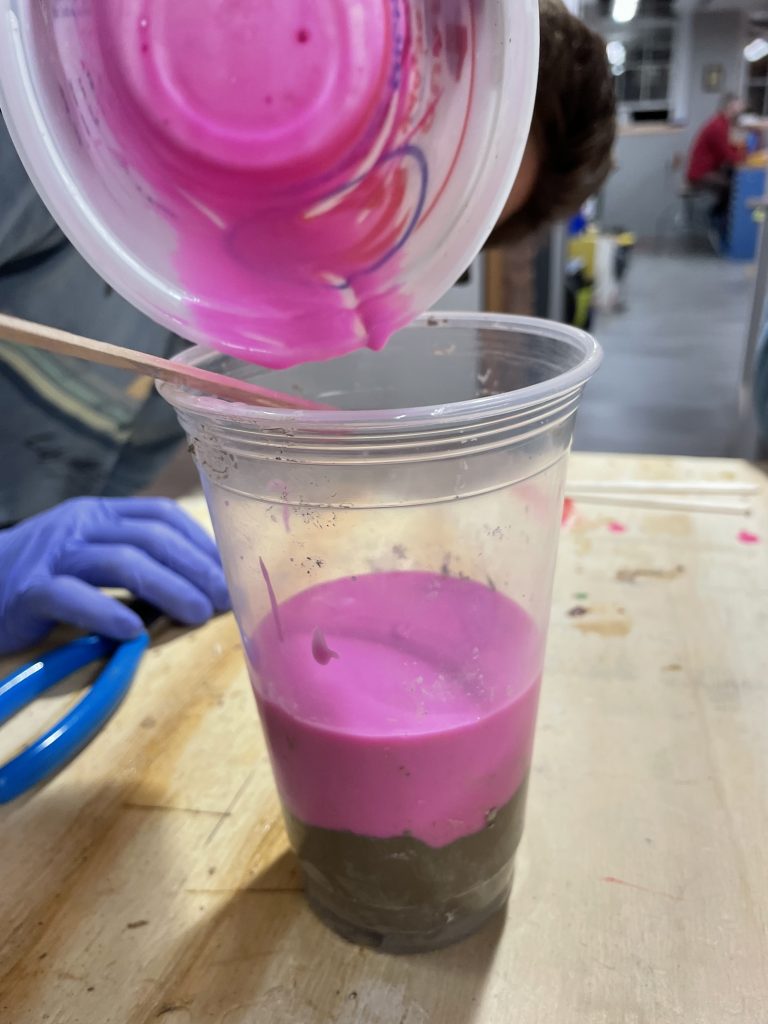
Then, we mixed the alginate in a 60g powder to 1 cup water ratio, and poured it into the cup, on top of the clay base, the blue mold ball, and the popsicle sticks.

After waiting about 10 minutes for the alginate to harden, we were ready to create the second half of the mold. We cut out the cup, removed the clay, and placed the first part of the alginate mold upwards in a new cup.
Then, we took out the popsicle sticks, left the blue ball in, and created more of the fresh alginate mold mixed in the same ratio as before. Before pouring the new alginate mold on top of the old alginate mold, we sprayed a very generous amount of the mold release spray so that the two parts of the mold wouldn’t stick together. We also added a clay “funnel” on top of the blue ball so that the casting material could be poured in. Then, we poured in the second batch of alginate, and waited for that to settle.
After waiting another 15 minutes, the alginate hardened again and we were left with both parts of our two-part mold.
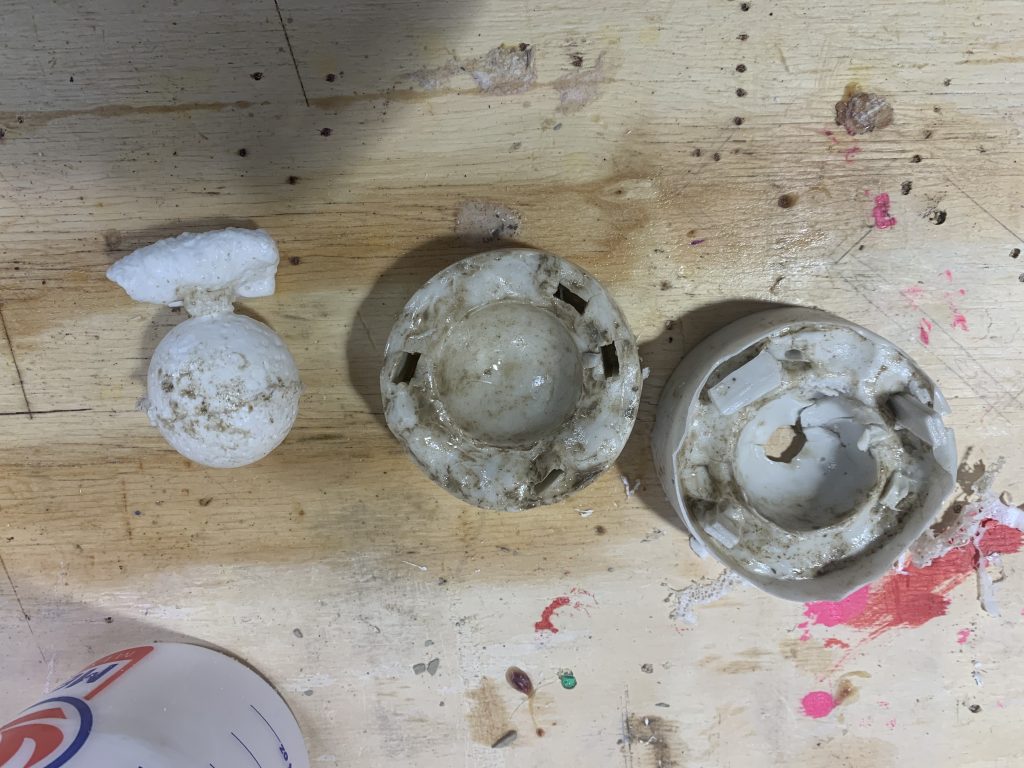
Then, we places the two parts of the mold together in a third plastic cup, and poured the Smooth-Cast 305 casting material (mixed in the same 1:1 ratio as the one-part mold) through the funnel on the top. We began our 45-minute wait for our final cast, but soon observed that the casting material was bubbling out of the funnel. Prof. Zhang helped us realize that a chemical reaction involving the Smooth-Sil 305 and the Alginate was happening, and this was releasing excess carbon dioxide. We tried to wipe off the excess material that was being created, but the casting material was already pretty solid at this point so we decided to just leave it and pretend like we meant to do that all along.
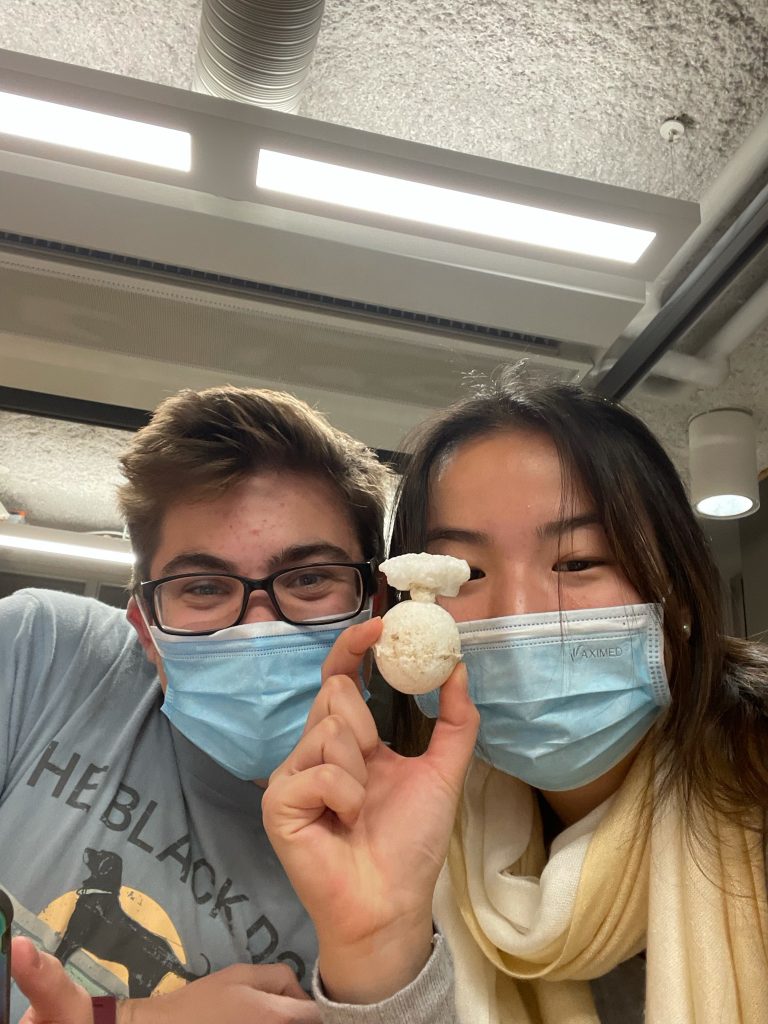
After waiting 45 minutes, we separated the alginate molds and revealed the final product! The final cast came out pretty well, in the form of a nice, round ball with a big puffy top section attached to it. We likened it to a bomb exploding, or a vegetable still in the ground waiting to be harvested. All in all, very cool final product from a two-piece mold that went better than expected!


Conclusion
There were many challenges during this project, as this was certainly the longest that I had spent on a fabrication assignment (about 10 total hours in NOLOP), but most of this was due to the trial and error nature of molding and casting, as well as the waiting periods for materials to solidify. None of us had any molding and casting experience, so we were trying to read as many instructions and look for as much guidance as we could, especially with the limited materials at our disposal. The spongy-soft gelatin and the rock-hard plaster were very difficult to work with, for complete opposite reasons, and neither produced a very good one-piece mold result. The concept of the two-part mold was also something that took us some time to process, but we were able to figure it out with experience and, combined with our troubles during the one-part mold, it led to a much smoother process.
I am super glad that I’ve spent this time learning the basics of this valuable skill, as it has many real world applications. I could even use these techniques in my senior design project, which is great to have as much knowledge as I can get in preparation for that. Despite getting this done during an absurdly busy pre-finals week, this was overall a very positive learning experience and I am excited to mold and cast more things in the future!
