For the first fabrication homework assignment of the semester, we needed to design something using a CAD software. I’ve never used this type of software or anything like it before, so this will be a new experience for me. However, I’m excited to challenge myself and create a 3-D model of something!
Because I have no experience, I decided to use Solidworks because we got a very short tutorial on that program in class. Also, Solidworks is a common enough program that I can find plenty of online help for whatever issues I run into. We weren’t able to finish the tutorial of creating the anti-touch door holder (or come even close to finishing) in class, but because I’m starting from no experience, I decided to complete that tutorial on my own first before I got into my own project.
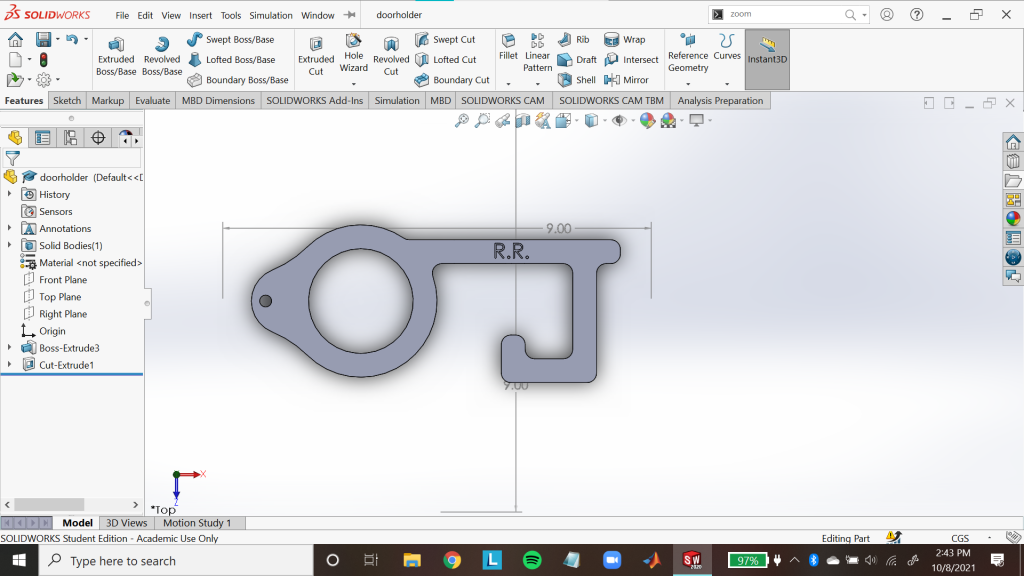
Below is an image of my completed door opener, and I certainly learned many lessons and skills in Solidworks before I tackle my own project. I also discovered that I should definitely invest in a mouse for future Solidworks projects, because navigating the window on a trackpad is awful.
For my actual project, I wanted to create a CAD model of the spotify code of my favorite song of all-time, ‘Midnight City’ by M83, with the goal of personalizing it, 3D-Printing it, and then putting it on my wall for anyone to scan.
I began by getting the Spotify code and downloading it as a jpeg, png, and svg. I wasn’t sure which files would work in the software, so I just downloaded all three. After lots of tinkering and playing around with random features, I used the “sketch picture” tool to import the jpeg file into the workspace. My goal is to import the picture and trace out the code, and hopefully the tracing is precise enough so that the code still works.
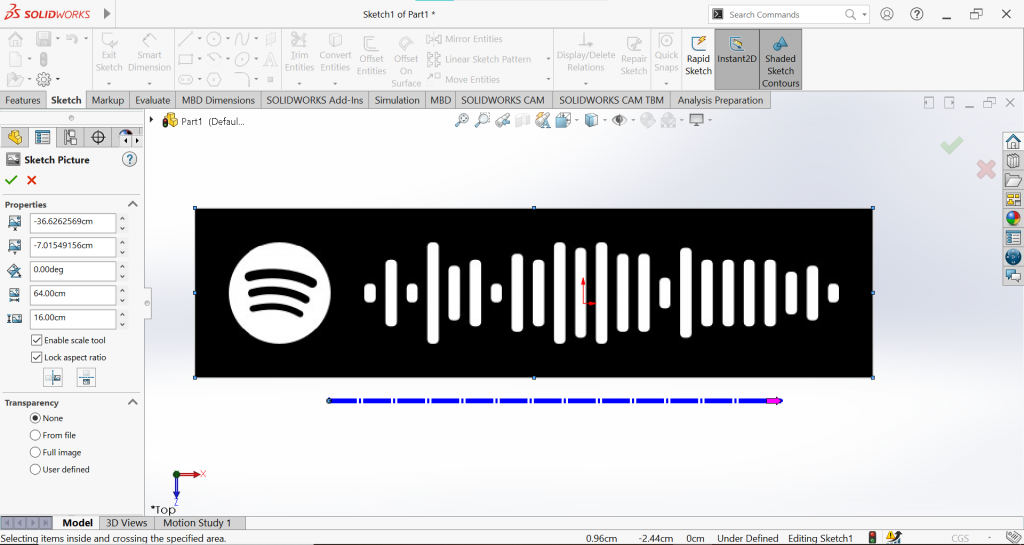
I set the overall dimensions to 24cm by 6cm, small enough so that I could feasibly 3D print it and put it on my wall, but large enough so that I didn’t have to be too concerned about the overall model being too small (where the line heights would be too similar and it wouldn’t scan properly). I also chose this measurement to keep the ratio (64:16) of the original image download. My gameplan was to trace the outline of the code, create a base, and then extrude the code above the base.
Once the picture was in, I began by creating a centerline, a rectangle around the perimeter, and started tracing the white part of the image. With the help of a few youtube videos, I created my traced sketch. I tried to use autotrace but couldn’t get it to work :(, so I mainly relied on the oval tool. Below is a traced outline of the code, and I tested this outline by making sure the code still works- it does!
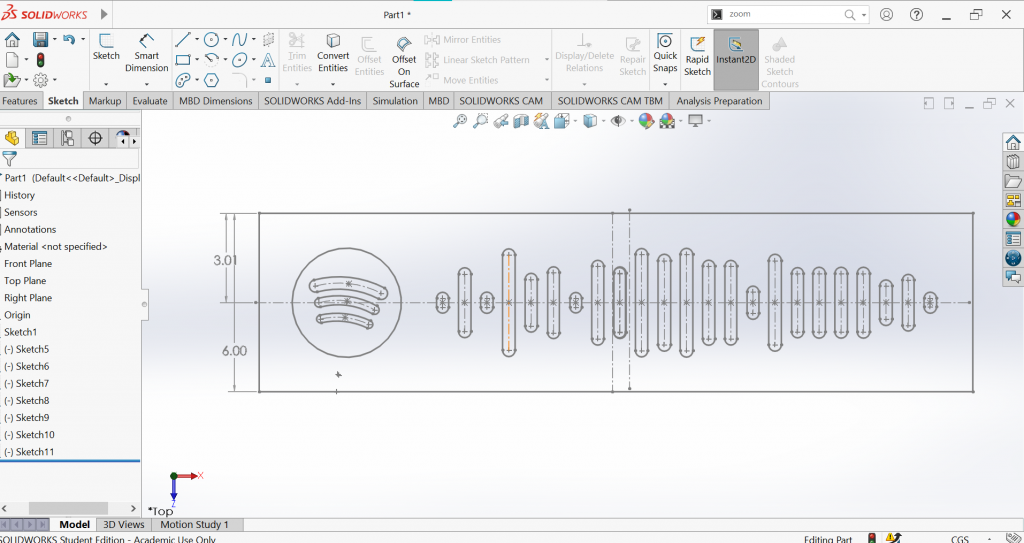
I should note, I’m constantly scanning the code to make sure it still works and leads to the right song throughout the entire project, as that is the main goal. Also, fun fact, the three arches in the Spotify logo are not oriented to the center and slightly lean to the right. Just one of those slightly annoying things that you never notice, but now you can’t unsee it…
Then, I extruded the base some and the code some more to create the 3D aspect of the model. Below is a picture of the 3D version- coming along nicely!
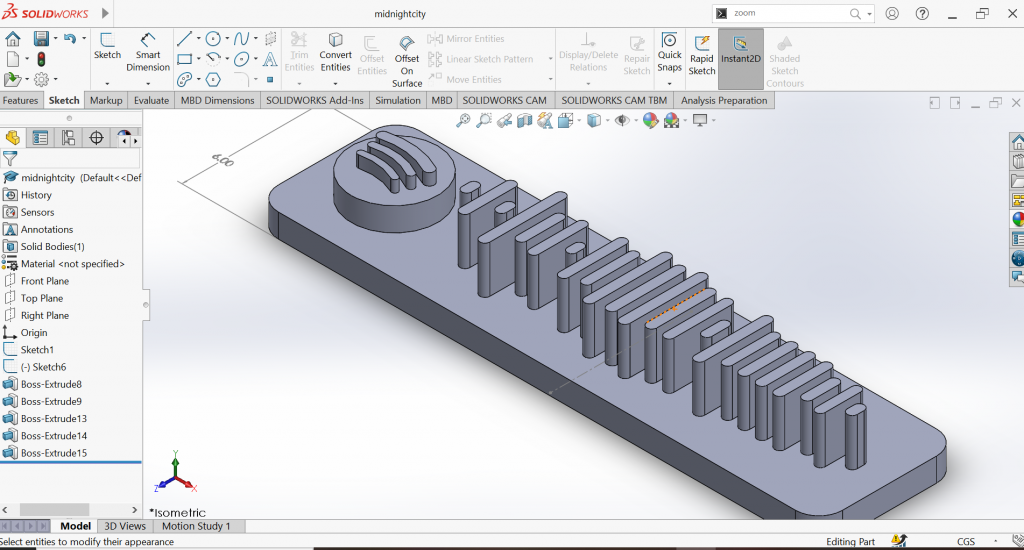
I then wanted to add some personalization, so I put the song name on the top face and my initials on the bottom face. I was also concerned about the ability of the code to scan if the lines were the same color as the background, so I changed the color not only for practical purposes, but also to fit the vibe of the song :). I’m not sure how I’m gonna deal with this when I 3D Print this model, but that’ll be a problem for next week!
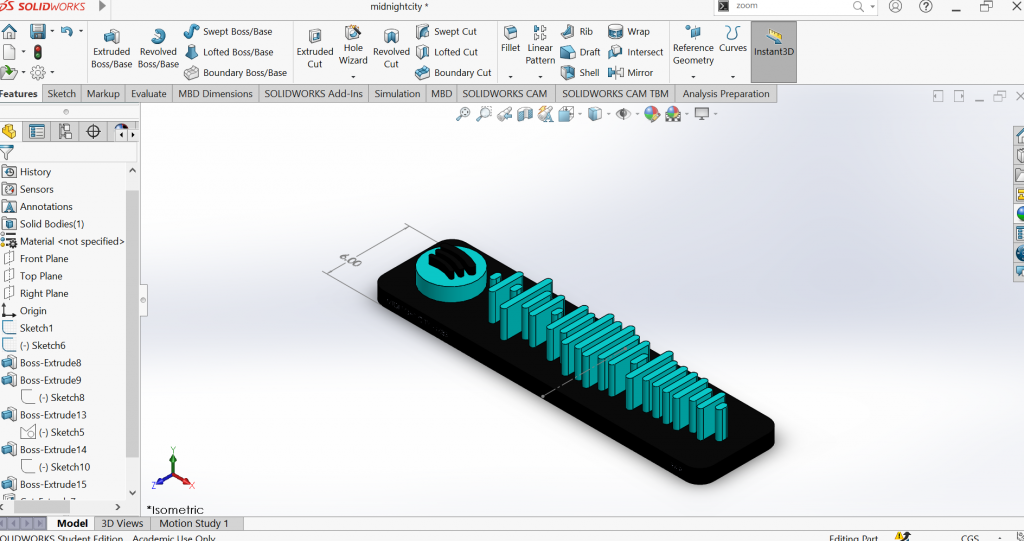
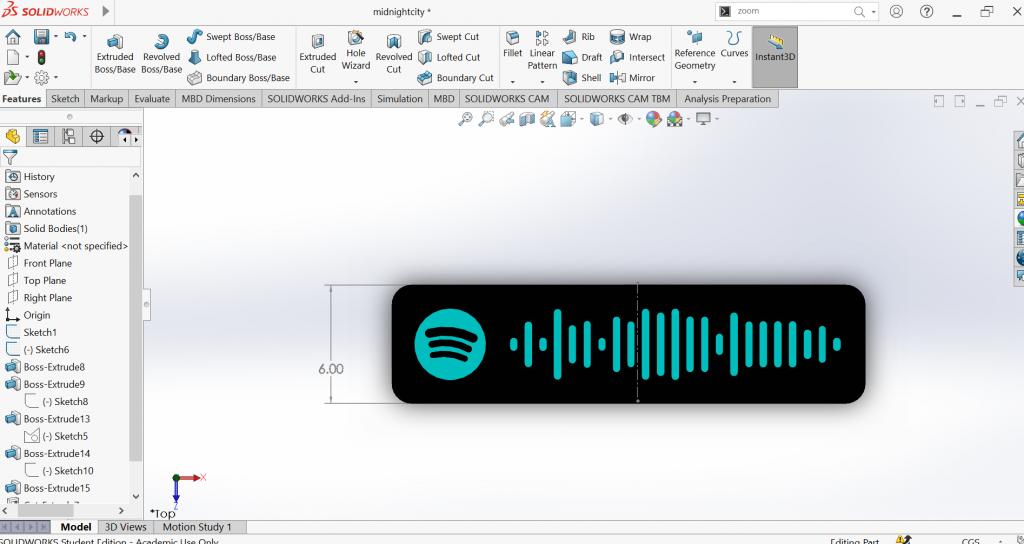
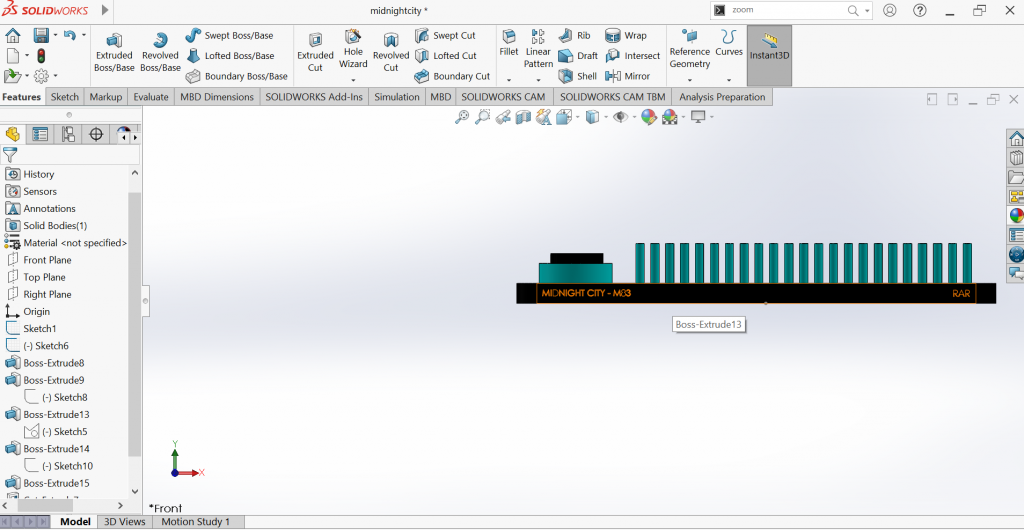
And that’s my first CAD project complete! Maybe I’ll come back and try to add a thing or two before I try to 3D print this (I’m sure that I’ll have to figure out the colors), but I’m pretty satisfied with what I been able to create. The code works like a charm, and I can’t wait to have this on my bedroom wall (or wherever else I decide to display it!)
The most challenging part of this experience was probably starting from scratch with no knowledge of the program and being presented with so many options. I started with the basic functions taught in the tutorial, and so many times I wondered “What does this button do,” tried it out, lit my sketch on fire, and pressed control+Z in an instant. However, I learned what exists and how to potentially use more tools, and even got brave enough to try some new tools towards the end of my design. This process of trial and error really helped me learn a lot, but it was challenging to try to figure out what all of these functions did and when would be a good time to utilize them.
To advance further, I’d probably need to keep creating designs and keep trying new tools. The trial and error process was very useful, and although my trials over past 6 hours have been 95% error, each one has been a learning experience. I could feel myself getting more and more comfortable with the software over the course of the assignment, and I’m excited to experiment more with computer-aided design in the future!
However, I’m most excited to print this design out! Stay tuned for next week!
