Now that my CAD design is done, it’s time to 3D print! I’ve never 3D-printed anything before or had any hands-on experience with the technology, so this is an exciting first for me. I knew I wanted to print the spotify code I created last week (below), and hopefully get a finished product with a working code.
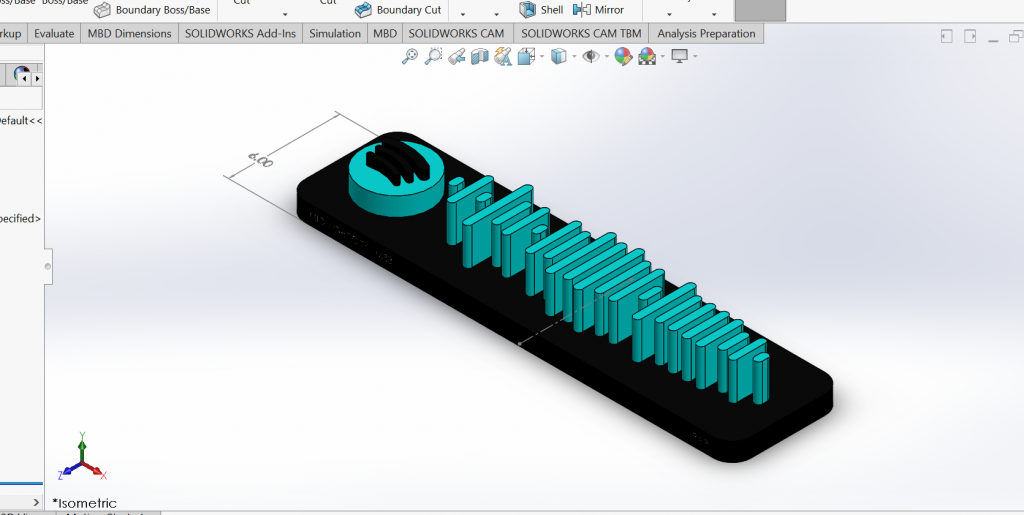
After BME66 class on Monday, Nilay, Addison, Drew, and I went to room 166 in Sci-Tech to get our 3D prints underway. Room 166 is home to a number of wonderful 3D printers, but the one I used was one of the Prusa i3 MK3 printers. Many of the other printers in the room were in use, and Nilay recommended we use this printer for the fastest and easiest results.
I saved my finished CAD design as a .stl file and left the system options alone under Nilay’s guidance. If I was printing something a lot more precise, I would probably want to modify this to smooth out the edges. However, the code should still work and the result should still look pretty under the default settings. I emailed my file to Addison, who placed all three of our prints on one tray using some sort of adapter to the Prusa printer, and was able to get our prints set up without downloading any software. We imported my file, and modified the scale to 0.5 so that it would fit on the surface of the printed with Addison’s and Drew’s designs. Because the scale was modified to 0.5, my finished product will measure roughly 3cm by 12cm, which is half as big as my original CAD model.
I was a bit concerned that printing my entire figure as one color may mess up the code and cause it to not scan (as the camera may not be able to distinguish the extruded parts from the non-extruded parts). However, Nilay said that changing colors would be a very complicated and annoying process where I’d have to stop the printer halfway through, which is probably a bit too ambitious for a complete amateur. Nilay also said that he thinks it won’t be a problem, as he said a student last year did a similar project and didn’t run into any issues. If this does end up being an issue, I may use some acrylic paint on just the code section to make it more distinguishable, or just redesign the model in CAD with holes in place of the code, and let the negative space do the work.
After importing our files and placing our prints on the surface, our work was done! We all had flat designs so we didn’t have to add supports or any modifications. After Nilay checked over our setup, we started the print! Immeadiately, we saw that the print would take an estimated 6 hours and 21 minutes, so it was best to leave for now and return the next day to find our (hopefully) finished products. Before leaving, I took a few pictures of the preliminary steps below.
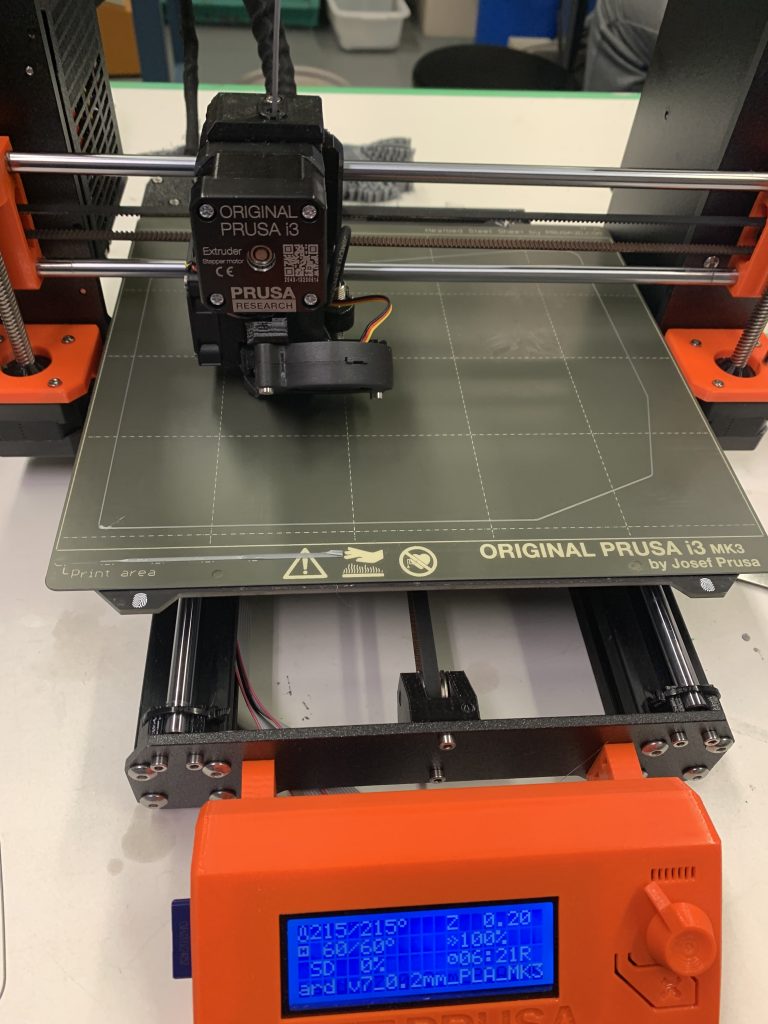
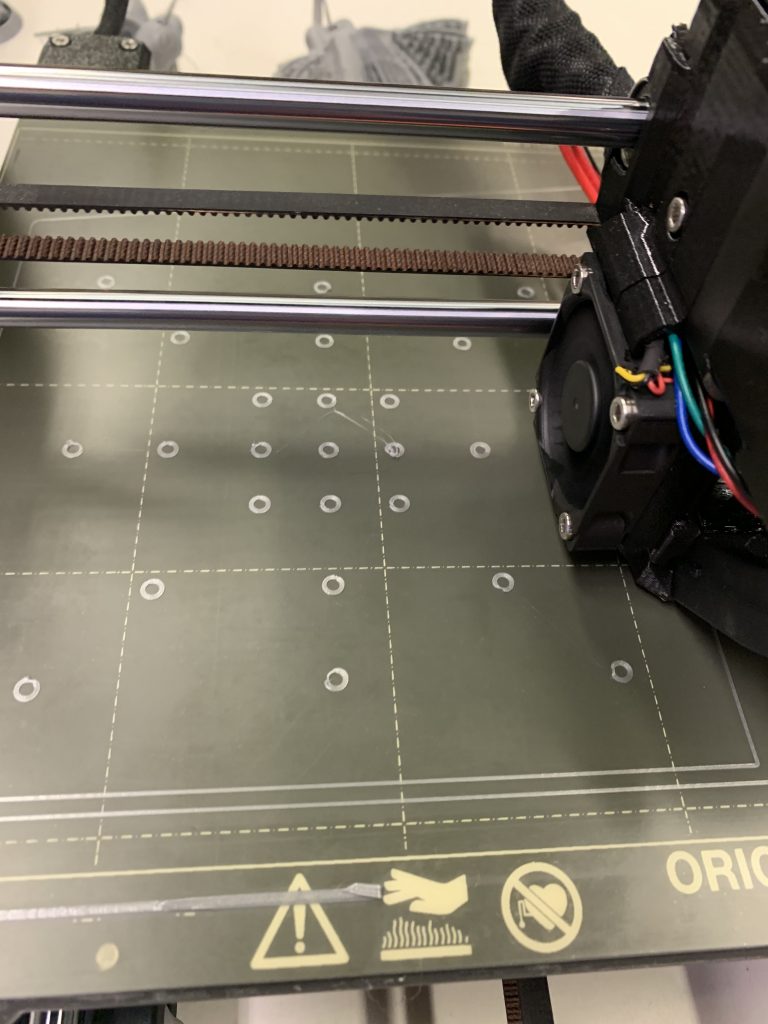
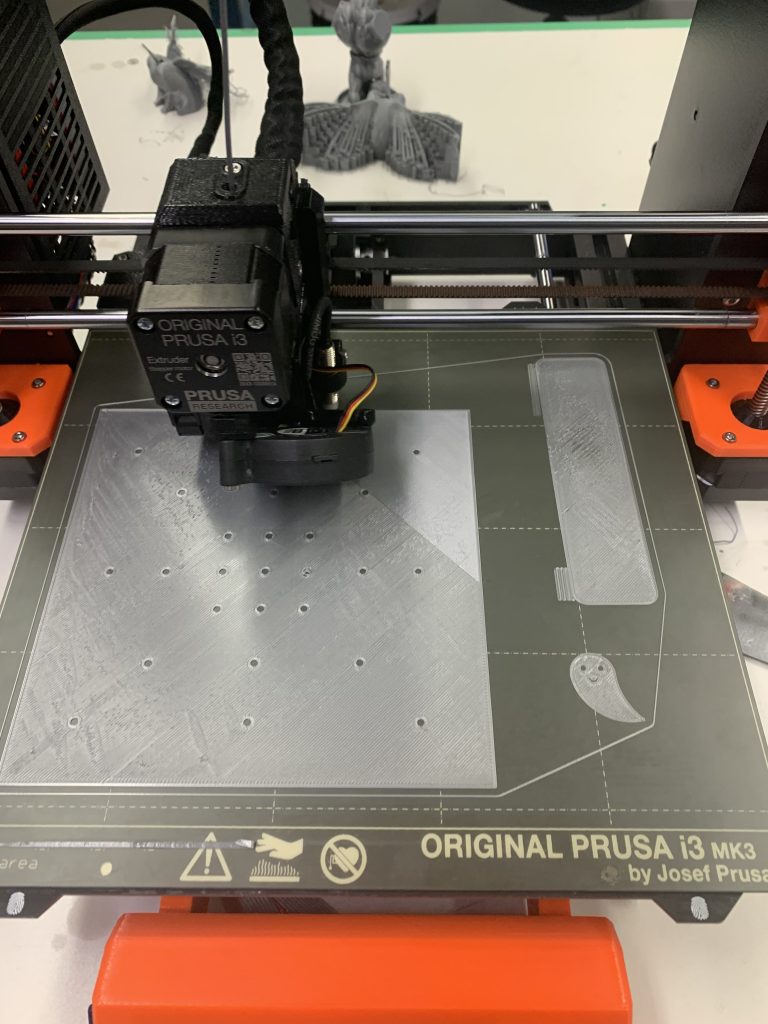
The next day, I came back to room 166 to get my finished product, and it looks great! There are some minor imperfections, mostly to do with imprecision. The text extruded in the sides was small and not super legible, and there were some rough and uneven areas on the sides of the code and the bottom of the base of the model. However, I was still very happy with how it appeared.
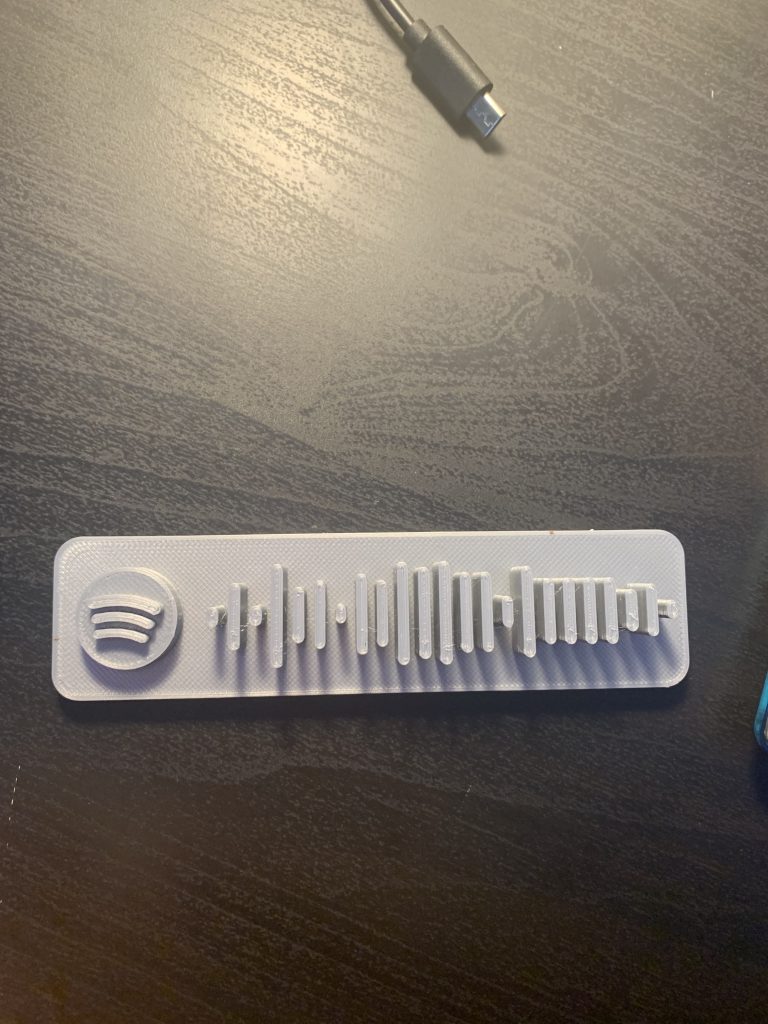
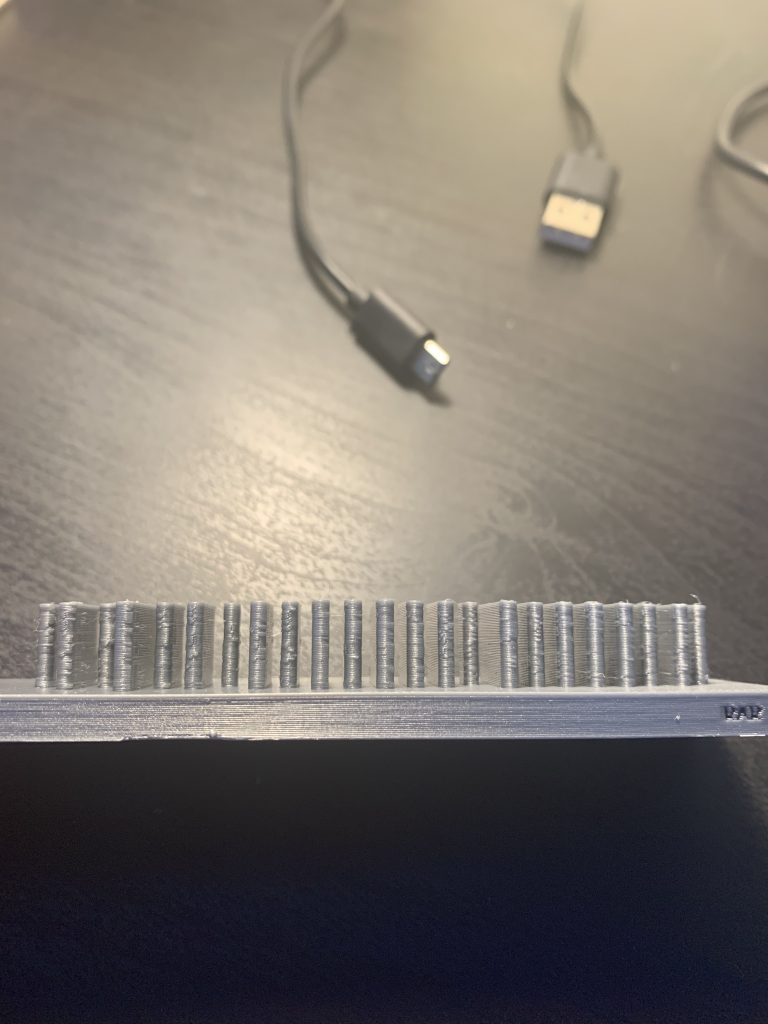
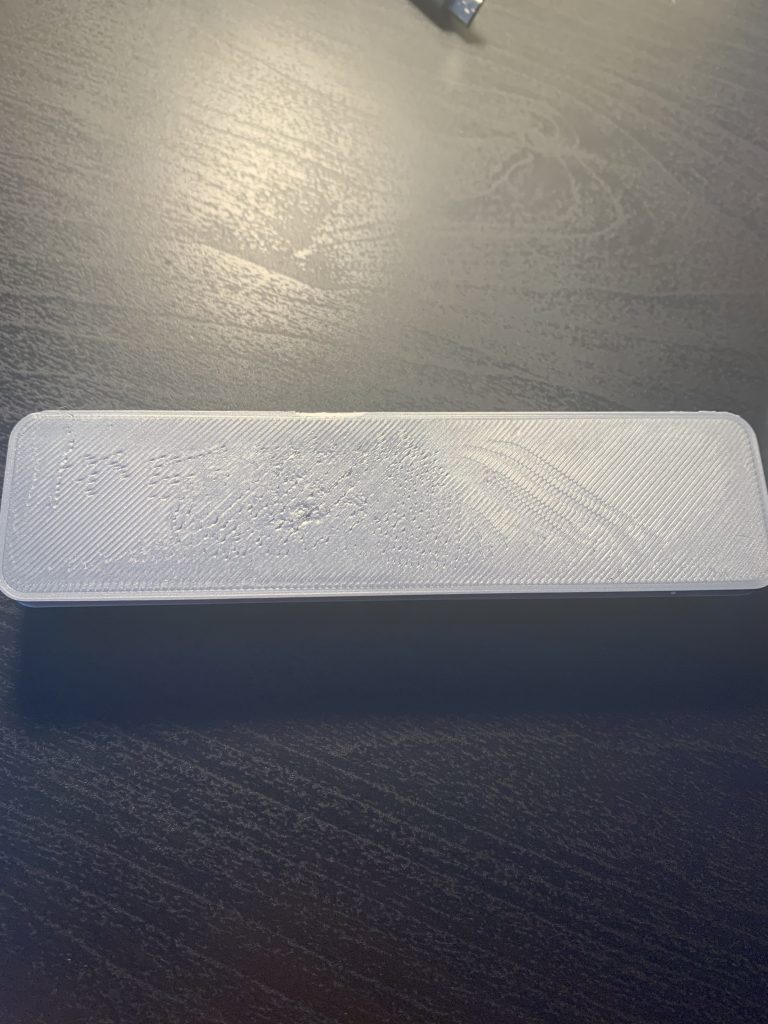
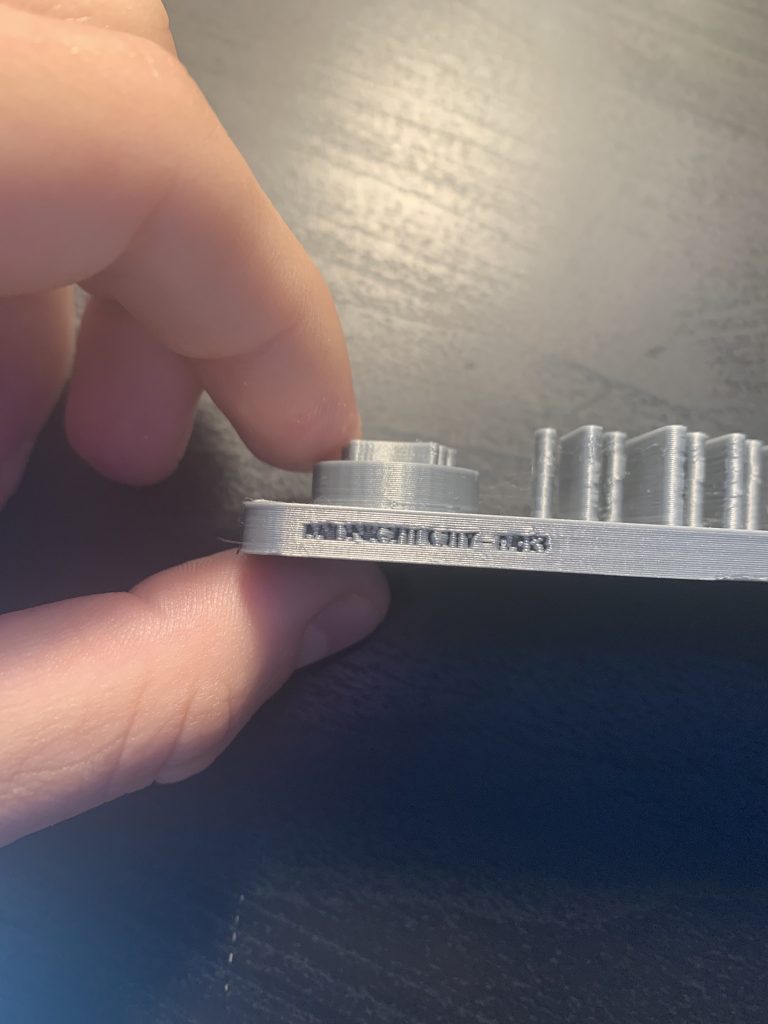
Now that my code was printed out, the last step was to scan it and see if it worked! I got my phone out to test the scan in front of two very enthusiastic scientists in room 166 andddddd………………….. it didn’t work.
🙁
I was a bit concerned about this, as it seems that there isn’t enough contrast between the grey extruded code and the (also grey) base. Plus, the shadows that the extruded section cast on the base under bright light may also play a role. I thought using the same colors would be fine, but it looks like that isn’t the case. My original plan was to use acrylic paint on the code if it didn’t work, but I don’t have any paint on my hands so I used a blue sharpie and colored in the top surface of the extruded code. This ended up looking a lot nicer than I had anticipated, so I decorated the Spotify logo with a green sharpie as well.
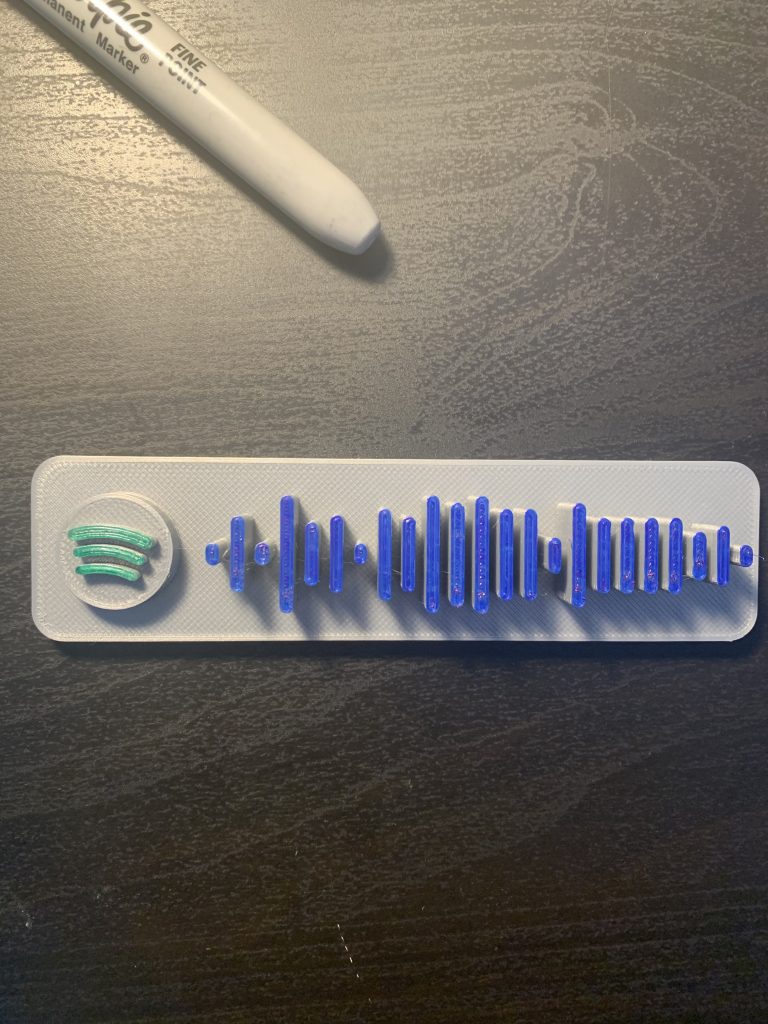
Now that I had a bit more contrast, I tried the code again anddddd………… IT WORKED!!!! yayyyyy!! I guess with that, this is my final product, and I’m very happy with it and can’t wait to put it on my wall!
Luckily, I was guided through most of the printing setup, so there weren’t any parts of this project that were truly difficult. If I had to choose something, I would say the most difficult part was making sure the code worked. Honestly, it’s a blessing in disguise that the code didn’t work the first time, because I think the model looks cooler with the colored highlights.
The best part about this assignment and 3D printing in general is how customizable everything is, as I could make anything (well, almost anything) in Solidworks to any specifications and just 3D print that exact file. Therefore, 3D printing is advantageous for highly customizable objects in biomedical applications, as every person’s body has different specific needs. Many of these custom models can be difficult to fabricate with more traditional technologies, so 3D printing is a natural solution. A dental implant, for example, needs to fit exactly custom to the patient’s mouth, and 3D printing is a way to quickly create a custom, specialized model of this implant.
