For this assignment, our group worked together to create two items using different molding techniques: a one-piece mold and a two-piece mold. Since there were five of us, we divided into two smaller groups so that everyone had the opportunity to participate.
One-Piece Mold: Hand Cast
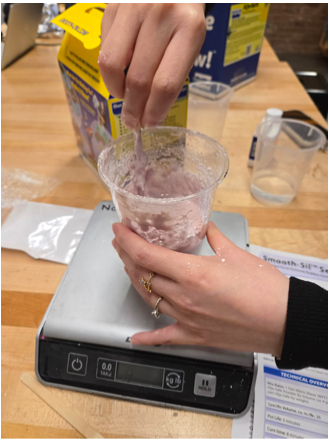
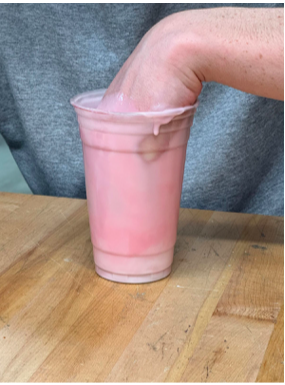
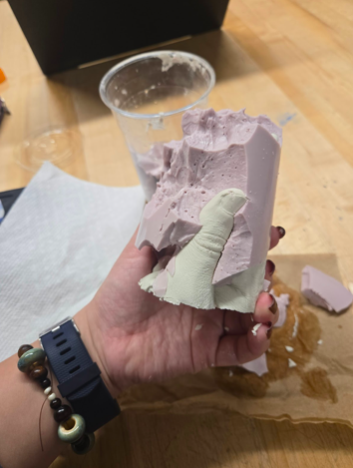
For the one-piece mold, we decided to create a hand cast using Plaster of Paris as the casting material. Initially, we planned to use Smooth-Sil 940 as the molding material because it is skin-safe, but it did not solidify well. To resolve this issue, we switched to Alja-Safe (alginate), which provided better results. Once the mold was ready, we poured Plaster of Paris into it, allowing it to cure and create a cast of the hand. The final cast turned out well, with clear details of the hand’s shape and texture.
Two-Piece Mold: Bottom Squeezing Component for Our Device
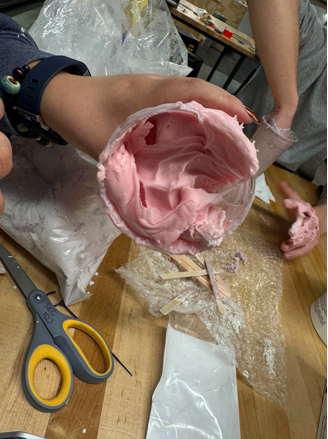
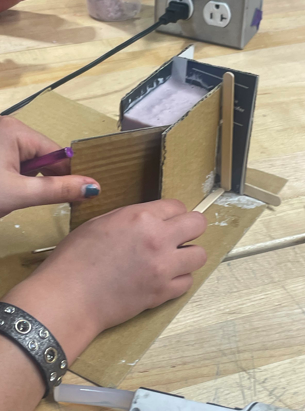
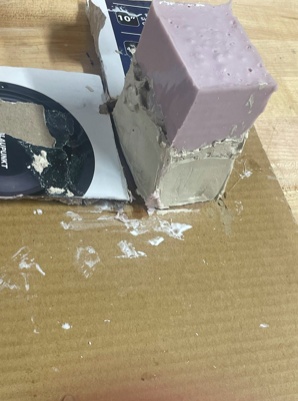
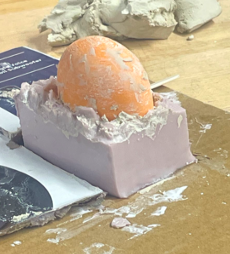
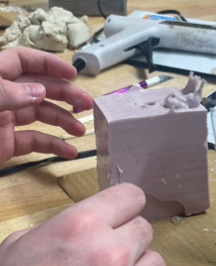
For the two-piece mold, we wanted to create something functional for our project. Since we were already considering making the bottom squeezing component of our device from silicone (in order to help with squeezing), we used a 3D-printed version of the part to create the mold. We stabilized the mold using a cardboard box and surrounded the bottom half of the 3D-printed part with Crayola Air-Dry Clay. The clay included divots to help align and separate the two mold halves. We then poured Alja-Safe (alginate) over the first half but initially faced issues because we used cold water, which slowed down the setting time. Using warm water in later steps improved the process. Once the first half was set, we carefully removed the clay, cleaned the 3D-printed part, and prepared for the second mold half. The second half was created using Alja-Safe with warmer water this time, but the divots were not deep enough, making it difficult to separate the mold halves. We also did not spray the 3D-printed part with a release agent, which made separating the mold more difficult. We had to carefully cut along the separation line with a knife.
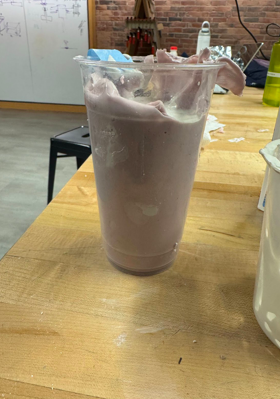
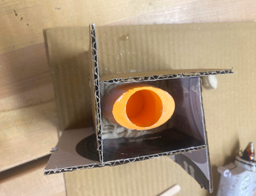
For casting, we used SmoothSil 940 (Platinum-cured Silicone). We initially forgot to include a pouring funnel, so we had to add one later. We ended up using an actual funnel as well since the silicone was very thick and difficult to pour. The silicone was left to cure for six hours before demolding. We faced different challenges includes the divots being not deep enough, making it difficult to cleanly separate the mold halves. A better technique or design adjustment would improve future molds. Moreover, the viscosity of the silicone made it difficult to pour smoothly. Using a properly designed funnel from the beginning would have made this easier. The final cast of the two-piece mold had visible seams where the mold halves met, and the interior, which was supposed to be hollow, filled with material. This could be prevented by inserting a placeholder inside the mold cavity.
This project provided a hands-on understanding of molding and casting. It was interesting to see how materials that are typically difficult to shape can be manipulated using different molding techniques which also allows to have interesting and unique shapes. This was a valuable first experience since we will need to do more molding and casting and include our improvements for the next iterations of the squeezing part of our product.
Below are pictures documenting both processes and their outcomes.
One-Piece Mold: Hand Cast

Two-Piece Mold: Bottom Squeezing Component for Our Device
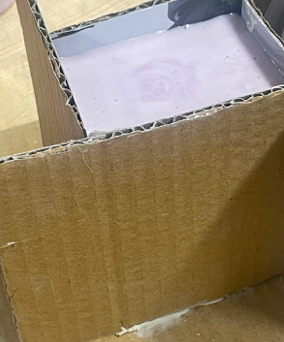
Mold with Divots
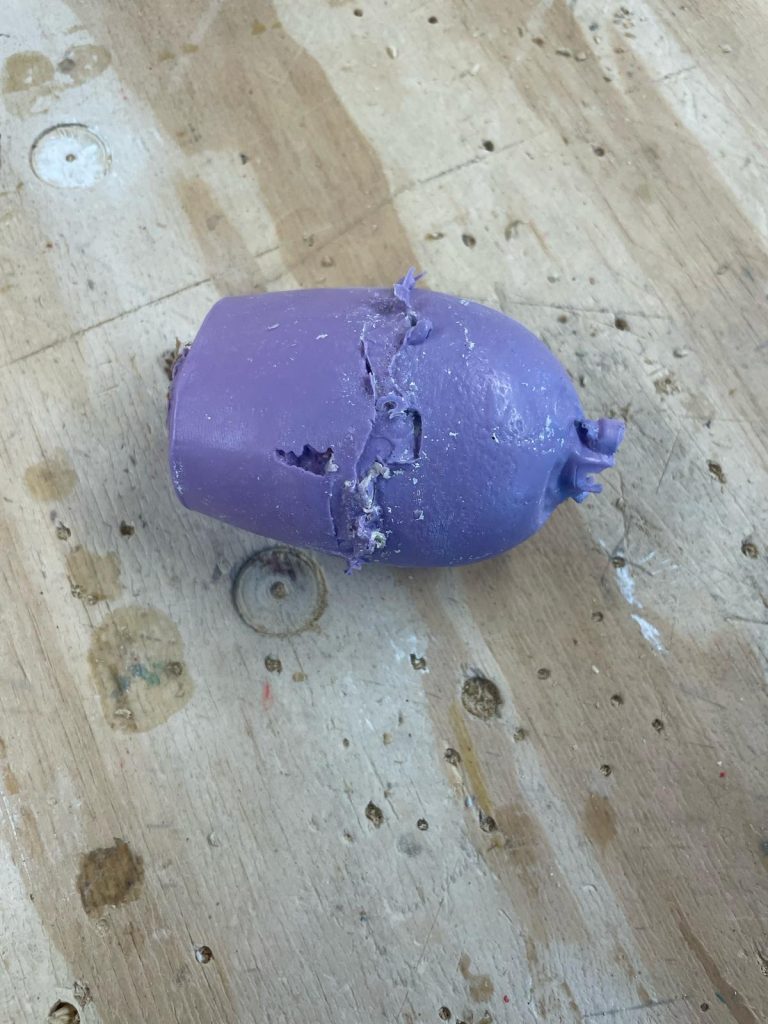
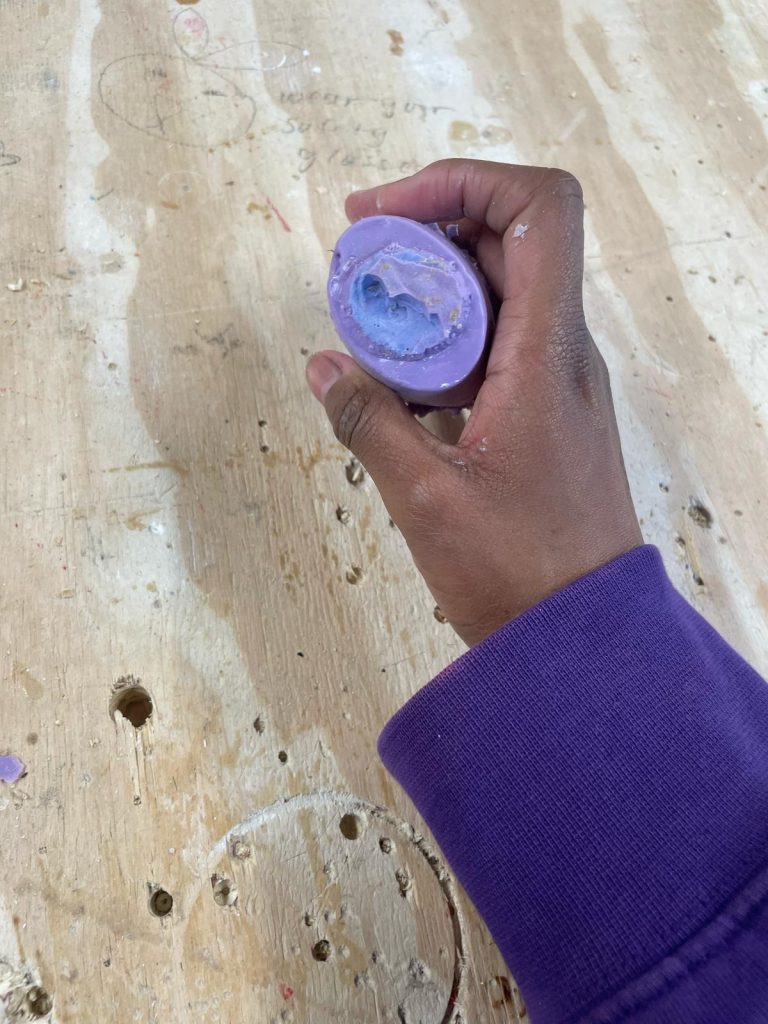
Final 2-Part Casted Squeezing Part