For my Laser Cutting Assignment, I decided to make a keychain. When taking a tour of NOLOP Maker Space, the demo of how to use the Universal VLS 3.60 Laser Systems Laser Cutter seemed pretty straight forward so I was mainly worried about using Adobe Illustrator, given that I had never used it before.
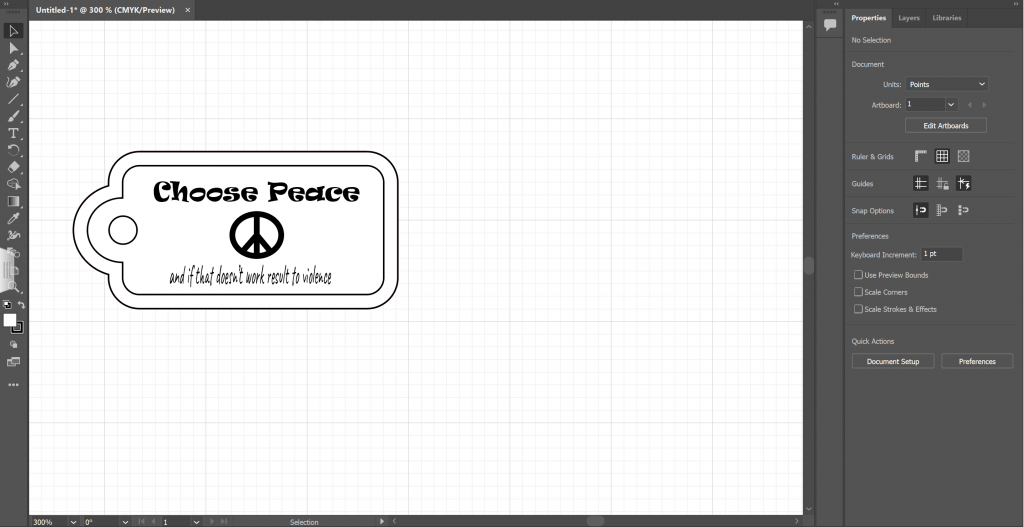
I was able to find an online tutorial (found below) to figure out where everything was on the Adobe interface as well as how to successfully do the shapes for the keychain shape.

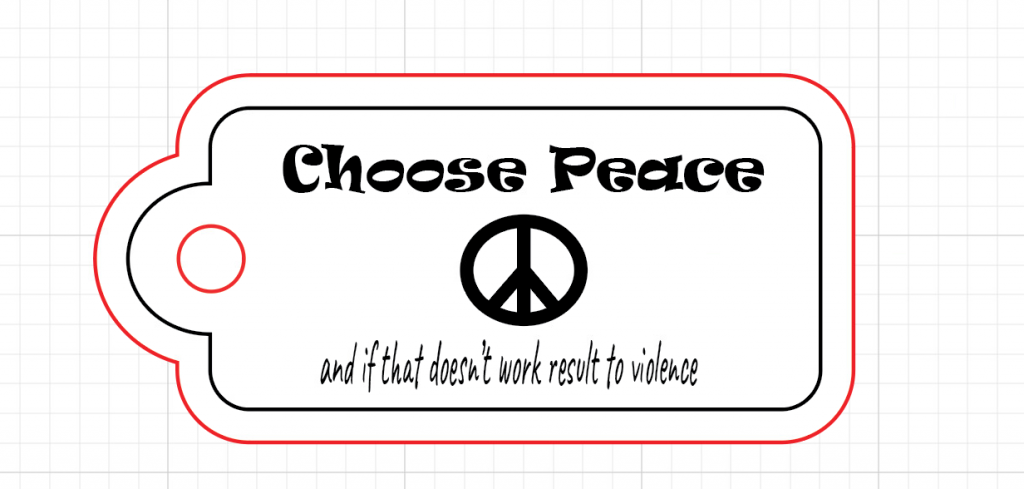
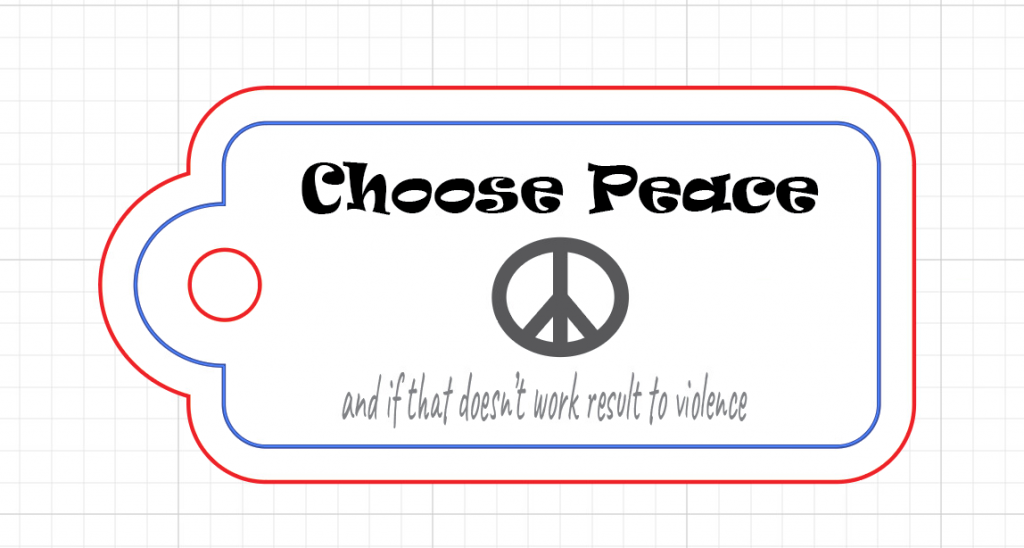
The next step was to assign colors to each part of the design. These colors are very specific because they were programmed to tell the laser printer how to cut the design.


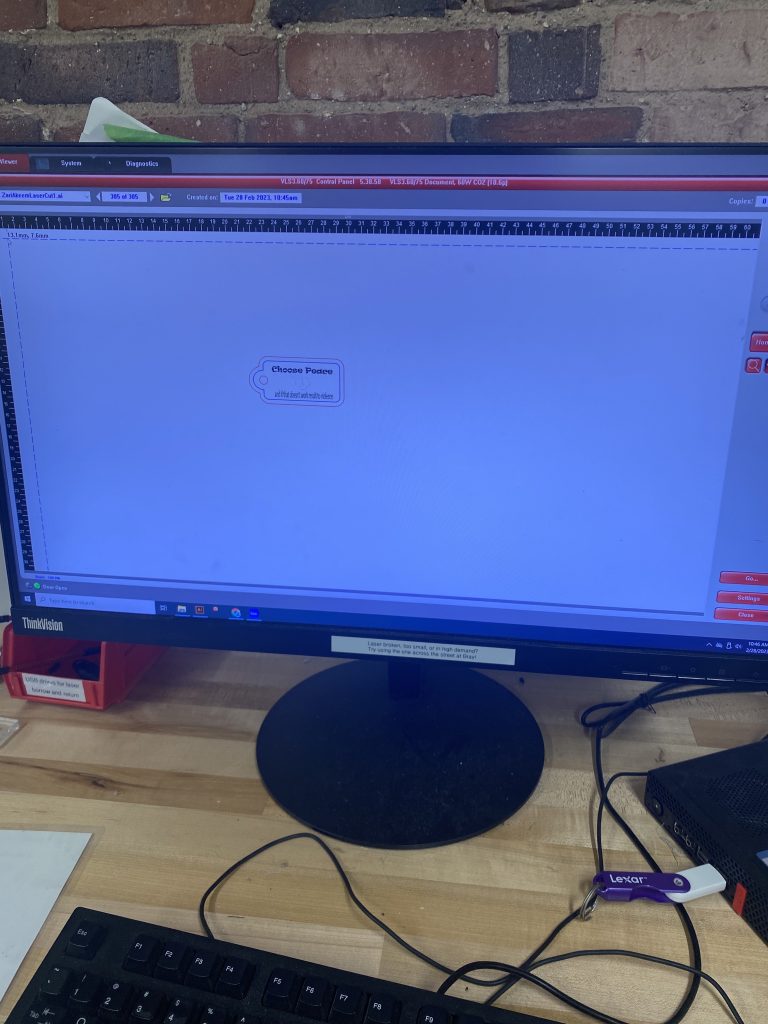
After the design was finished, I saved it to Box and then was able to pull it up on the Laser PC in NOLOP. From here, I encountered a lot of issues because the blue used in the picture above, was not the correct shade of blue that would be recognized by the machine. After some help from the staff, I realized that it was because the computer had a random blue color set as “R:0, G:0, B:255.” I was under the impression that this was the correct color and not just the name of the incorrectly saved as a preset.

Next, I chose a piece of scrap birch wood to use for my design. After choosing the scrap, I was able to orient the laser to a clear piece of the wood that would fit the size of the keychain. This was more straightforward than I anticipated because I thought it I would run into issues with the size of the keychain since I just randomly drew the design on Illustrator without scaling. Also, I realized that the birch was warped so I taped down the edges of the sheet away from where the laser would be.
The laser took around 2 minutes to cut out the full design. Once it was done, I let it settle so that the fumes could escape, per the recommendation of the staff member who gave the demo. I tapped on the wood to make sure that the outer edge and keychain hole was cut through entirely before I untaped the sheet.

