What did I print?
I decided to print the 3D model of a whistle I created in CAD SolidWorks last time. I chose this model because it is simple, small and functional. I have never 3D printed before so I thought this would be a reasonable challenge. Going into it, I already there were some important things to take into consideration: what side of should I place flat on the printer? How much support do I need? How do I rip the support out of the whistle?
Printer used
For the printer, I used PURSA M3KS, p4.nolop.org
Process, observations and photos
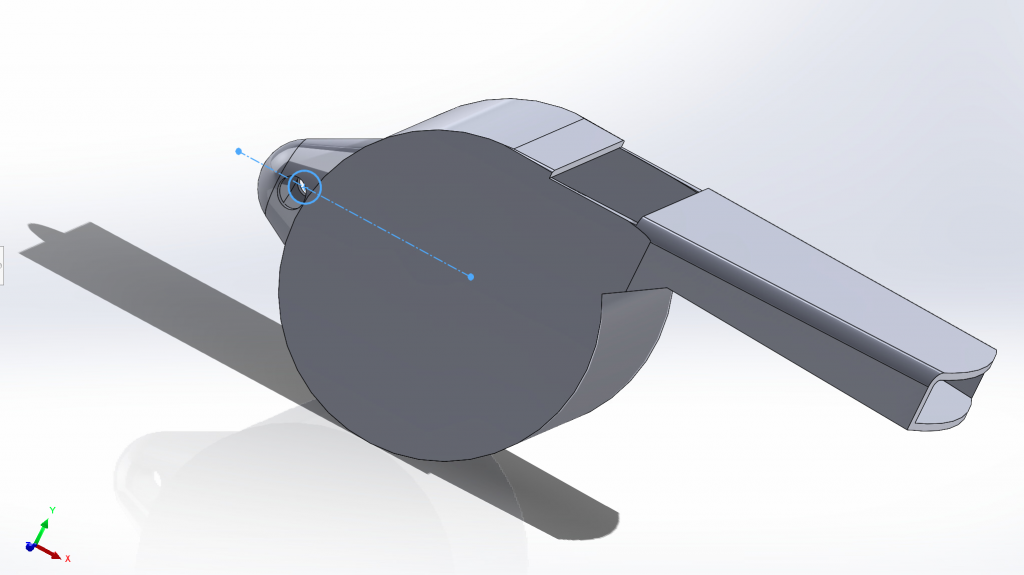
Choosing my .STL
When it comes to printing, I first needed an STL file. Luckily, I had just that from last homework. Behold.
I knew when it came to printing, coarseness mattered. A more coarse object prints faster but is less refined. For the purposes of this assignment, I printed it on the most coarse setting. I didn’t know whether or not this print would work, the object was small, and I didn’t want to save time. I didn’t need great precision for functionality.
Choosing supports and surface
First thing I did was head to NOLOP. There, I found a free printer and went to the p4.nolop.org website to upload my STL file. The site showed my STL file similar to the way CAD did except there were many options related to 3D printing: temperature, orientation, support type, etc. The nolop website said not to touch anything except material used. Luckily, the material was already set to the correct one, Nolop_Taz_ABS.
After uploading my STL file, I looked at the basic tab. There, I left everything as default except for support. I knew that because my whistle was hollow, it would need supports inside. Therefore, I picked “Everywhere” instead of just “buildplate.”

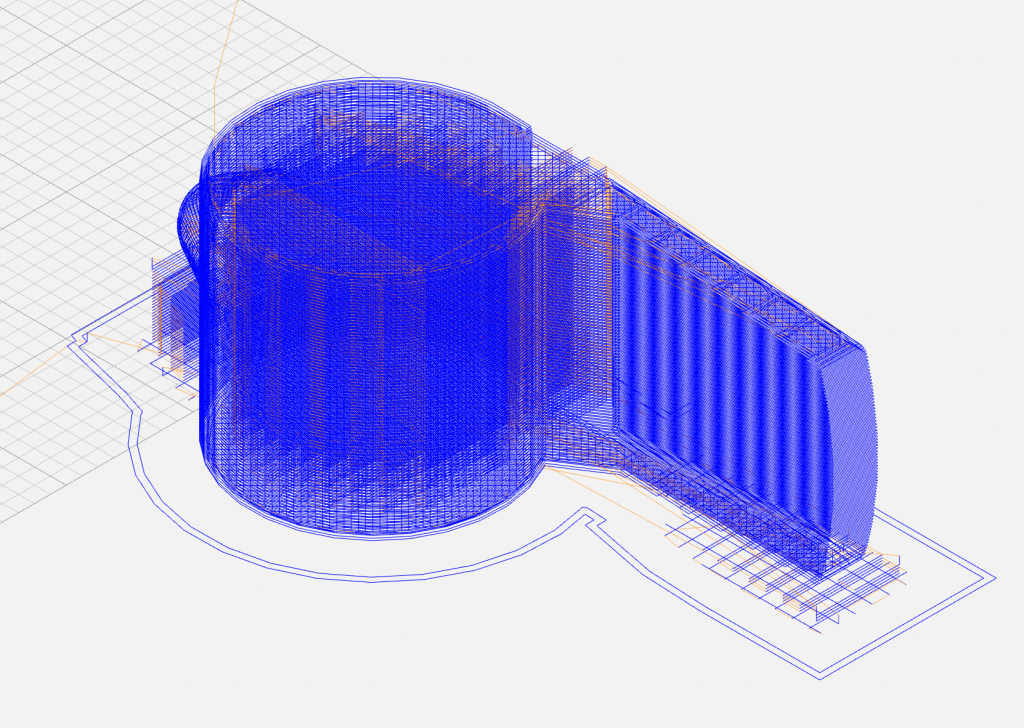
After having picked my support, I clicked sliced. This translated my .STL into a .gcode. Below is a visualization of my GCode. As you can see, there are crisscrossed supports everywhere in the whistle. This means when the print is done, I’ll have to figure out a way to peel everything out.
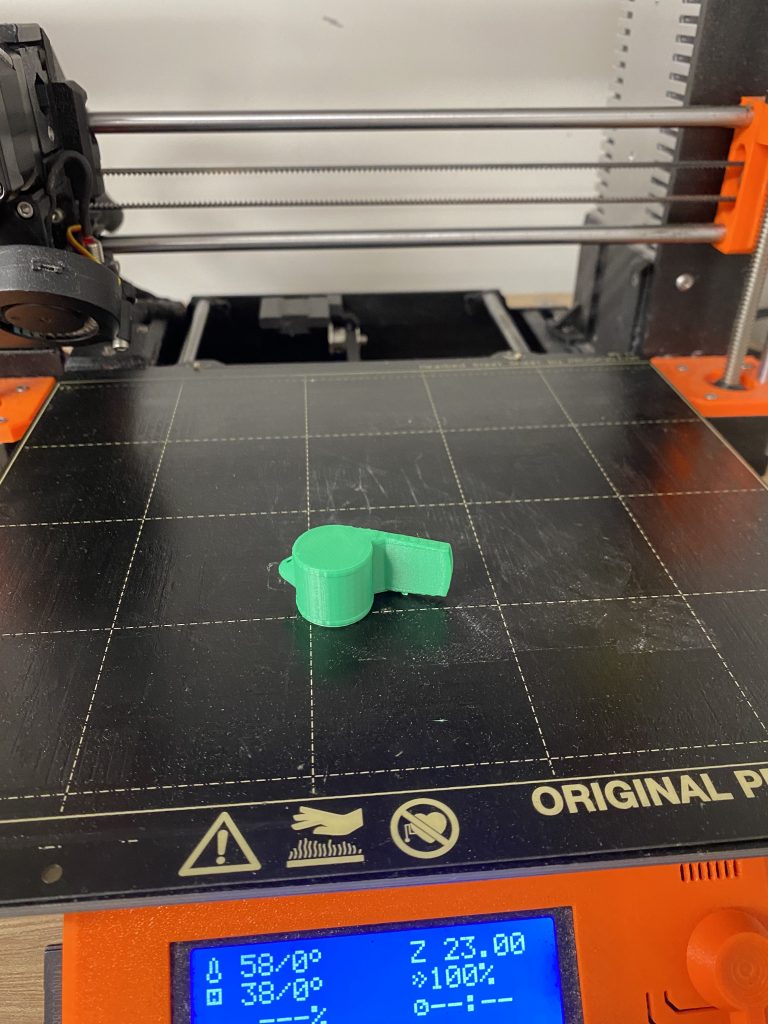
Now I am ready to print. I selected my .gcode file on the left and clicked “load and print.” It showed on my screen that it would take approximately 25 minutes to print. That was really surprising to me because I expected 3D printing to take much, much longer.

I didn’t have to spray down my 3D printer with hairspray because some one did it previously. There were some bits still stuck there so I removed it. In the end, it took 30 minutes for my whistle to print.
Post-print and final product
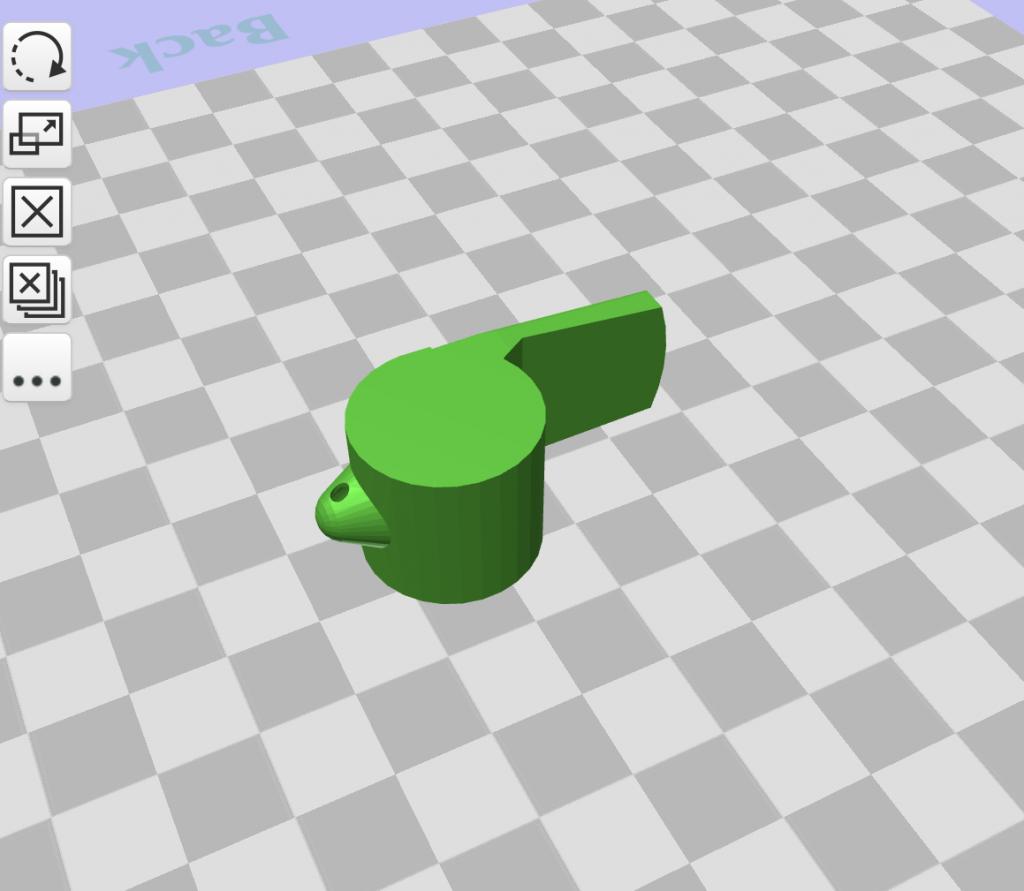
Here’s how it ended up looking like! I removed some of the supports but there is still a lot of stuff inside making the whistle not actually functional.
I walked around NOLOP and found a pair of needle nose pliers. I stuck it into the large hole on top the whistle and ripped everything out. This was difficult in the beginning because the pieces were very sturdy. After awhile, it just kind of unravelled and peeled out easily. Because the hole was very small, I ended up cracking one of the edges on the whistle.

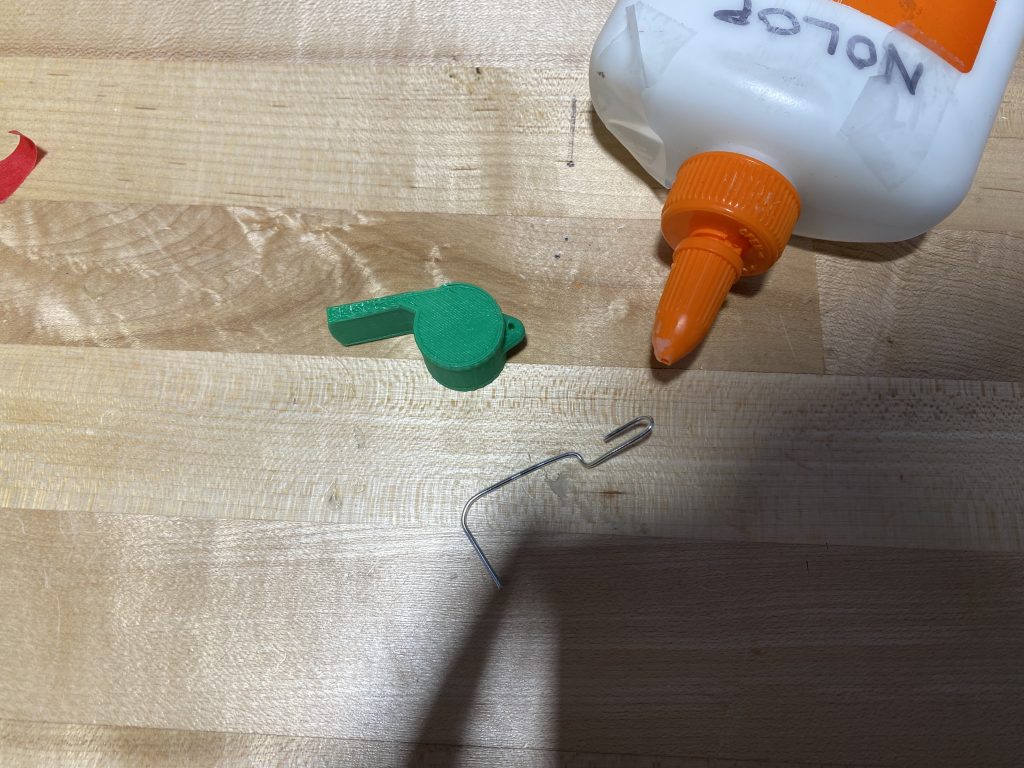
Fortunately, there was an easy fix. I found a paper clip and some glue. I put some glue on the paper clip and sealed the broken edge. It glued together easily and it actually quite sturdy.
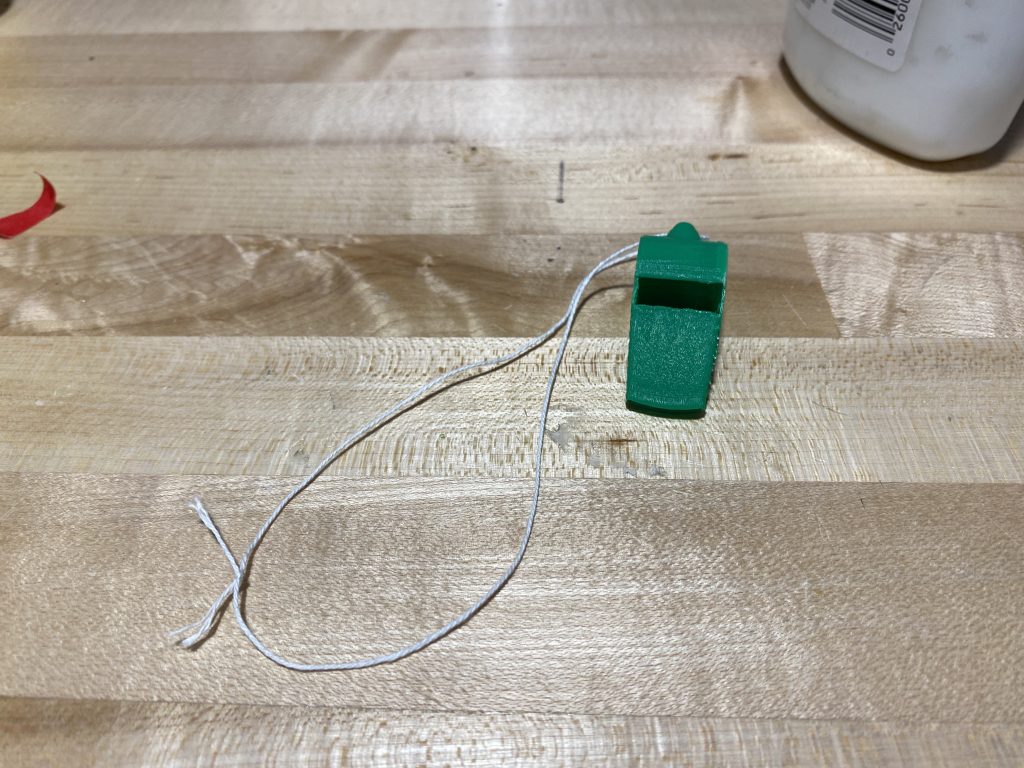
Finally, I found a small piece of rope which I tied through the keychain hole end of my whistle. It was easy because the hole was big enough and there weren’t any supports inside to block my way. I blew into the whistle and it was functional. Fortunately, I didn’t have the chance to let anyone else try my whistle because one hour later I got a positive COVID result.
Difficulties and what I learned
Printing itself was easy because my structure was only a single part. The most difficult part was knowing what dimensions my object would even be. I can see how making something in CAD before knowing the exact dimensions and having to arbitrarily decide can make printing difficult. It my object wasn’t set to coarse, or was too large, this could have taken up to a whole day to print. This means any mistake caused by printing would mean spending another day reprinting.
Something I learned was the importance of printing on the right side. If I printed my whistle round edge first, it would have been very difficult to support. Fortunately, it defaulted to start printing on the flat, circular side so there was no issue. I can see how this can be a difficult decision for more complicated shapes.
Removing supports was difficult. My object had supports inside due to being hollow. As a result, I needed to rip things out from inside. This meant slightly breaking my object. The needle nose pliers were much stronger than the 3D printed object material and so I made some scratches and dents. It may have been easier to make a bigger whistle, to print the top separately, or make my own support inside. Regardless, it worked out, but I can see this being difficult for objects that have many supports inside and small openings.
Improvements
In the future, I’d like to print larger, more practical objects. A whistle can be easily purchased in a store, but a custom made mask holder, armor, or eyewear definitely can’t be. I would also like to come back in the future to make the object look better. I did some research on my own time and looked at how people use and improve upon 3D printed objects. Something I found interesting is the use of wet sand paper and epoxy to smooth out 3D printed things. Primer can also be applied afterwards to make the object paintable.
Objects difficult to fabricate with more traditional technologies
Highly personalized objects are particularly difficult to make with traditional technologies. This includes prosthetics, specialized medical equipment and prototypes. A patient who needs a medical device installed on their anatomy would definitely benefit from a 3D printing device since their organs would be different from everyone else’s. Traditional technologies just aren’t as flexible and versatile as 3D printed objects. Additionally, 3D printing is much less expensive than most other manufacturing processes. Creating a 3D model of something before actually investing in the expensive version can give customers and investors a chance to see the object before it is created.