Ideation
For molding and casting, we wanted to create something related to our project. Therefore, we decided to 3D print a breast mold and cast it with gelatin for our 1-piece mold, and to 3D print a unique 2-part ring mold and cast a hollow tube.
The breast is for fitting our massager onto and the hollow tube is for holding the heating element of our massager
1-piece mold: Gelatin Breast
We started by creating a breast shape in CAD. This was fairly simple since we were able to use the arc, trim and revolve tool. Initially, we tried printing it to be much larger but the printer said it would take 8 hours. So reverted to doing a smaller scaled model.
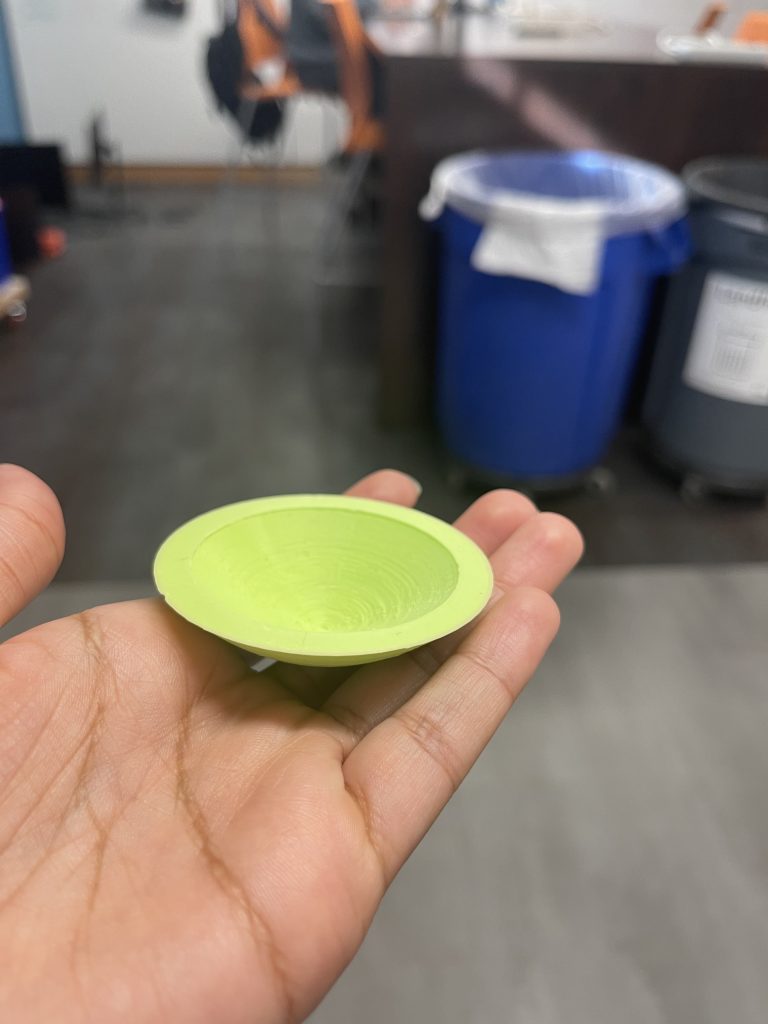
3D printed breast shape 
3D CAD breast shape
We created a silicon mix using part A and B for liquid rubber. This lead to a pretty solid silicon mold.
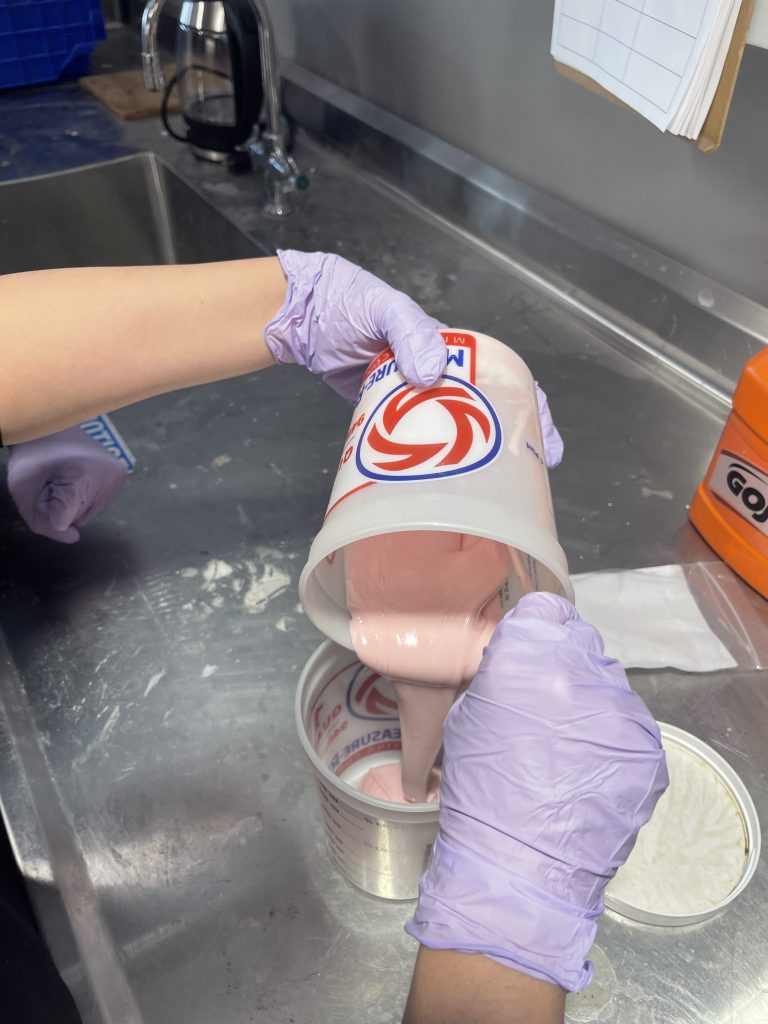
creating the silicon mix 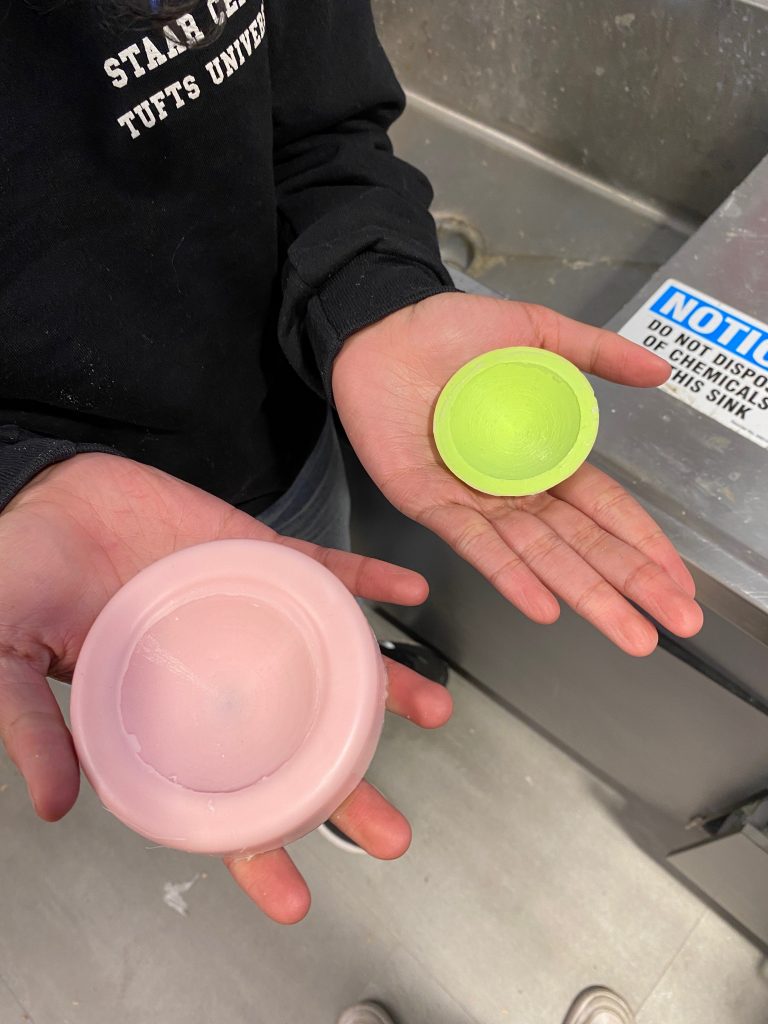
our 3D printed breast shape and its silicon mold
The first time we did this, we didn’t use enough beef gelatin powder. This lead to a very watery mold that did no solidify. Instead of following the instructions and using the scale, we decided to eye it instead by using more more powder and less water/glycerin. This lead to a much more solid cast as shown on the image on the right.
The scale was a bit faulty and we didn’t have graduated cylinder so we suspect that might have been why our initial mold was not so good.
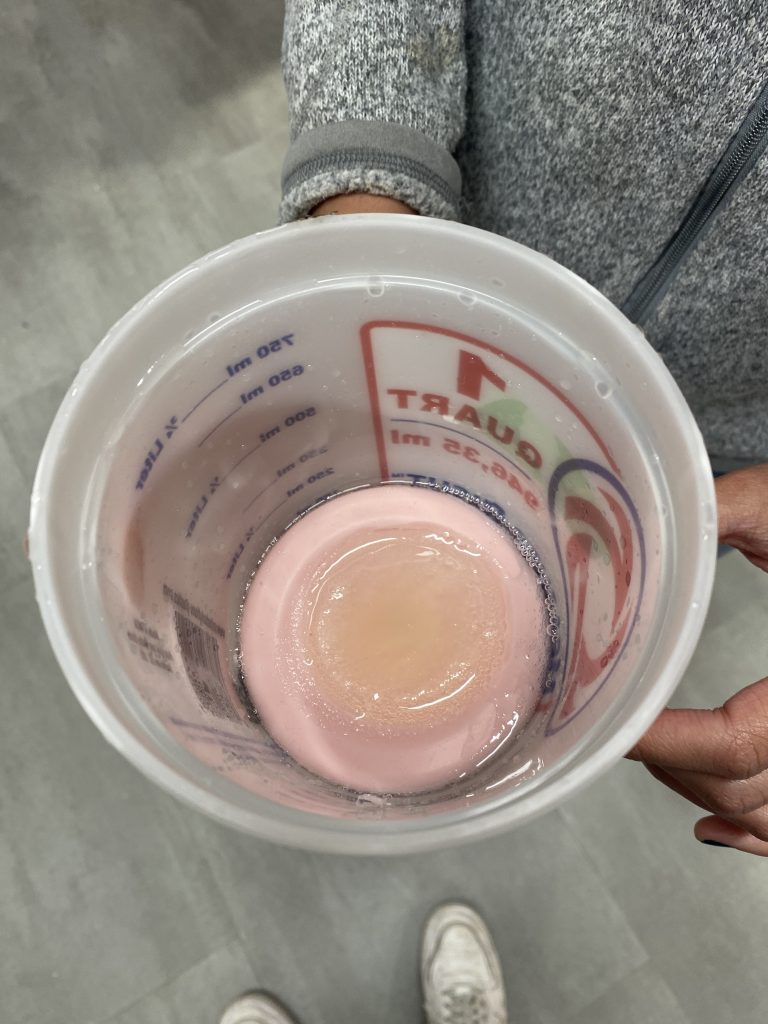
Gelatin cast drying 
Dried gelatin breast cast
2-piece mold: silicon tube
We took some time figuring out how to create a hollow tube shape. We decided to have a hollow donut shaped mold with a ring suspended in it. This leads to a sort of half tube. We would have to repeat this cast in order to create the other half of the tube. After attaching it together, we’d have a hollow donut.

ring shape in CAD 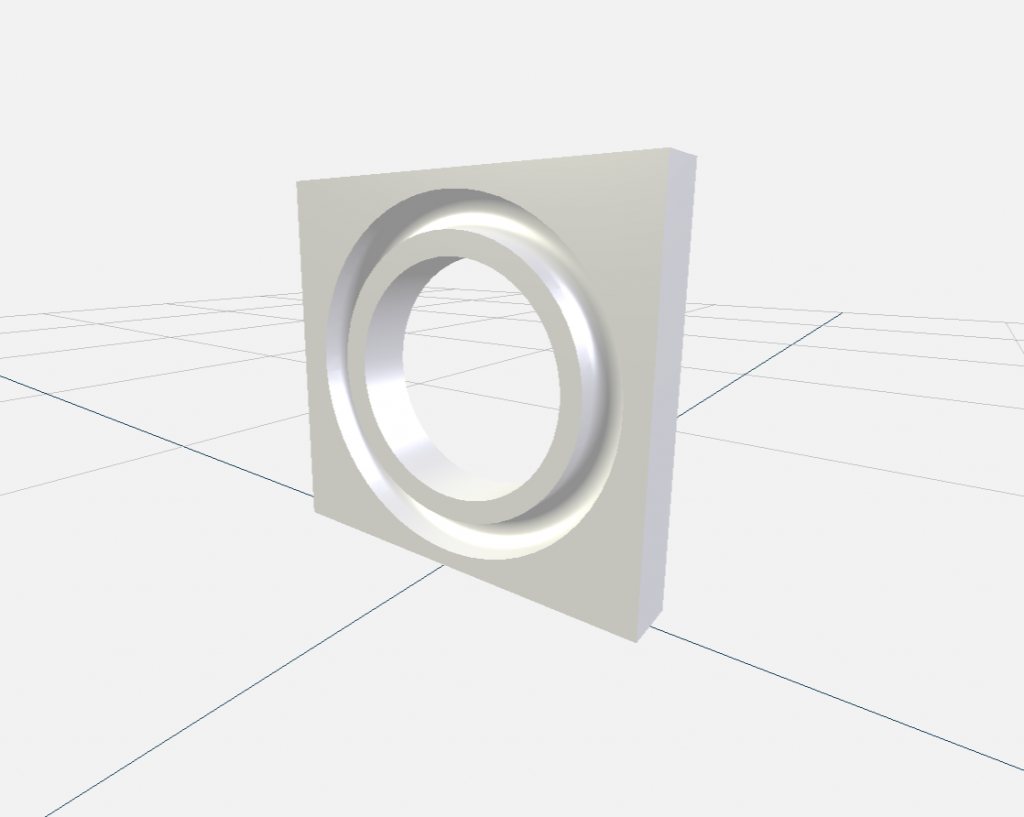
tube shape in cad 
two piece mold for tube
In order to prevent the floating ring from falling to the bottom, we glued some 3D print scraps on it and attached it to the bigger mold. As you can see on the left photo, it was a bit messy, but the ring successfully stayed on. The next day, we figured that the cast was very difficult to remove. Therefore, we used a handsaw to cut through it. This caused some damaged to the mold but we super glued it back together. The final product is the pink half tube you can see on the right.

using silicon to cast the tube 
breaking the mold to get the cast
Challenges and how we overcamae
CAD was a bit difficult at first due to scale. Octoprint didn’t scale the same way CAD did and so we when we first printed, our breast mold was so big the printer went out of bounds. We ended up printing multiple times for both the breast and the rube mold, but that experience gave us more insight on how 3D printing scale works
We didn’t have tools to accurately measure our part a/b mixes and the gelatin, so we had to eye some of it. This was actually better than using the scale because we were faster and the scale was not accurate.
The most interesting challenges in my opinion was trying to get the cast out of our ring mold. We decided to break our mold and learned how to use the handsaw in the process. This made us think about how a machinery class would be useful.
Biggest Takeaways
I have never done molding and casting before so this entire project was very informative. We spend a lot of time in NOLOP figuring out how to fit our molds together, creating the different cast mixes, and playing around in CAD. I learned a lot about the tools available to us in NOLOP such as the hand saw and the silicon cast. I also made a lot of mistakes and messes in working, and I feel like I have become a lot more efficient moving from the the 1-piece to the 2-piece mold. I see how CAD and 3D printing are valuable tools that can be combined with molding and casting to create complex 3D structures.
Casting and molding helped us create a breast mold that was soft and realistic. This is not achievable with 3D printing and therefore was a valuable skill for our project especially. I can see how if we continued this project, we’d be able to create many, many more breast molds for different body sizes.