- Created primitive cube on BlocksCAD
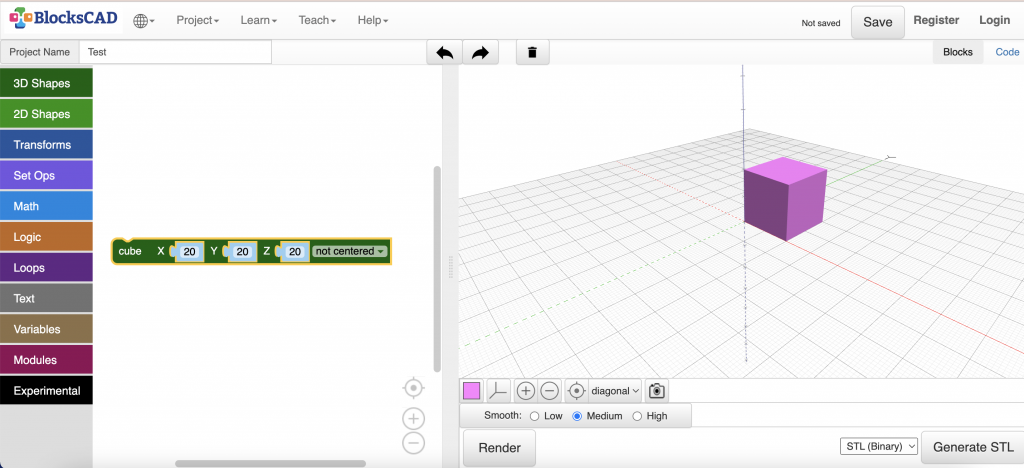
2. Exported object from BlocksCAD as .stl using the Generate STL button in the bottom right corner
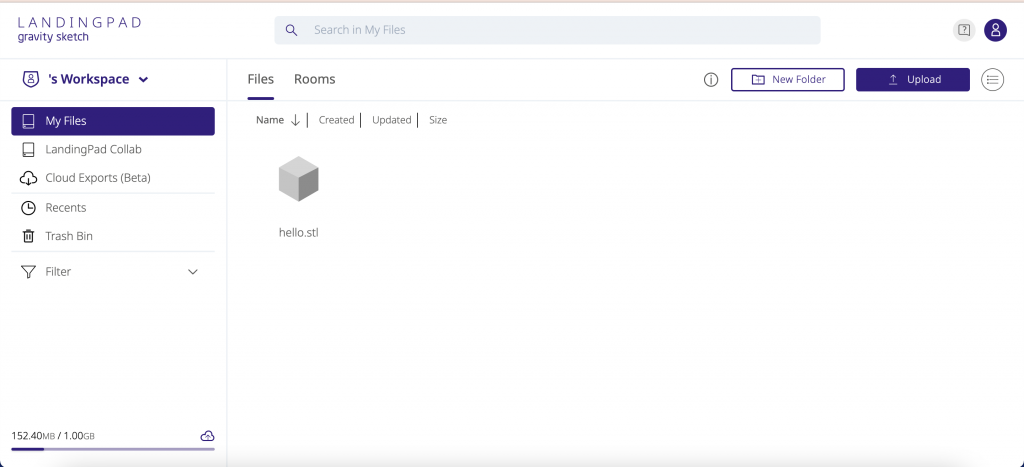
3. Imported file into landingpad
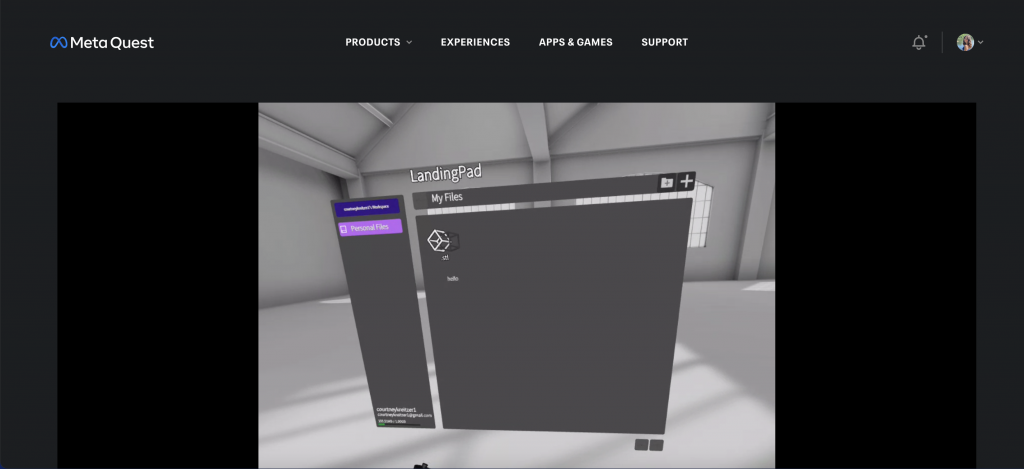
4. Accessed fie in Oculus using file manager
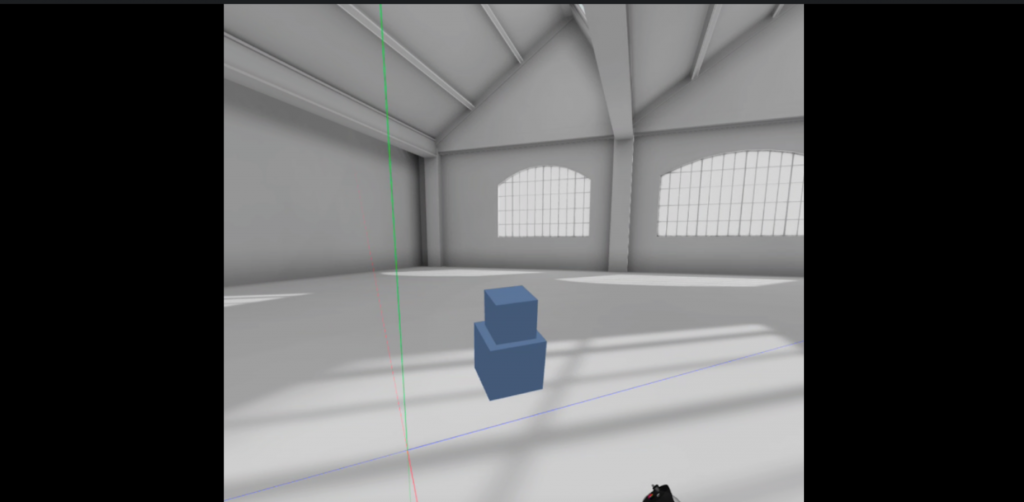
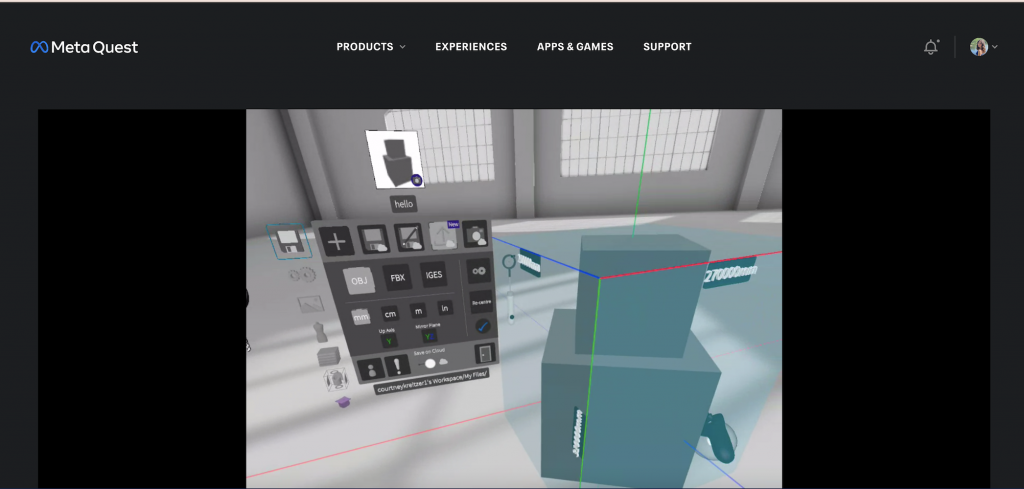
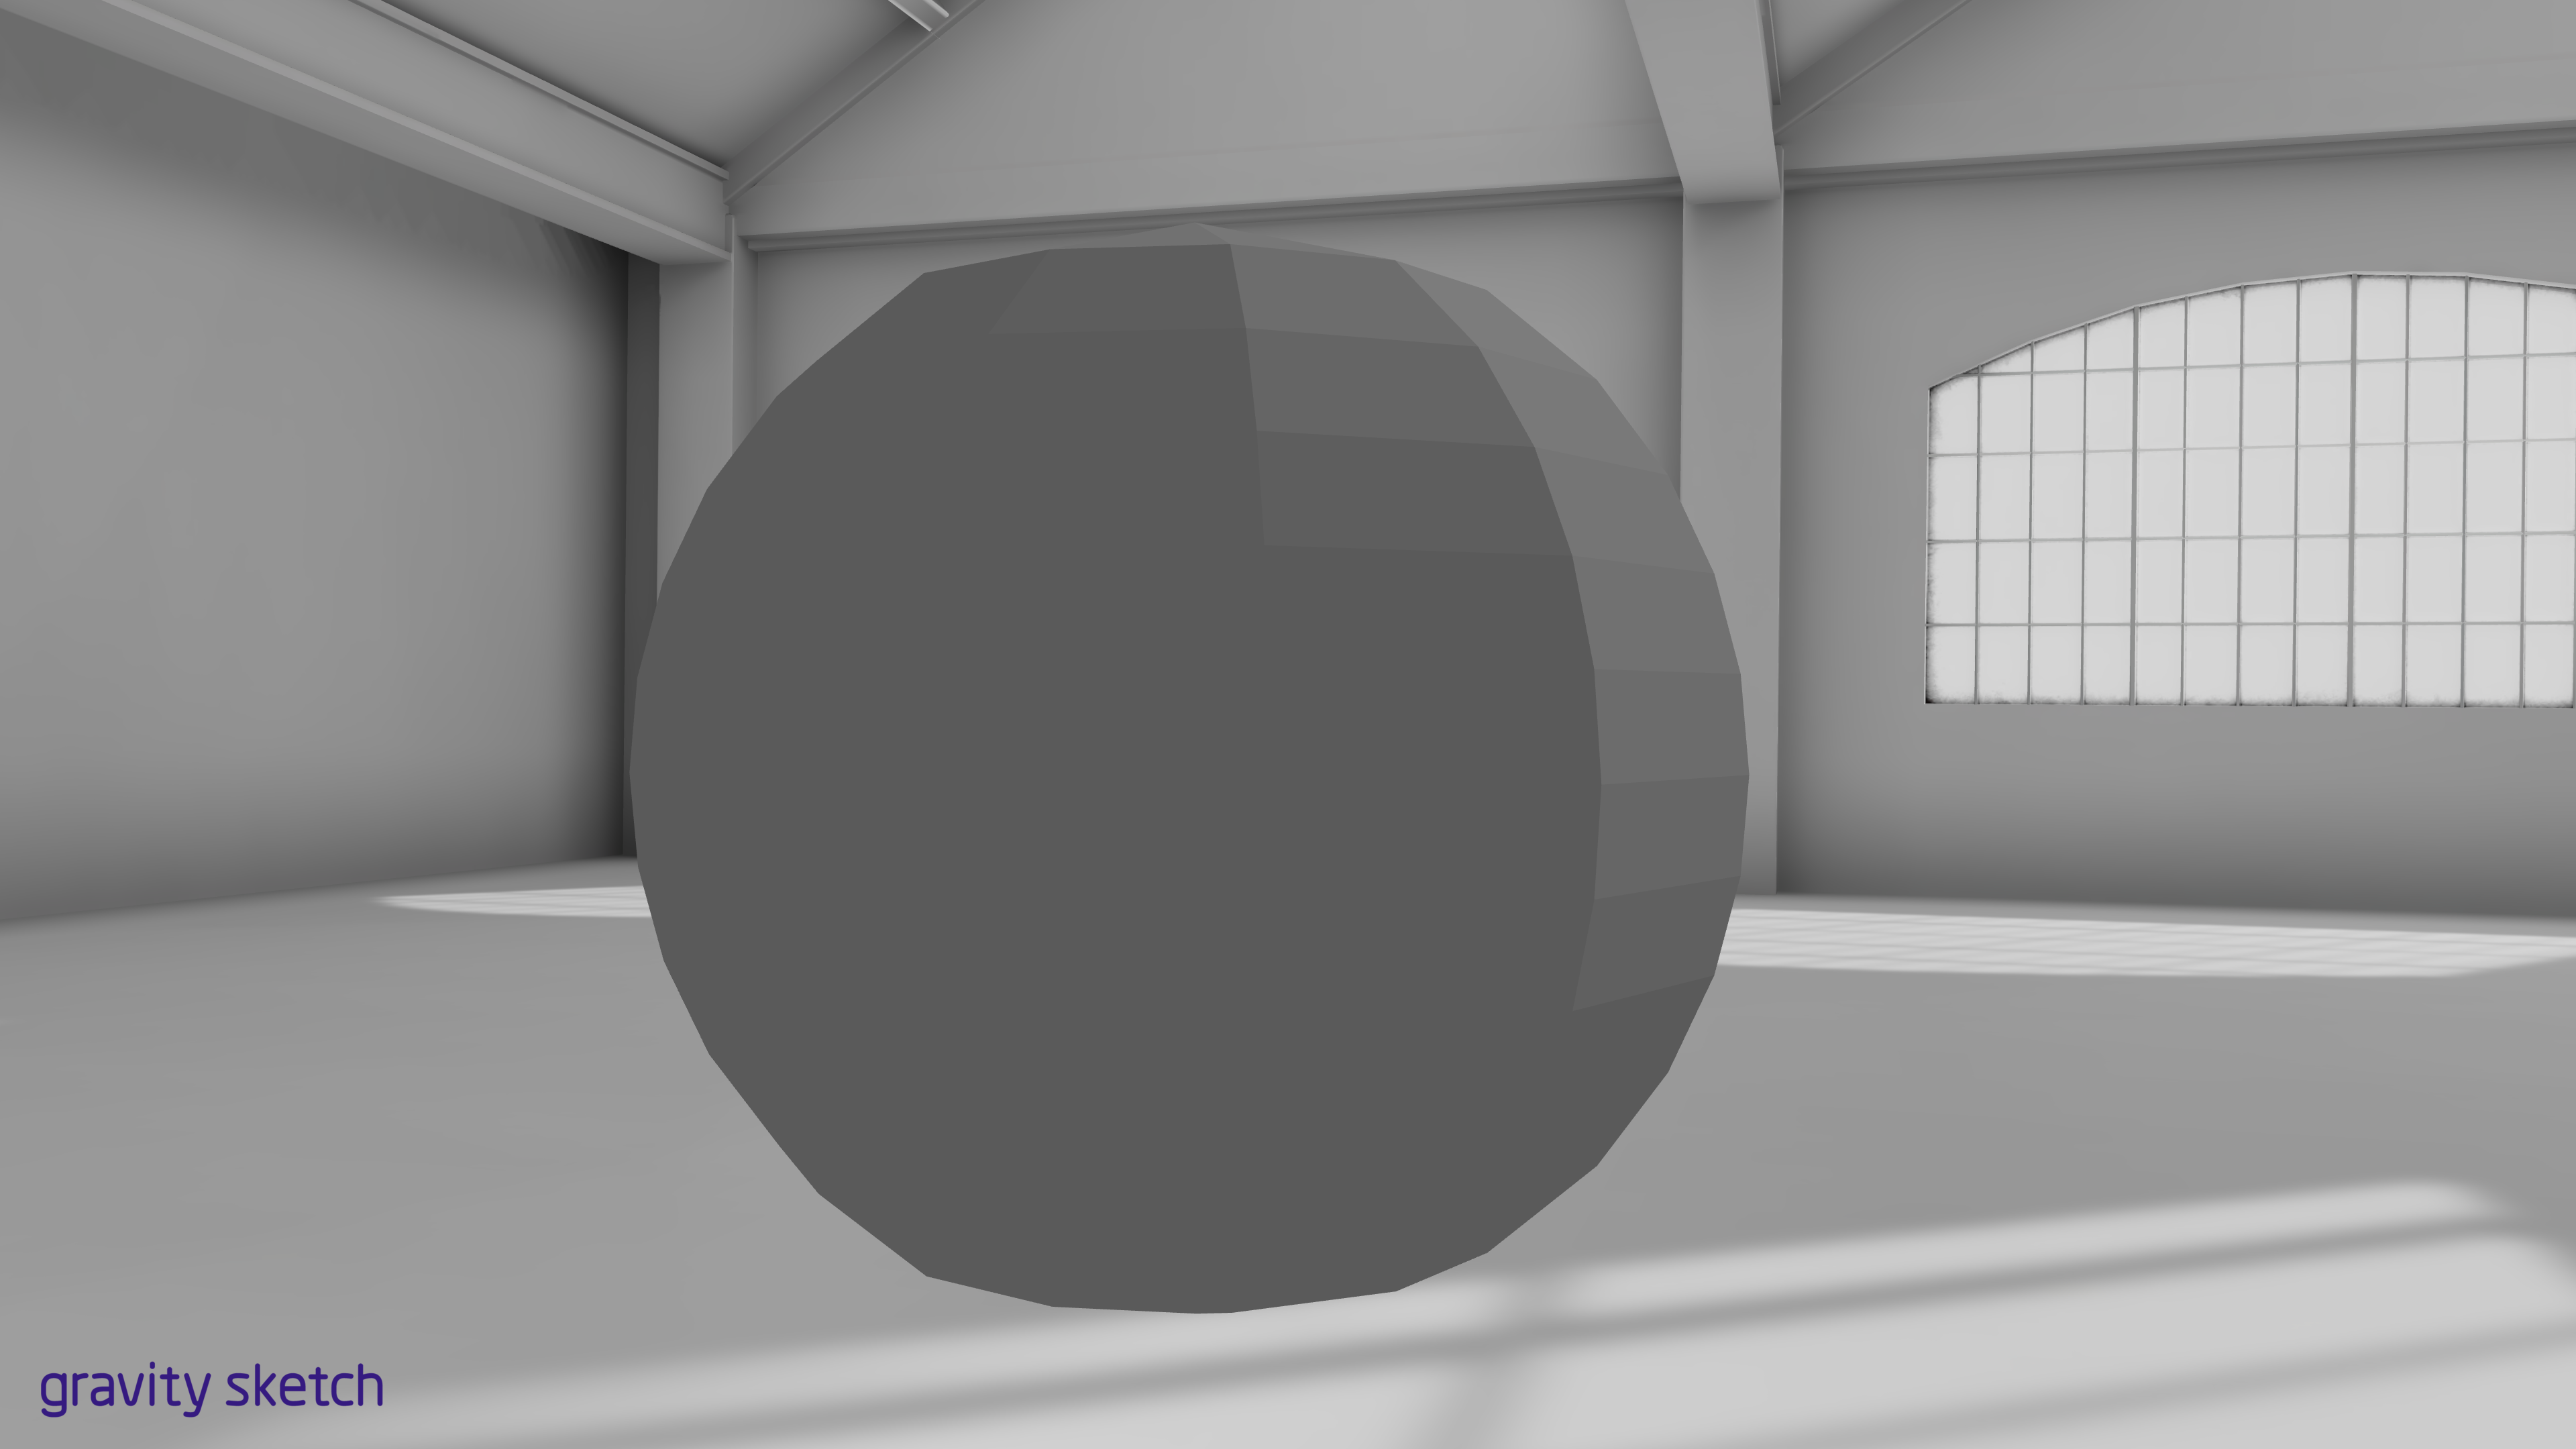
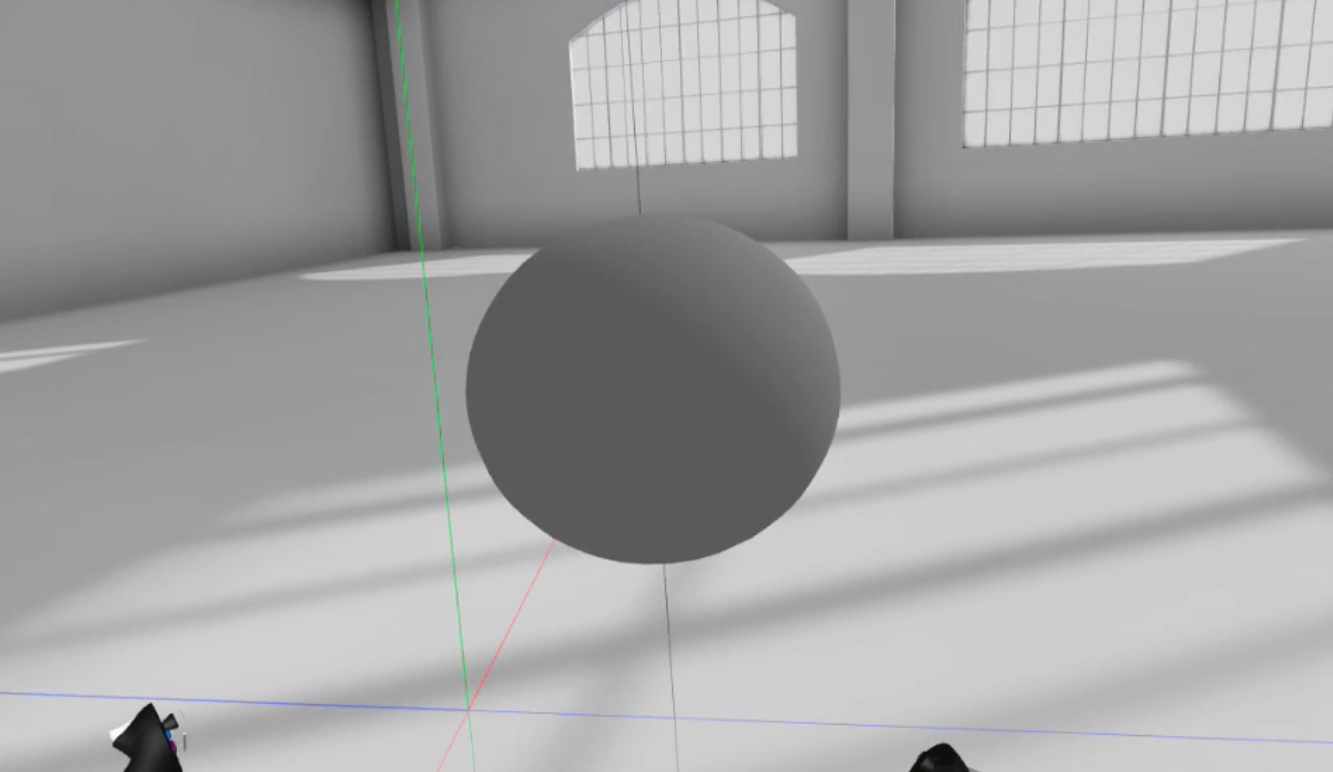
5. Added to design in GravitySketch by adding a second smaller cube on top
6. Exported object by clicking the menu button (blue button on left controller) and selecting export. I exported as a .obj
7. Opened .obj file in PrusaSlicer, which is an open-source tool used to slice 3D files for printing. It transferred in at the wrong angle, so I used the Place-On-Face button to select which side of the face I wanted to be the base of the object
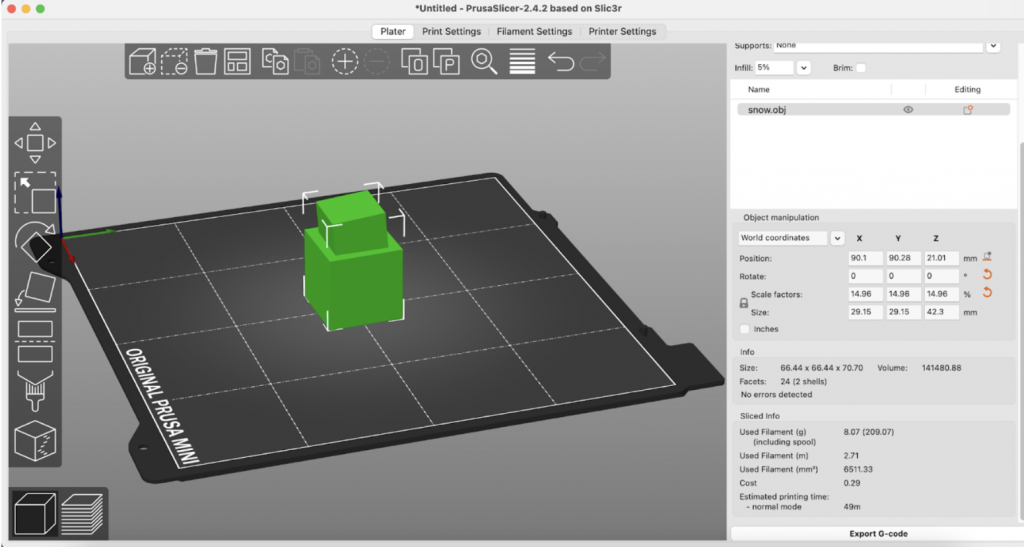
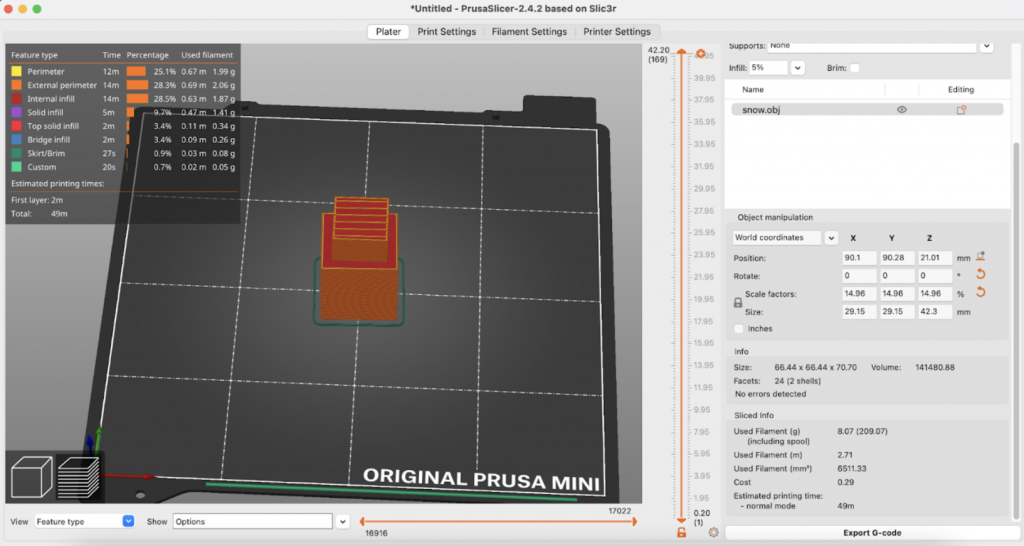
8. Scaled object to .25 size and set infill to 5% so that it would print faster. The object did not have to be super sturdy since it was just a test. Then I sliced the object and downloaded its gcode
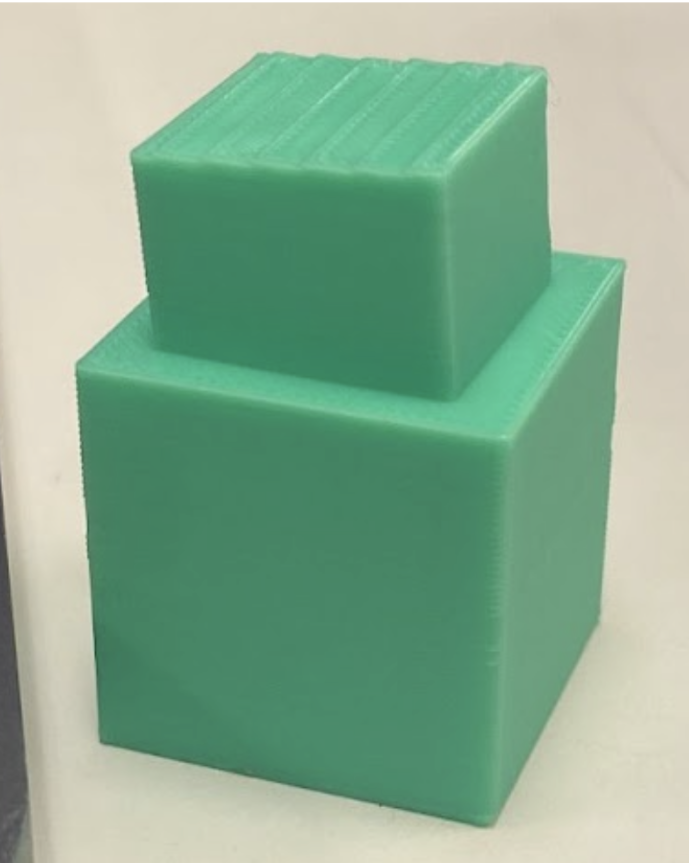
9. 3D printed my object using our Prusa Mini! Note: It came out slightly lopsided because I haven’t figured out how to align objects according to axes in GravitySketch. But that’s what tests are for!
0 Comments