For a long time, I captured images of what I was working on in GravitySketch by casting onto my computer and screenshotting on there. However, these photos turned out grainy, often had my controllers in view, and were marred by the xyz axes. Then, I discovered an amazing feature in GravitySketch that allows you take a picture of your image and then access it in LandingPad. This tool is a game changer because it allows you to track your progress and share your work with others. Here is how to take pictures in GravitySketch:
- Move your non-drawing controller out so that you see your quick access menu pops up:

2. Select the camera icon (second from top/right). It should open up to the below screen:
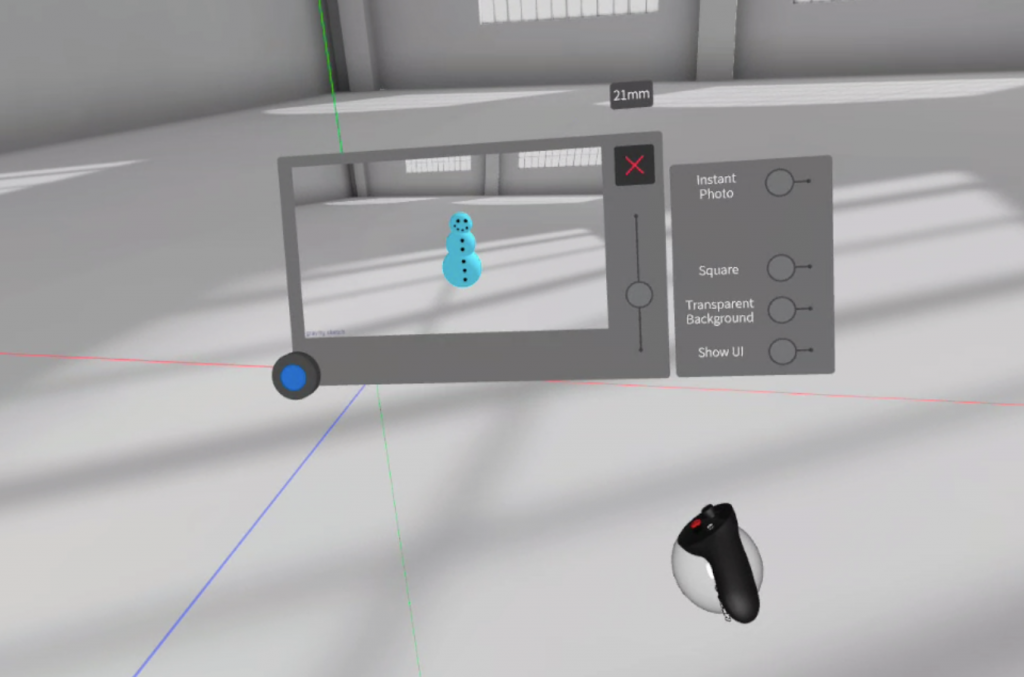
3. Use your left controller to position the camera. If your object is light-colored, make sure it isn’t directly in the sunlight or else it might look washed out. Take a photo by clicking the blue button. A pop-up will tell you that your screenshot will be saved to your LandingPad workspace
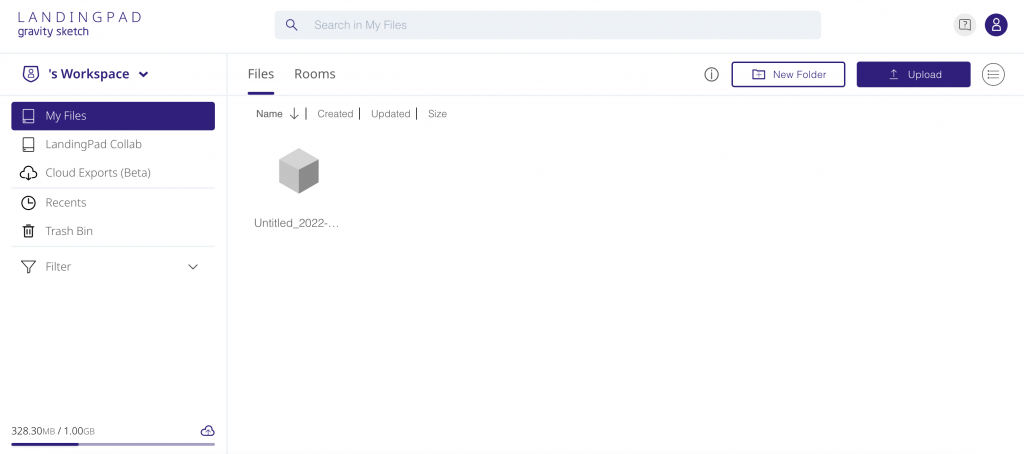
4. Log in to LandingPad and access your file in the My Files section. Click on the icon to send, download, view move, or delete your image.
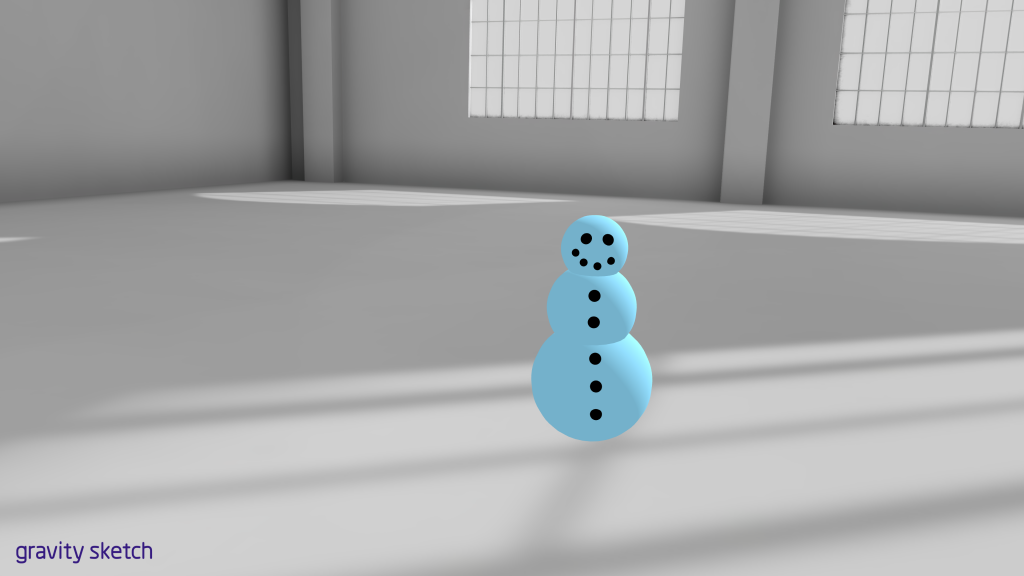
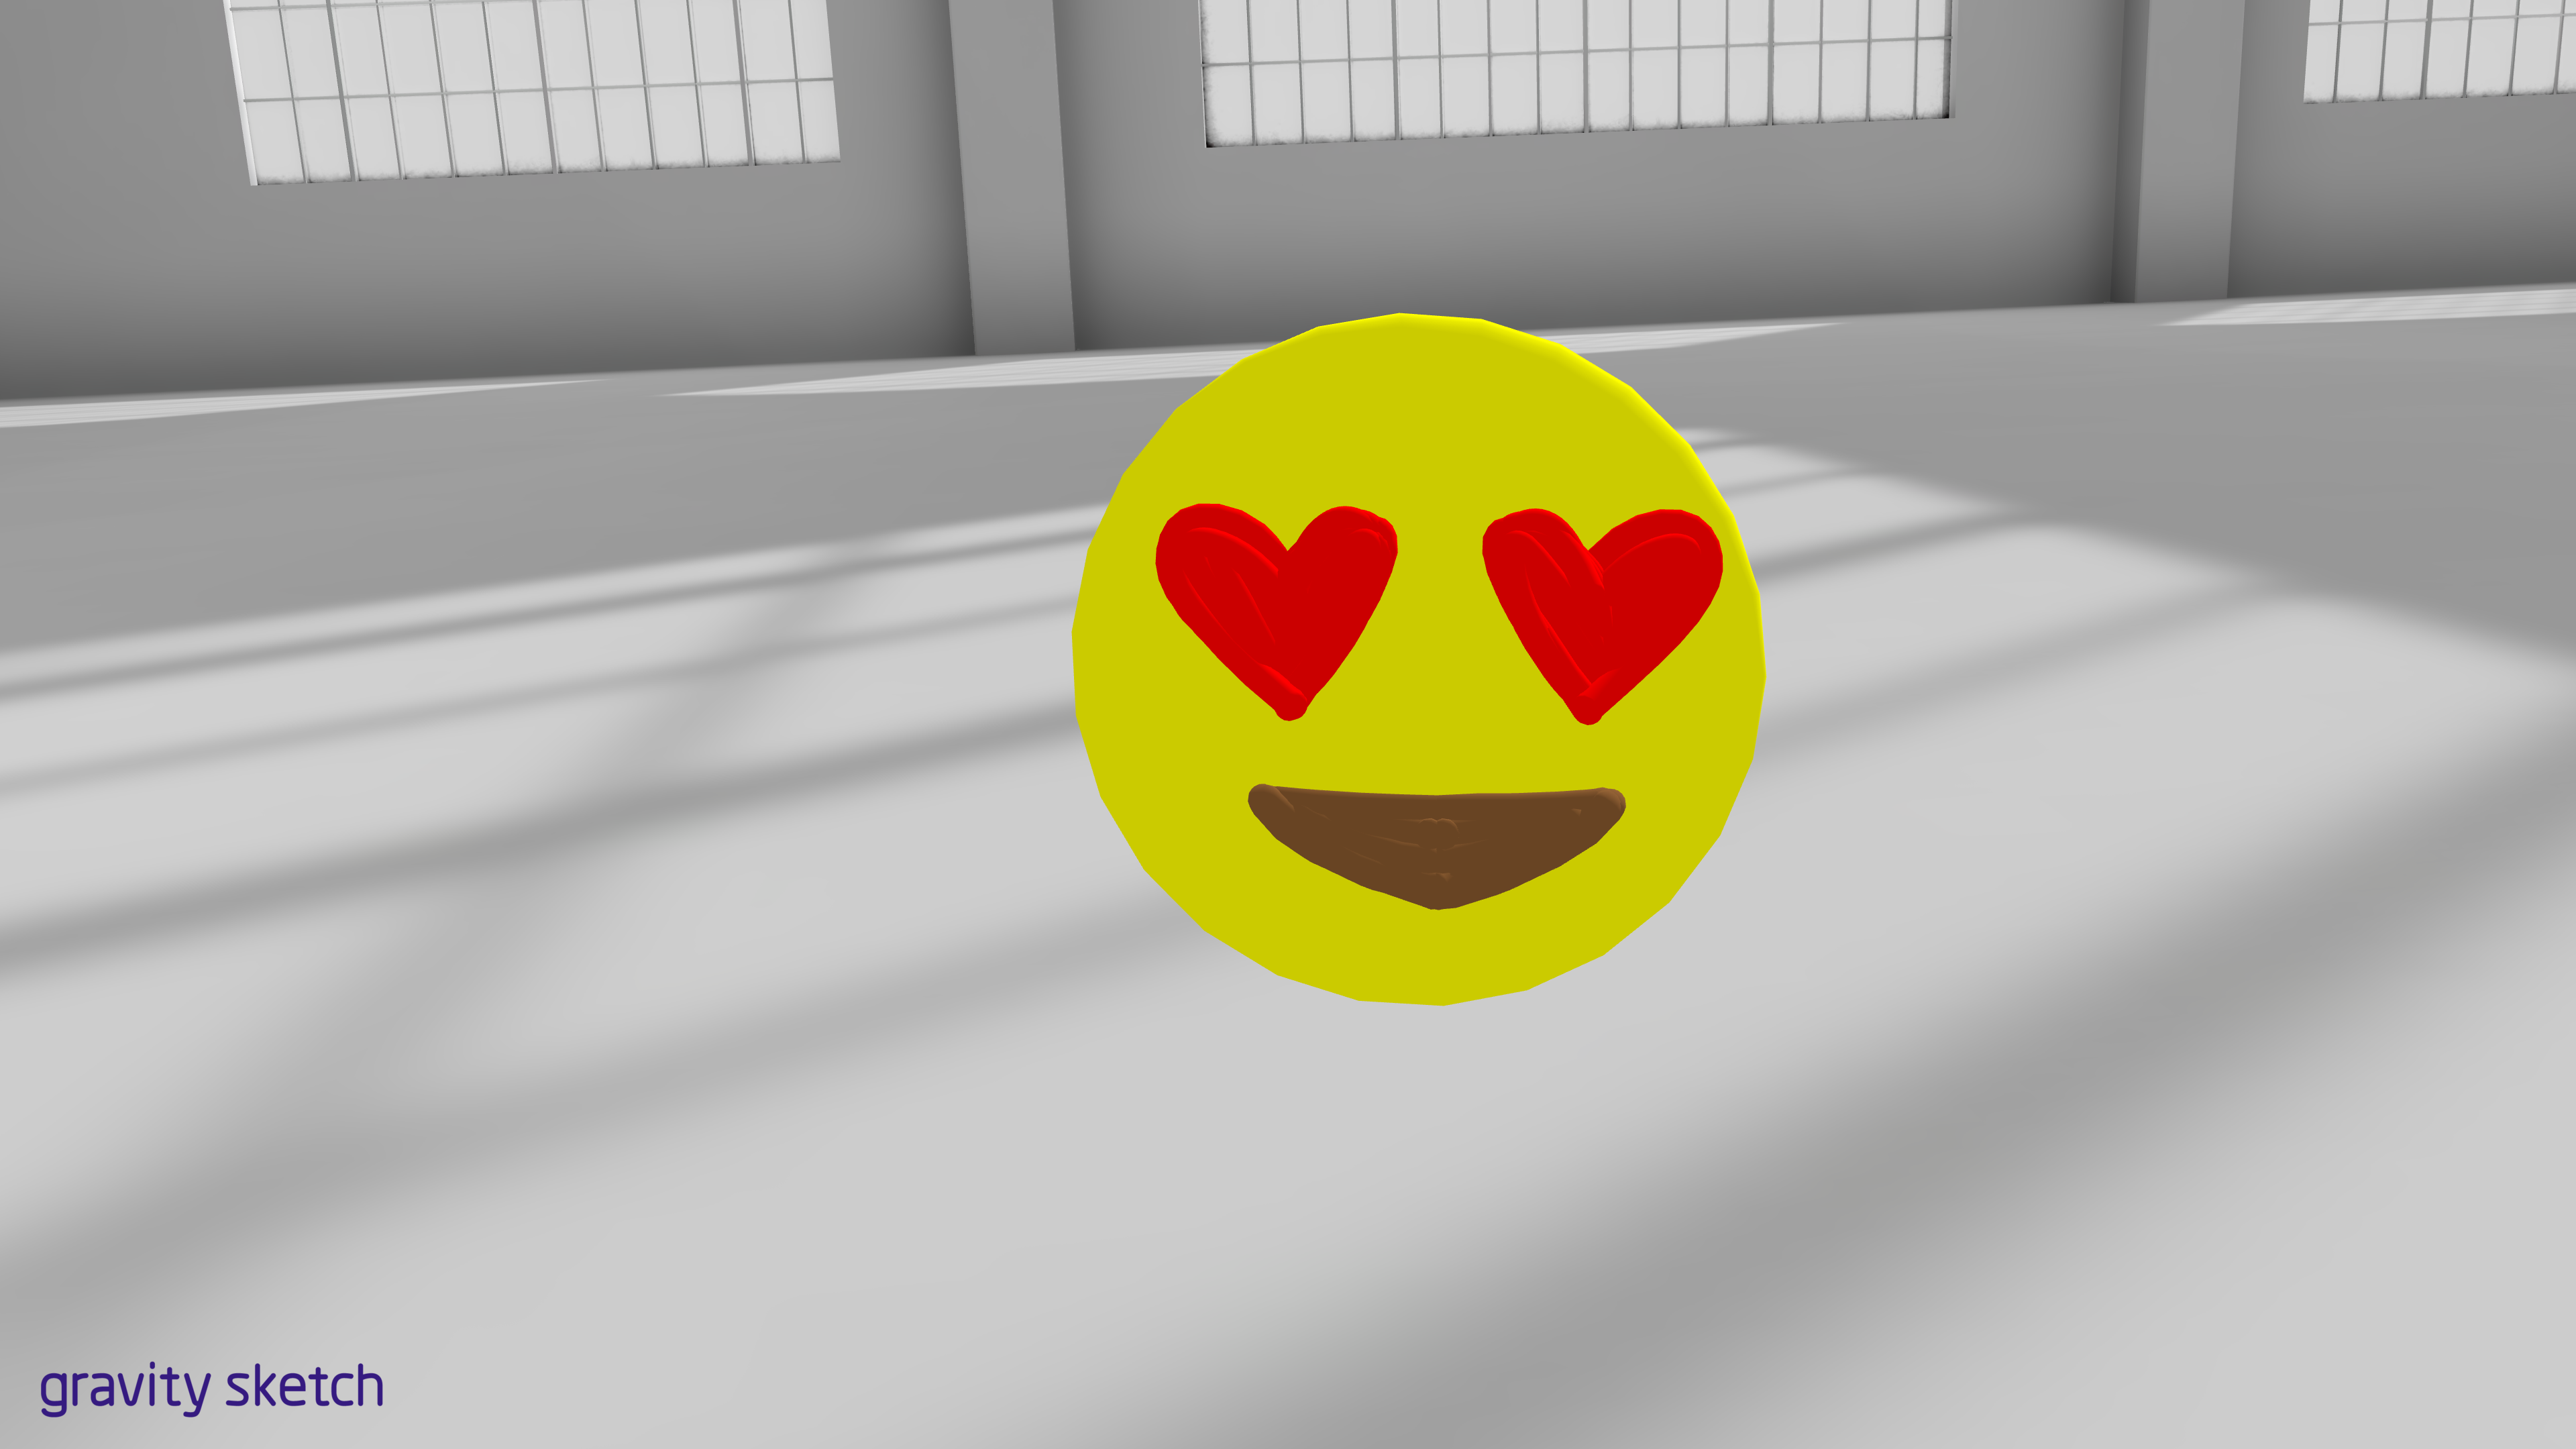
5. Enjoy your high-quality image!
0 Comments