GravitySketch is such a cool application because it allows users access to tools that 2D design platforms don’t support. One such tool is the stroke tool. I had already experimented with using this tool to sculpt objects. However, I wanted to expand my creativity and find more used for the tool. One of the first thing that came to mind was creating emojis. Emojis are little figures that showcase human emotions. They include heart eyes, sad faces, and laughing faces. Shapes such as hearts, tears, and wrinkled eyes are difficult to create with 2D shapes. However, in GravitySketch, they can be drawn using the stroke tool. Here is my journey creating a heart eyes emoji:
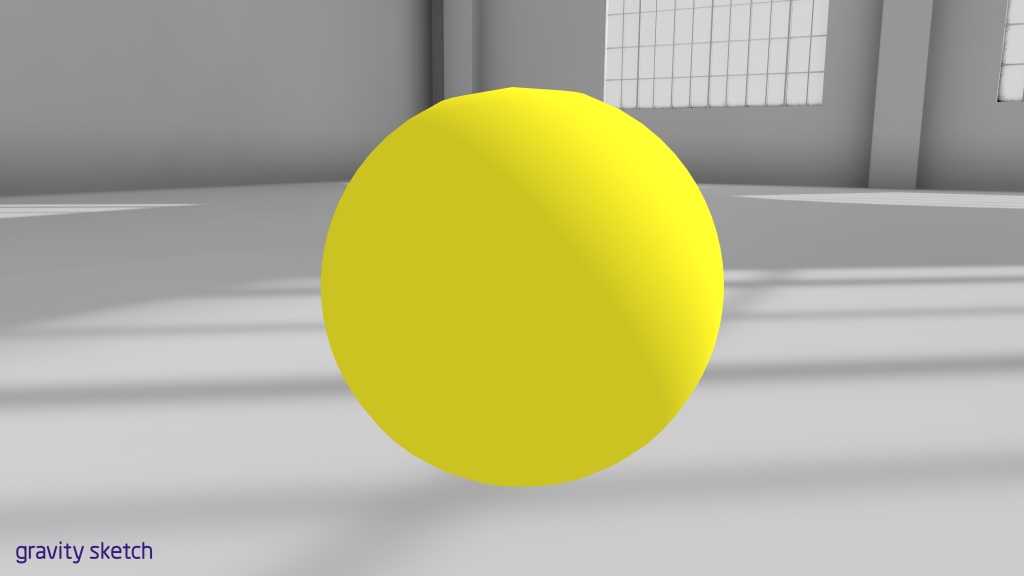
I started by creating a yellow sphere (purple tool menu > primitive shapes > sphere)
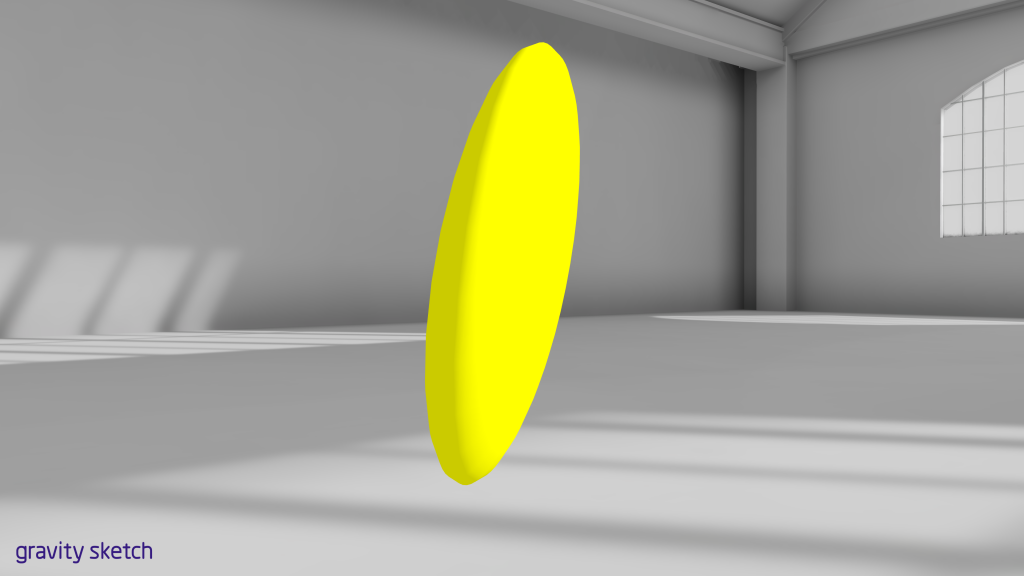
From here, I flattened the object as shown in the last tutorial (grab object > blue edit button, adjust green z axis). This is the flat face of my emoji and I wanted it to be fairly flat so that it would print properly
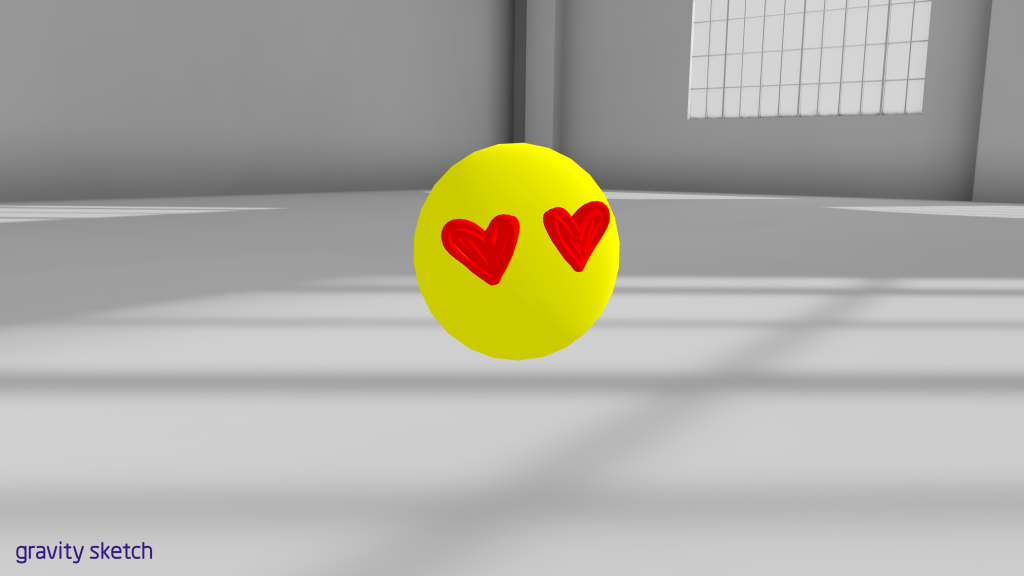
Now that I had a face, I started sketching on the face details. I put my workspace into mirror mode (blue settings menu > mirror) and moved my sphere so that the mirror split it in half. Then I sketched on the heart eyes using the circular stroke tool. Once I drew on one heart, it automatically mirrored my actions onto the other side.
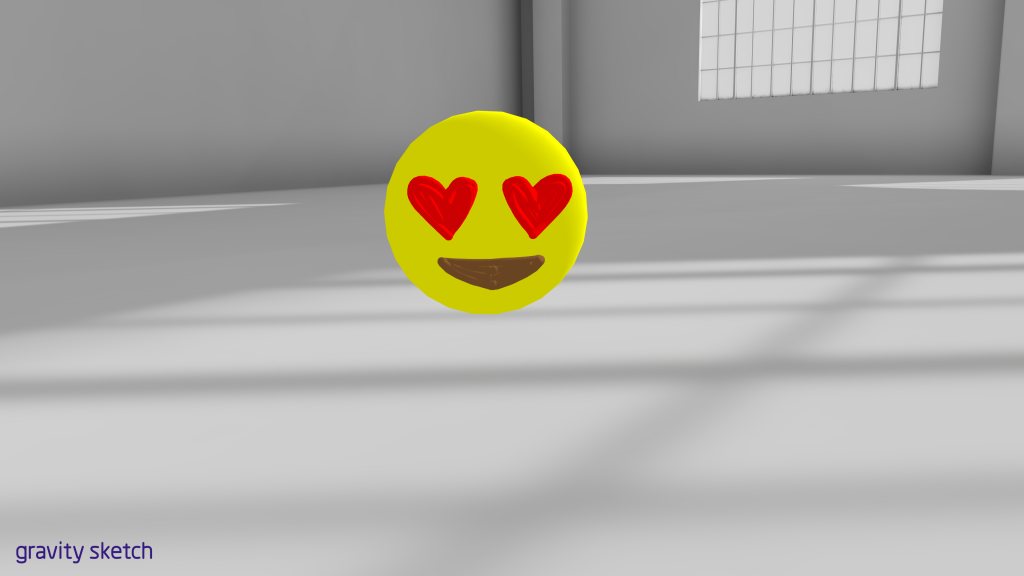
Next I added a mouth. My sketch looked like the heart eyes emoji! At this point, I clipped my object together to make sure that everything stayed together. I achieved this by enlarging my grab sphere, grabbing the whole object, and selecting the purple clip button.
Next, I imported my face into PrusaSlicer. As you can see, the face imported at a lopsided angle. So, I used the place-on-face tool (fourth down in left menu) to select the base of my object and lay it flat.
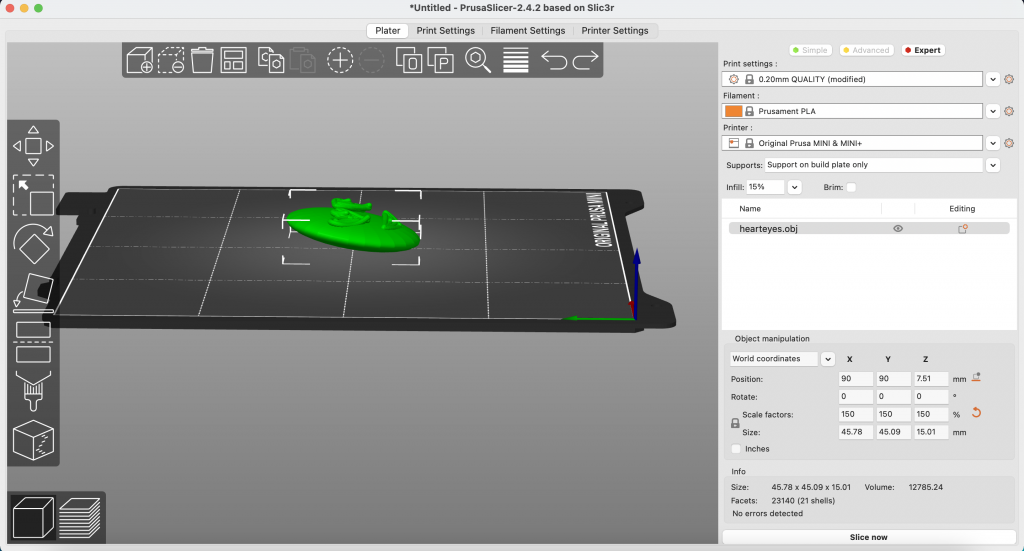
I also added some supports to my print because my base was not flat enough and I was afraid that the overhang would cause a print failure. Add supports to your object by going into the right menu and navigating to supports. Select supports on build plate only.
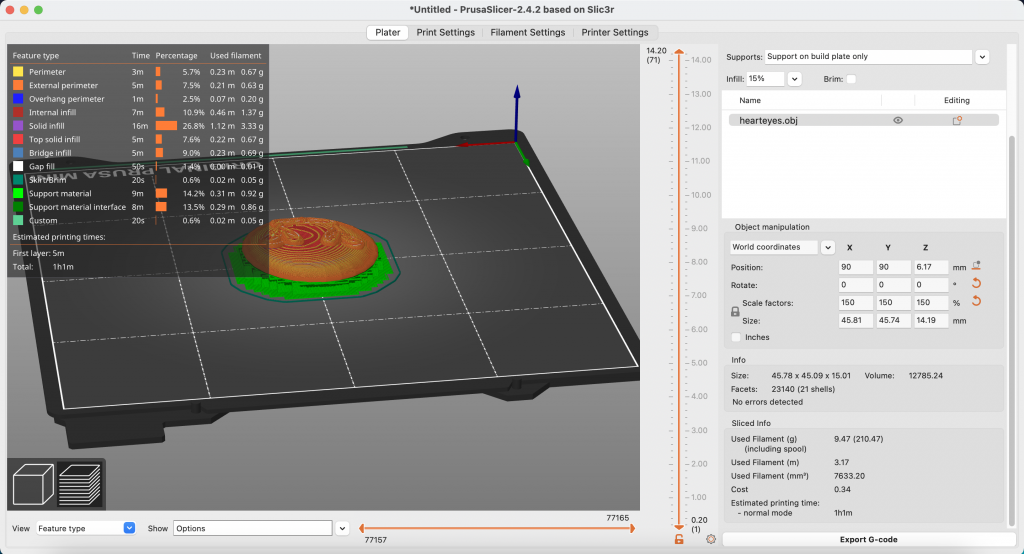
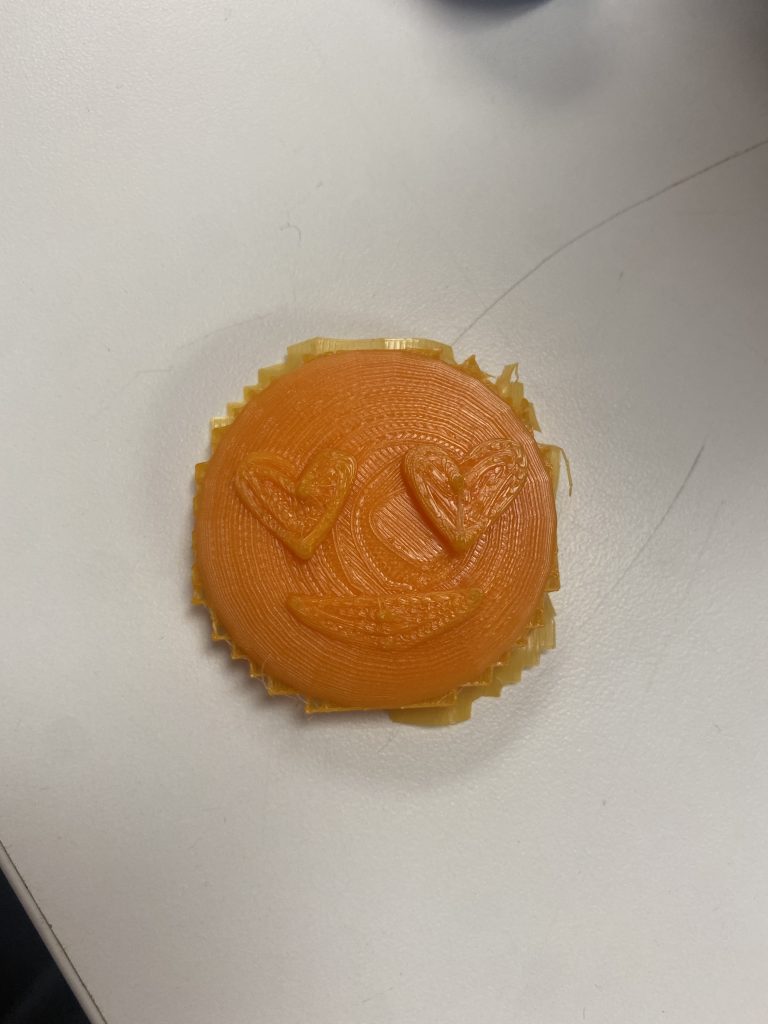
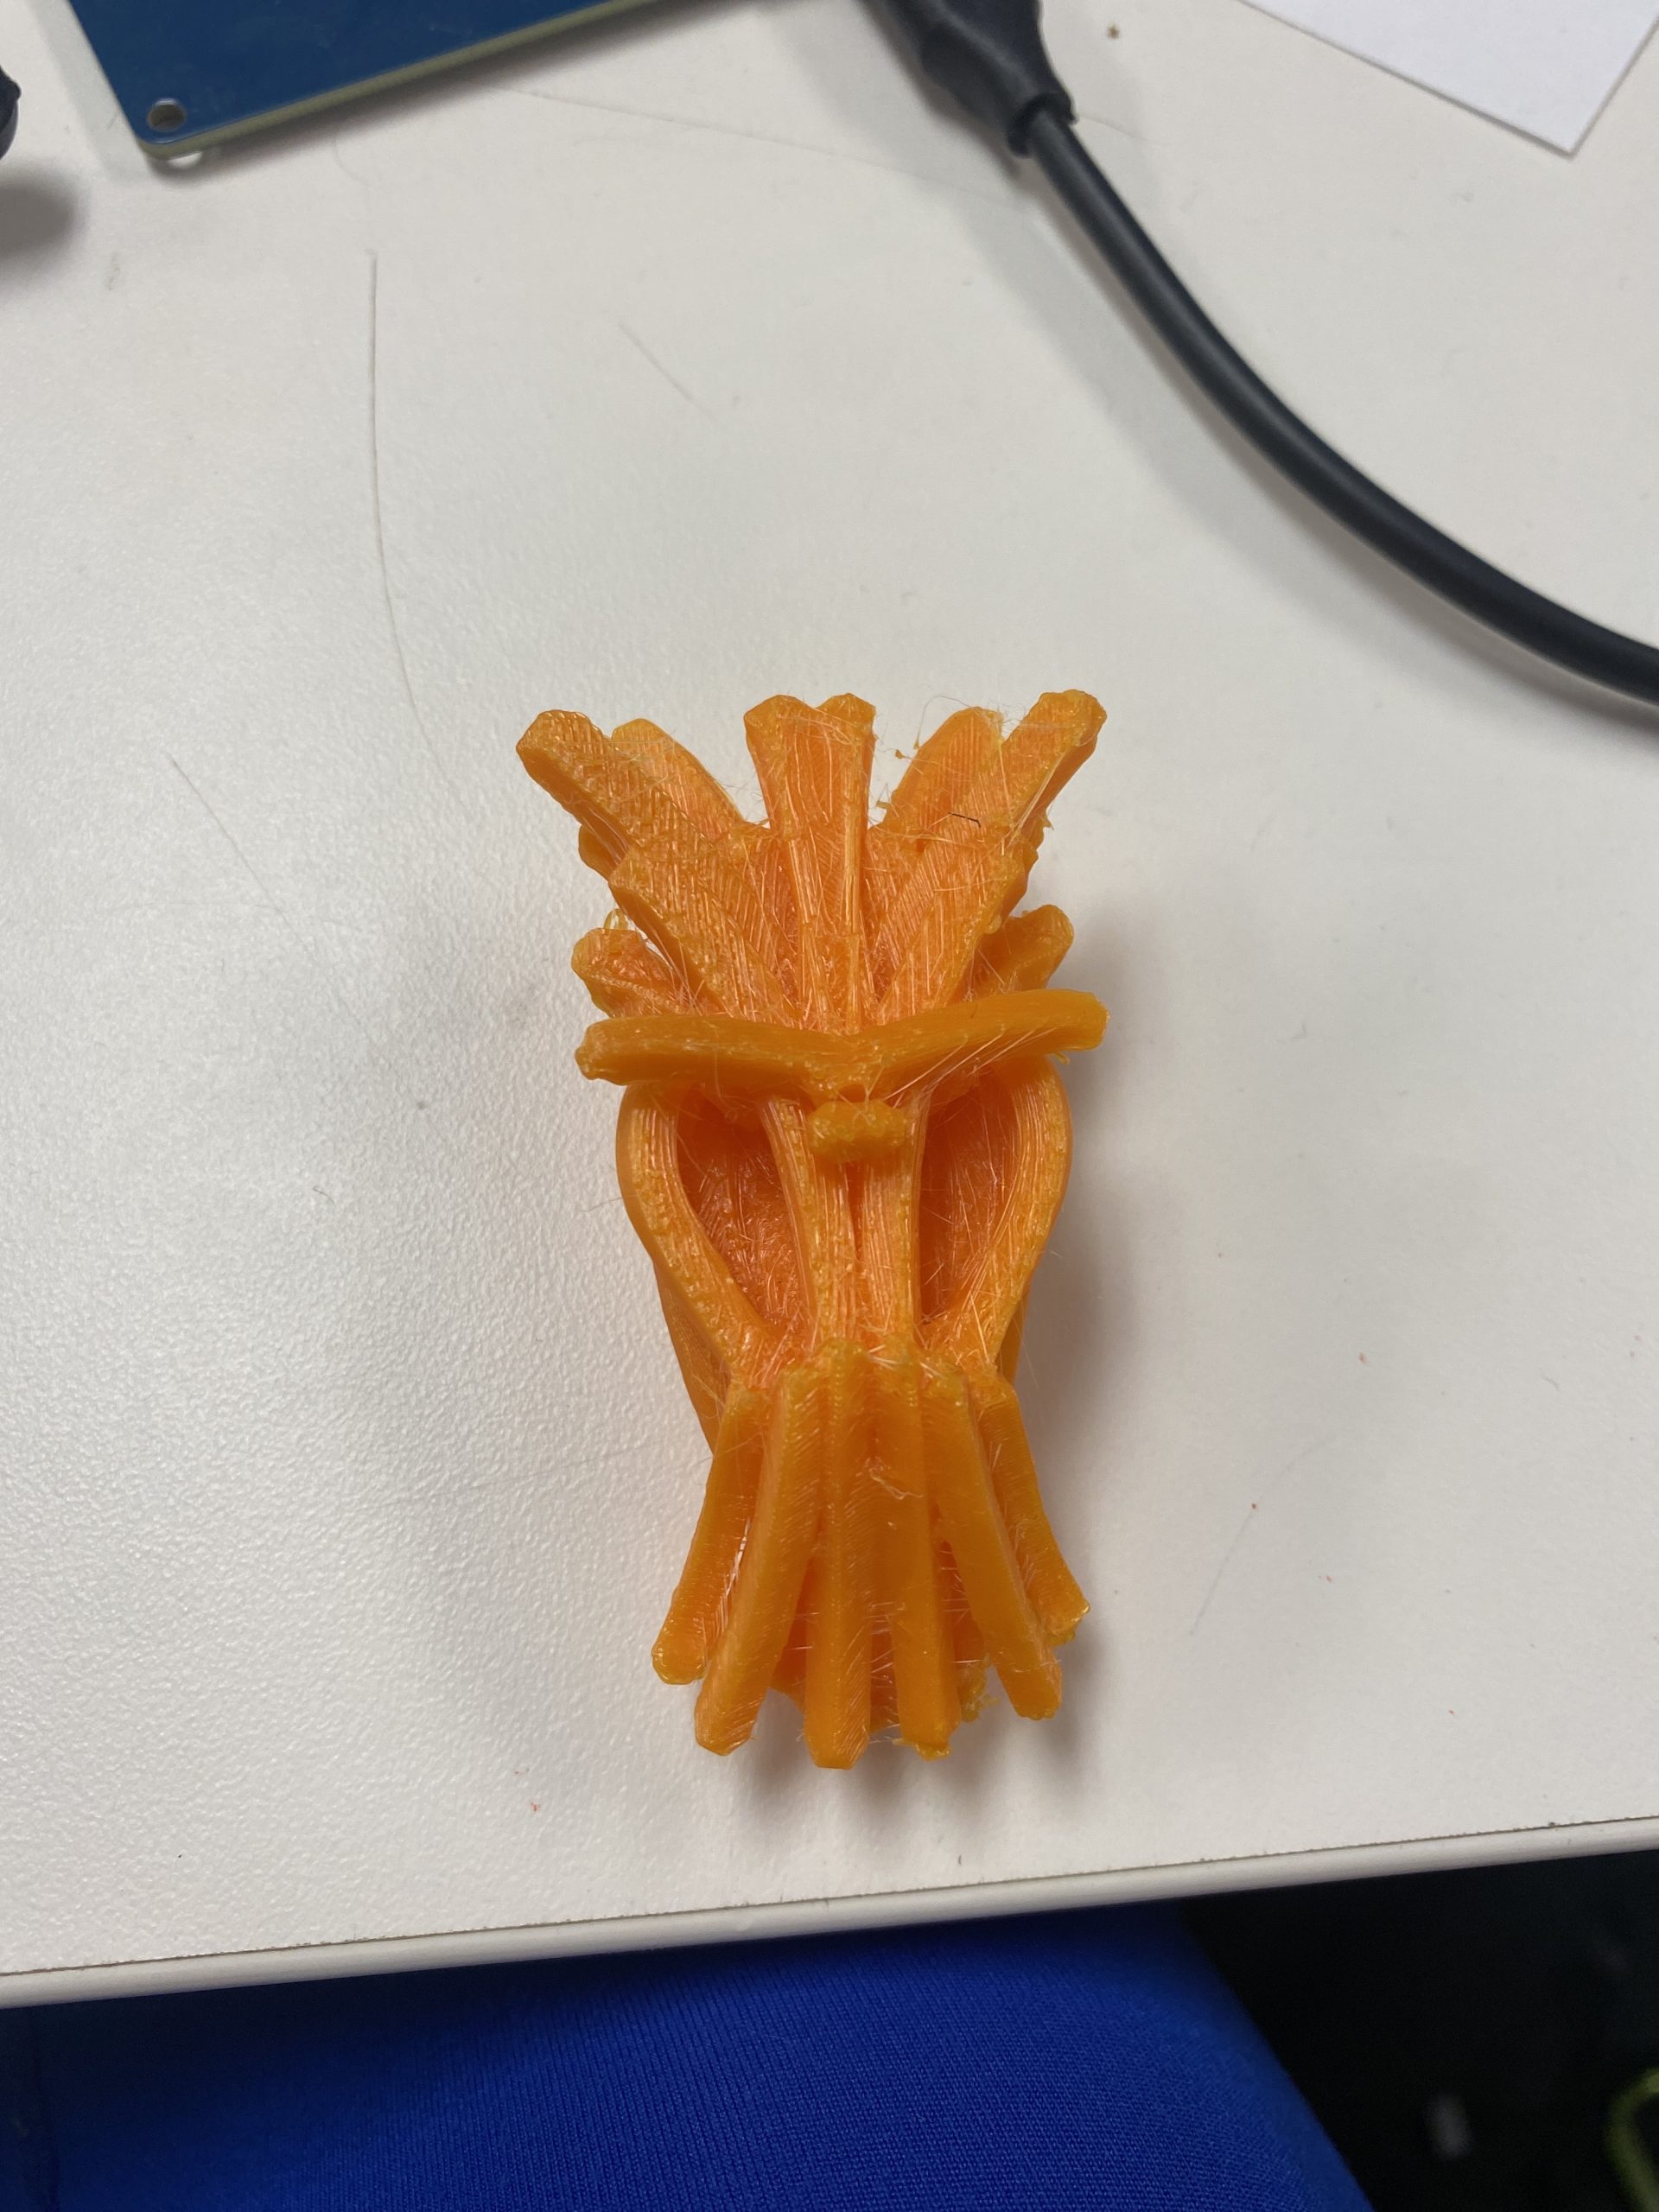
My object was ready to print! Here is a photo of it printed with its supports on:
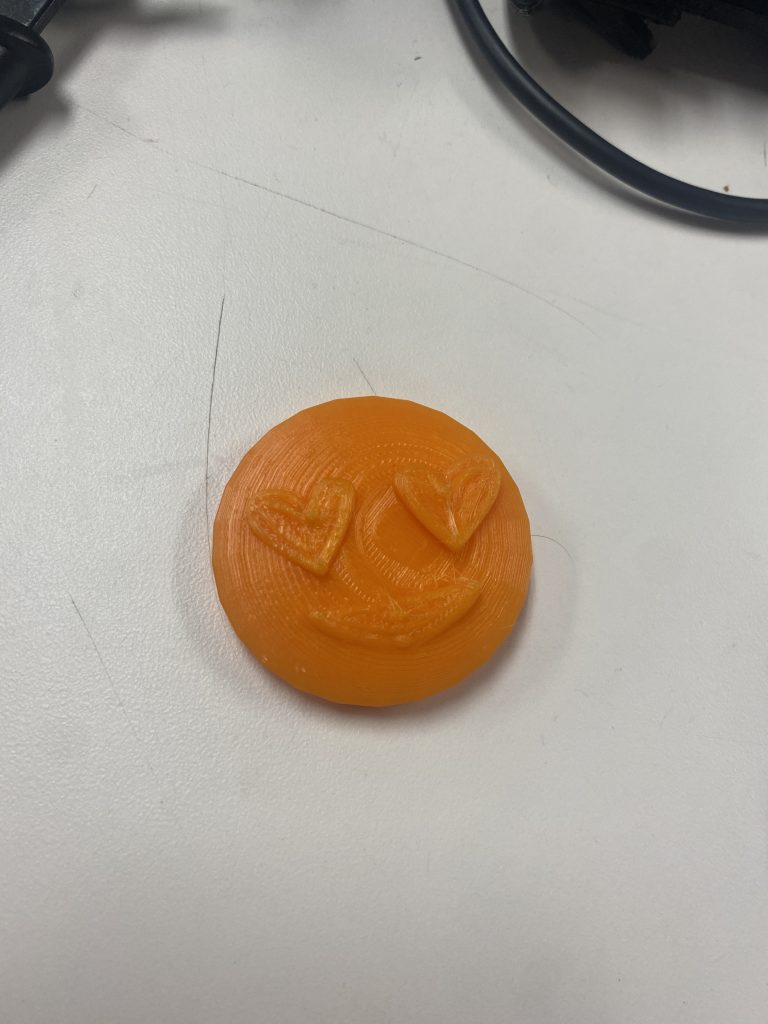
Once I removed the supports with pliers it looked a lot cleaner

Overall, I thought that this project turned out great. Kids can express their creativity by creating any type of emoji they want. They can create emojis that already exist or invent new emojis altogether. I also thought it would be cool if kids could turn their printed creations into magnets/pins that could be featured on their refrigerators, backpacks, and shirts.

0 Comments