I tried to sculpt something a bit more complex this time – a mascot head. I feel like kids could take this idea of sculpting and run with it to create some really cool and interesting characters. Sculpting has proved fairly easy to print as long as the objects don’t have any crazy overhangs. Here is my journey creating a mascot:
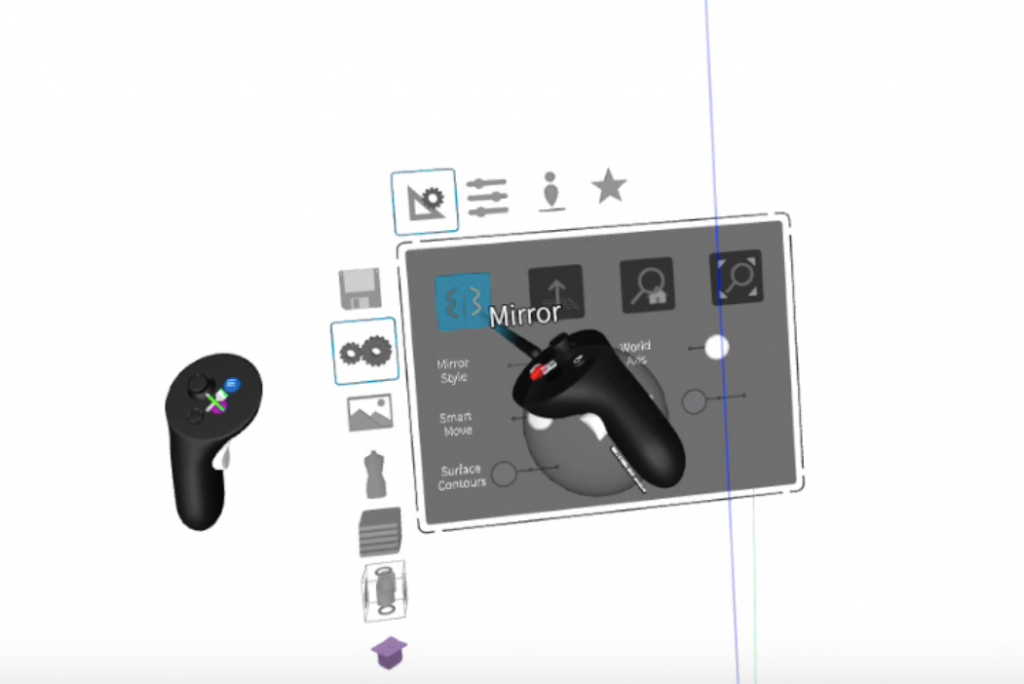
I began by putting my workspace in mirror mode. Mirror mode allows a user to draw on one side of their screen and have it mirrored on the other side. It is ideal for creating symmetrical objects. Mirror mode can be accessed by hitting the blue menu button on your non-drawing controller and selecting mirror.
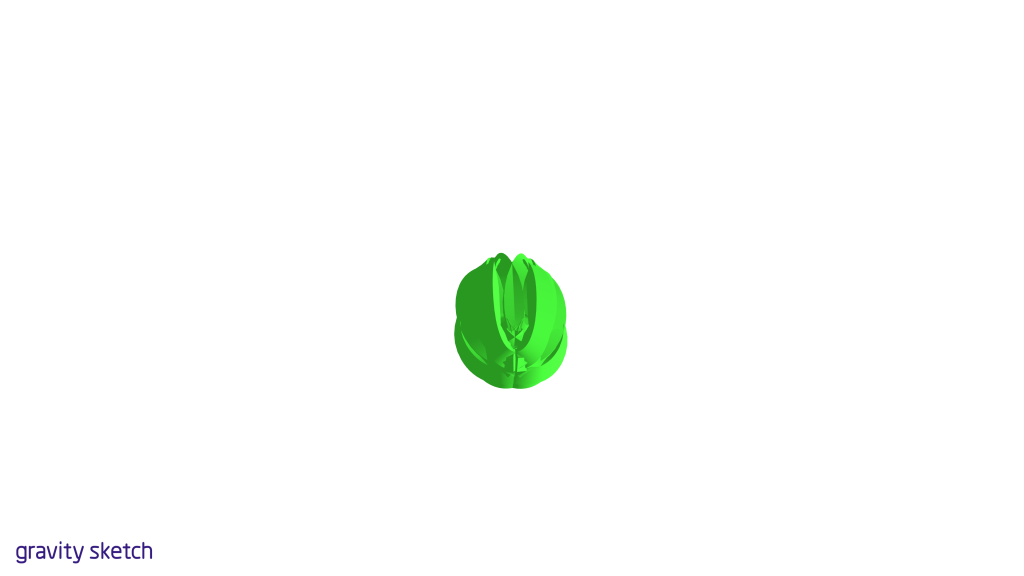
Once my workspace was set in mirror mode, I began drawing. I created a circular shape with the square strokes I used in the previous post.
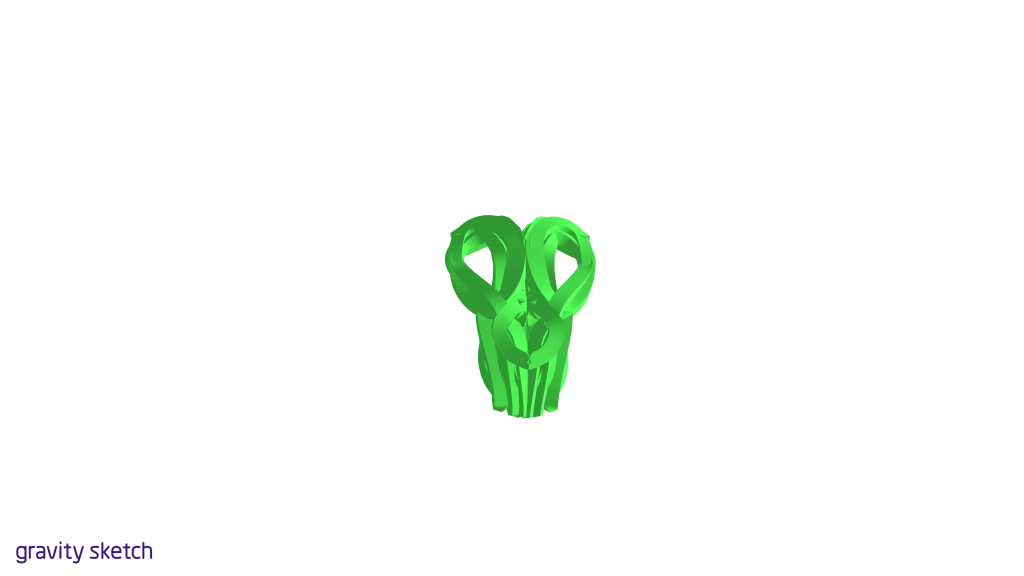
I added eyeholes to my character and the beginnings of a beard
I added more layers and solidified the bottom of my object. I left little to no gaps on the inside of my object so that it would be easier to print.
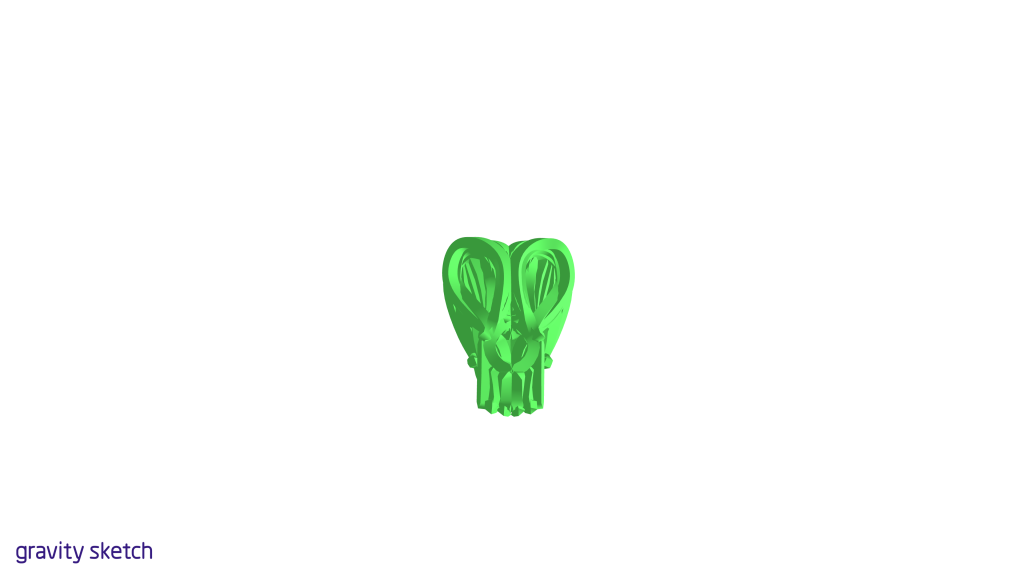
I started touching up the hair of the object.

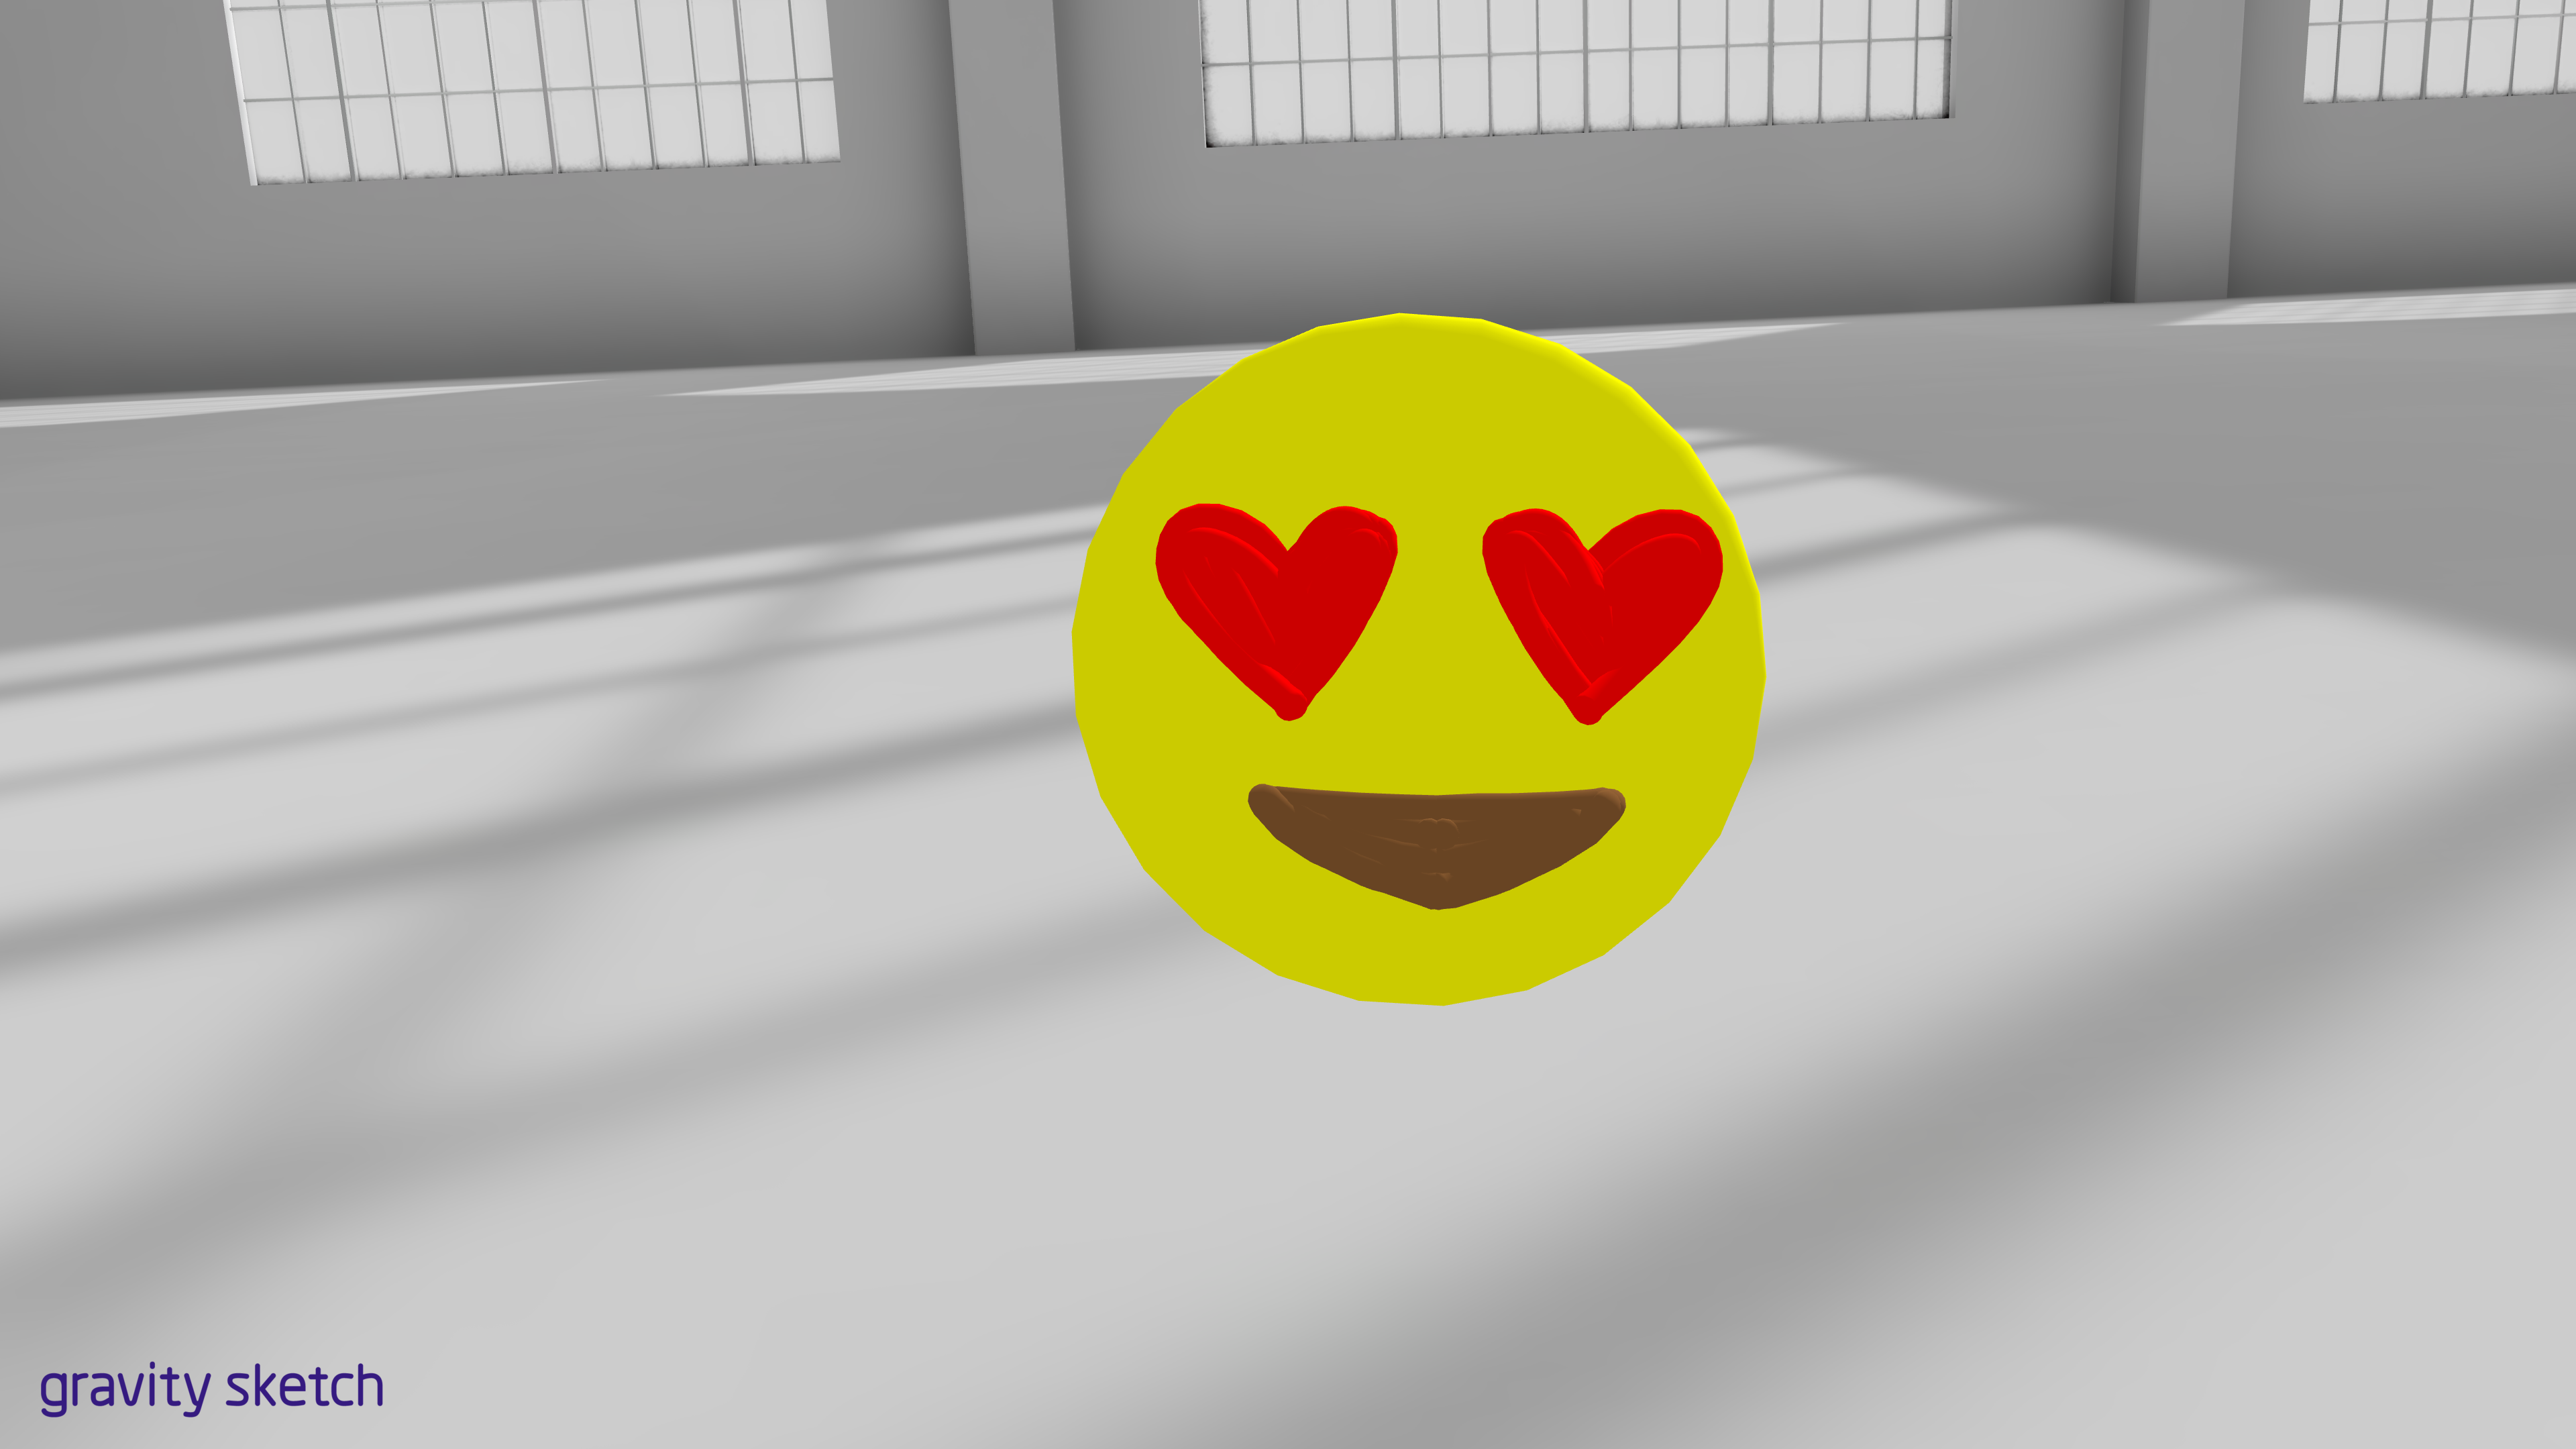
I then added eyebrows and some face accessories. It ended up looking like this:
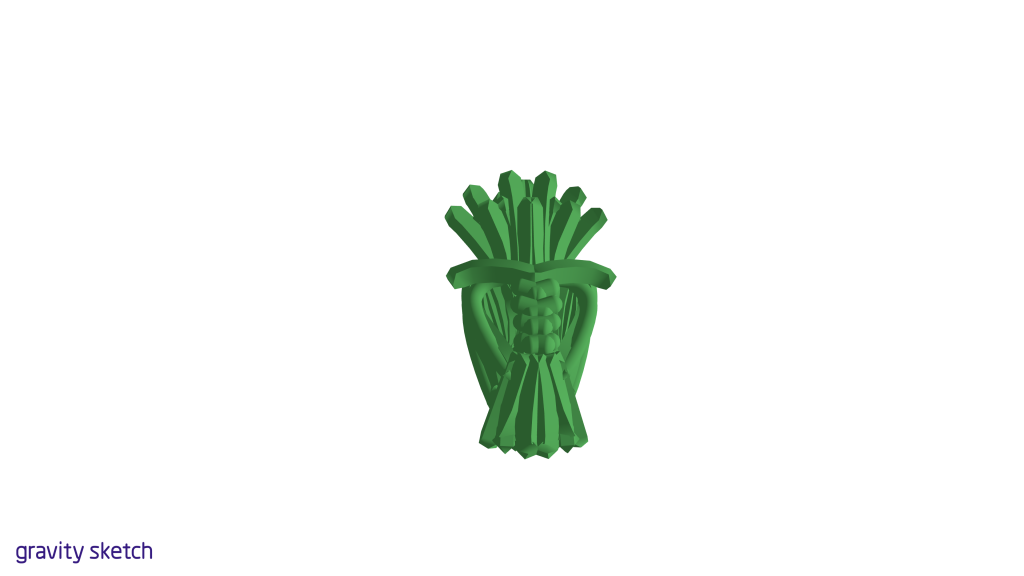
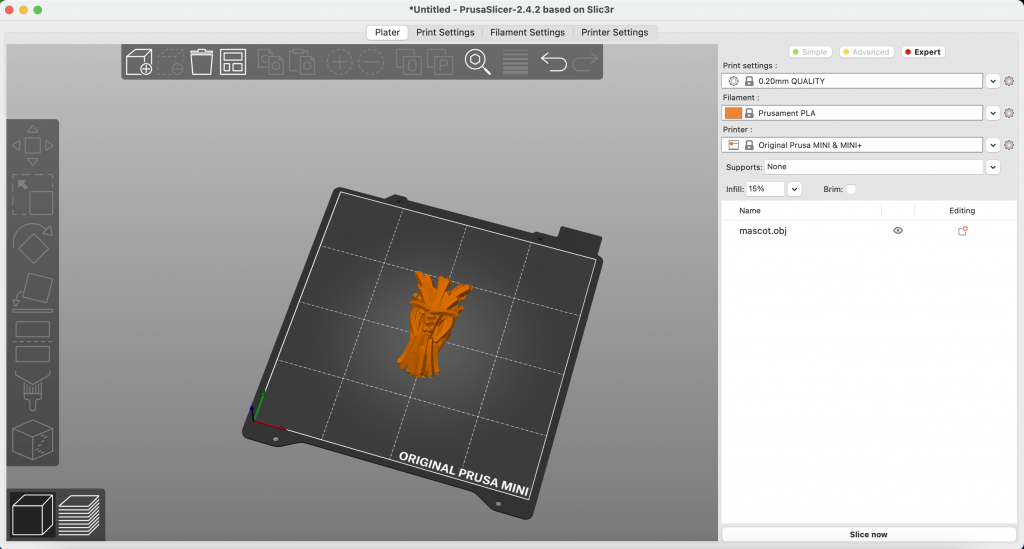
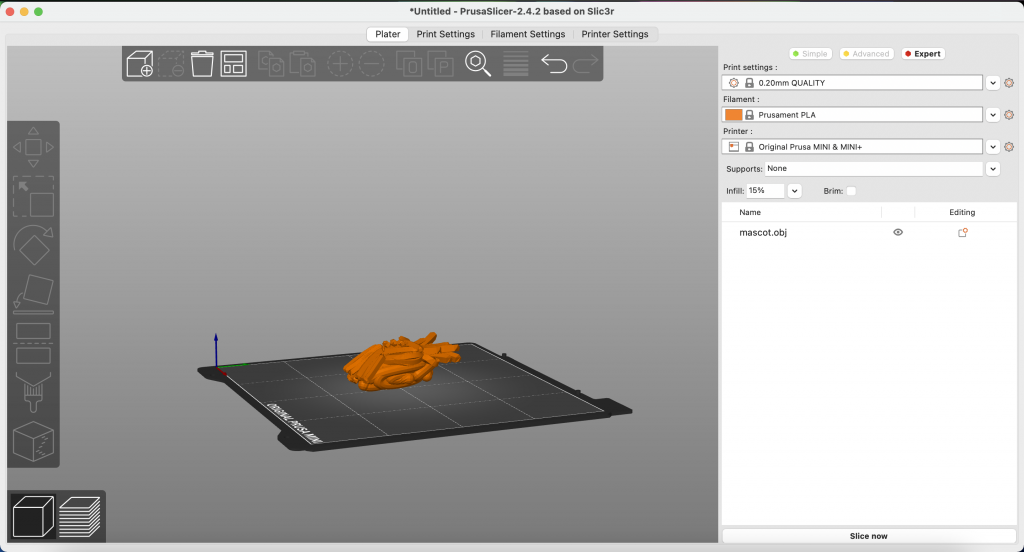
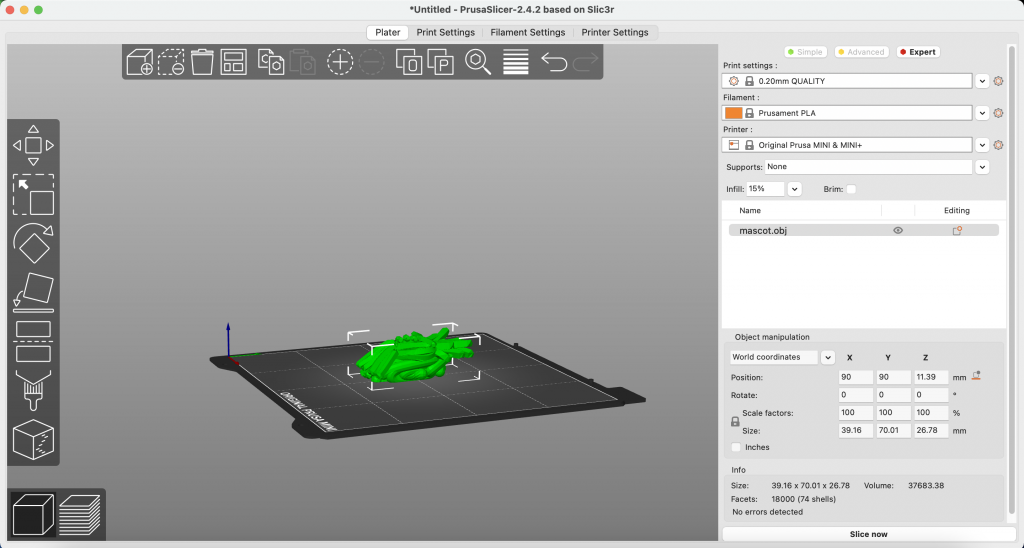
I imported my figurine into PrusaSlicer so that I could slice it for 3D printing. However, the figure did not fit neatly on the slicer because it did not have a base.
So, I decided to crop the figure so that it would have a flat base. I used the cut tool to cut my object along a flat plane. I chose to cut it 4 mm above the bottom of the object. I also chose to keep only the upper part. If I had chosen to keep the lower part as well, it would have printed both objects separately, which is not what I wanted for this print.
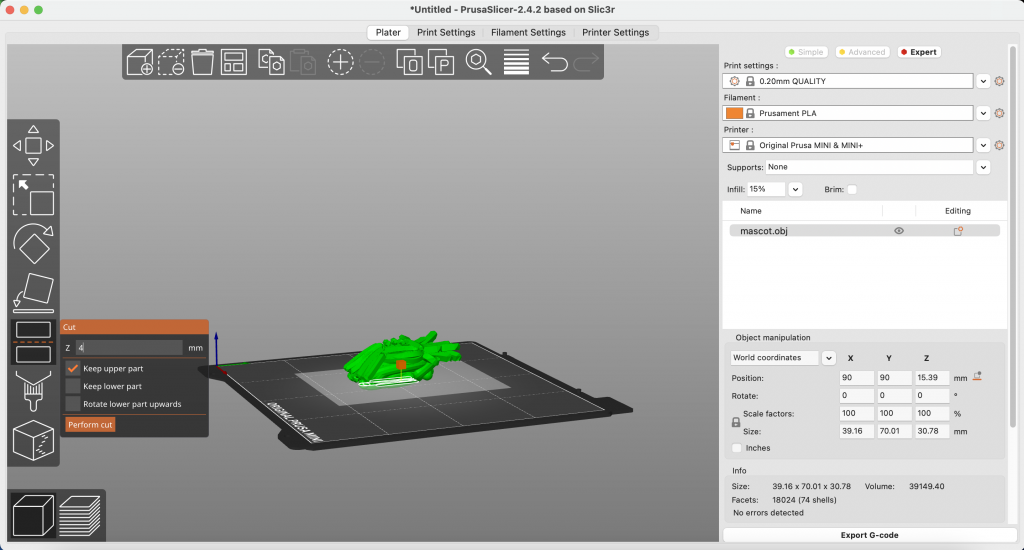
After I performed the cut, my object lay flat on the slicing board.
I exported it as a g-code and printed it. Here is the final product:
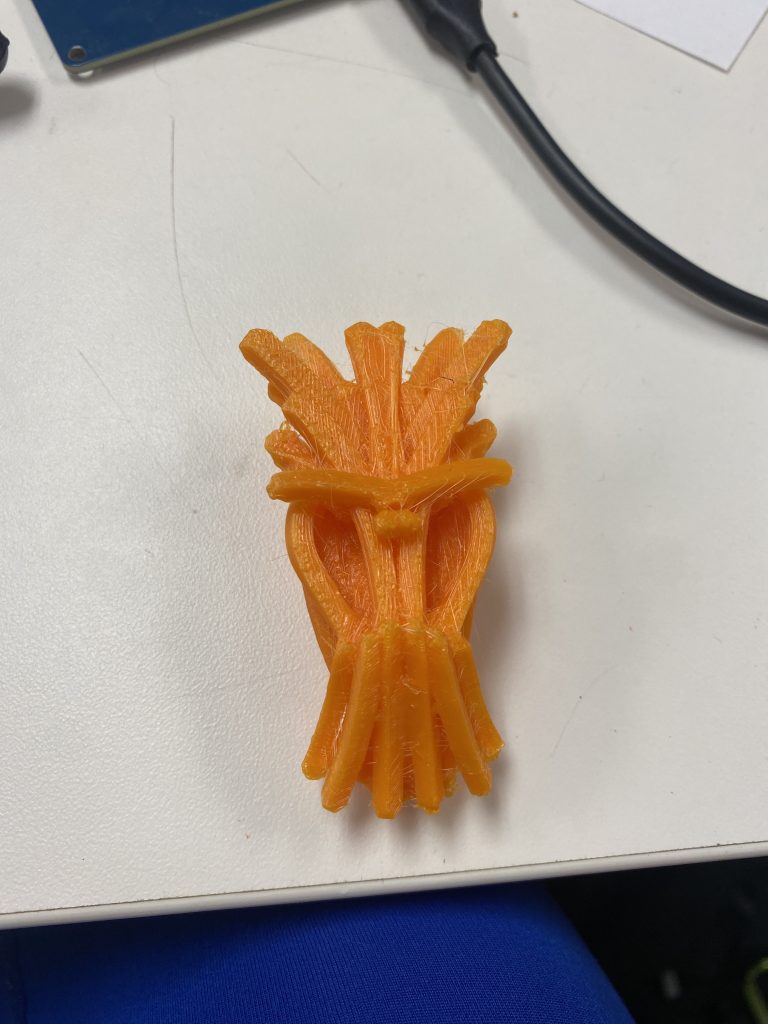

My mascot turned out really well! It lies flat on tabletops and is very symmetrical. The only issue is that I had a few small pieces on the face that were not secured enough on the image. I accidentaly dropped the mascot and they fell off. It is a reminder to make sure that everything is secured tightly when 3D printing an object.
0 Comments