When I first started using GravitySketch, I remember being frustrated because I couldn’t figure out how to make a simple shape. But never fear! This post will be your go-to guide for primitive shapes in GravitySketch.
To make a shape, simply open the tools menu (purple button on non-drawing hand) and select Primitive Objects
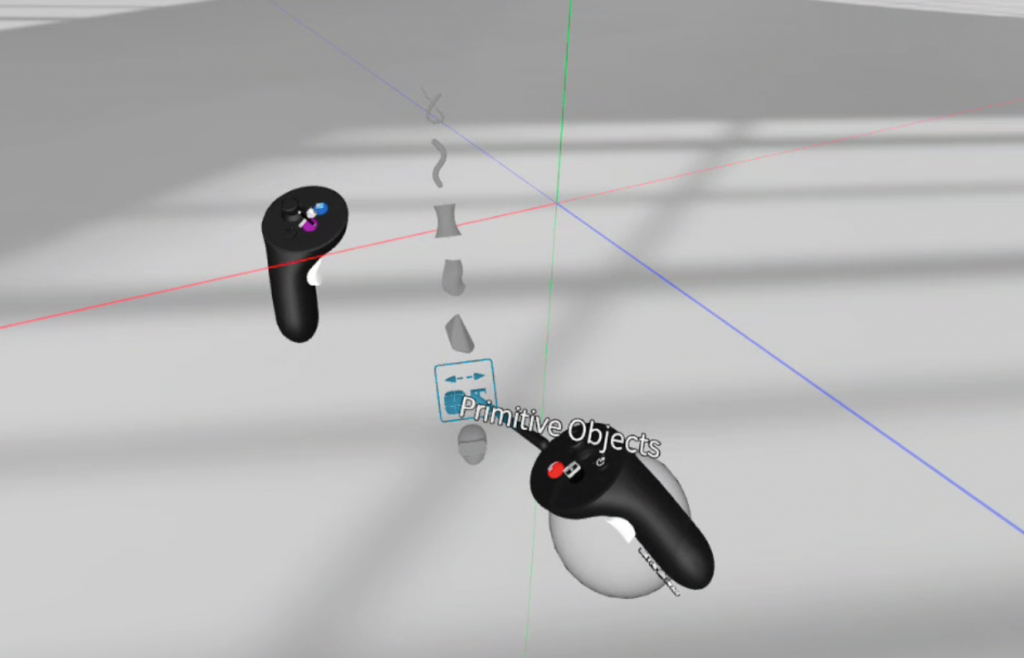
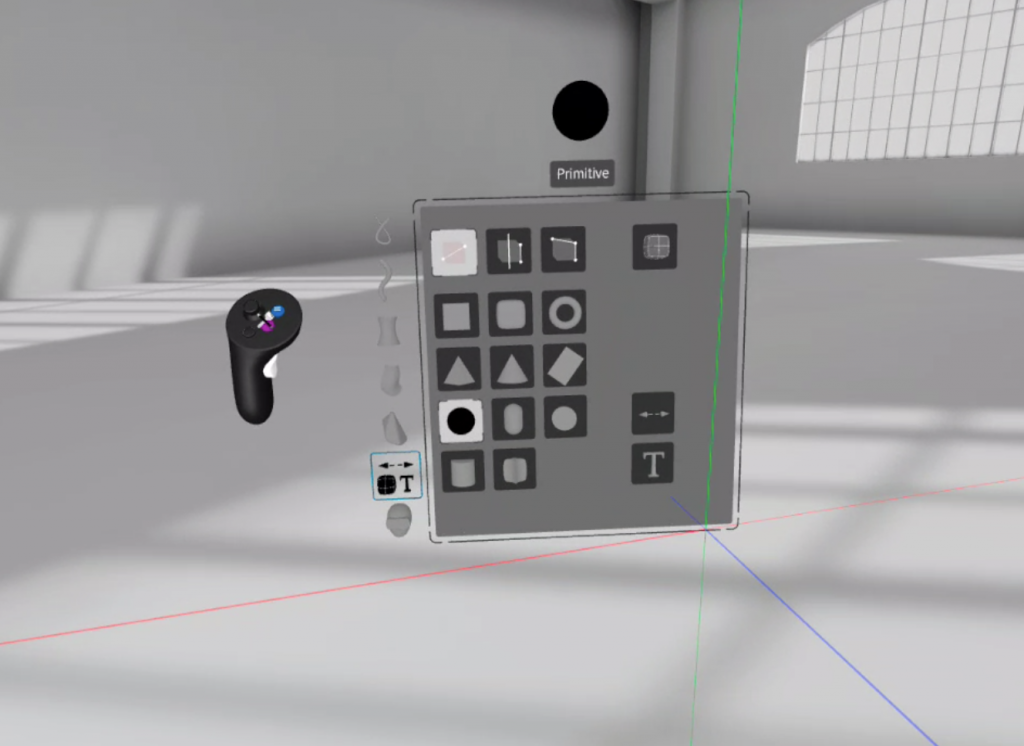
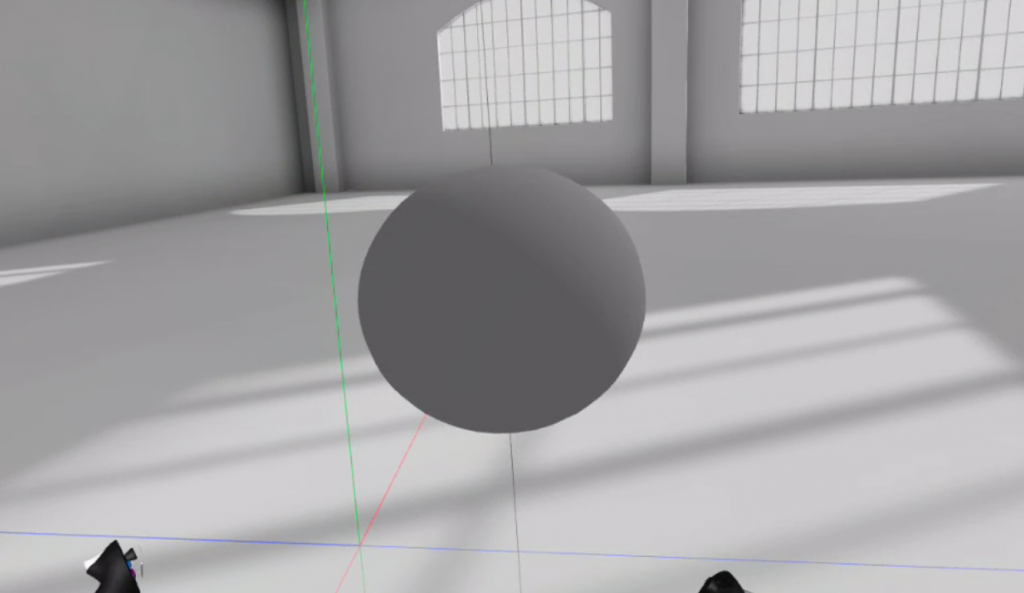
This will open the Primitive Objects Menu where you will be able to choose between 11 different types of objects
Creating an Object:
There are three settings that you can use to create objects in GravitySketch. The first is Two Hands mode, which is what your remote will automatically default to
Two Hands Mode:
To create a 3D object in this mode, you use both your controllers. Moving hands together and apart or up and down will adjust the size and shape.

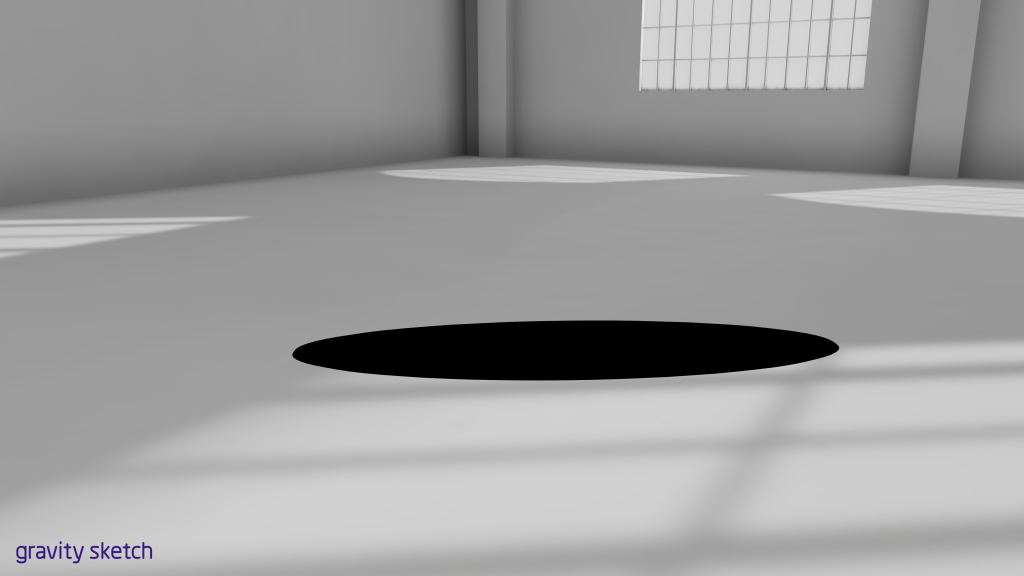
Create a 2D object by pressing the index triggers on both remotes at the same time. This flattens your primitive object
Central Line Mode:
You can access Central Line mode by clicking the button second from the left on the menu. This mode will make it so that every object you create is made around a central axis. You can set the axis with your non-drawing controller and create the object with your drawing controller
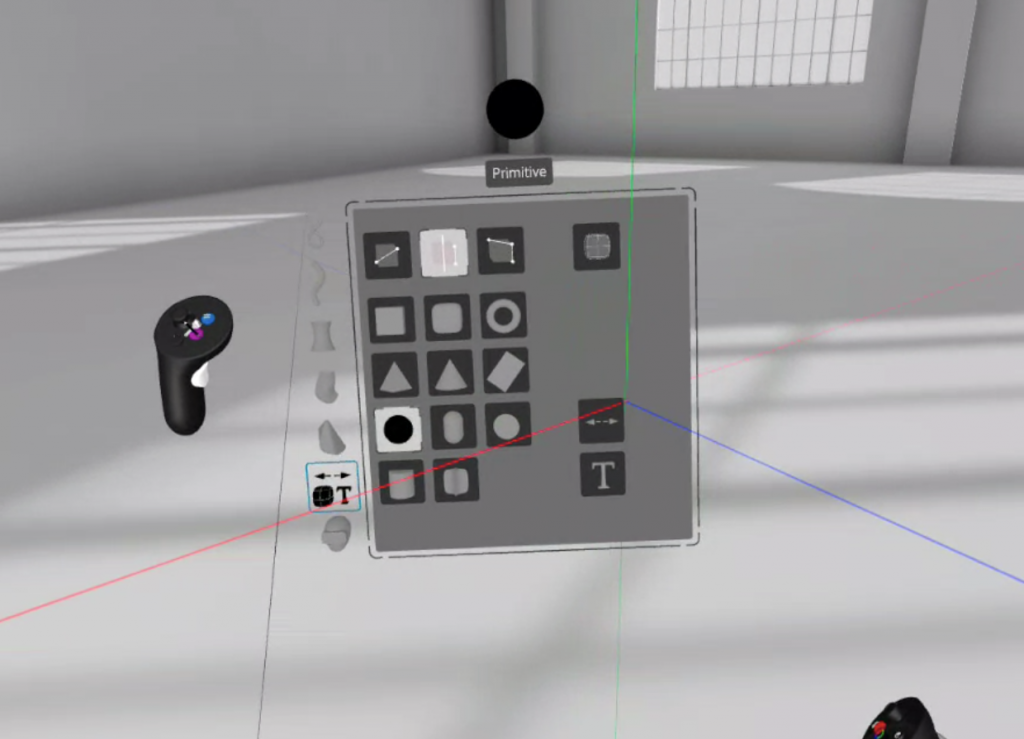
One Line Mode:
One Line Mode can be accessed in the same way that you access Central Line Mode except that it is the third button from the top left. It functions pretty much exactly as it sounds: Create primitives by moving one hand in space to adjust the size and final shape of the object.
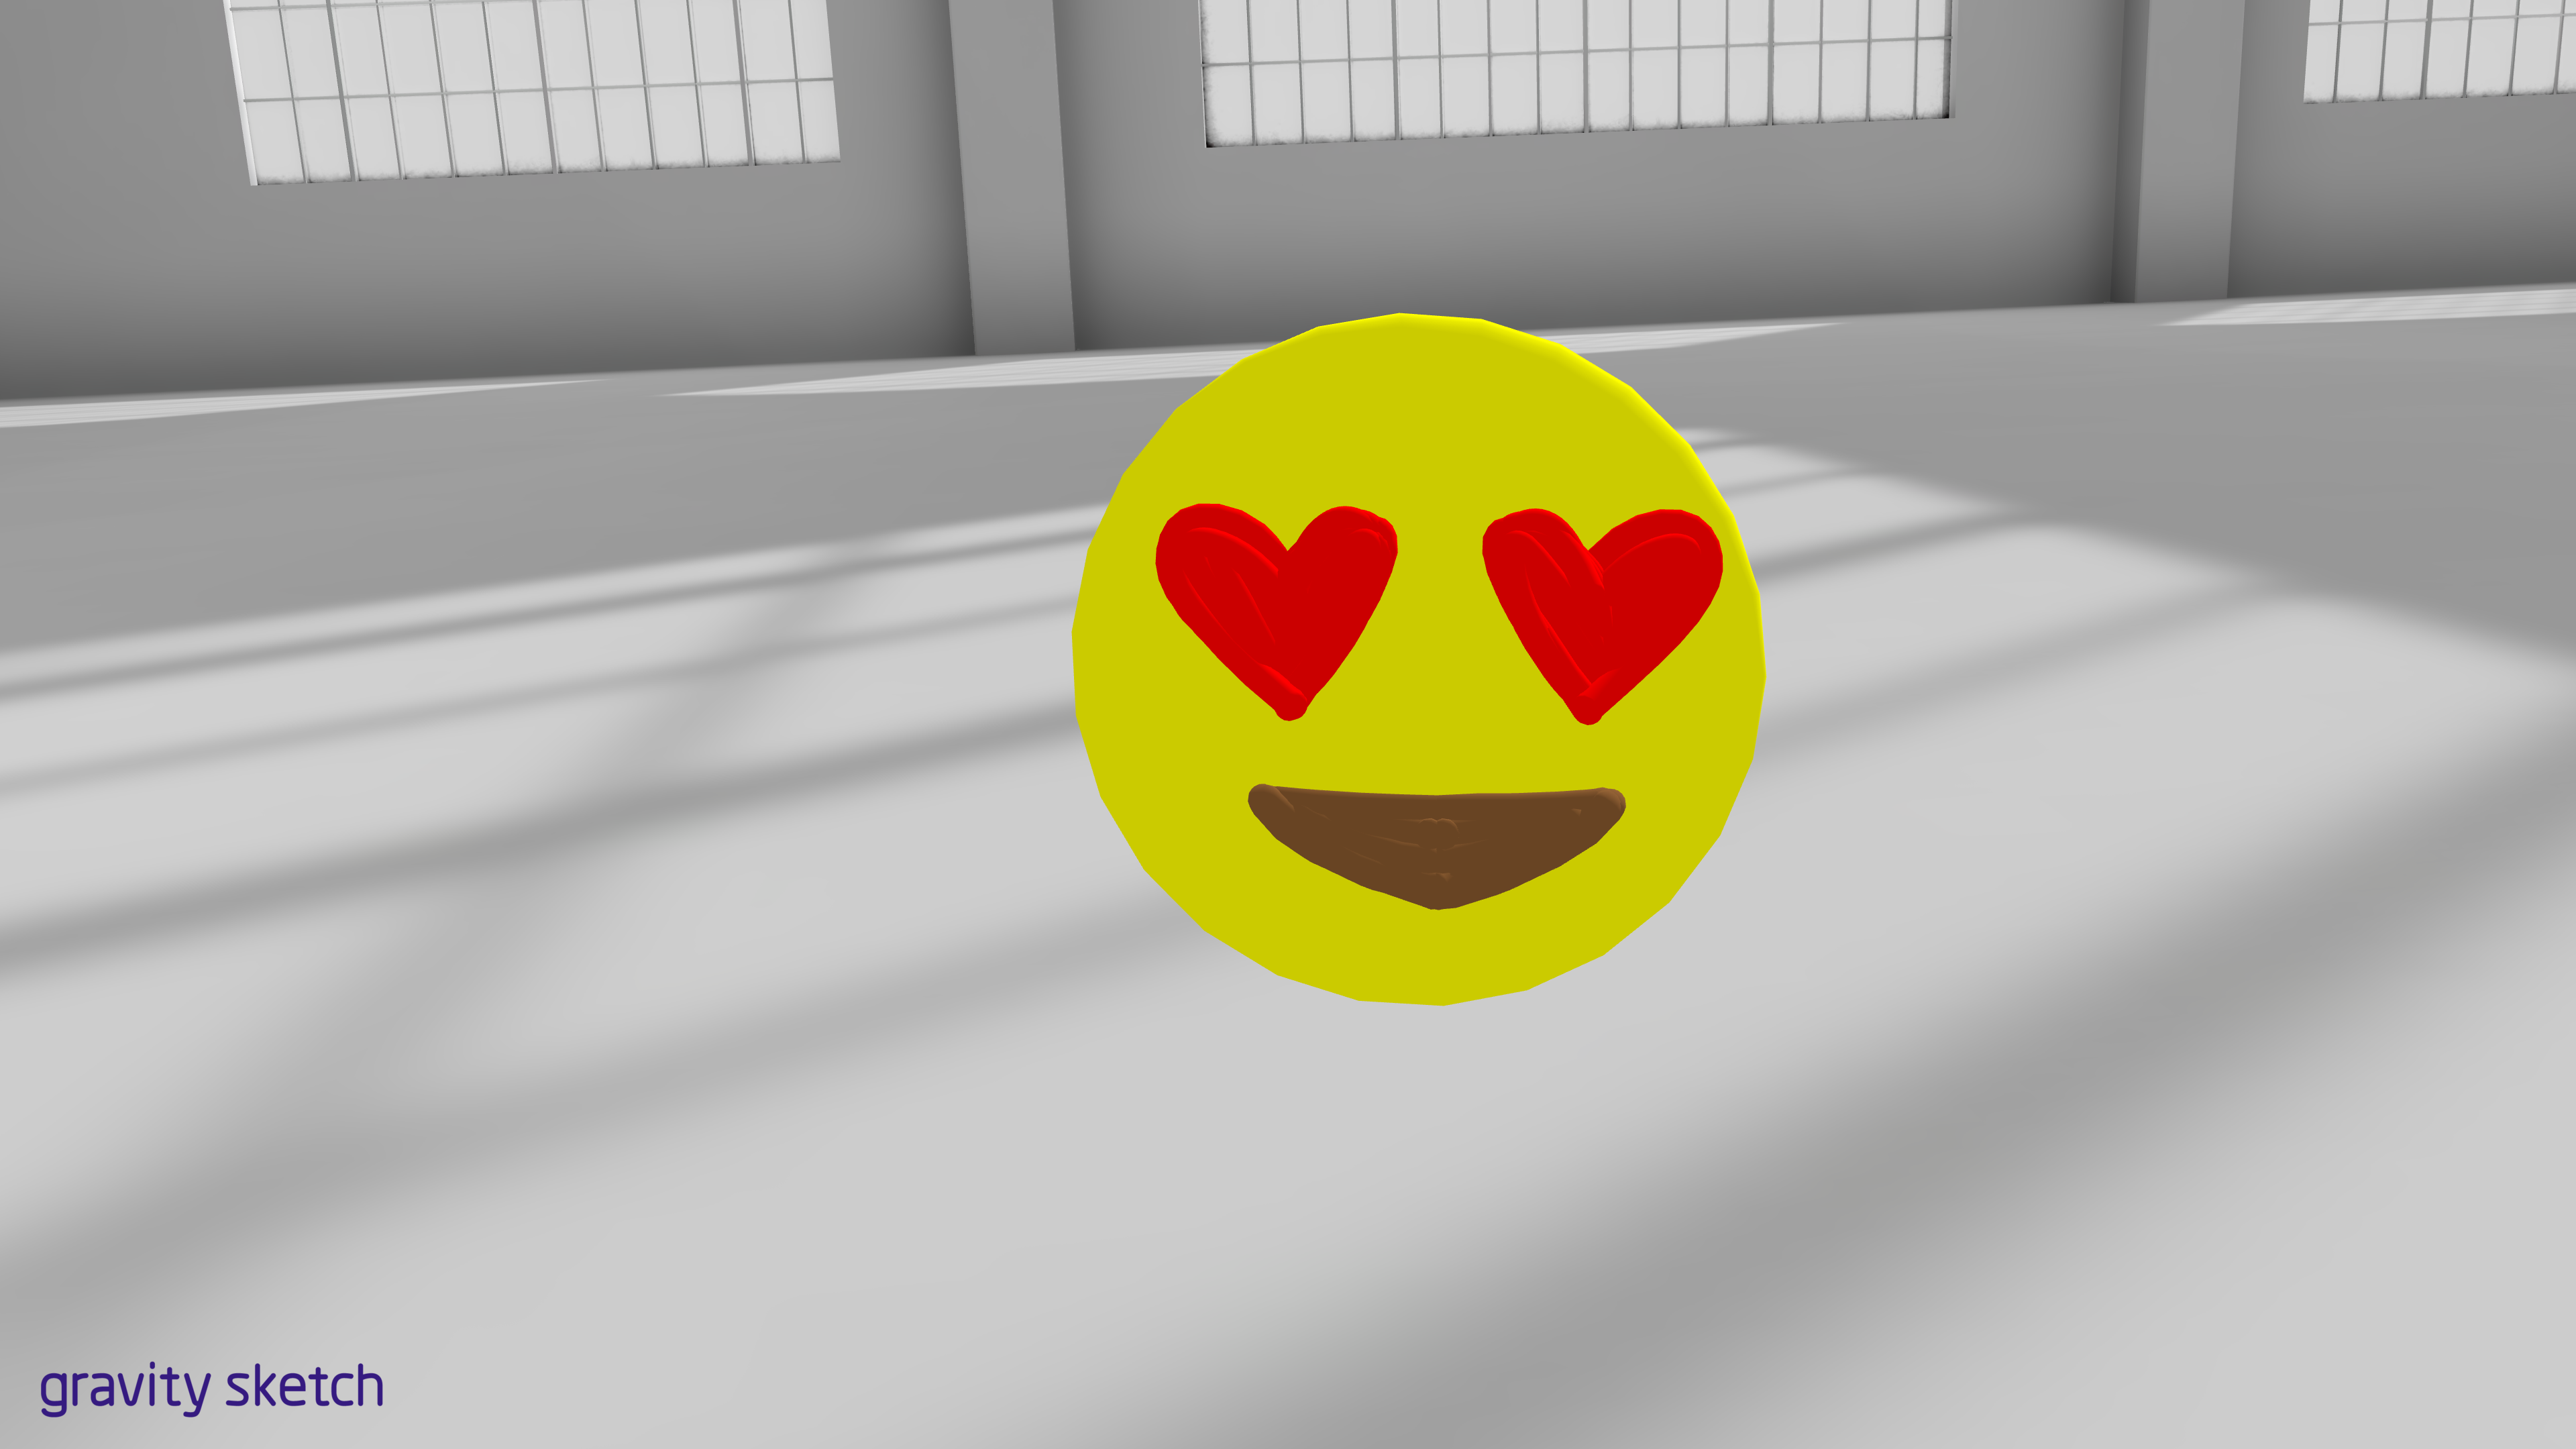
Now you can make primitive objects in GravitySketch!
Helpful Resources:
0 Comments