I learned about 3D sculpting a little while ago and thought that it was a very interesting concept. 3D sculpting is essentially a digital equivalent of traditional clay sculpting. Creators can mimic the details of real life by using tools that can push, pull, pinch, and generally manipulate objects. I decided that I would try to sculpt a hand and see if it could be 3D printed. I found a tutorial online and decided to follow along.
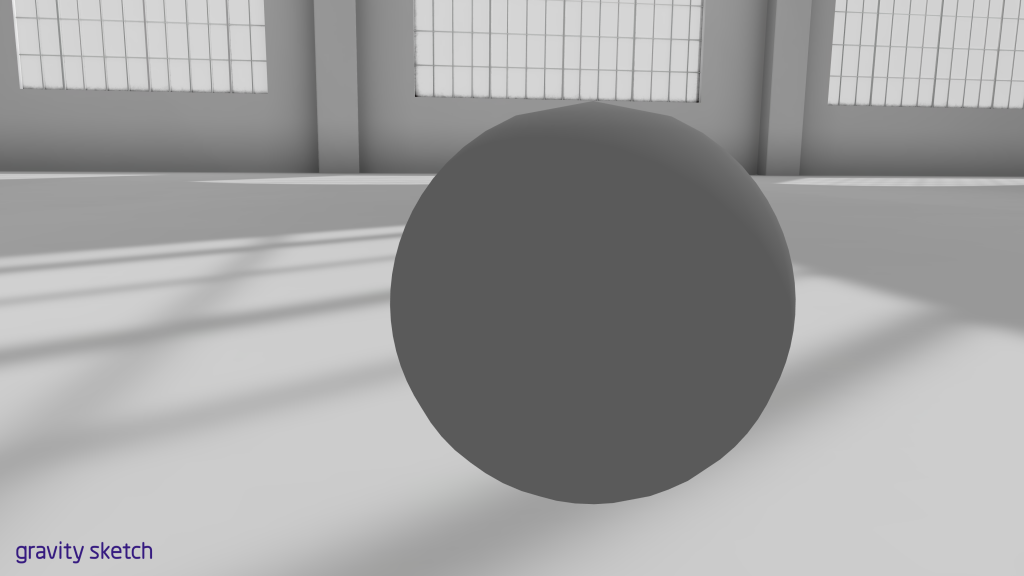
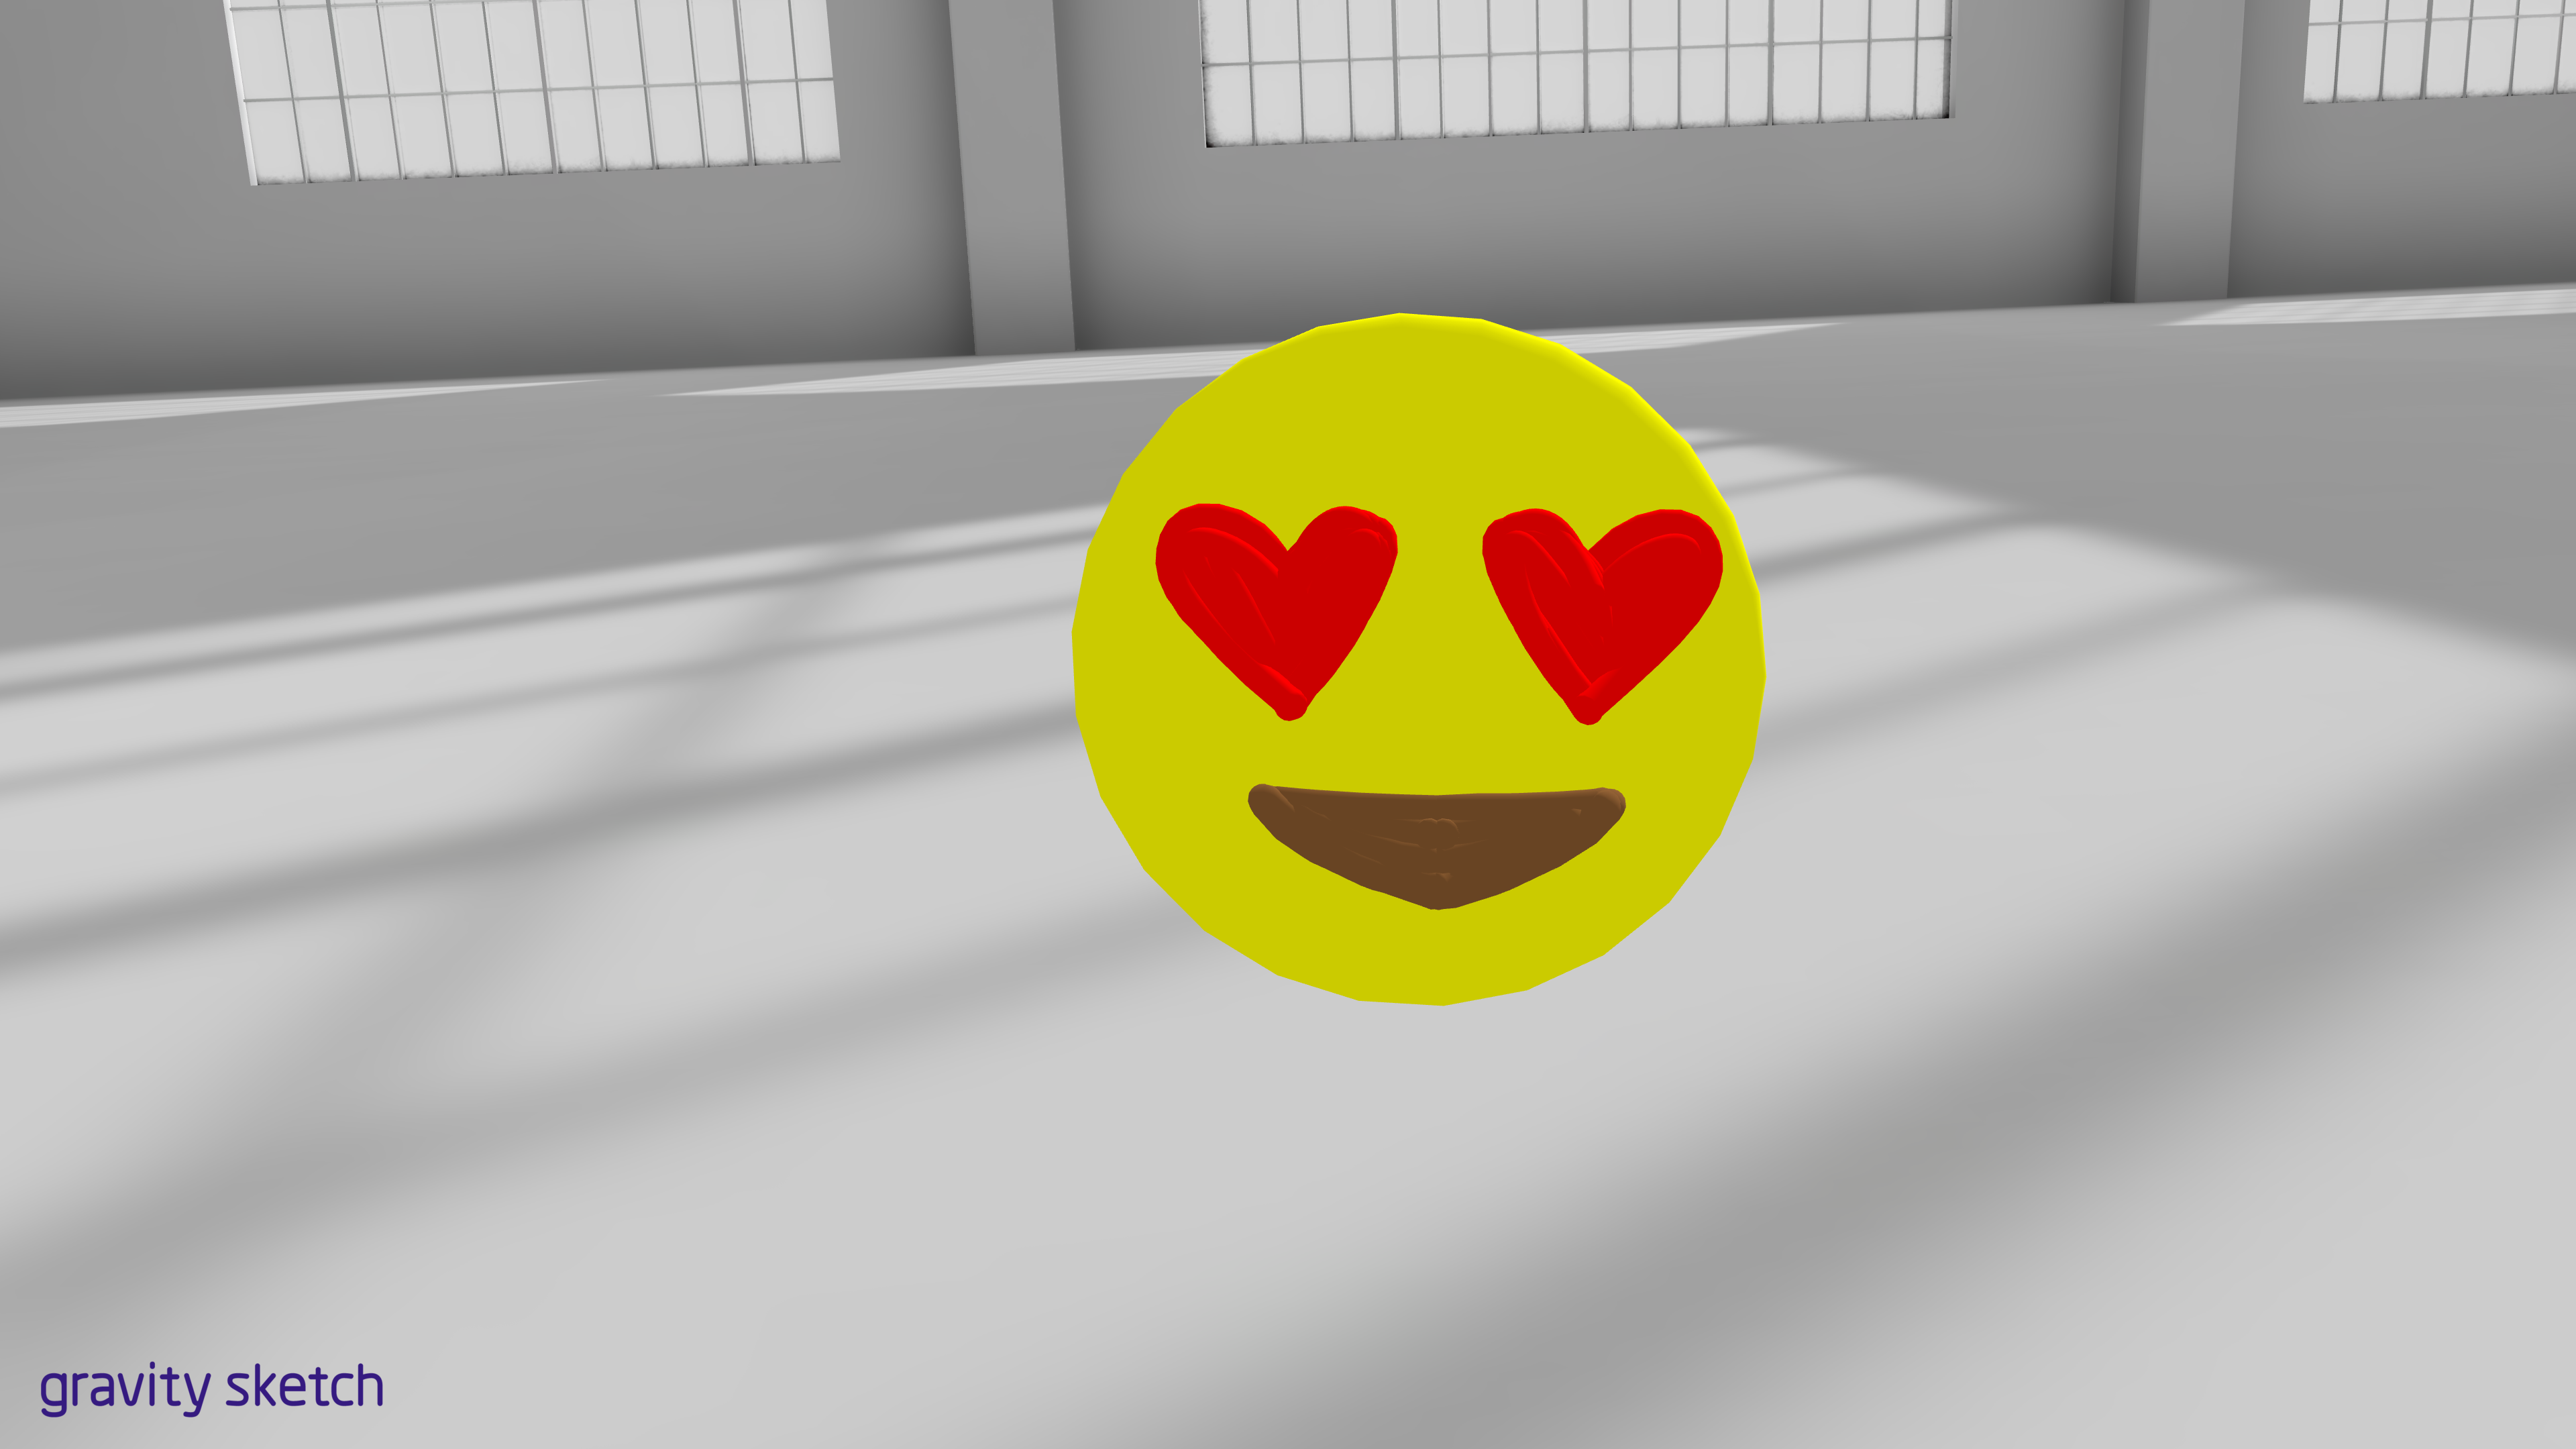
First, I created a sphere
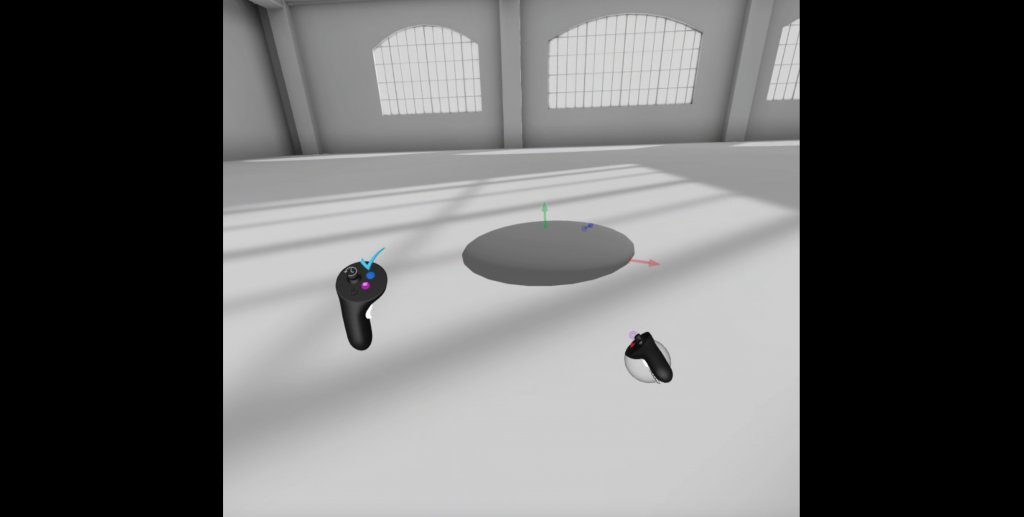
Next, I flattened the sphere so it could become the base of my hand. I achieved this by grabbing the sphere and pressing the blue button. This brought me into edit mode. I then pulled down the green axis (z axis) so that the sphere flattened.
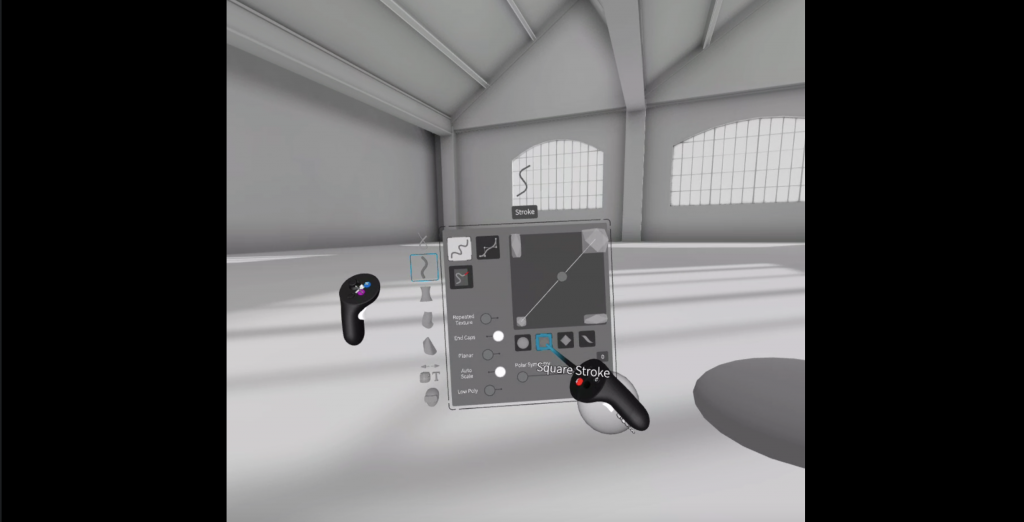
Now that I had a base, I could start sculpting. I sculpted with the stroke tool. I selected stroke using the tools menu (purple button) and selected square stroke.
From here, I began sculpting my hand. Starting from the base, I sculpted upwards. I tried my best to formulate a hand as I sculpted. (Disclaimer: I am NOT an artist). I made sure that there were no gaps between my sculpture and the base so that I would not have trouble 3D printing my object.
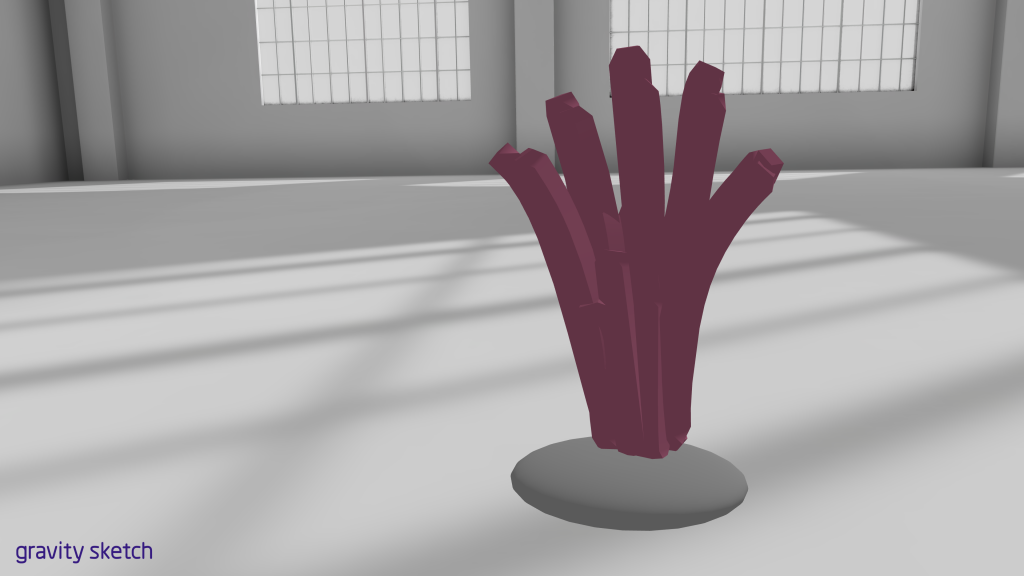
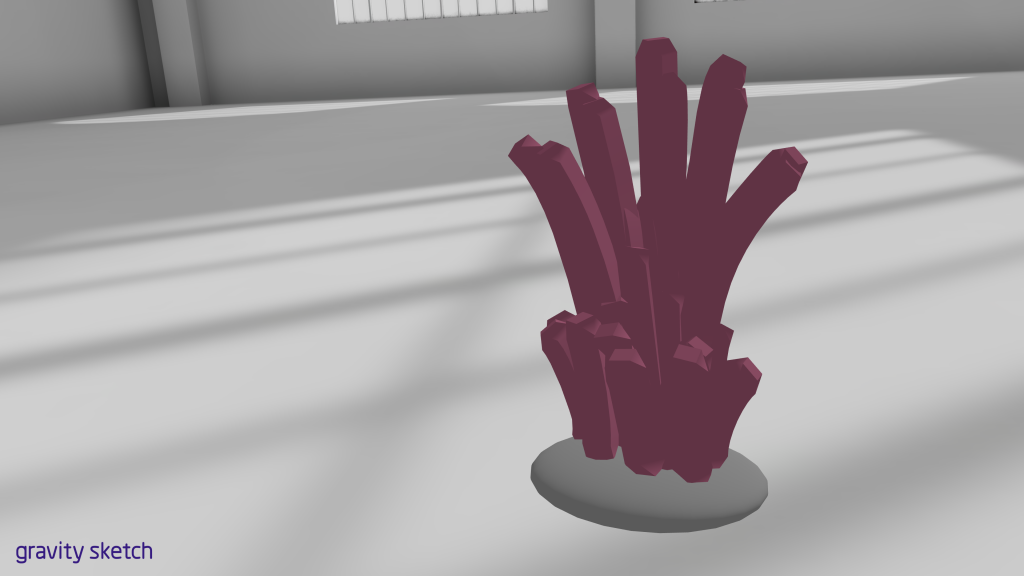
I continued sculpting until I was satisfied (or at least as satisfied as a thoroughly unartistic person can be with their art haha). It ended up looking like this.
I exported my object and brought it into PrusaSlicer for slicing.
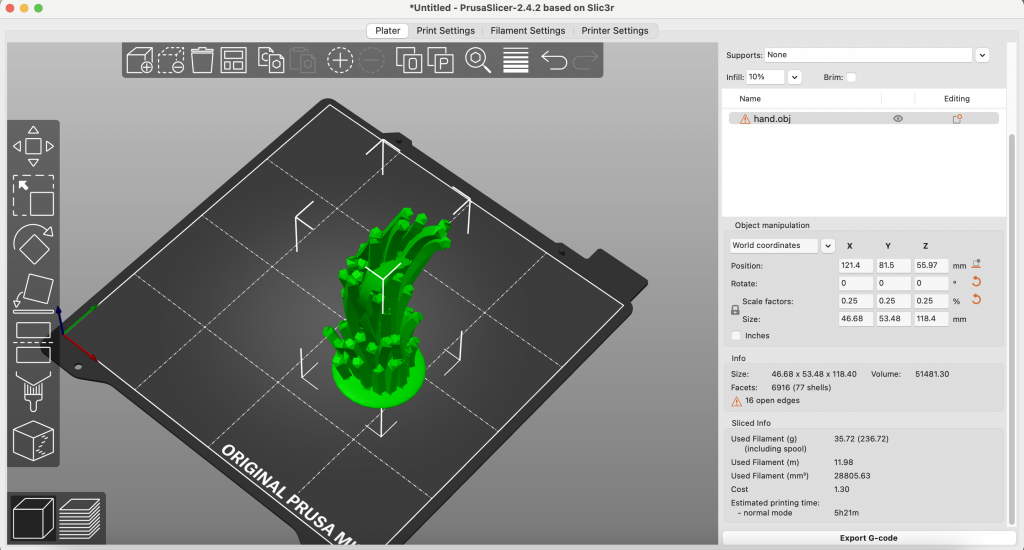
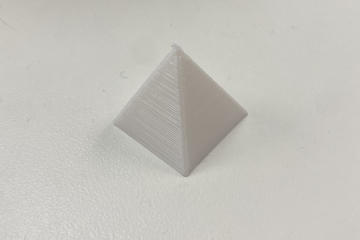
It sliced properly and I was able to 3D print it:
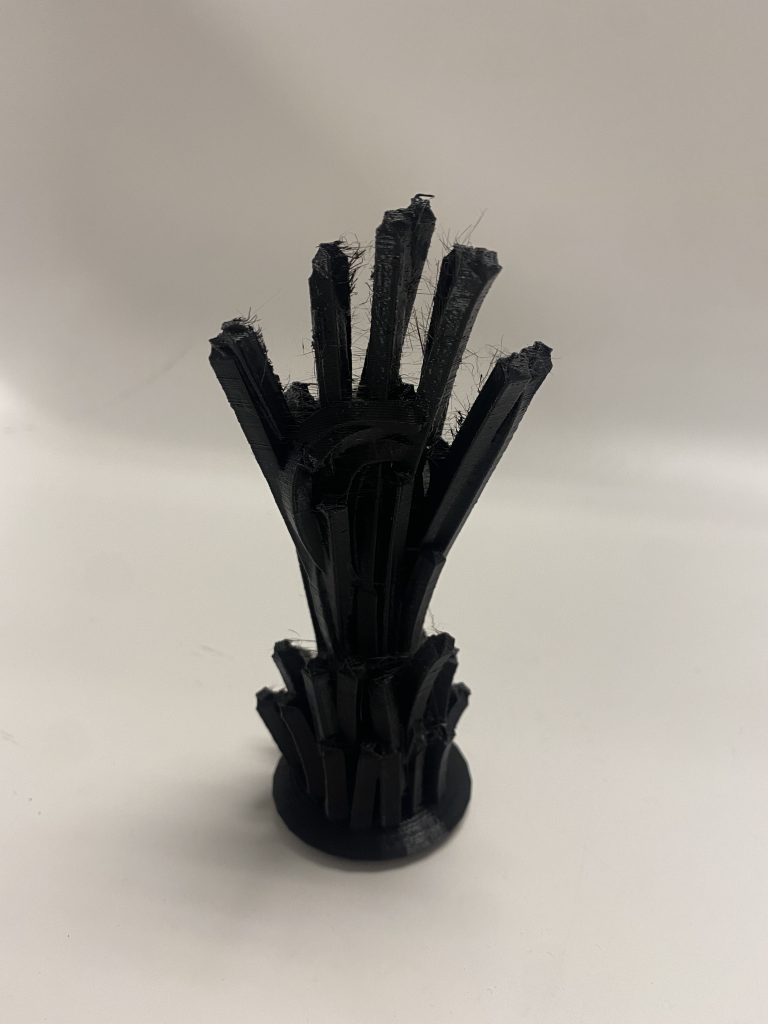
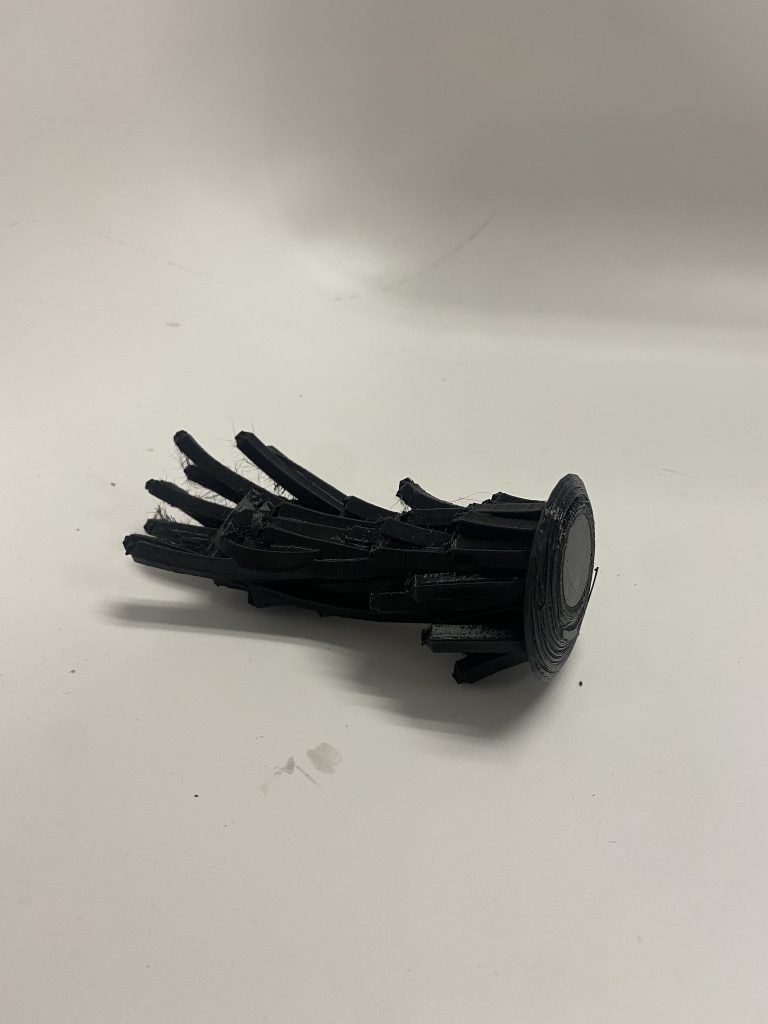
This project went really well! I think that 3D sculpting is a really great technique for kids to use in the classroom. My objects looked almost exactly like their virtual renditions despite a couple of stray threads that need to be plied off. Very pleased with the success of this project.
0 Comments