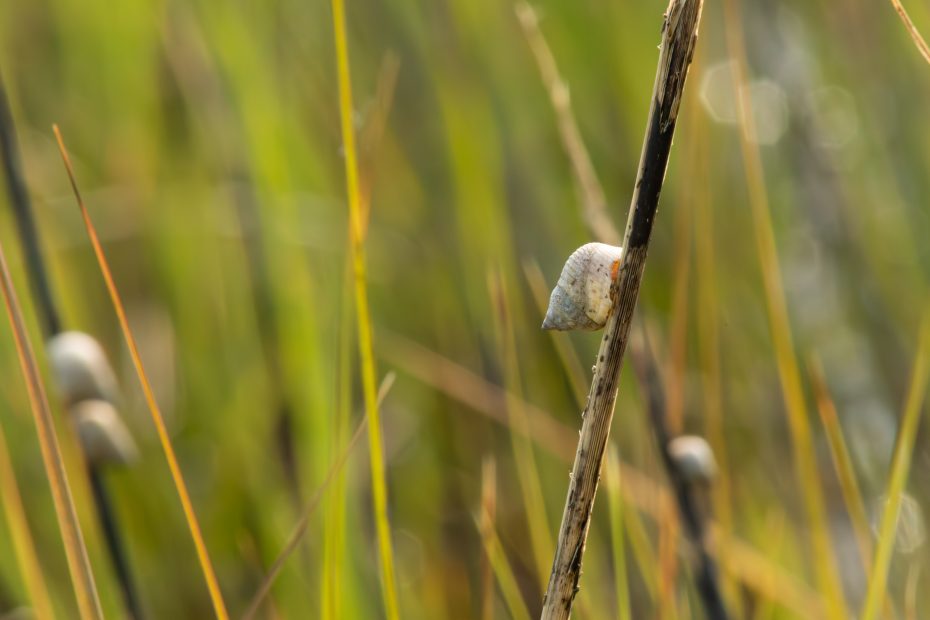
By Leah Harrigan, image via Carolina Wildscapes (Adobe Stock)
Children can see and feel the magic of ecosystems by creating a “Periwinkle Snail Habitat” using common household materials. This hands-on project will help them understand the role of snails in our environment while having some fun along the way.
Materials
- Large glass or plastic container (shoebox-sized or larger)
- Sand
- Small rocks
- Soil
- Water and spray bottle
- Seaweed or small aquatic plants
- A few periwinkle snails (available at pet stores or found in tidal pools)
Instructions
- Prepare the container
- Thoroughly clean the glass or plastic container.
- Choose an enclosure with a removable, ventilated lid. Use this instead of an open container to keep the soil moist and reduce the chance that your snails escape.
- Create the habitat layers
- Base layer: Add a 1-inch layer of sand.
- Rock layer: Place small rocks over the sand to create hiding spots.
- Soil layer: Add a layer of soil on top of the rocks.
- Compost from a garden center works well. Make sure there are no added chemicals that could be harmful to your snail. Layer the soil in the container 8 cm (about 3 inches) deep.
Tip: If you plan on using soil from your garden, first put the soil in the fridge or freezer overnight. This will kill organisms in the dirt that may be harmful to the snails.
- Add water
- Moisten the soil with water from a spray bottle to make it damp. It should not be mushy and muddy, nor should it be too dry. Spray water regularly in the tank to maintain the humidity level.
- Make sure some part of the habitat remains dry to mimic the natural environment.
- Add garden-themed decorations and plants
- Use things like unpainted pottery, various sizes of rocks for your snail to hide, bark and branches for your snail to climb, or a small dish for their food.
- Add seaweed or small aquatic plants for additional food and shelter. You can use ferns, ivy, moss, or grass. These can go in pots or on top of the soil.
- Introduce the snails
- Gently place the periwinkle snails in their new home.
- Cover the tank with a ventilated lid. It should have at least a few holes for ventilating new air in and out. You can cover any ventilation holes with mosquito netting to stop your snails from escaping.
- Observe the snails as they explore their habitat.
- Caring for the habitat
- Keep the habitat in a cool, shaded place. Snails prefer cool, dark environments, so keep the container in a place away from direct light.
- Mist the container with water every few days to maintain moisture without making it soggy.
- Feed the snails small pieces of lettuce or fish food (ex. ground cuttlefish bone) once a week.
- Cabbage and green lettuce are good options, in addition to fruit and veggie scraps from cooking. Avoid feeding citrus foods, as snails react negatively to this.
- Wipe down the sides of the tank using a damp cloth about once a week.
Tip: Add other organisms to your habitat like earthworms and pill bugs to help clean and maintain the soil.
Once their enclosure is set up, maintaining a snail’s habitat is as easy as feeding them, cleaning their home, and misting the enclosure every few days.
Now you have your own periwinkle snail habitat! This activity not only supports these fascinating creatures but also helps children learn about their important role in ecosystems in a fun and interactive way.
Here is bonus printable infographic by Angelina Lewis on Marsh Periwinkle Snails:


