Software Used: Adobe Illustrator
Experience level: None. Prior to this, I didn’t have any experience using a laser cutter.
Instrument used: Nolop Laser Cutter
Process
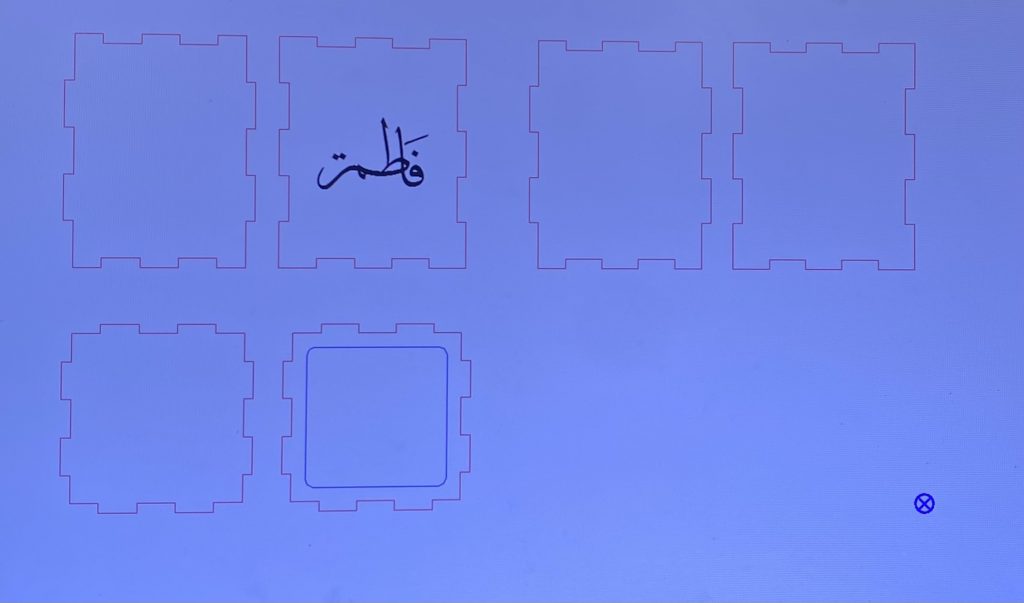
Using Adobe Illustrator, I chose to create a box with engravings on various sides. I followed a helpful online tutorial on creating a pencil box. To add engravings to the box, I utilized the bitmap function on Adobe and ensured that the images had a transparent background and were converted to pixels. Additionally, I took into account the size of my designs to ensure they would fit within the 12” by 24” bed of the laser cutter at NOLOP.
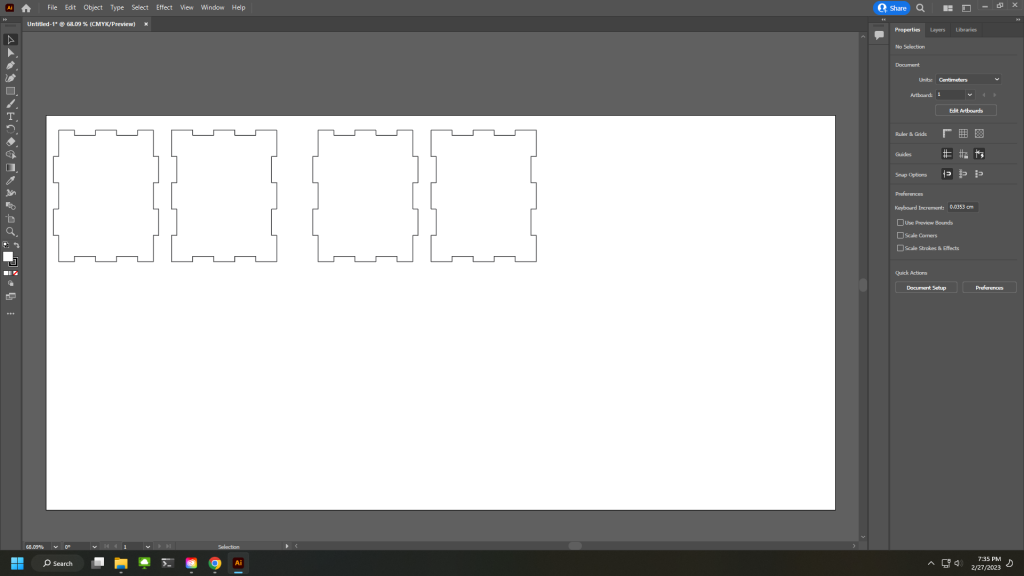
Box design with Adobe Illustrator 
Box design including Engravings
It was relatively easy to follow the laser print settings by referring to the instructions provided at the station. The laser cut settings were then adjusted appropriately based on the type of engravings desired, whether it be a full cut, shallow cut or an etching.
During the final stage, I, unfortunately, lost two of my engraving designs. However, I was satisfied with having only one side of the box engraved, as this allowed me to be considerate of other individuals waiting to use the laser cutter.
Laser Cutting
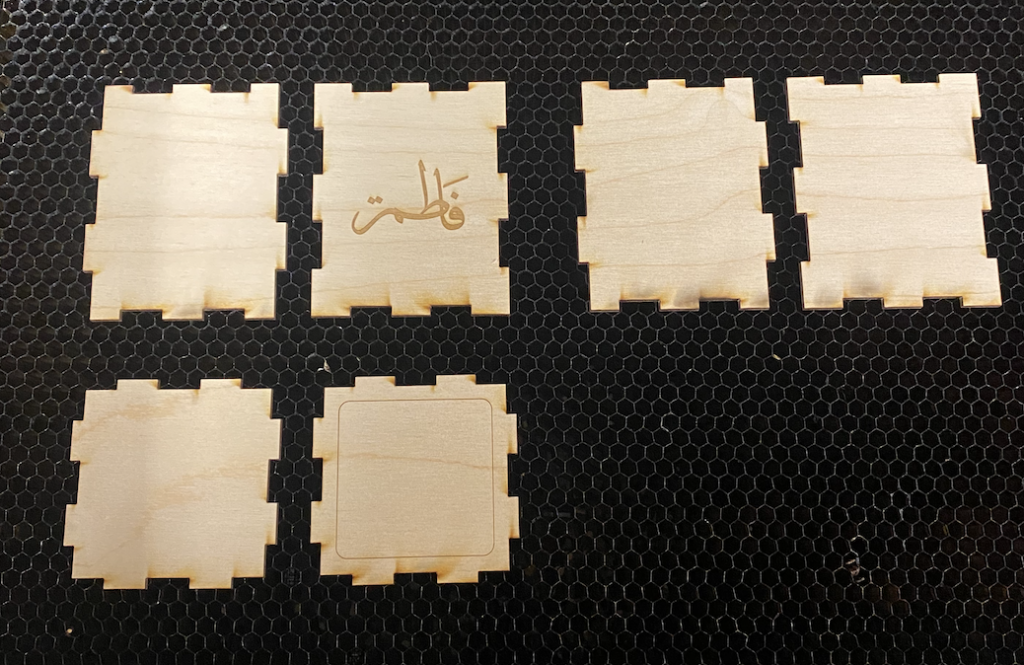
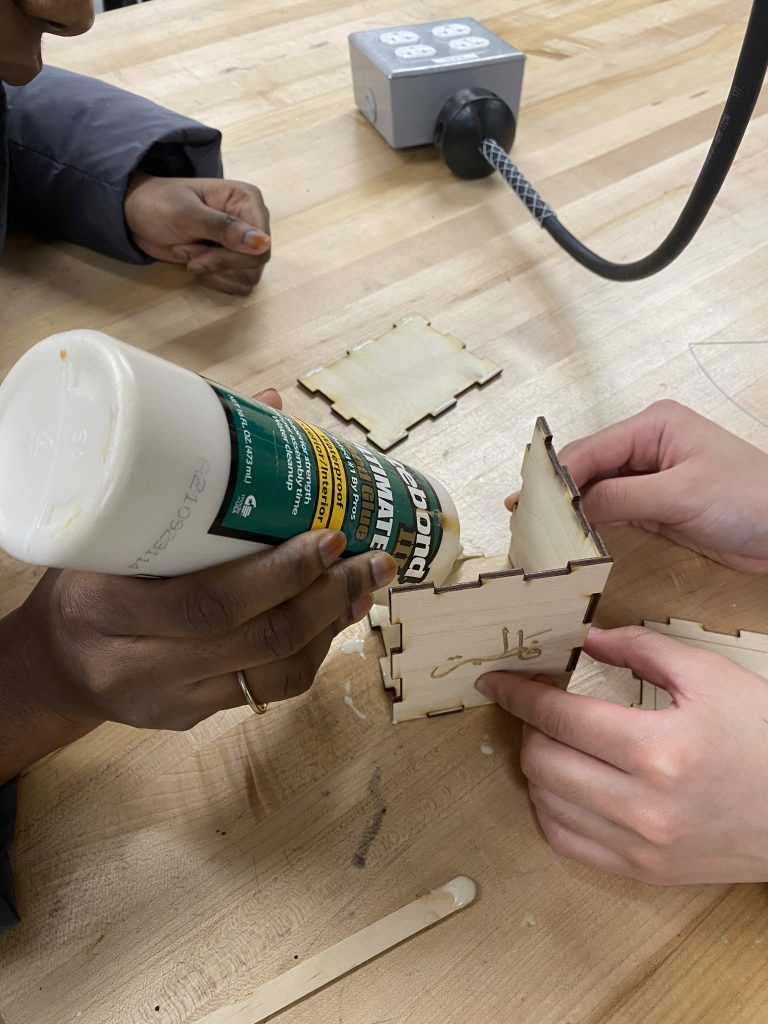
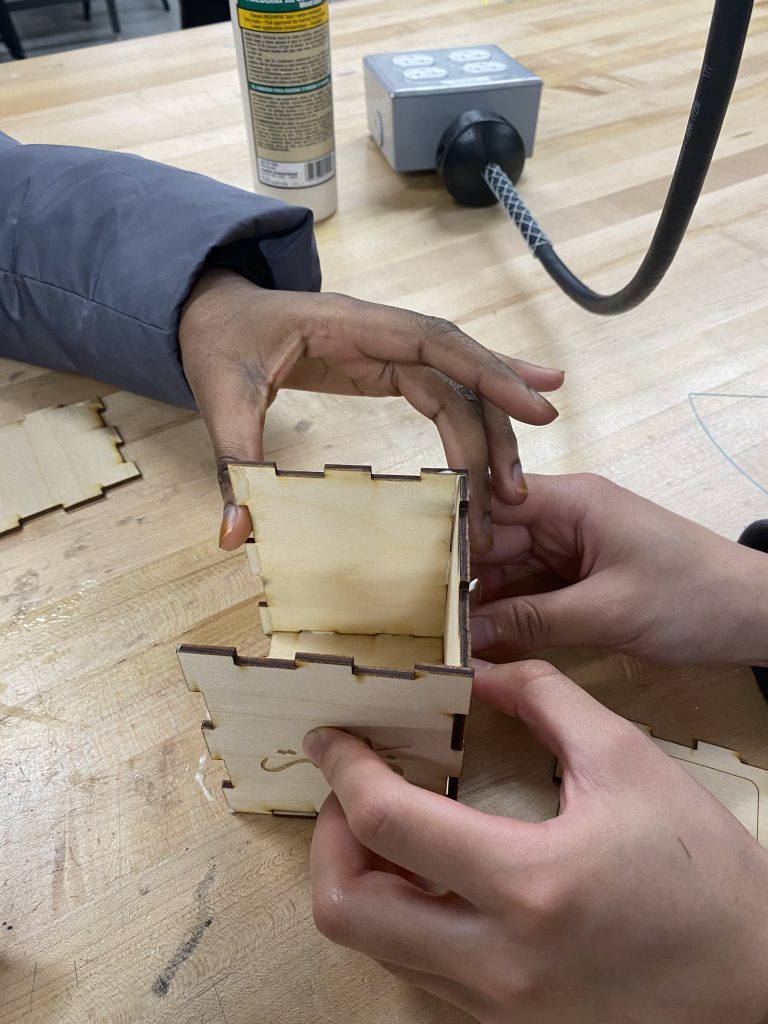
Assembling the Pieces
Assembling the box was a seamless process, largely due to the precise measurements of all the box edges. To further strengthen its structure, I used wood glue from NOLOP, applied tape to the edges, and allowed it to dry overnight.