March 16, 2023
To complete this week’s homework, I created a stoplight sensor using my Arduino. When I was first exploring different ideas of what to do for this homework, a couple inspiration came to mind, specifically with using the lights: programming Christmas lights, a rainbow formation, or spelling my name in lights. Each of these ideas would be a challenge in different ways, including setting up the lights and resistors in a certain patter and having enough ports. I decided on the idea of a stoplight because it would be easy to initially program to change on a schedule and then would be a challenge to program using the motion sensor.
As mentioned above, I used the motion sensor because I wanted to simulate the way that when a pedestrian approaches a crosswalk, the stoplight pattern changes to allow the pedestrian to walk. I used LED lights to simulate the lights of a stoplight.
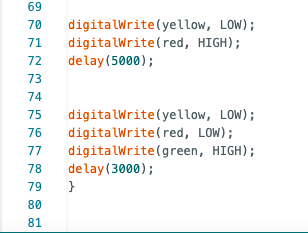
I found a few things difficult with this project. At first, just connecting the board was difficult. When I first logged int he arduino, it was not showing up on the Ports setting under tool. I closed the Arduino application, reopened, and that fixed the problem of the board not connecting. From that, designing the code was somewhat simple. After choosing my final idea, I searched online and found that others had similar ideas. I based my code off of the one from this website, Make Use Of (https://www.makeuseof.com/tag/arduino-traffic-light-controller/) to create a loop that would change the colors of the lights automatically. To make the project more complex, I added the motion sensor. This made the code a little more difficult to develop. I struggled with using an “if” loop to make the Arduino change to a different redLights loops if the sensor senses movement less than 5 cm from the sensor. I realized I needed to put the “if” loop into the function of the main code for it to iterate through, because I was getting the error message “unexplained if”. This fixed the code and allowed my Arduino to work through the loop.
I learned valuable Arduino knowledge and gained coding experience through this project. I learned to debug code by going line by line and trying different things to resolve each line one at a time. I also learned that there are multiple different ways one can set up the Arduino breadboard in regards to the LED lights and the resistors, because in class the set up we had was different than the setup the website I gathered inspiration from had for the wiring diagrams of the LEDs.


Potential uses for Arduino in my life include a blinking alarm clock that can be programmed to link up with my phone. Another potential use could be a motion sensor that senses when I open my door to program the string lights in my room to go on. There are a bunch of really cool practical applications that I can do to make my room more accessible@
Arduino Code: