
February 21, 2023
Welcome back to my time in Engineering Design! For this week, our homework was to 3D print anything. As I was away the past weekend, I decided to print my design closer to the deadline. I decided to 3D print the canoe that I had made in SolidWorks for our CAD homework (see attached on the homepage of this website). I trekked over to Nolop and was intimidated by the lack of printers and the surplus of mechanical engineers, so I decided to go out of my comfort zone in another way by venturing over to Bray Labs where I had never been before to use their 3D printers.
Entering into Bray, I was confused and unsure of where to go. I found the 3D printing lab with no one in it, so I used my detective skills to find the machine shop where the two people on duty were and asked for some help. W went back to the 3D printing lab and after a quick run through of how to use the the 3D printers in Bray, I was ready to print.
I opened up my box and file on the 3D printing lab computer, and to my surprise my canoe file had reverted to an earlier copy that was very simple and had no seats. I decided that that was okay and I wanted to print a 100 mm version of my canoe. I opened Cura, the 3D printing application, and dragged my file (saved as an STL) onto the application. With the help of the workers of Bray, I chose the material as PLA (which we were using), the infill to be 20%, and the quality to be standard fidelity. I placed my canoe so that it was “bottom up” or like an upside down bowl so that no supports had to be built.


I uploaded the file onto the SD card, ejected the SD card from the computer, and then put it into the Ender 1 3D printer in the Bray Lab. I pressed start on the 3D printer, selected my design, and made sure that the base layer was nicely put on.

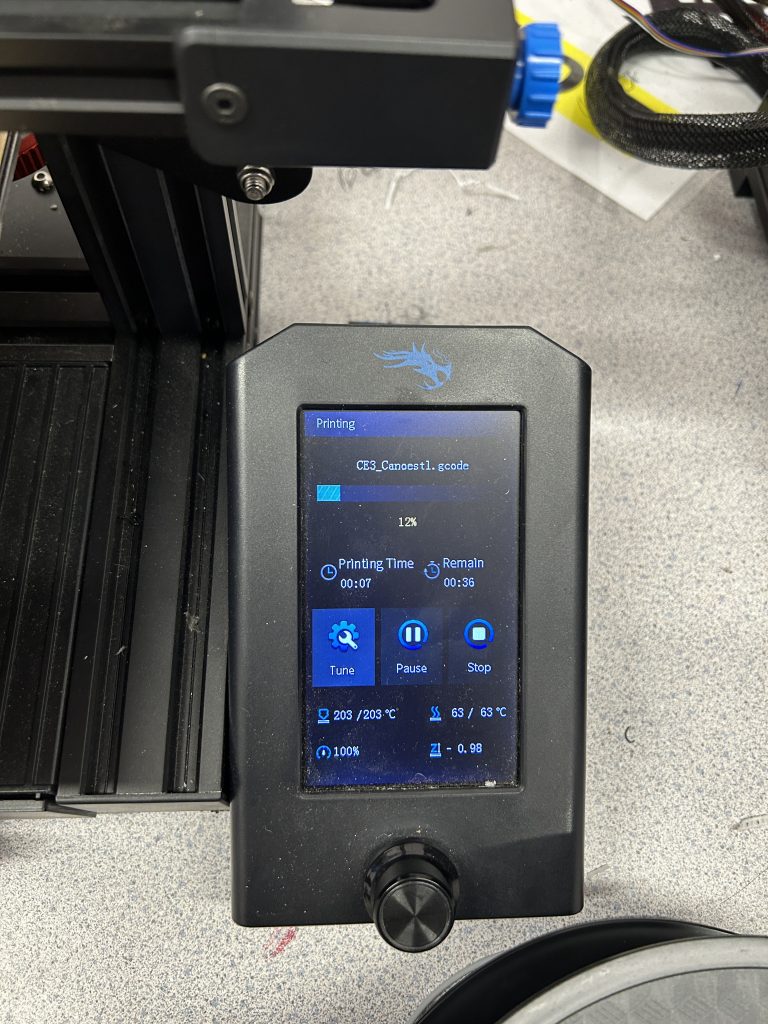
One misstep that occured was that one of the sides of the canoe was buckling up as it was being printed. The other side remained down but the left side buckled up slightly (pictured below). After speaking with the tech, she said that we probably should have used hairspray on to the 3D printing base. In the future, I will be sure to do that.

After 40 minutes, my print was complete! I scraped it off the base and flipped it over to reveal all of its canoe glory.

Because this was a pretty speedy print, I decided to print another. I went back into my box to see if a later version of my canoe was saved and found it hidden away amongst pictures of my canoe CAD file. I uploaded it to Cura, flipped it over the same was the first canoe and repeated the exact same process. I looked at the design in the preview setting of Cura to see the different layers of the print to make sure that the print would be okay.

I repeated the process of ejecting the card and placing it into the CD printer, starting the print, waiting, and then scraping it off once it was done.
The fidelity was pretty great and lucky me, now I have two canoes!

Challenges of Printing
As designs get more complicated, printing becomes more complicated and more time consuming. This was seen when I 3D printed my canoe with the seats as my second print. It took approximately 10 more minutes, even though only seats were added. In the same way, once you start printing things in a larger scale, it takes longer. My canoes only took 30 -55 minutes because it was 100 mm in length. But, if I wanted a larger canoe it would take a larger time.
Any complicated design that has something built in the middle of it or is at a large angle (>30º) (i.e. anything that needs a support) becomes complicated to print. Intricate and detail designs also can become complicated and hard to print.
With traditional technologies such as common 3D printers, it can be difficult to get a precisely printed device is the measurements are critical, such as in a medical device going into a person. Designs that have parts built off one another can be difficult, and the Bray Lab tech suggested that if I did have a design with many different parts attached (such as a sail boat with a mast), I can print all the parts separately and then assemble them together, which can be a solution for intricate design printing.