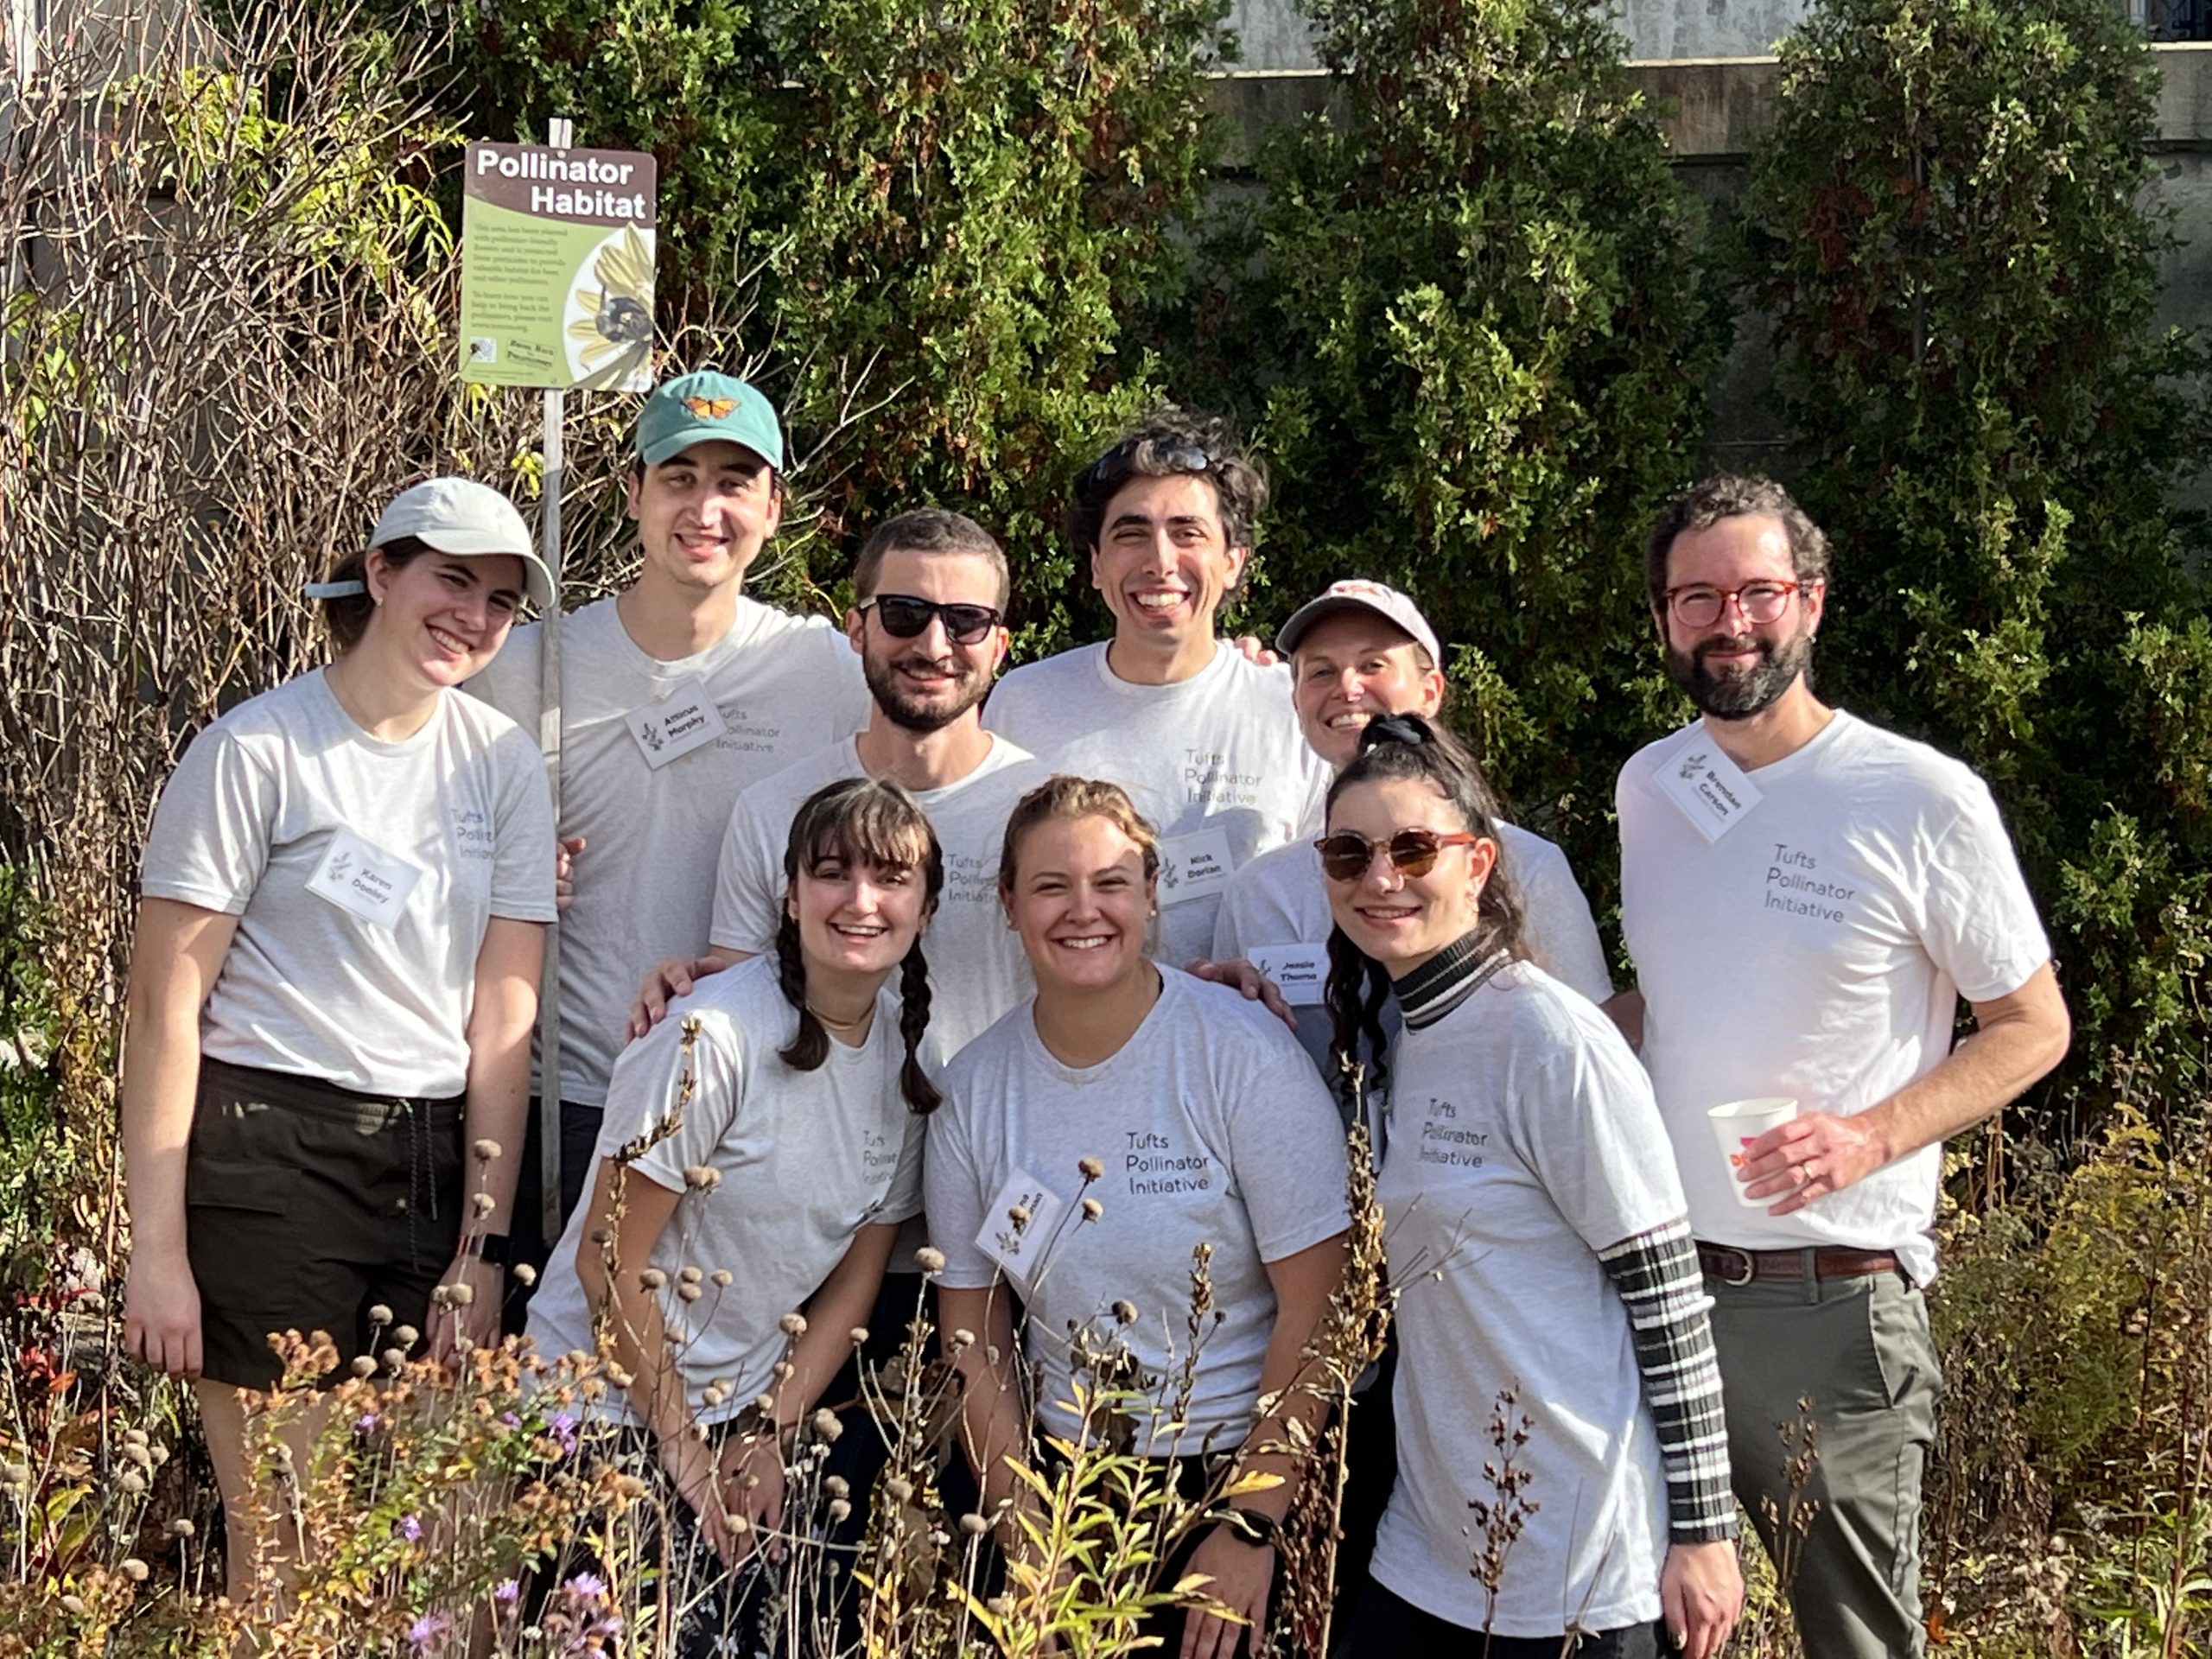
The members of our TPI team have graduated! While we are all excited for the next chapter in our careers, we are sad to announce that the Tufts Pollinator Initiative can no longer offer community outreach events to the greater Boston community. We are so thankful for the support you all have shown TPI over the past six years that has made our work possible!
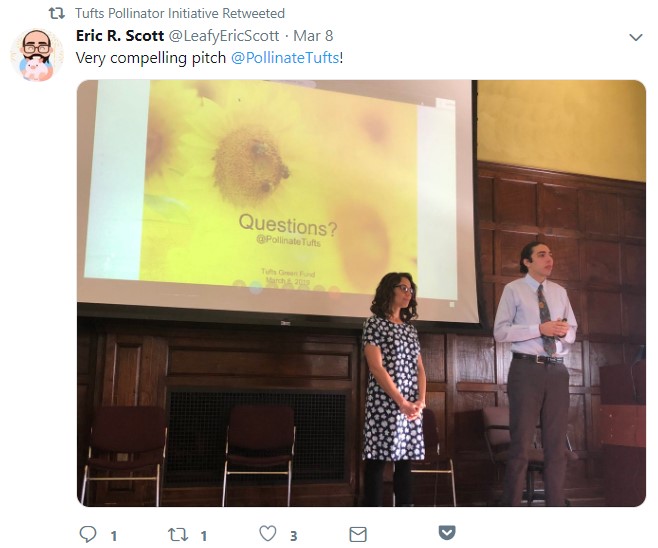
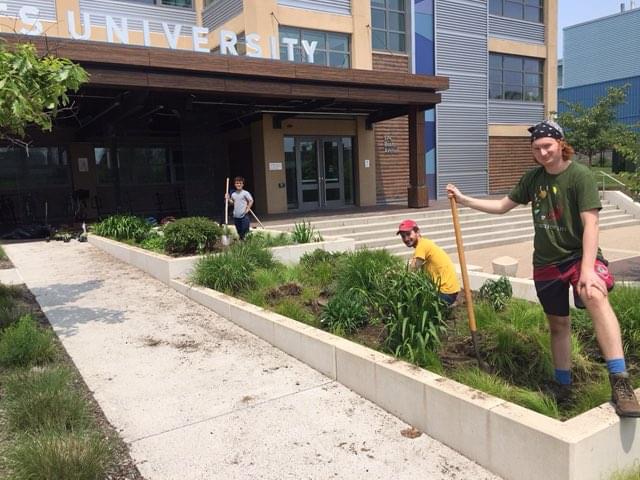
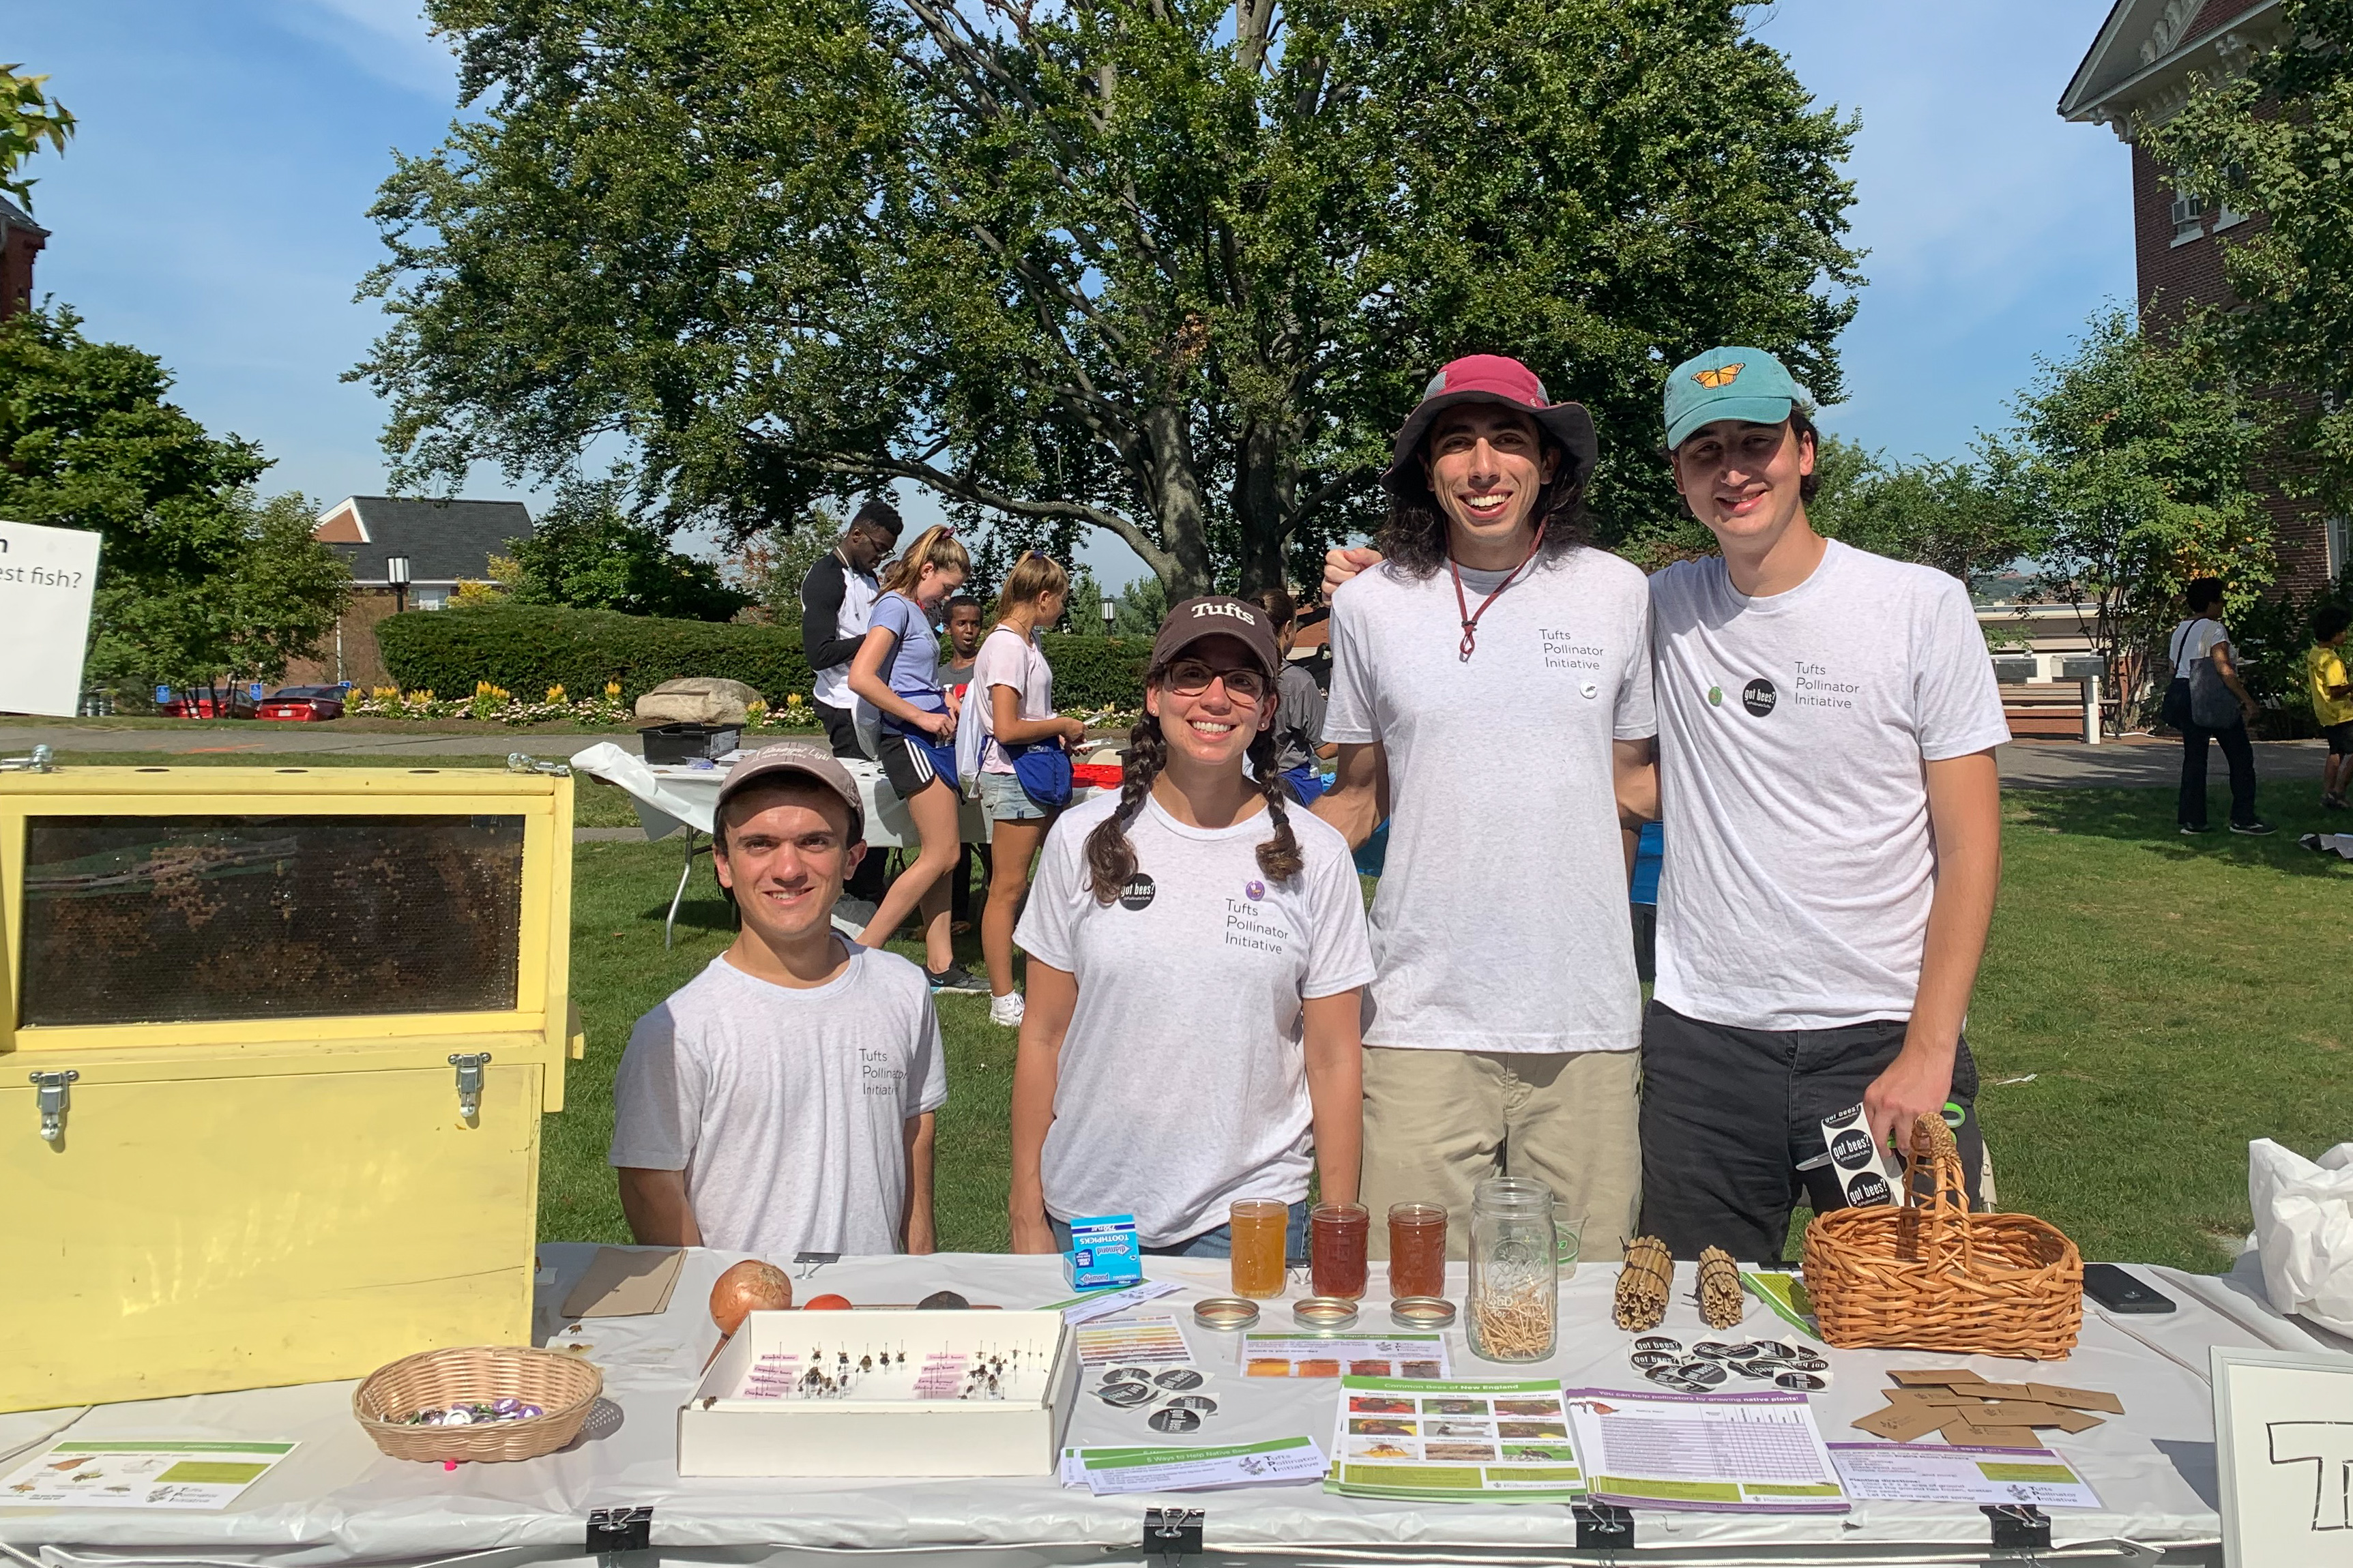
TPI was founded by a group of graduate students who recognized the enthusiasm among community members for pollinator conservation and wanted to show that cities can be important sites for pollinator habitat. Funded by a seed grant from the Tufts University Green Fund in 2019, team TPI broke ground. We converted two ornamental garden beds on campus into pollinator habitat, and we launched a website and social media pages to share pollinator biology and conservation tips. We worked to incorporate pollinator content into classes on campus, and started offering free events to the local community.
Rachael Bonoan and Nick Dorian presenting to the Tufts Green Fund Mar 2019Our flagship garden planted summer 2019Our second garden planted at Tisch library
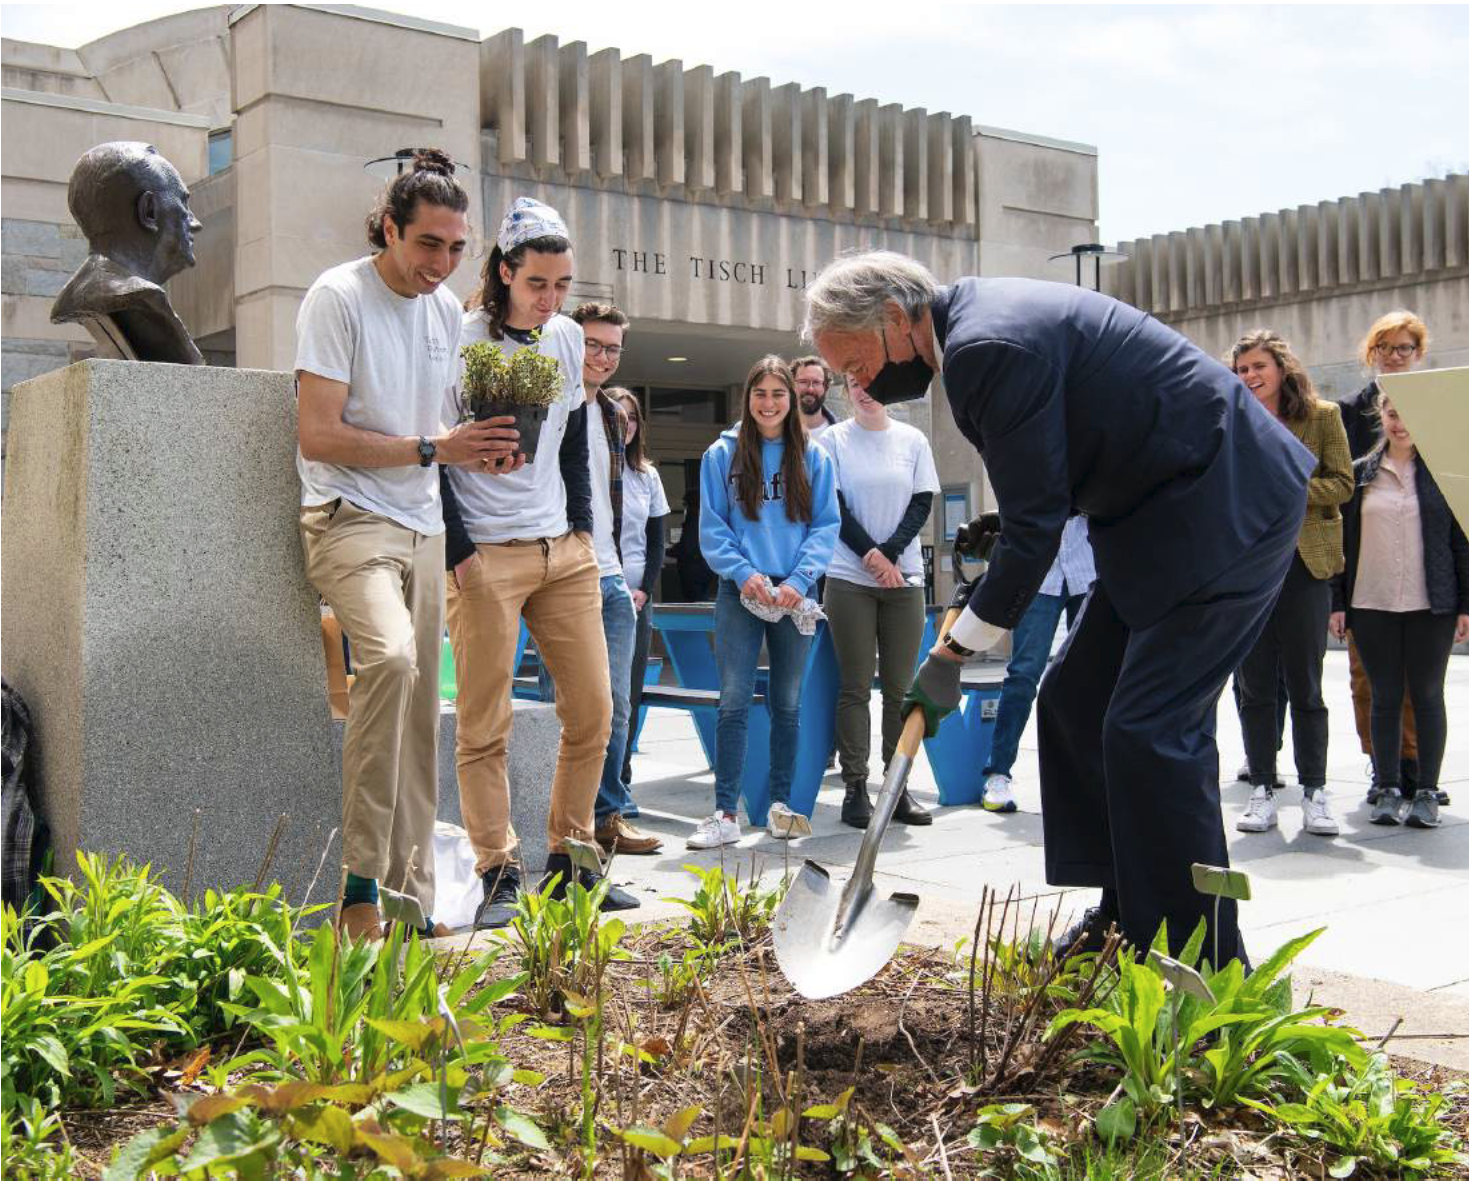
Following a second round of funding from The Green Fund and thanks to engaged community members like you, TPI grew far bigger and faster than any of us could have predicted. We planted over 3,000 square feet of native pollinator habitat across 6 gardens that are home to 125 species of pollinating insects. We distributed over 3,000 native plants and thousands of seeds through low-to-no-cost plant sales. We engaged more than 2,000 people per year through community outreach events, and thousands more online through social media, blog posts, lectures, and a Tedx Talk. We’ve collaborated with 40+ organizations across 8 states to bring pollinator education to local communities, and locally we have worked with Somerville and Medford City governments, the MBTA, and the Massachusetts Pollinator Network to increase urban pollinator habitat. One highlight for all of us was hosting Senator Ed Markey to plant a mountain mint seedling in our campus gardens!
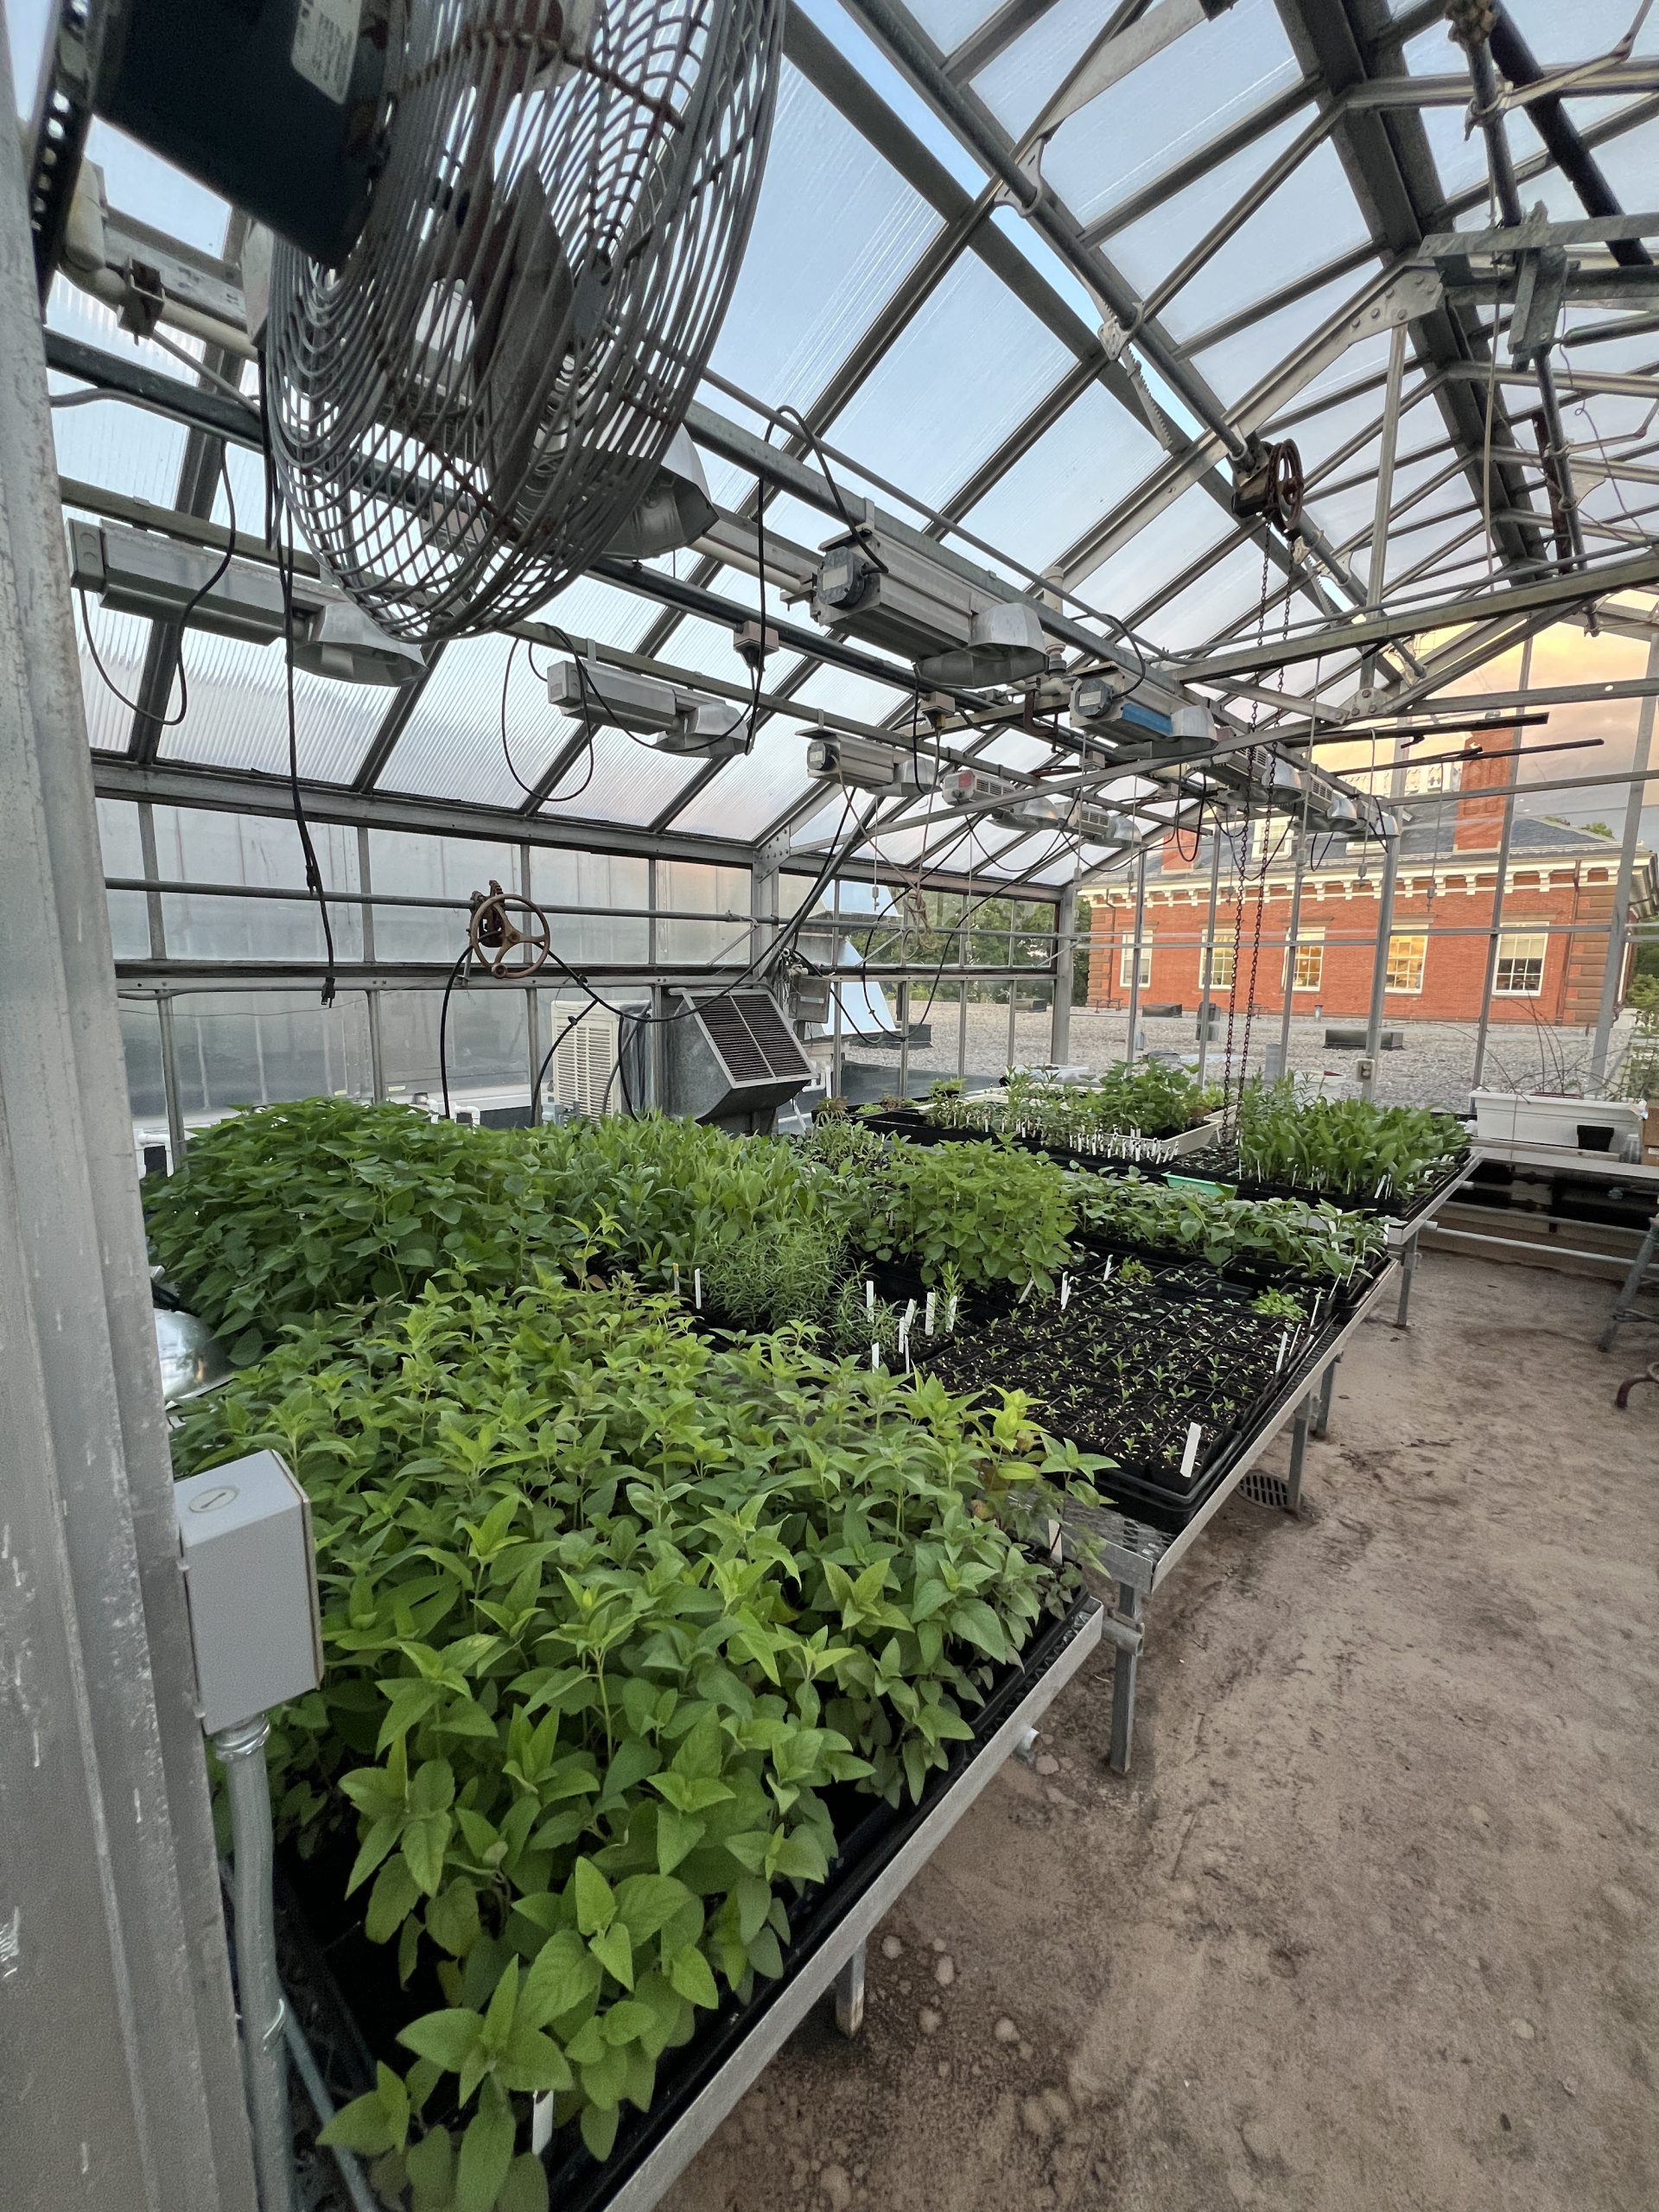
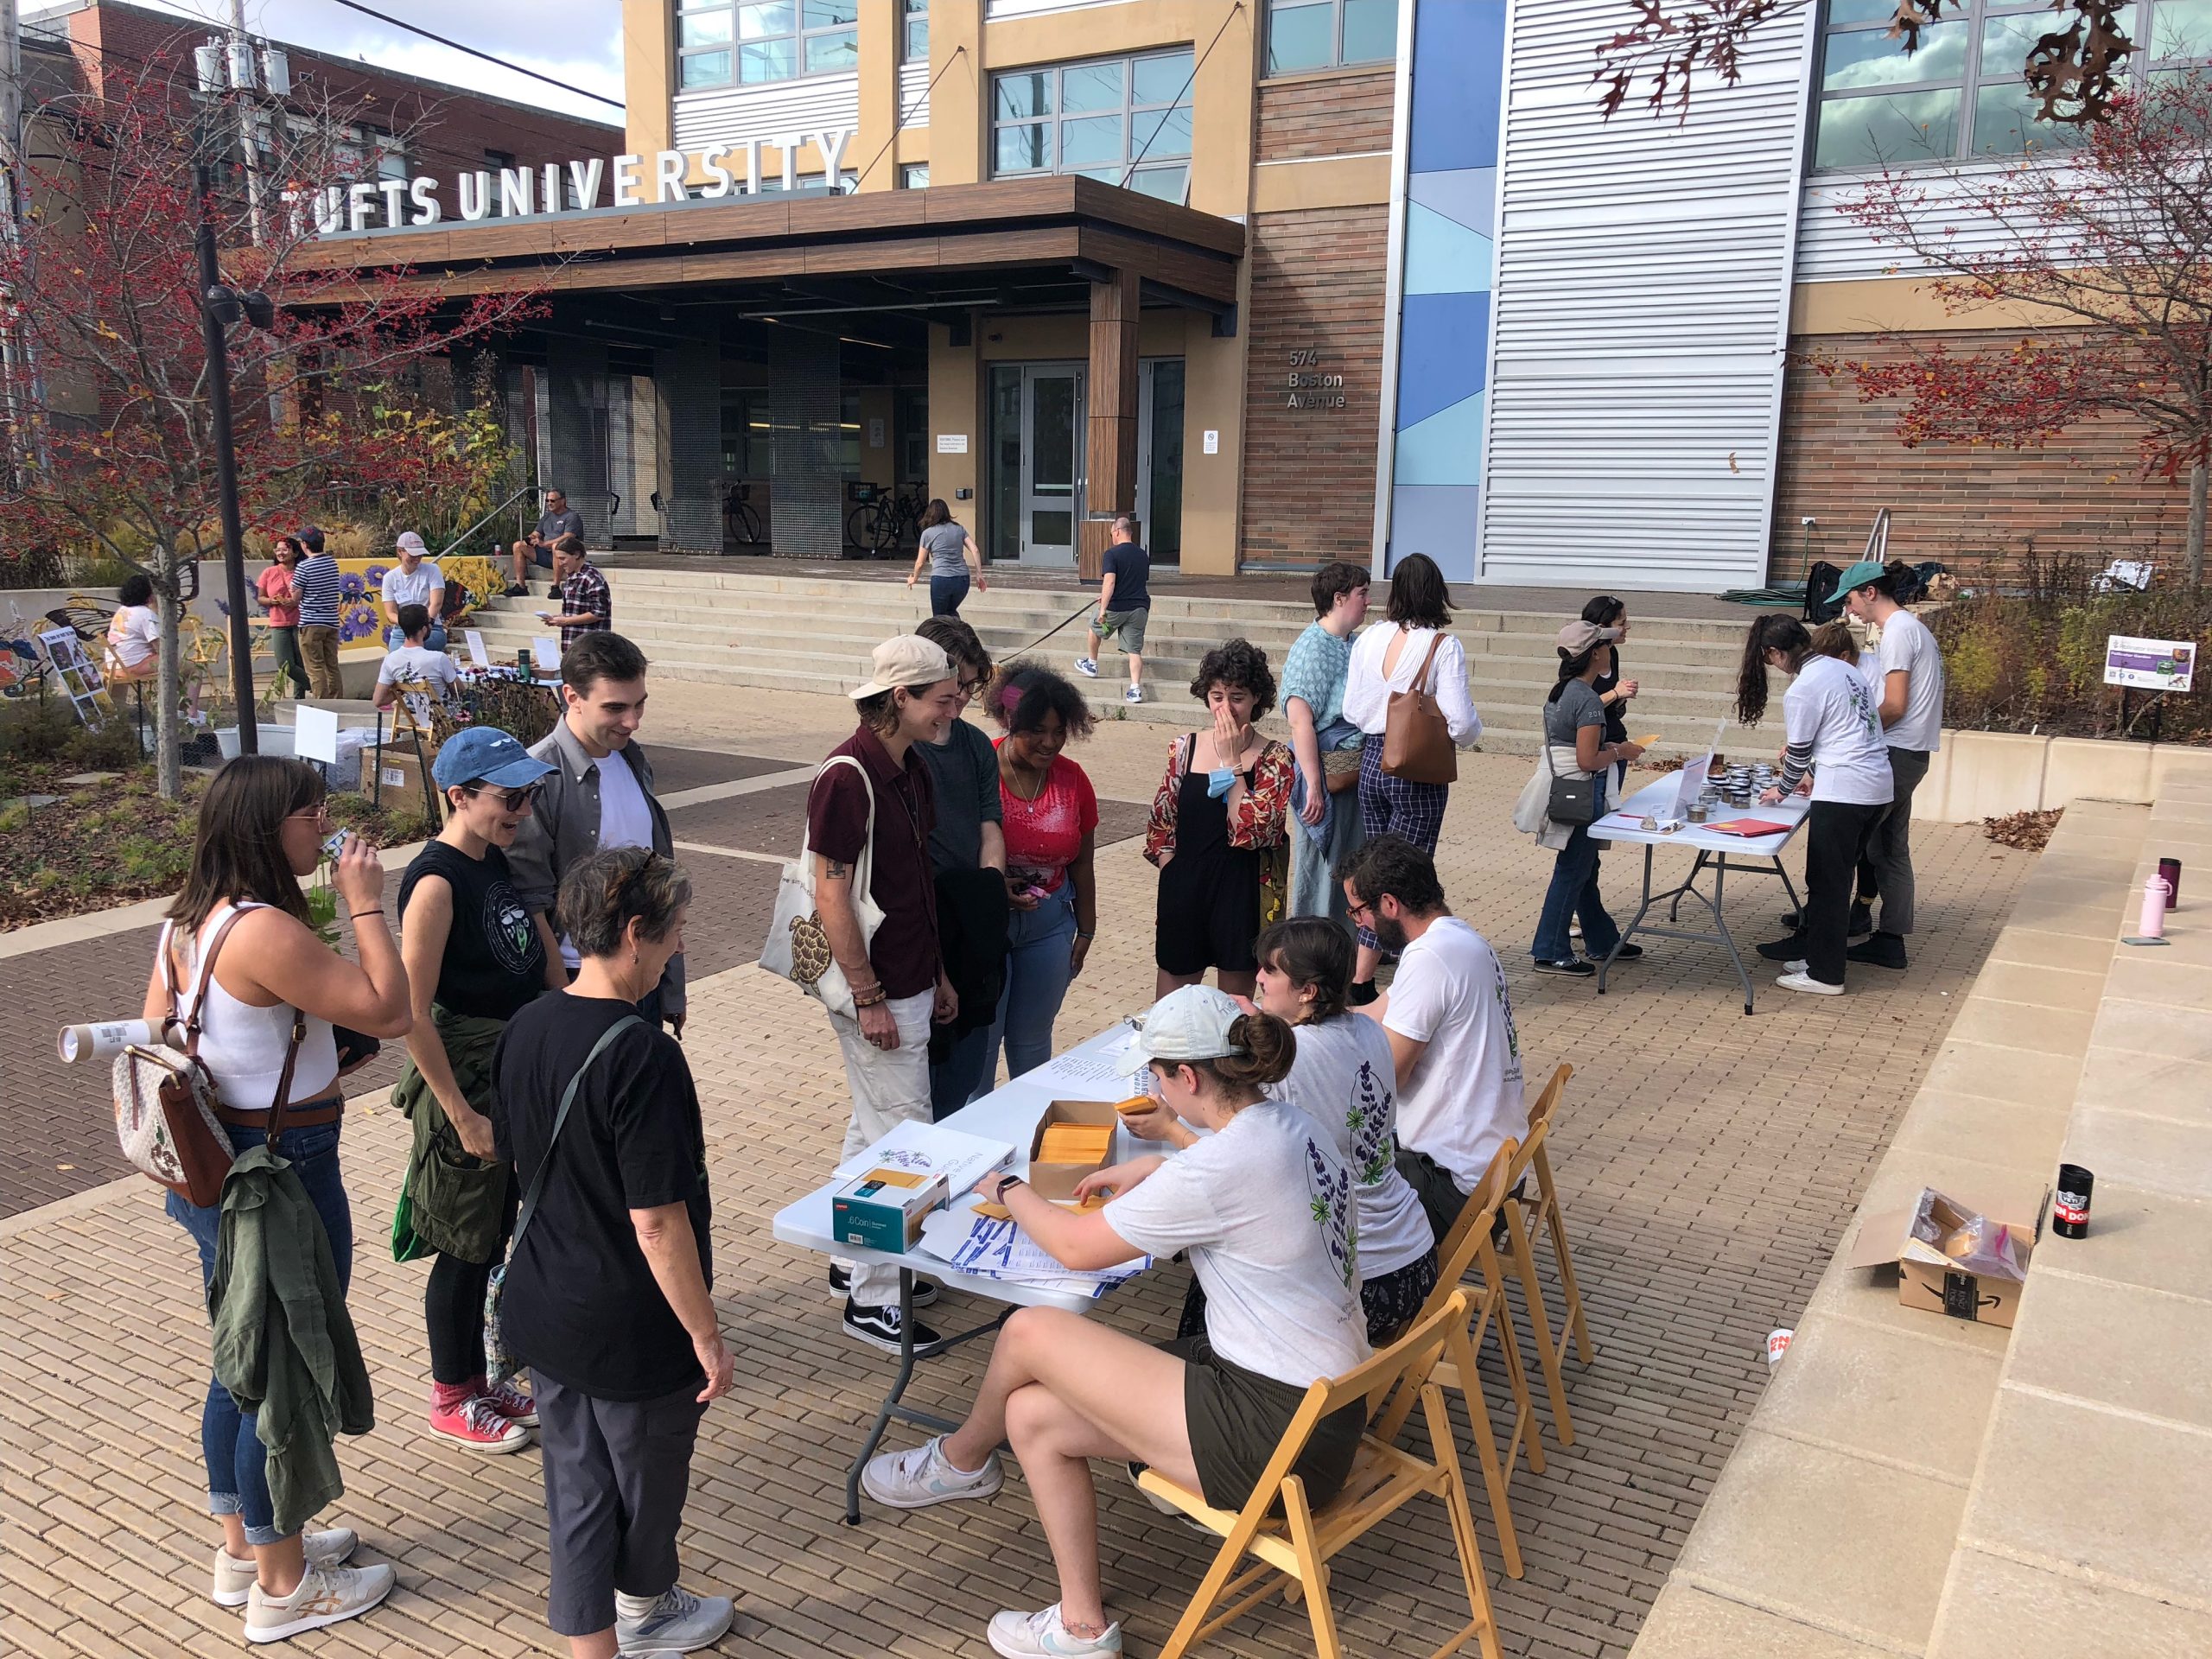
Senator Ed Markey planting a mountain mint in our Tisch Library gardenThousands of seedlings ready to be distributed!One of our campus events, Seeds and Cider, in fall of 2022
TPI has been a foundational part of our time at Tufts and has shaped each of us as scientists to better understand the role we can play in active conservation efforts and science communication. Looking forward, a new group of enthusiastic undergraduates will work with the Tufts Facilities team to maintain our campus gardens and to restock the free seed library each year. They will continue a limited outreach program on campus at Tufts-sponsored events to promote pollinator gardening. Our gardens and their interpretive signage will remain for you to enjoy and to explore, and we hope you’ll keep submitting observations to iNaturalist to document the impact of urban gardens. Our website will remain as a resource for community members, and we encourage you to contact our former members here with specific questions or inquiries for lectures and outreach events on an individual basis. To stay involved, check out other groups in the Boston area and more broadly that are doing great work in the pollinator conservation space, including Grow Native Massachusetts, Native Plant Trust, and the Somerville Pollinator Action Plan as well as the UMass Amherst pollinator page for resources.
Thank you all again for making the Tufts Pollinator Initiative such a successful program!
Learn more about the life history and science behind your garden
Create a community – makes for thoughtful gifts to a fellow gardener or aspiring grower
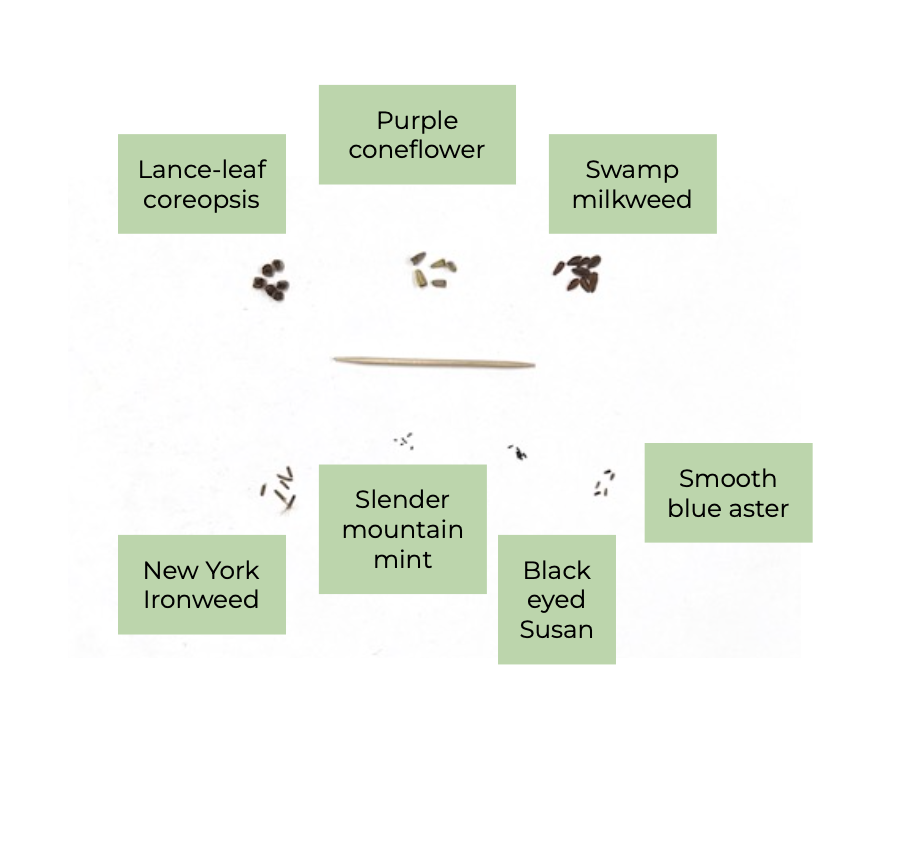
Seed saving is one of the best ways to save money on home gardening and build resilience into our growing spaces. Mature seeds can be collected from flowers at the end of the growing season, saved, and then planted in the following year. Using seeds from plants that grew successfully in your yard or neighborhood means your seeds are already adapted to the local weather and soil conditions.
I have seeds – now what?
How to sow seeds
Sow your seeds in pots or flats that are at least 3” deep and 4-10” across (we use 5”x5” flats). Make sure to label the pots with the species name and sow date. Fill the pots with compost-rich soil, moisten, and sprinkle the seeds on top of the soil. For small, dust-like seeds it is often required that they are sown on the surface as they don’t have the energy to dig through soil to germinate, so avoid covering (refer to the spreadsheet below to determine which seeds must be surface sown). For seeds that don’t need to be surface sown, cover with a thin layer of soil (approximately the thickness of the seed) and a layer of coarse sand. The sand helps to keep the seeds in the pots despite wind and water. Keep the seeds moist by watering every few days, as needed.
Stratification – what is it?
Some seeds require additional steps before they can be sown in pots or in the ground. Native seeds that you collect from your garden or that you received from the Little Free Seed Library often require a series of conditions that lead to germination, such as a cold winter snow cover, acidification from an animal’s stomach, or scarification*. When starting seeds yourself, it is important to know the conditions a seed needs in order to start the germination process. Many native perennials require cold-moist stratification for varying amounts of time (between 10-90 days depending on the species) in order to start germinating. This consists of placing the seeds in moist, cold conditions (40F or below) for the designated amount of time or longer. The simplest way to cold-moist stratify is to sow seeds outdoors in the fall or early winter after collection, leave them outdoors for the winter and germination will begin as the weather warms up. However, this is not the only way to stratify seeds and we will go over several different ways to prepare your seeds for germination.
*Scarification is the process of breaking down, softening, or otherwise weakening the hard outer shell of a seed. Some seeds require scarification to germinate. Stratifying seeds outdoors can often lead to natural scarification as seeds are exposed to the elements and weaken over time. You can mechanically scarify seeds by gently rubbing seeds together in sandpaper. If you mechanically scarify seeds, you must plant them immediately. Many native flowering plants do not require scarification, so be sure to check the requirements of your seed.
Please note that plant needs might differ in different regions.
Outdoor stratification
Sow seeds in flats, pots, or garden beds (see sowing instructions above) and place outdoors in the late fall/early winter. Cover the flats with chicken wire or Reemay to allow the seeds to be exposed to natural elements while preventing rodents and birds from eating your seeds. If germinating indoors, bring in the seeds after the designated stratification time requirement. If germinating outdoors, the seeds will start to germinate once stratification requirements are met and the weather starts warming up.
Milk jugs are also a great outdoor vessel to stratify and start seeds in, as they form an artificial greenhouse for the seeds to start growing in. See a tutorial here on how to cut a gallon milk jug to use for seed stratification and germination.
Indoor stratification
If you are starting your seeds in the spring, it is best to artificially stratify your seeds indoors to mimic winter conditions. This can be done by placing seeds in the refrigerator for the given stratification time. There are two popular methods to indoor stratification: the pot method or the plastic baggie method. For the pot method, sow the seeds as you would normally, moisten the soil lightly, and wrap the flats in plastic. Place the wrapped flats in the refrigerator, and take them out after the stratification period is over. For the plastic baggie method, place seeds on moistened paper towels or coffee filters, fold over, and seal in a ziploc bag. This can also be done using other moistened seed starting mediums, such as sand, vermiculite, or peat moss. For any indoor stratification, make sure to check your seeds every few days to monitor for mold and make sure the seeds remain moist.
My seeds are germinating – now what?
Congratulations! The seeds can remain in the flat they were sown in until they are ready to be transplanted in their future home. If the flats are getting crowded, the seedlings can be gently separated and transplanted into individual containers once the roots are coming out of the bottom of the flats.
Once seedlings have germinated they can be transferred into individual containers.
Where can I get some new seeds?
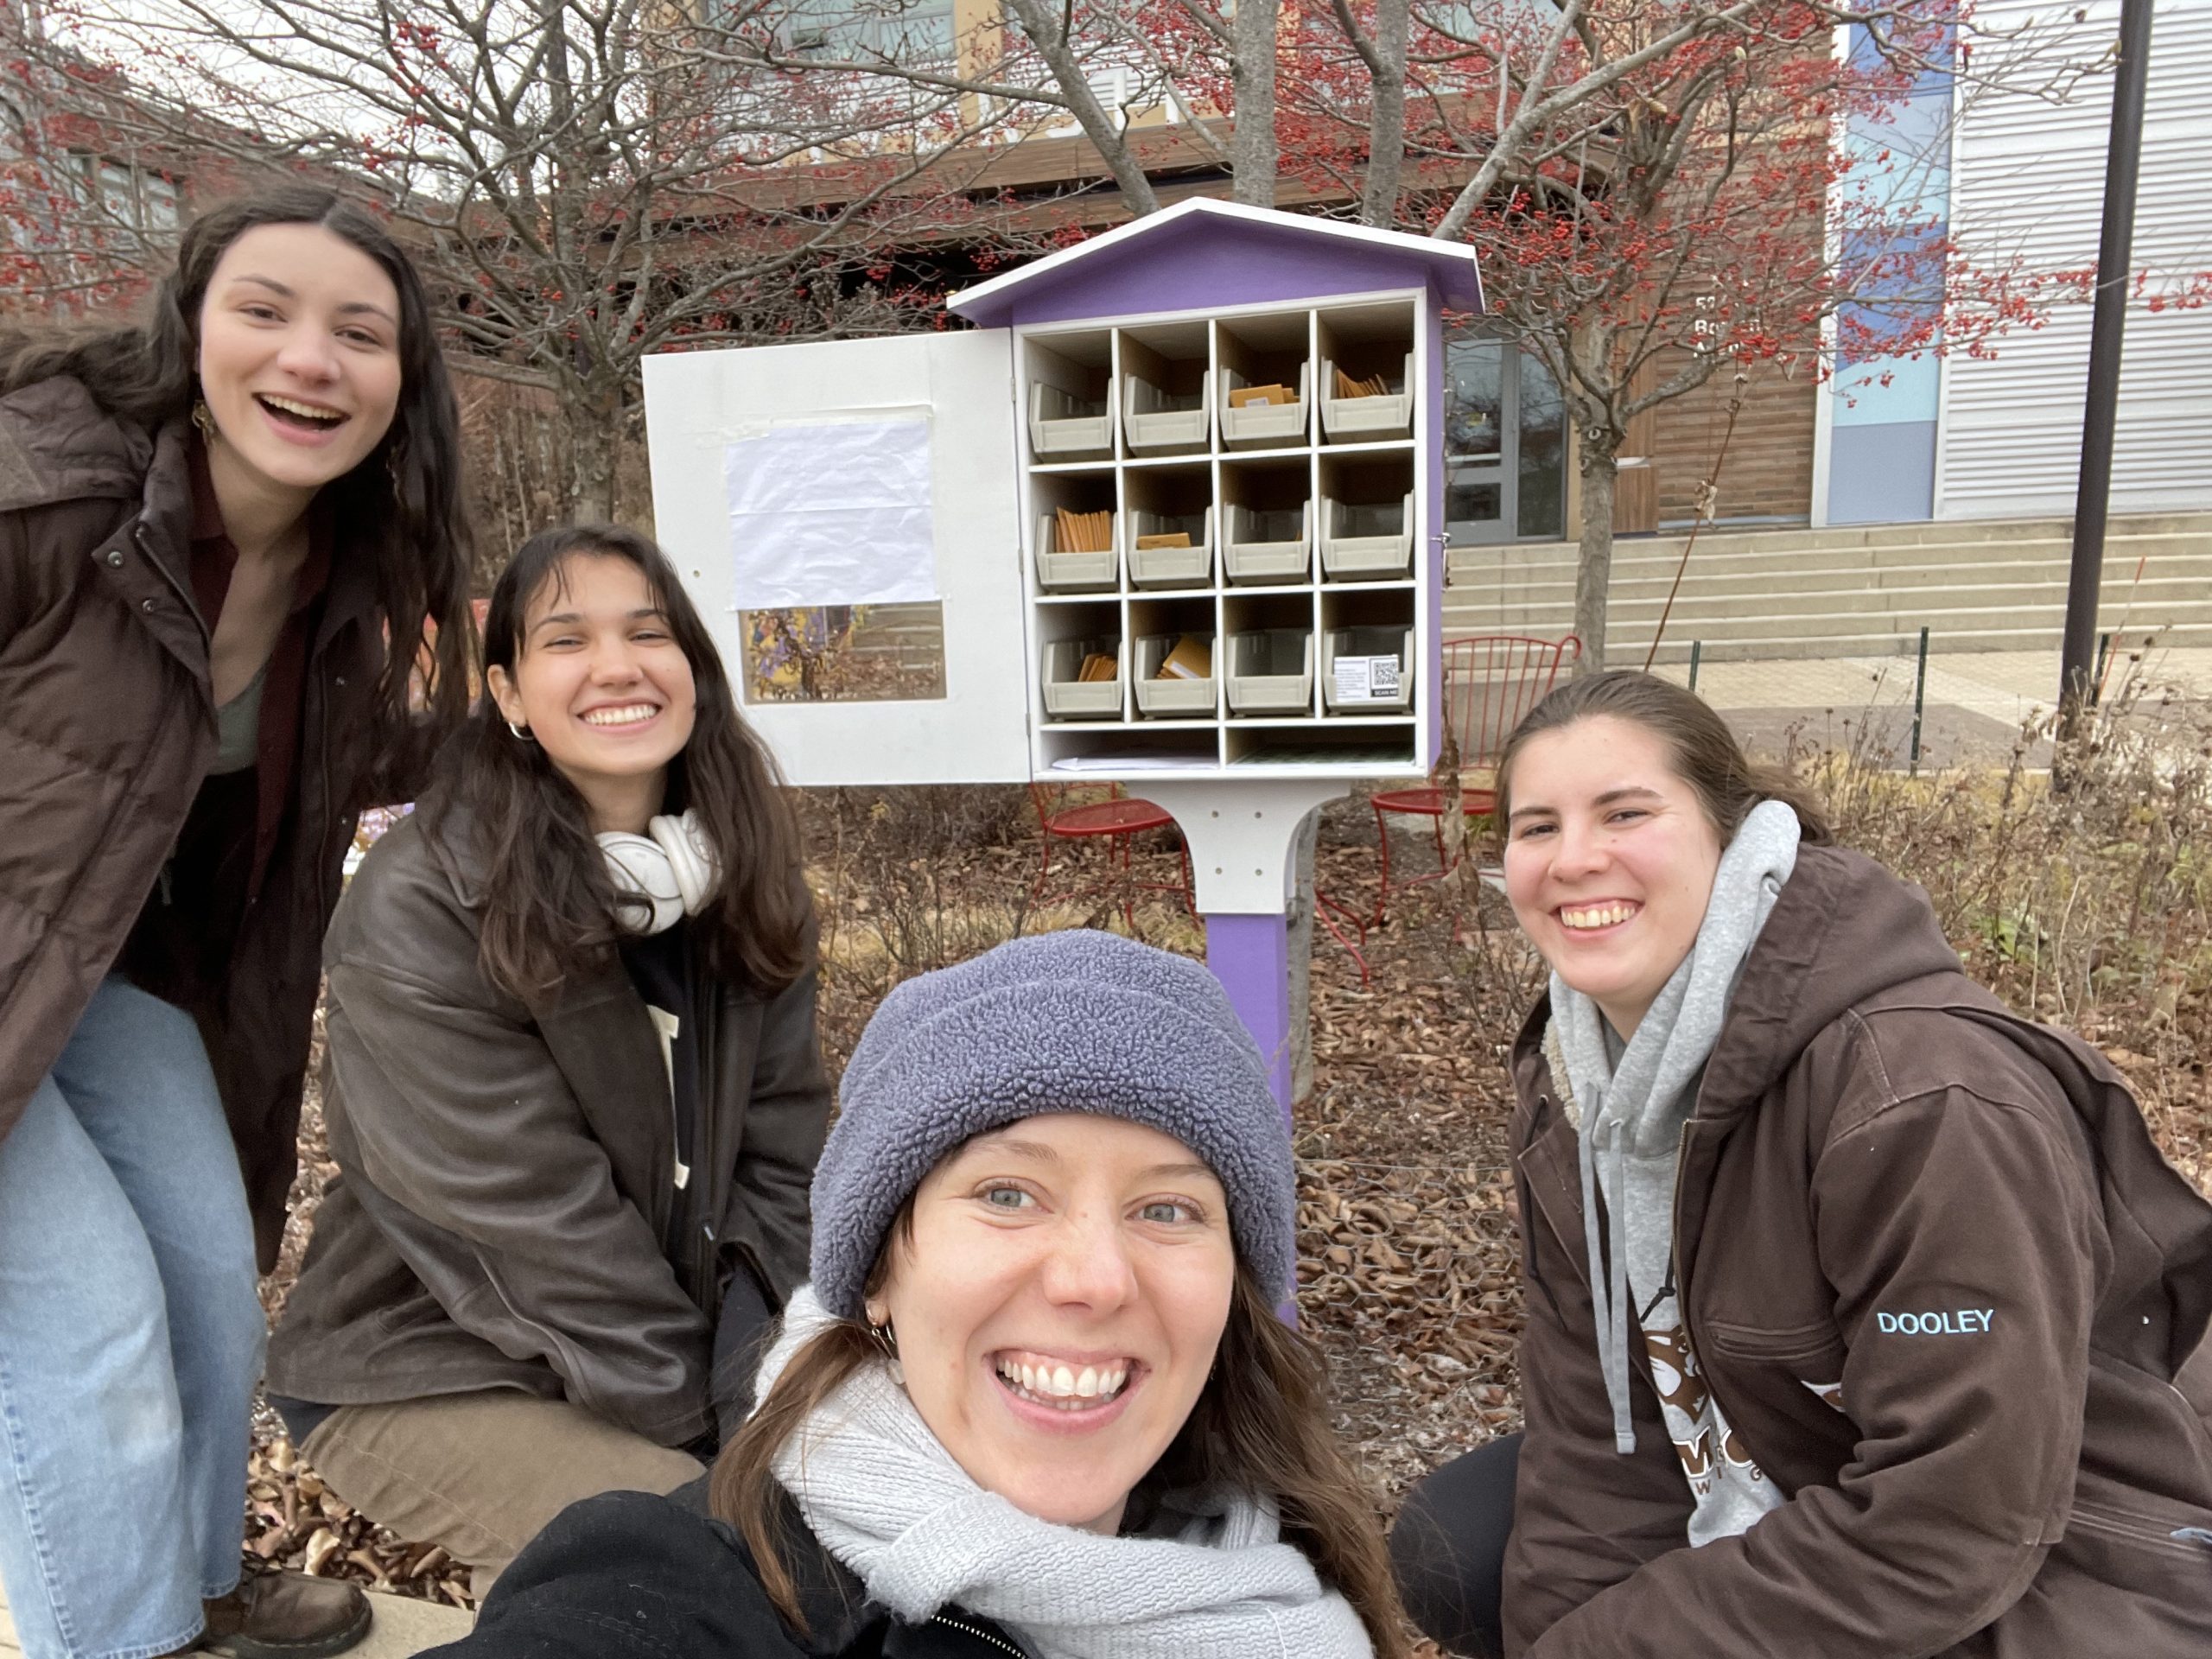
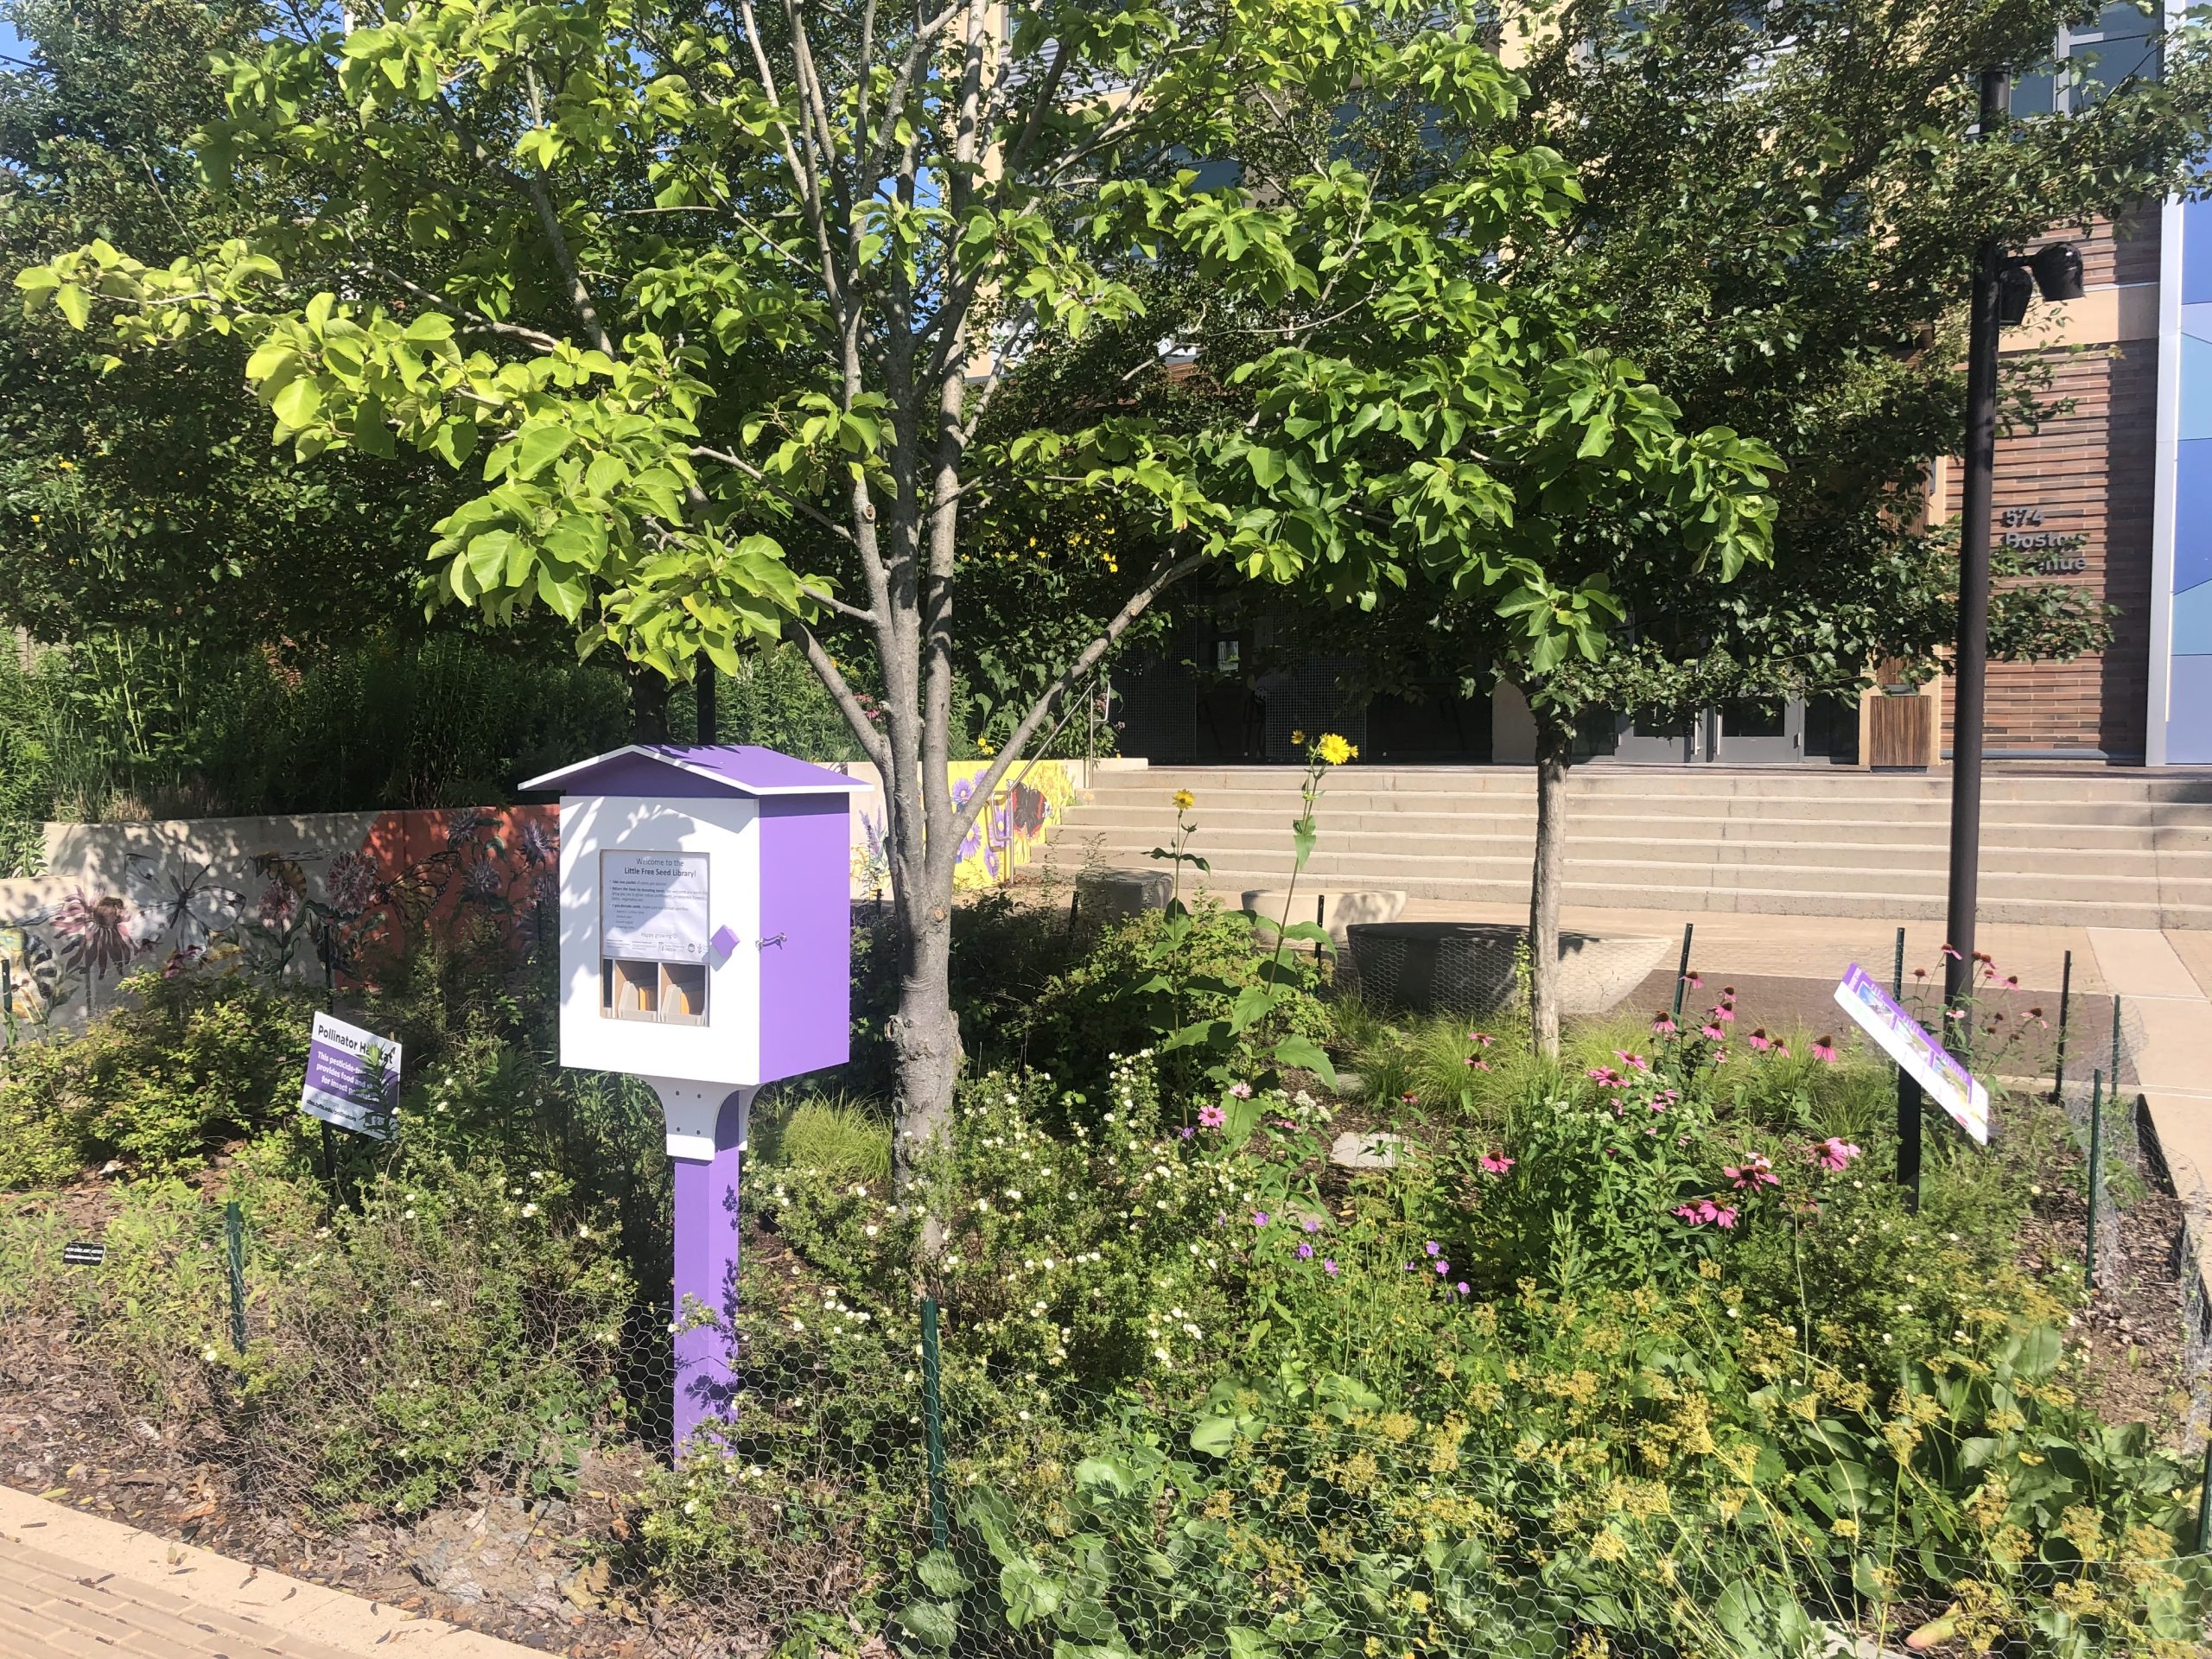
TPI has their very own Little Free Seed Library on campus at the pollinator gardens at 574 Boston Avenue. The seeds we stock the library with are collected from our very own gardens, so they come from plants that have thrived in our local environment. Please note these seeds have not been stratified yet but details about their stratification requirements can be found on the seed packets. The seed library works best if users take a pack and leave a pack of their own seeds. We just ask that you write the species, date collected, and collection location. There are also other local seed libraries, which can be found on this map under ‘miscellaneous’.
We encourage you to save seeds for your own garden, to build community, to save money or to learn more about the natural world. Whatever your motivation, saving seeds is a great decision, but also has a deep-rooted cultural significance and importance. If you’re interested in reading more about the sovereignty of seed saving and why it matters, we provide a few resources below.
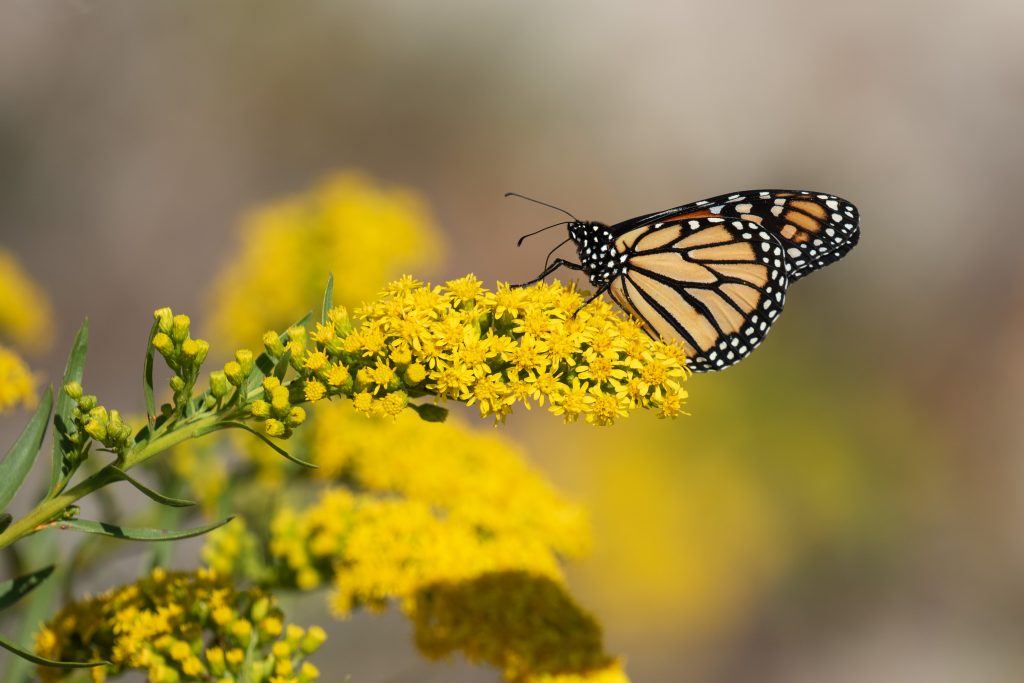
The monarch butterfly (Danaus plexippus) is one of our most iconic pollinators, known for its large size, bright orange color, and impressive fall migration to Mexico. Yet the monarch’s recent listing as endangered on the IUCN red list has led many to wonder what steps to take to help the monarch in their own yards. Read on to learn TPI’s advice to those looking to help monarchs and for a guide to noticing the different life stages of monarchs in your garden.
Monarch butterfly (Danaus plexippus ) nectaring on goldenrod
1. Plant milkweed
As caterpillars, monarch butterflies can only feed on milkweed (plants in the genus Asclepias), meaning these host plants are necessary for the monarch’s survival. There are several species of milkweed native to the northeast, including common milkweed (Asclepias syriaca), butterfly weed (Asclepias tuberosa), and swamp milkweed (Asclepias incarnata). Butterfly weed and swamp milkweed both perform well in gardens – the former preferring dry soils and the latter preferring wetter soils – and can be found at most garden centers. Swamp milkweed also has shallower roots, which means it can grow well in a container if garden space is limited.
2. Plant nectar-rich flowers
Unlike the caterpillar stage, adult monarchs are not limited to milkweed and feed on a wide array of plants for nectar. These sugary resources extend their lifespan and give them the energy to fly farther and make more offspring. TPI has many resources to help you make your garden even more friendly for monarchs and other pollinators, including plant lists, a guide on how to leave swamp milkweed stems for bees and this blog post!
3. Don’t take eggs or caterpillars off of plants
Although it is tempting to take in any eggs or caterpillars you see to keep them safe and watch them grow, it can actually do more harm than good. Rearing large numbers of monarchs inside can increase the incidence of disease within the population. And, even worse, recent research has shown that monarchs reared indoors without natural environmental cues are less able to migrate south in the fall. While raising monarchs can be a great educational experience, we recommend instead making a daily habit of watching the progress of the wild eggs and caterpillars you find in your garden (See below for our guide to finding monarchs in the garden!).
4. Don’t apply pesticides to your garden
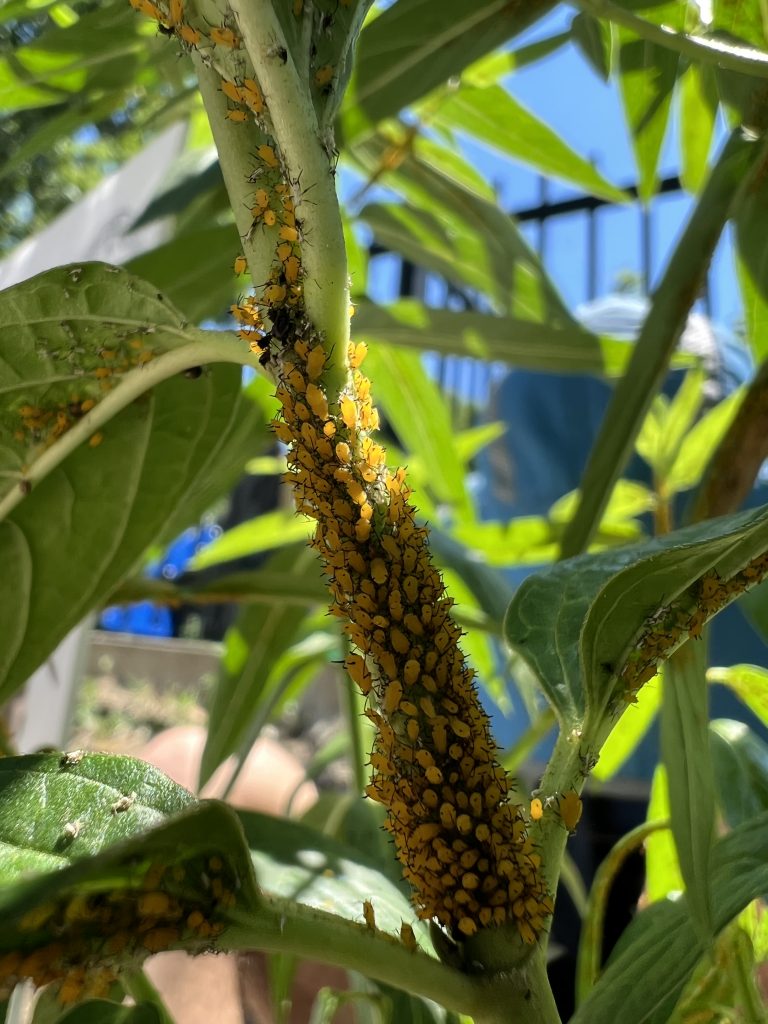
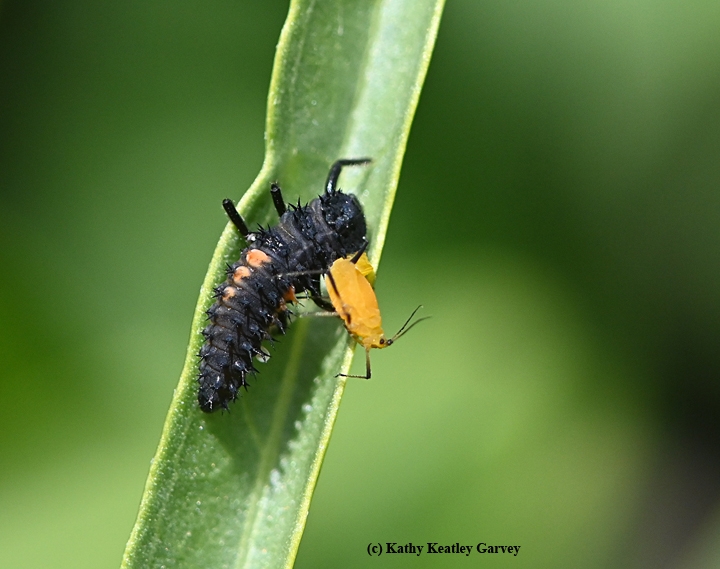
Milkweed plants often become infested with tiny orange aphids (Aphis nerii). Do not worry–this is a totally natural occurrence and won’t hurt the monarchs. Aphid infestations can be unsightly but refrain from using pesticides as this will harm the monarch caterpillars. To remove aphids, use natural methods like a spray of soapy water. Natural predators such as ladybugs, lacewings, and their larva will also take care of the aphids!
Oleander aphids (Aphis nerii) on swamp milkweed (Asclepias incarnata)A ladybug larva, one of the many natural aphid predators found on milkweed, eating an oleander aphid; PC Kathy Keatley Garvey
How do you know if you have monarchs using your garden?
Monarchs are easy to spot as adults but we don’t see them as frequently as caterpillars. Here are some tips on identifying monarch presence in your garden:
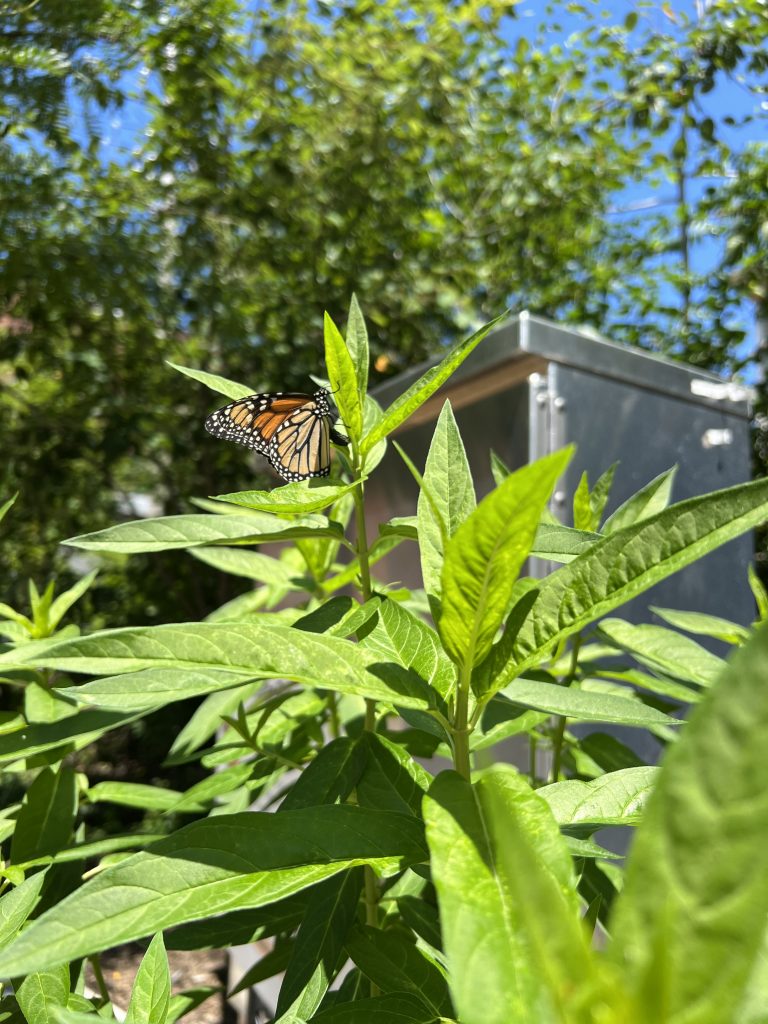
Adults
Adult monarch butterflies are highly conspicuous––look for a big orange butterfly with black veins. They glide around with their wings held in a “V” and visit gardens to lay eggs on milkweed and drink nectar from flowers. Similar looking viceroy butterflies are smaller and hold their wings flat when they glide. Monarchs like a variety of garden flowers for nectar including purple coneflower, swamp milkweed, joe-pye weed, mexican sunflowers, and zinnias.
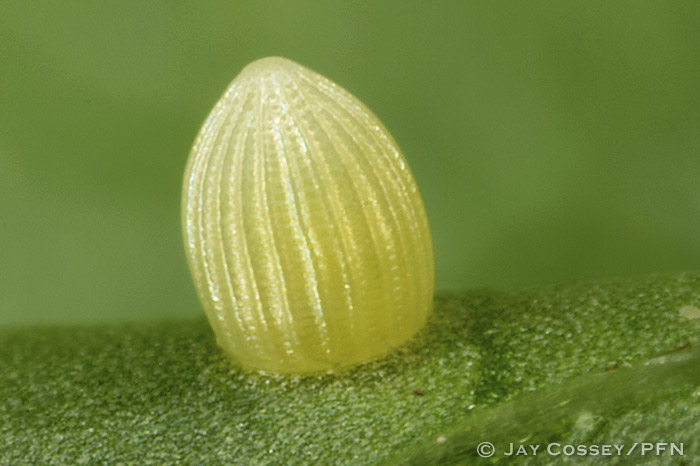
Monarch eggs are sesame seed sized, a creamy white color, and slightly pointy–like a tiny hard boiled egg. These eggs are singly laid, meaning there is only one egg instead of a mass of many eggs. Monarchs tend to oviposit on the underside of leaves, but eggs can also be found on other parts of the plant, especially the flower heads. If you want to find eggs, patiently search the undersides of leaves and flower heads, especially focusing on the tallest areas of the milkweed, where monarchs tend to land. It may take a few days of checking before you see an egg, but don’t be discouraged! Even if you don’t see a monarch laying eggs on your plants, your garden may still have them–an adult monarch can lay an egg in under 5 seconds! Lastly, remember that although monarchs can start appearing in our region (MA) as early as the start of May, they are not widespread until late June, so time your searches for July-August if you want the best chance of success.
Closer look at a monarch egg, PC Jay Cossey
Caterpillars
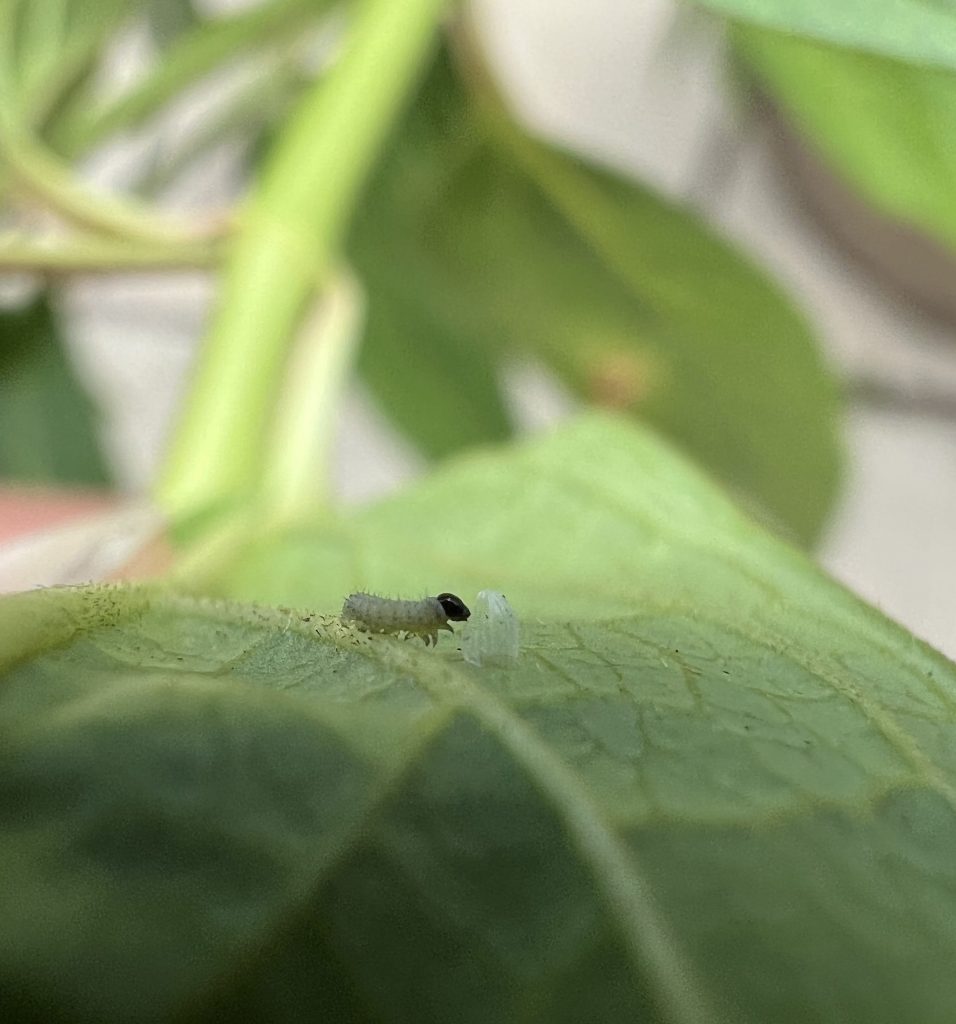
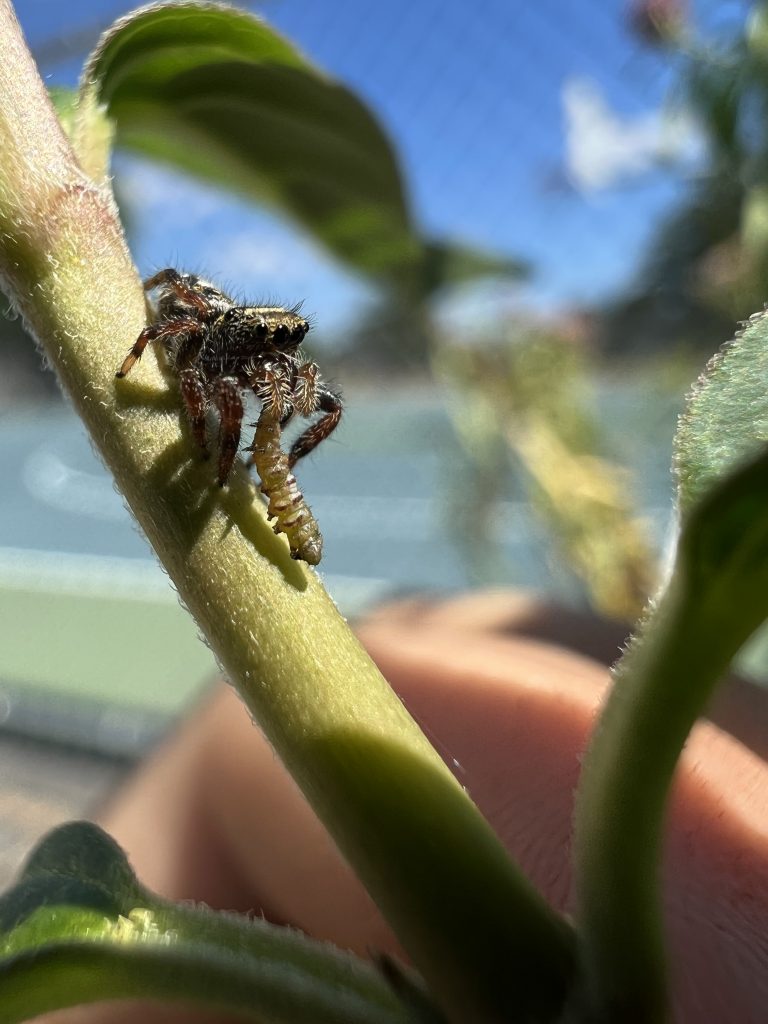
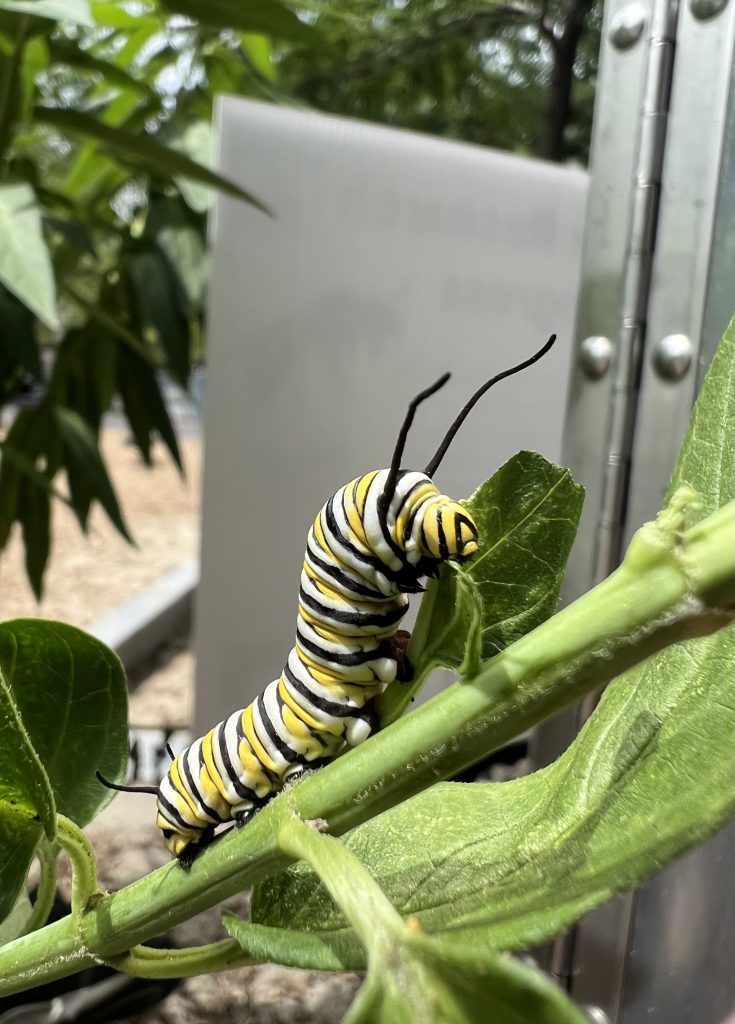
Monarch caterpillars hatch in 3-5 days and eat their very first meal: their eggshell! These baby caterpillars are very small and difficult to spot. They are vulnerable at this stage to hungry insects like paper wasps. As they eat milkweed leaves, the caterpillars grow bigger and molt through stages called instars. You can tell a caterpillar’s approximate age by identifying its instar – monarch caterpillars go through five instars before pupating. Most of the caterpillars we find in the wild are small (in their first or second instars): due to the high rates of predation on these small stages, it’s less common to see large caterpillars.
First instar monarch caterpillar eating its eggSmall caterpillars have a lot of predators such as this hungry spider!
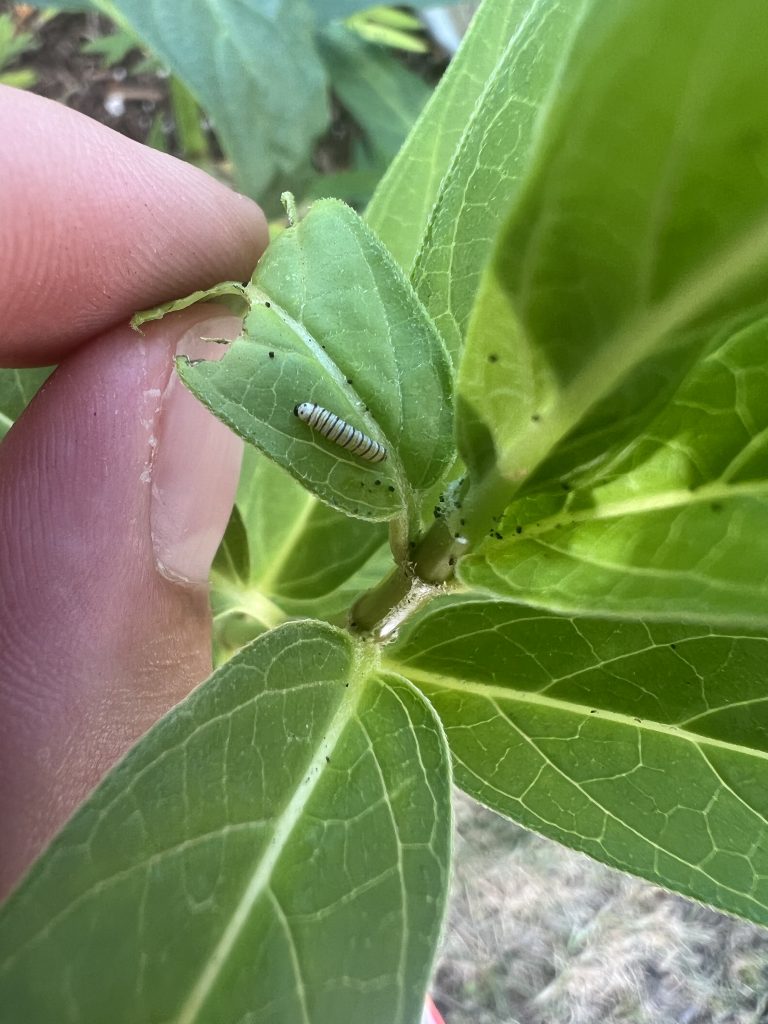
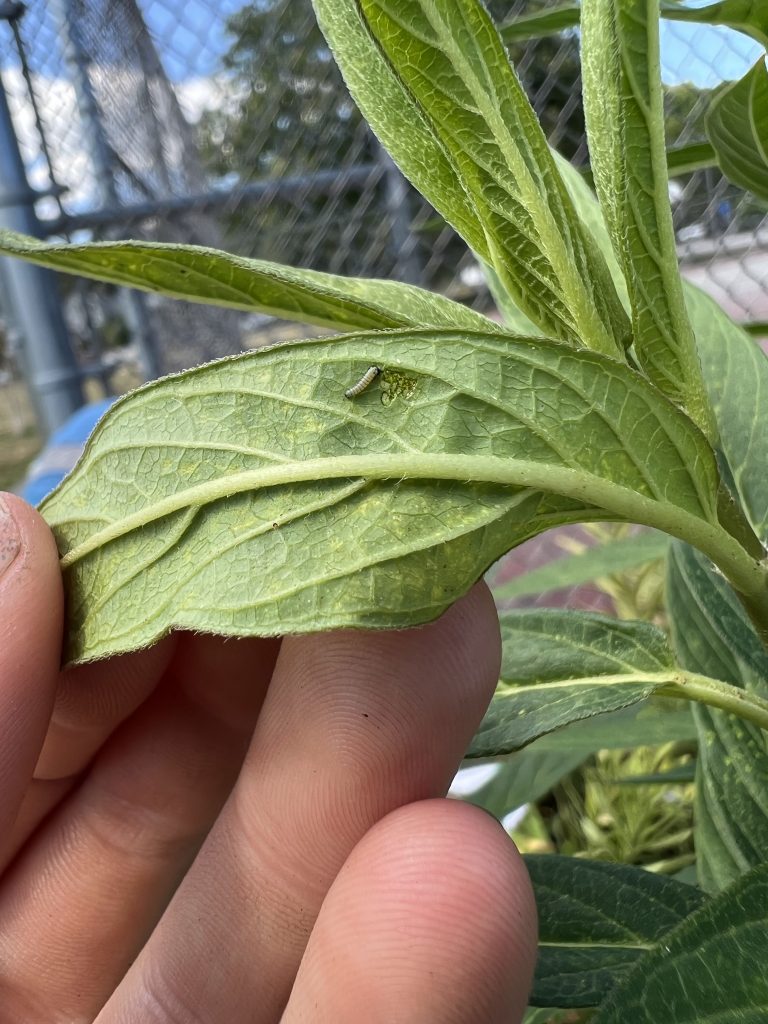
While these small caterpillars can be difficult to spot, their feeding damage can be more apparent: it takes the form of small ‘windows’ into milkweed leaves, half-chewed holes often carved into a small circle, which the caterpillar uses to avoid drowning in the milky latex exuded by its host plant. If you see frass (caterpillar poop: poppy seed-sized brown pellets) or large missing chunks from the edges of the milkweed leaves, then be on the lookout: these are the telltale signs of a much larger stage 4 or 5 caterpillar! Be sure to check under the leaves, as caterpillars of all stages prefer to eat from beneath the leaf, where they are more sheltered.
Small black frass surrounding a second install caterpillarLarge 4th and 5th instar caterpillars do much larger damageYounger caterpillars create small ‘windows’ in the milkweed leaves
Pupa
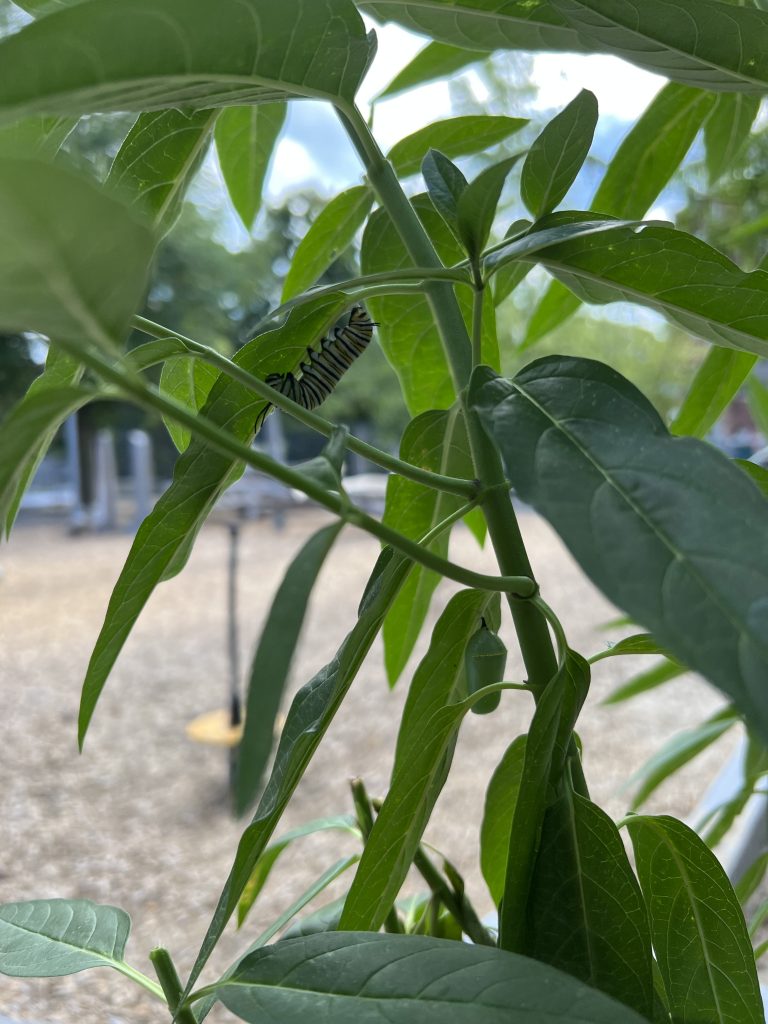
Monarch pupa are hard to spot as they blend into the surrounding environment. The 5th instar caterpillars tend to crawl away from the milkweed to pupate on nearby plants. They will remain in the pupa for 7-10 days before emerging as a beautiful monarch butterfly.
Can you spot the pupa? Fifth instar caterpillar preparing to pupate a few leaves above a monarch pupa
Have you found monarchs in your garden? Share your photos to @pollinatetufts!