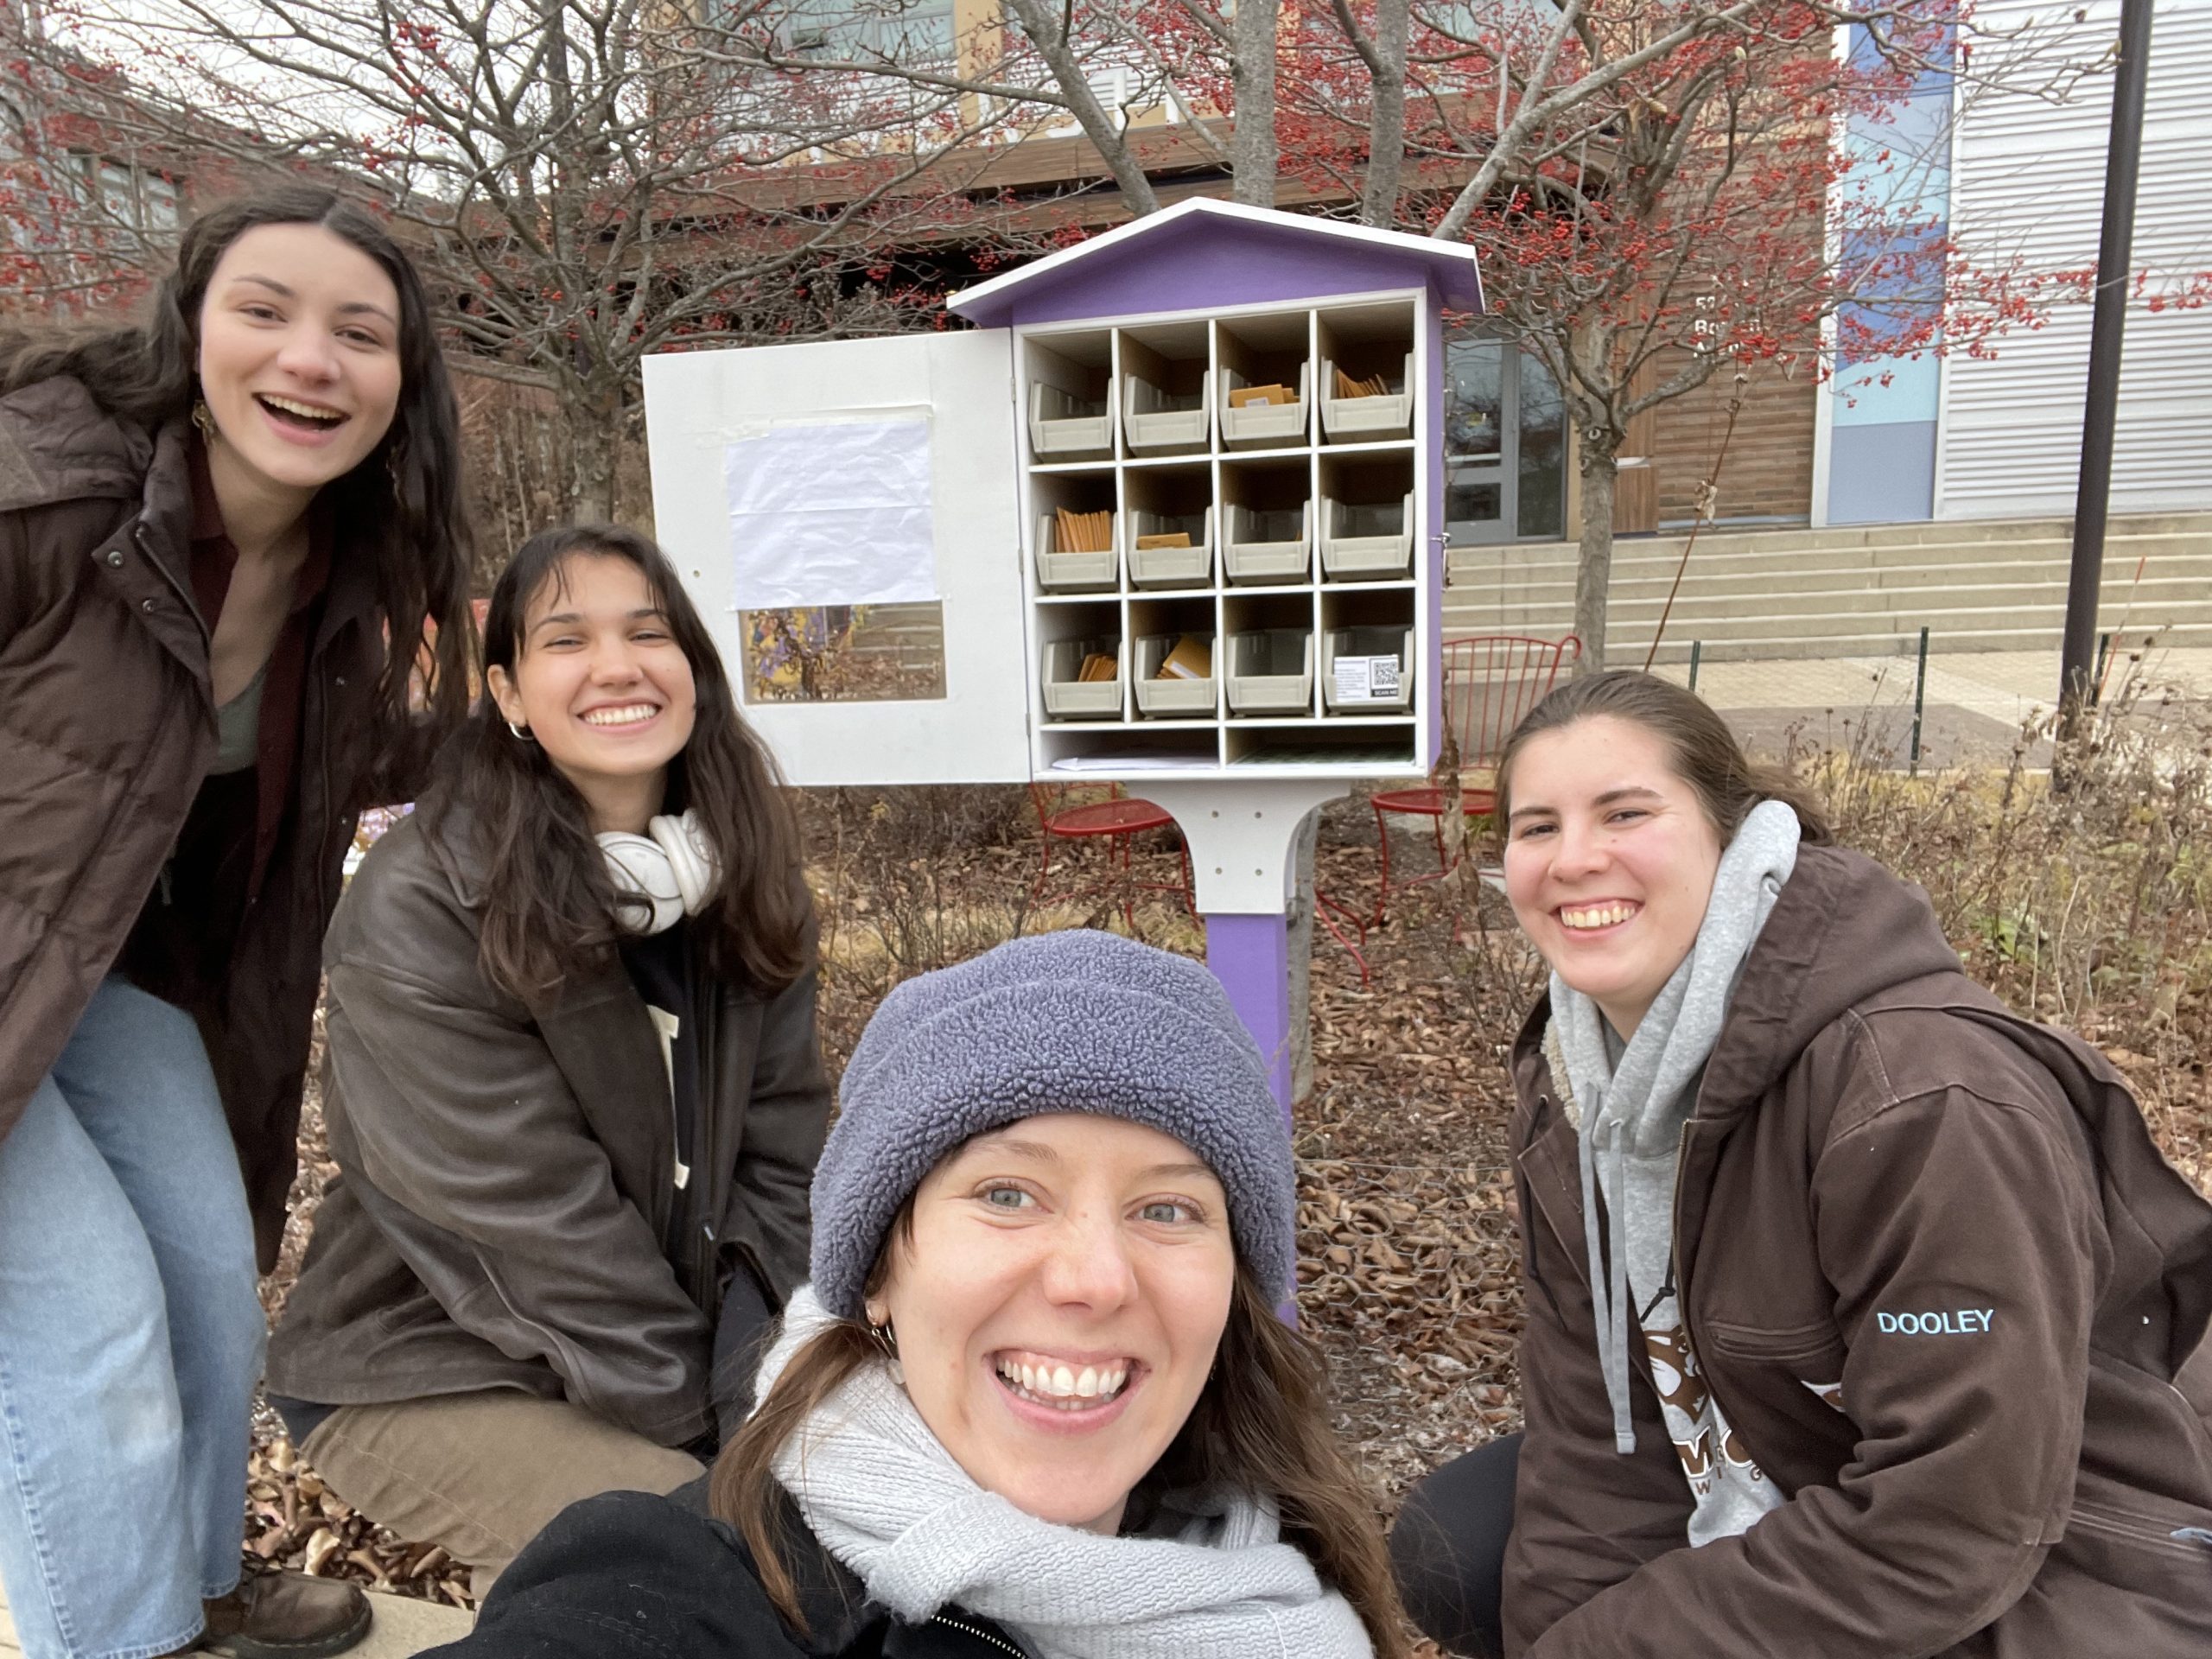
The members of our TPI team have graduated! While we are all excited for the next chapter in our careers, we are sad to announce that the Tufts Pollinator Initiative can no longer offer community outreach events to the greater Boston community. We are so thankful for the support you all have shown TPI over the past six years that has made our work possible!
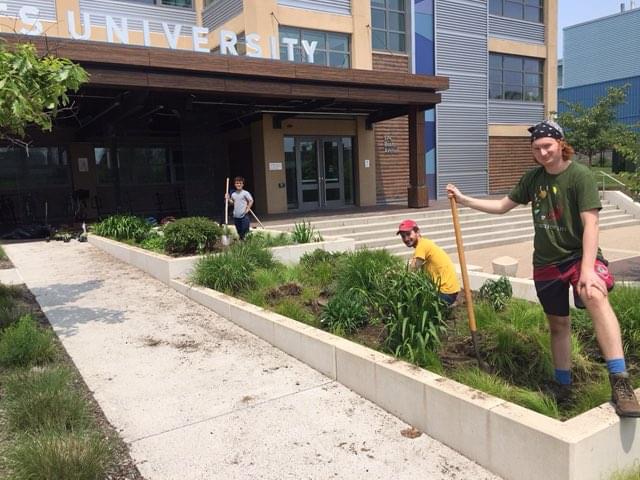
TPI was founded by a group of graduate students who recognized the enthusiasm among community members for pollinator conservation and wanted to show that cities can be important sites for pollinator habitat. Funded by a seed grant from the Tufts University Green Fund in 2019, team TPI broke ground. We converted two ornamental garden beds on campus into pollinator habitat, and we launched a website and social media pages to share pollinator biology and conservation tips. We worked to incorporate pollinator content into classes on campus, and started offering free events to the local community.
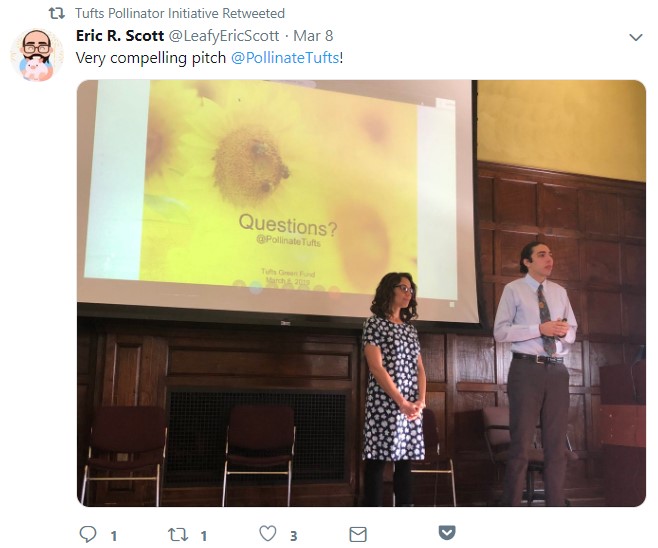
Rachael Bonoan and Nick Dorian presenting to the Tufts Green Fund Mar 2019Our flagship garden planted summer 2019Our second garden planted at Tisch library
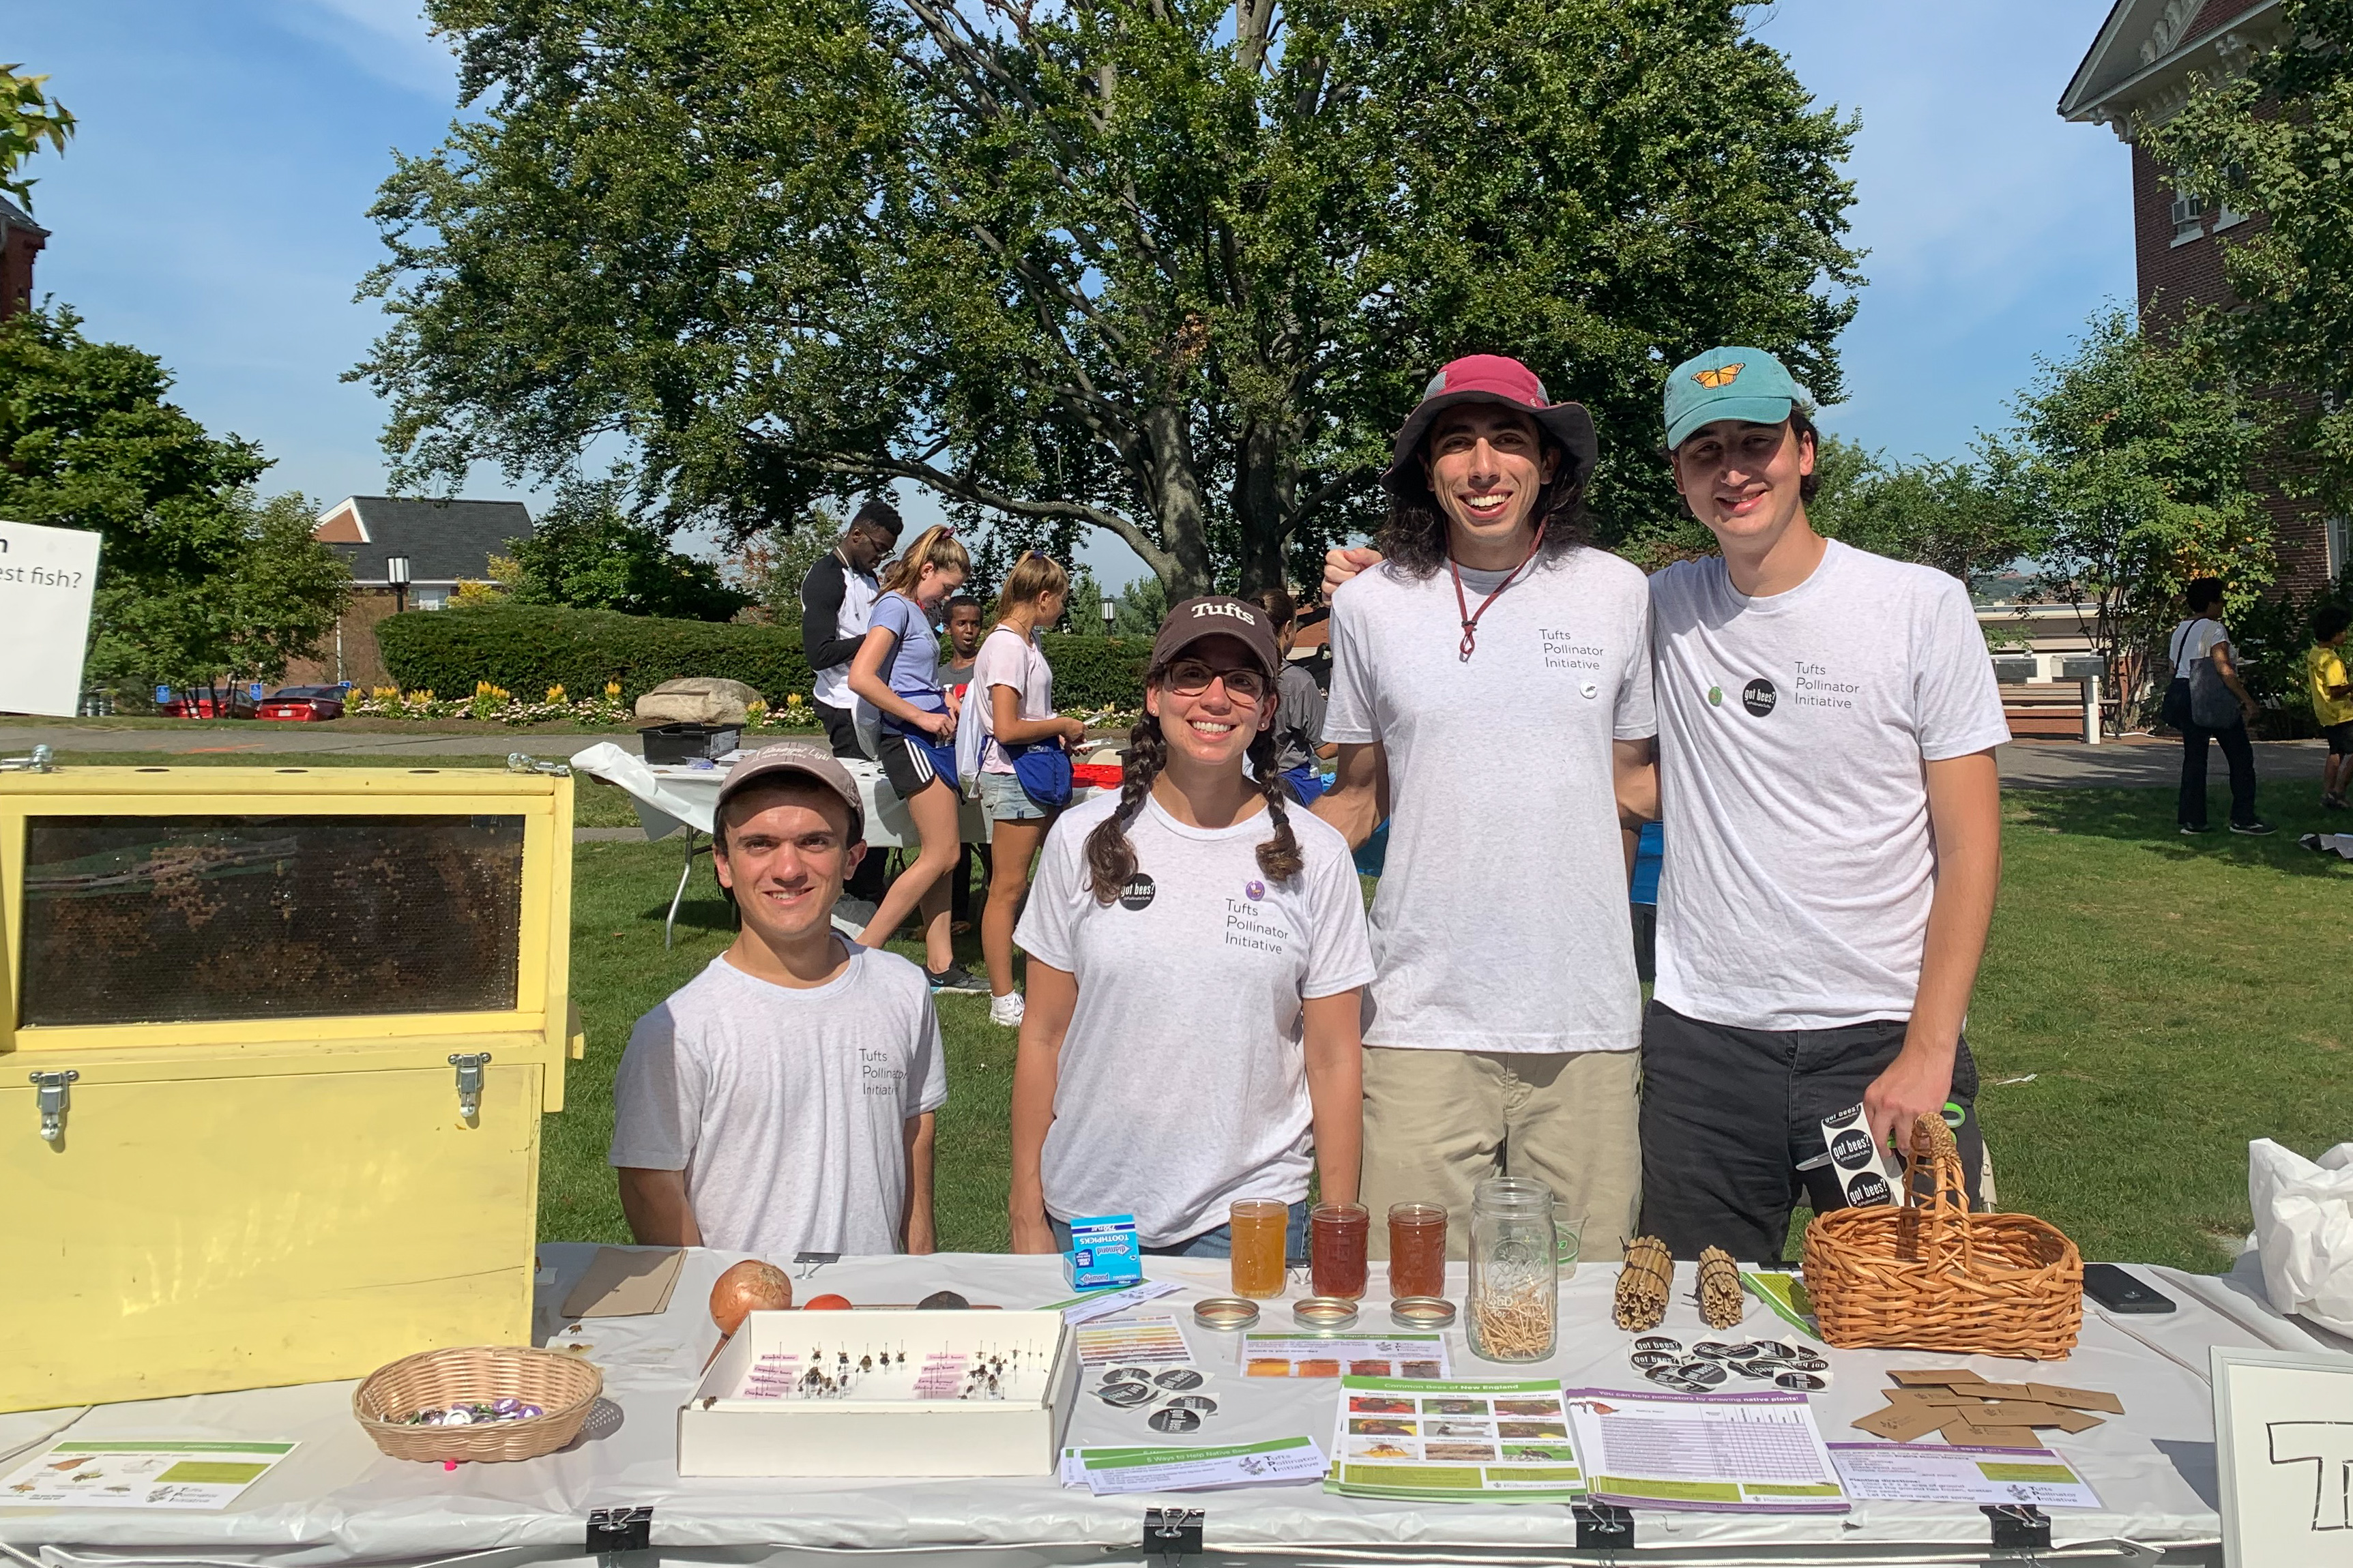
Following a second round of funding from The Green Fund and thanks to engaged community members like you, TPI grew far bigger and faster than any of us could have predicted. We planted over 3,000 square feet of native pollinator habitat across 6 gardens that are home to 125 species of pollinating insects. We distributed over 3,000 native plants and thousands of seeds through low-to-no-cost plant sales. We engaged more than 2,000 people per year through community outreach events, and thousands more online through social media, blog posts, lectures, and a Tedx Talk. We’ve collaborated with 40+ organizations across 8 states to bring pollinator education to local communities, and locally we have worked with Somerville and Medford City governments, the MBTA, and the Massachusetts Pollinator Network to increase urban pollinator habitat. One highlight for all of us was hosting Senator Ed Markey to plant a mountain mint seedling in our campus gardens!
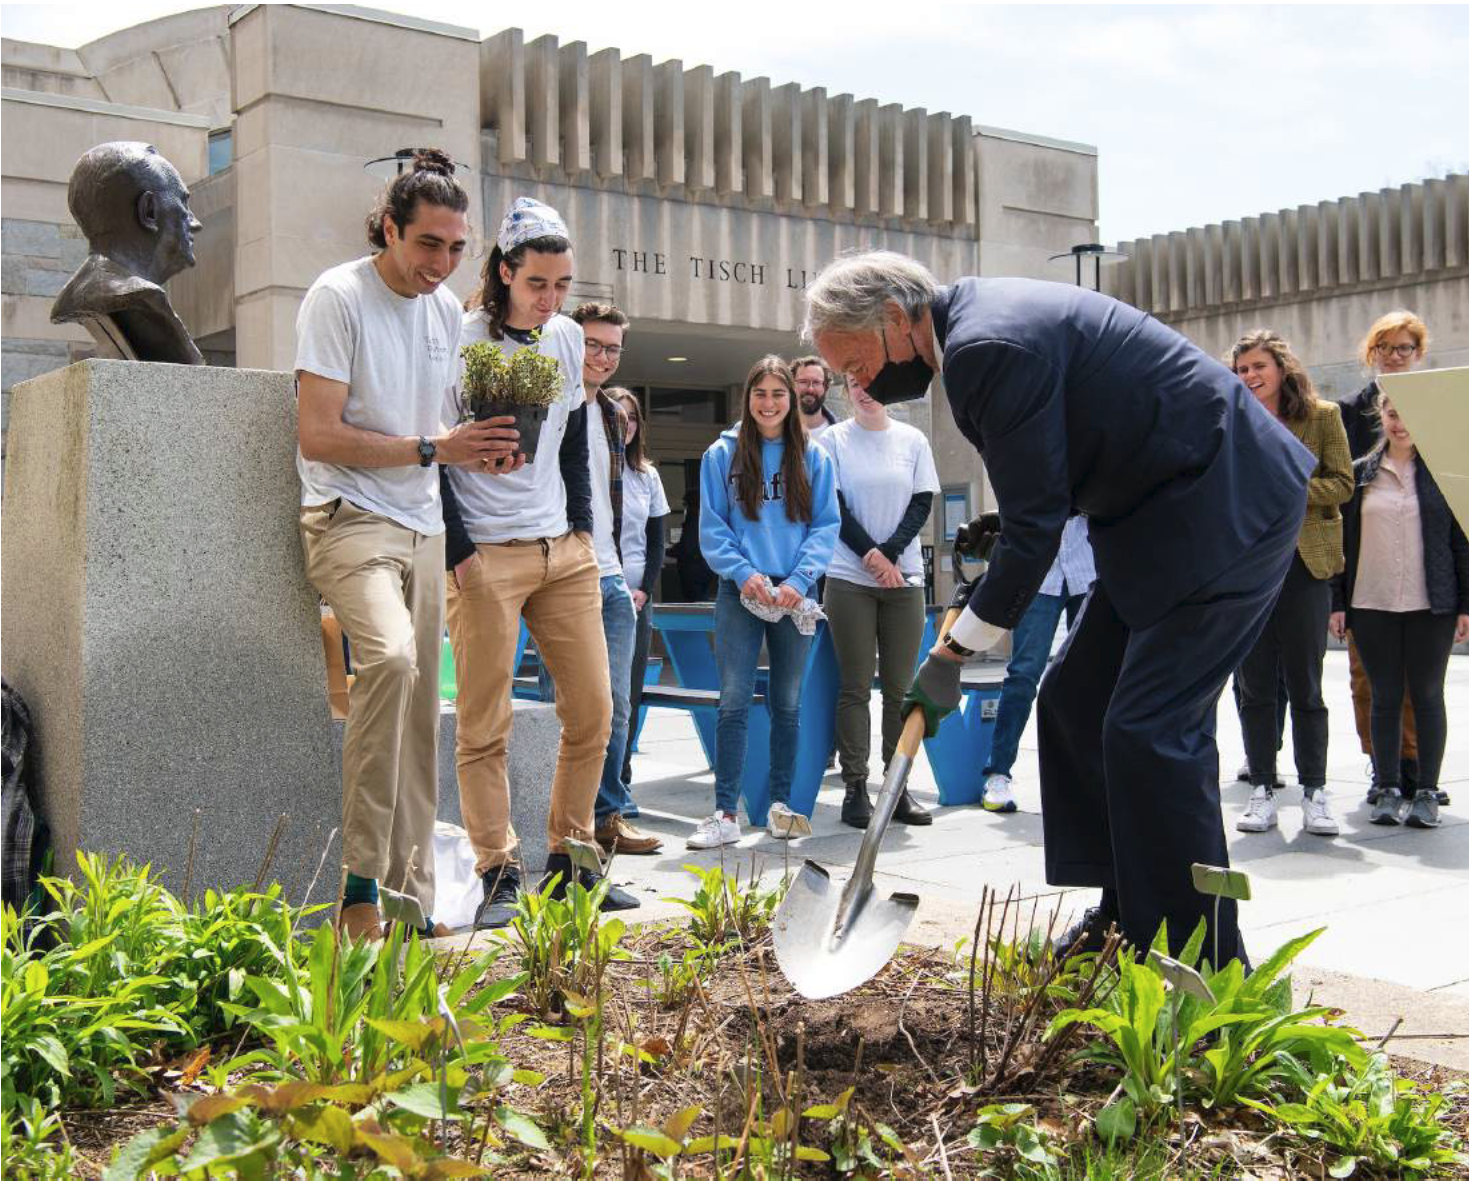
Senator Ed Markey planting a mountain mint in our Tisch Library gardenThousands of seedlings ready to be distributed!One of our campus events, Seeds and Cider, in fall of 2022
TPI has been a foundational part of our time at Tufts and has shaped each of us as scientists to better understand the role we can play in active conservation efforts and science communication. Looking forward, a new group of enthusiastic undergraduates will work with the Tufts Facilities team to maintain our campus gardens and to restock the free seed library each year. They will continue a limited outreach program on campus at Tufts-sponsored events to promote pollinator gardening. Our gardens and their interpretive signage will remain for you to enjoy and to explore, and we hope you’ll keep submitting observations to iNaturalist to document the impact of urban gardens. Our website will remain as a resource for community members, and we encourage you to contact our former members here with specific questions or inquiries for lectures and outreach events on an individual basis. To stay involved, check out other groups in the Boston area and more broadly that are doing great work in the pollinator conservation space, including Grow Native Massachusetts, Native Plant Trust, and the Somerville Pollinator Action Plan as well as the UMass Amherst pollinator page for resources.
Thank you all again for making the Tufts Pollinator Initiative such a successful program!
Learn more about the life history and science behind your garden
Create a community – makes for thoughtful gifts to a fellow gardener or aspiring grower
Seed saving is one of the best ways to save money on home gardening and build resilience into our growing spaces. Mature seeds can be collected from flowers at the end of the growing season, saved, and then planted in the following year. Using seeds from plants that grew successfully in your yard or neighborhood means your seeds are already adapted to the local weather and soil conditions.
I have seeds – now what?
How to sow seeds
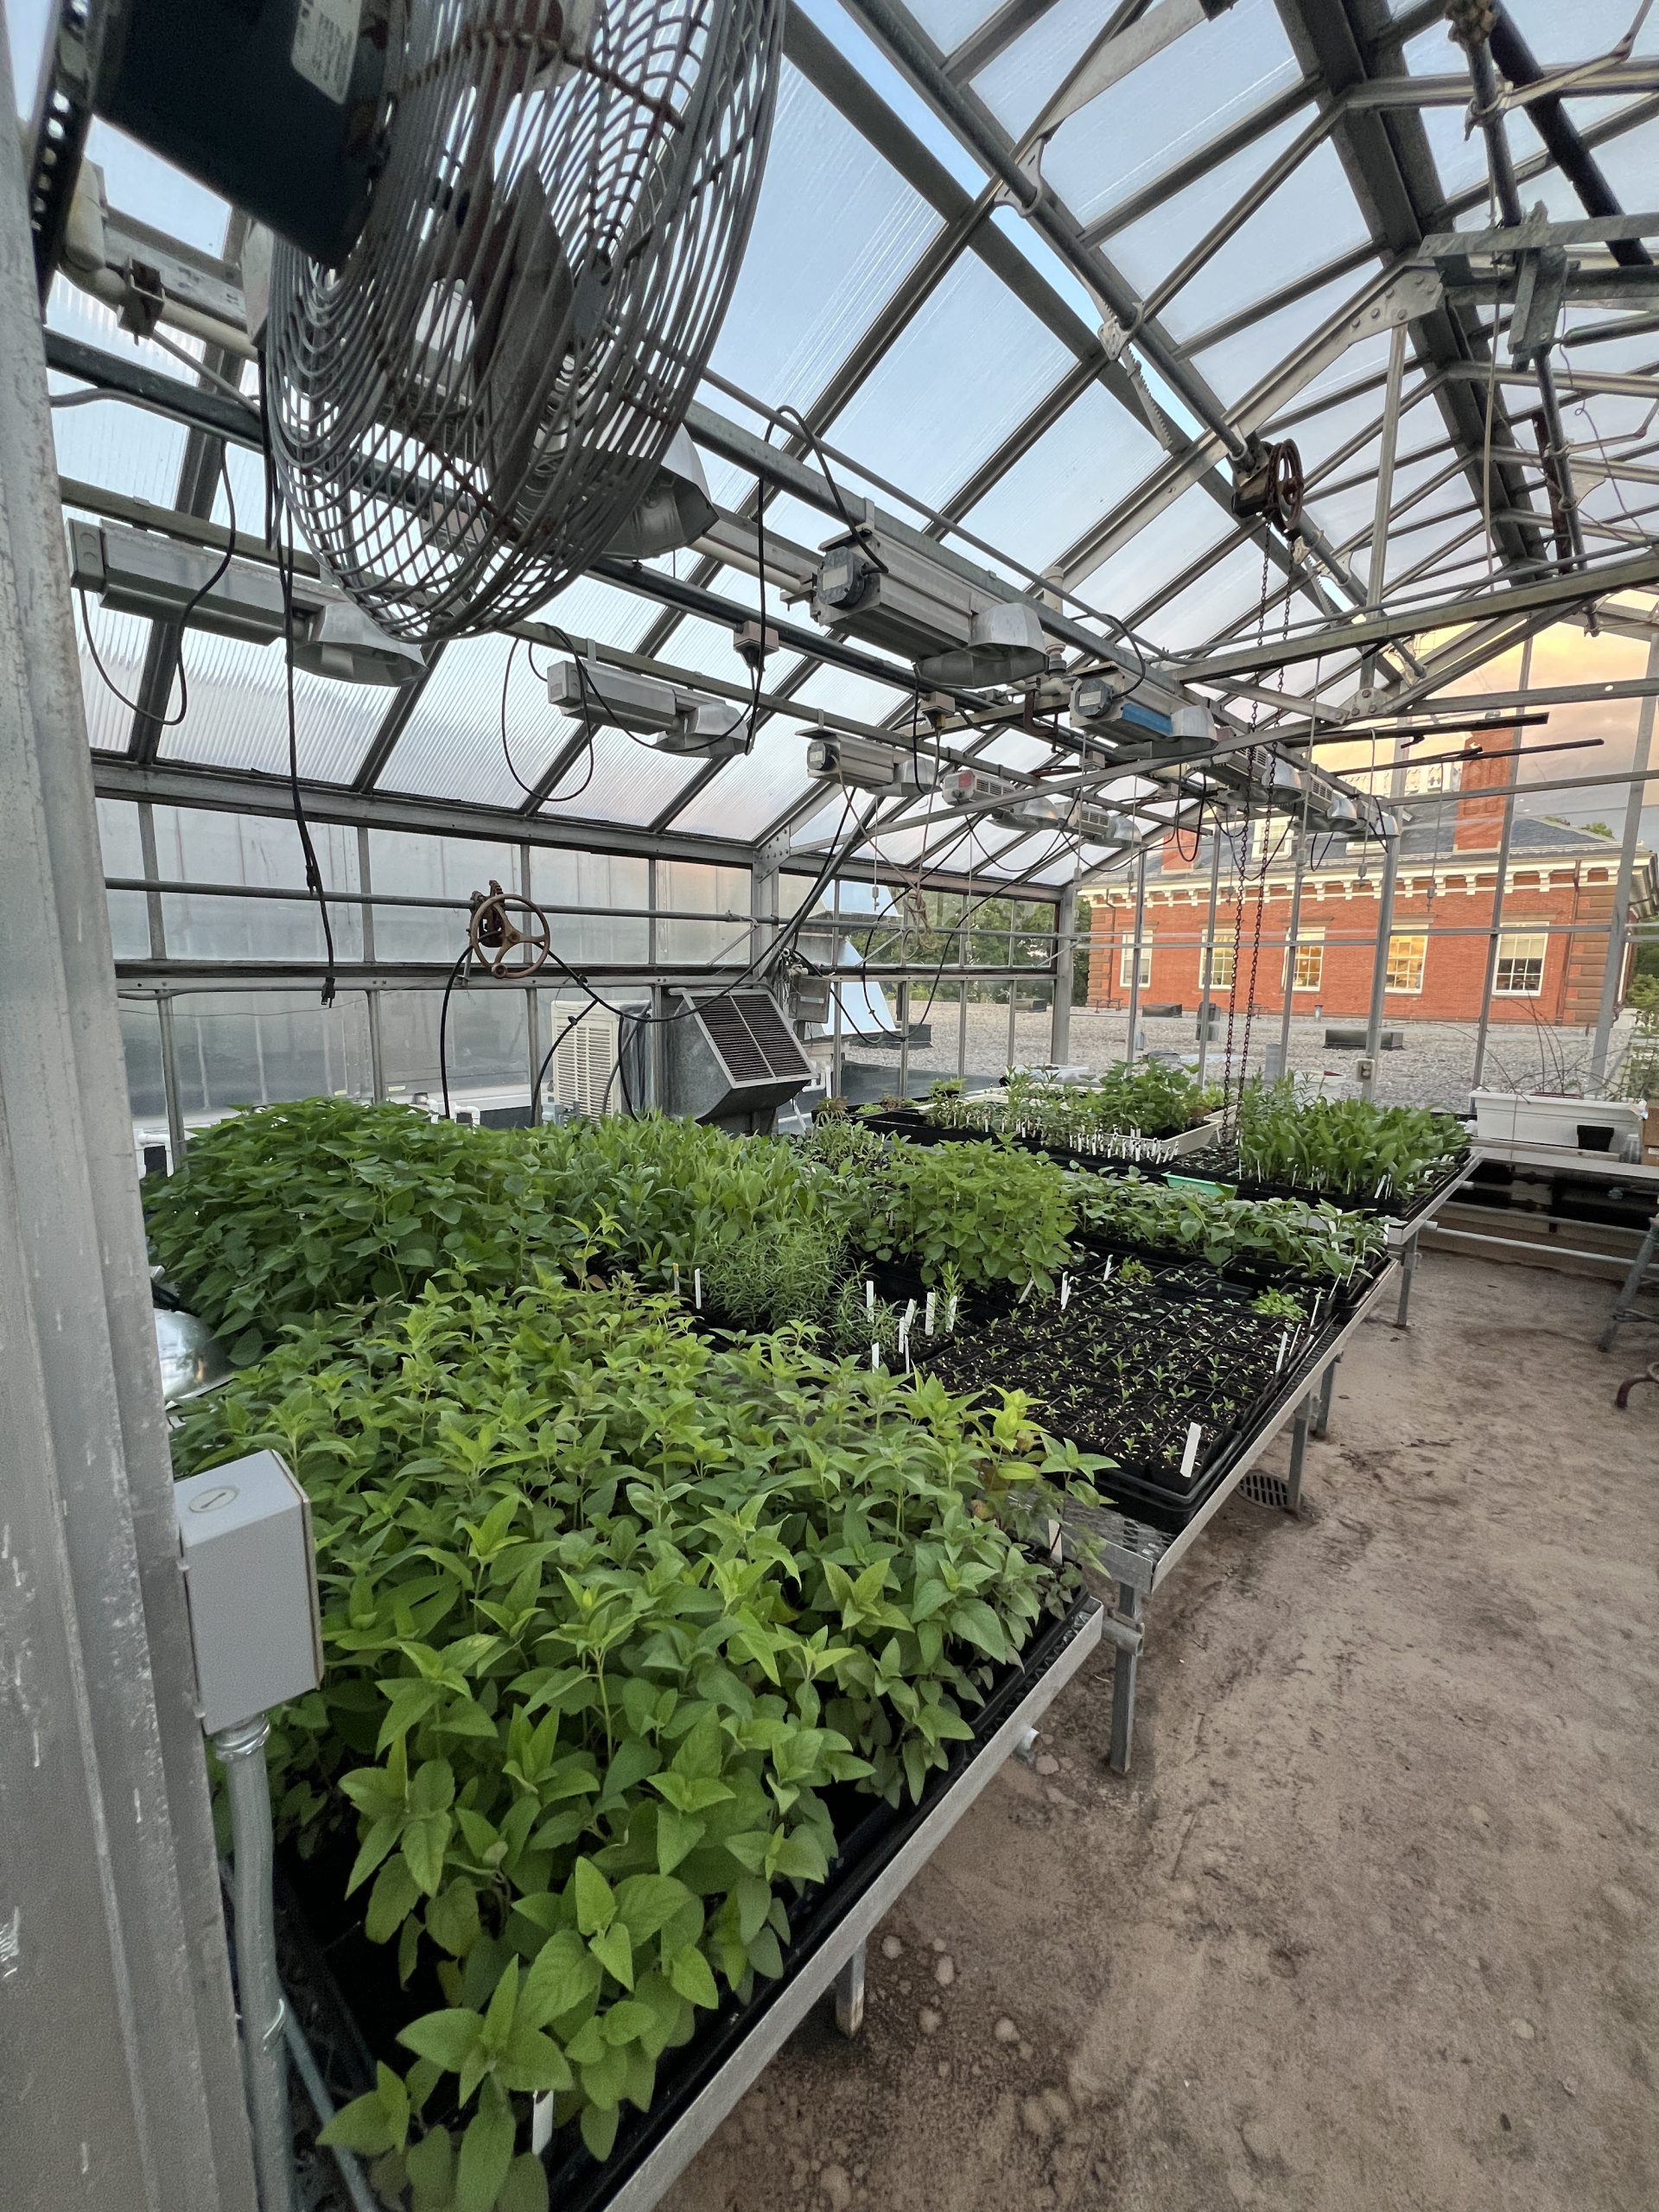
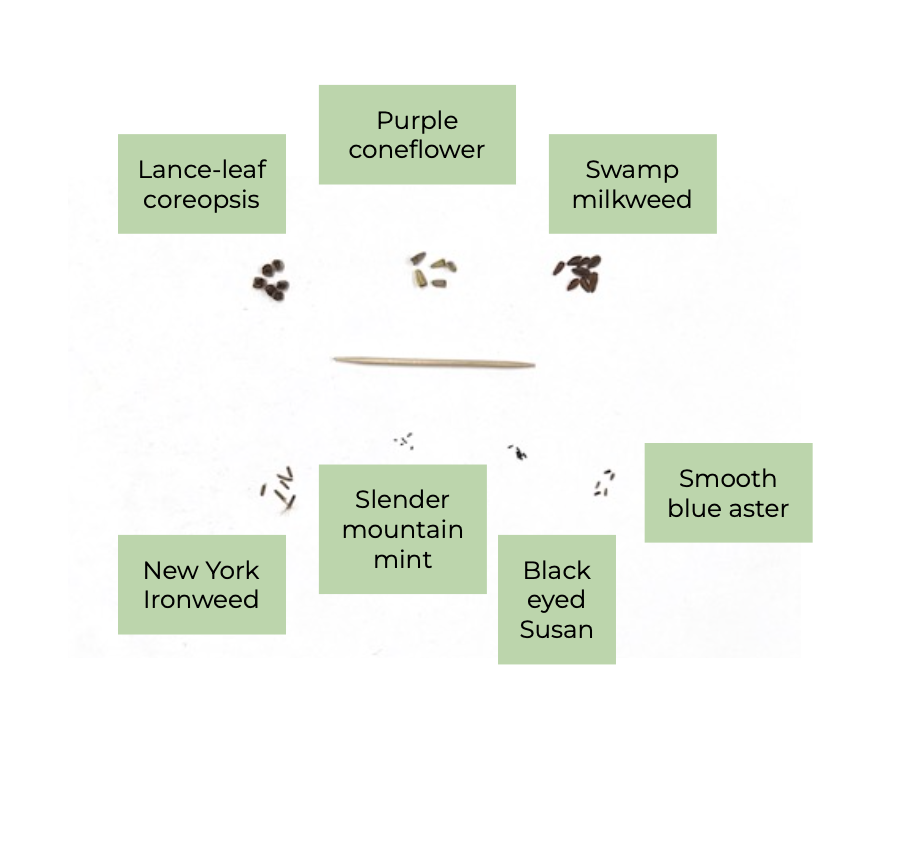
Sow your seeds in pots or flats that are at least 3” deep and 4-10” across (we use 5”x5” flats). Make sure to label the pots with the species name and sow date. Fill the pots with compost-rich soil, moisten, and sprinkle the seeds on top of the soil. For small, dust-like seeds it is often required that they are sown on the surface as they don’t have the energy to dig through soil to germinate, so avoid covering (refer to the spreadsheet below to determine which seeds must be surface sown). For seeds that don’t need to be surface sown, cover with a thin layer of soil (approximately the thickness of the seed) and a layer of coarse sand. The sand helps to keep the seeds in the pots despite wind and water. Keep the seeds moist by watering every few days, as needed.
Stratification – what is it?
Some seeds require additional steps before they can be sown in pots or in the ground. Native seeds that you collect from your garden or that you received from the Little Free Seed Library often require a series of conditions that lead to germination, such as a cold winter snow cover, acidification from an animal’s stomach, or scarification*. When starting seeds yourself, it is important to know the conditions a seed needs in order to start the germination process. Many native perennials require cold-moist stratification for varying amounts of time (between 10-90 days depending on the species) in order to start germinating. This consists of placing the seeds in moist, cold conditions (40F or below) for the designated amount of time or longer. The simplest way to cold-moist stratify is to sow seeds outdoors in the fall or early winter after collection, leave them outdoors for the winter and germination will begin as the weather warms up. However, this is not the only way to stratify seeds and we will go over several different ways to prepare your seeds for germination.
*Scarification is the process of breaking down, softening, or otherwise weakening the hard outer shell of a seed. Some seeds require scarification to germinate. Stratifying seeds outdoors can often lead to natural scarification as seeds are exposed to the elements and weaken over time. You can mechanically scarify seeds by gently rubbing seeds together in sandpaper. If you mechanically scarify seeds, you must plant them immediately. Many native flowering plants do not require scarification, so be sure to check the requirements of your seed.
Please note that plant needs might differ in different regions.
Outdoor stratification
Sow seeds in flats, pots, or garden beds (see sowing instructions above) and place outdoors in the late fall/early winter. Cover the flats with chicken wire or Reemay to allow the seeds to be exposed to natural elements while preventing rodents and birds from eating your seeds. If germinating indoors, bring in the seeds after the designated stratification time requirement. If germinating outdoors, the seeds will start to germinate once stratification requirements are met and the weather starts warming up.
Milk jugs are also a great outdoor vessel to stratify and start seeds in, as they form an artificial greenhouse for the seeds to start growing in. See a tutorial here on how to cut a gallon milk jug to use for seed stratification and germination.
Indoor stratification
If you are starting your seeds in the spring, it is best to artificially stratify your seeds indoors to mimic winter conditions. This can be done by placing seeds in the refrigerator for the given stratification time. There are two popular methods to indoor stratification: the pot method or the plastic baggie method. For the pot method, sow the seeds as you would normally, moisten the soil lightly, and wrap the flats in plastic. Place the wrapped flats in the refrigerator, and take them out after the stratification period is over. For the plastic baggie method, place seeds on moistened paper towels or coffee filters, fold over, and seal in a ziploc bag. This can also be done using other moistened seed starting mediums, such as sand, vermiculite, or peat moss. For any indoor stratification, make sure to check your seeds every few days to monitor for mold and make sure the seeds remain moist.
My seeds are germinating – now what?
Congratulations! The seeds can remain in the flat they were sown in until they are ready to be transplanted in their future home. If the flats are getting crowded, the seedlings can be gently separated and transplanted into individual containers once the roots are coming out of the bottom of the flats.
Once seedlings have germinated they can be transferred into individual containers.
Where can I get some new seeds?
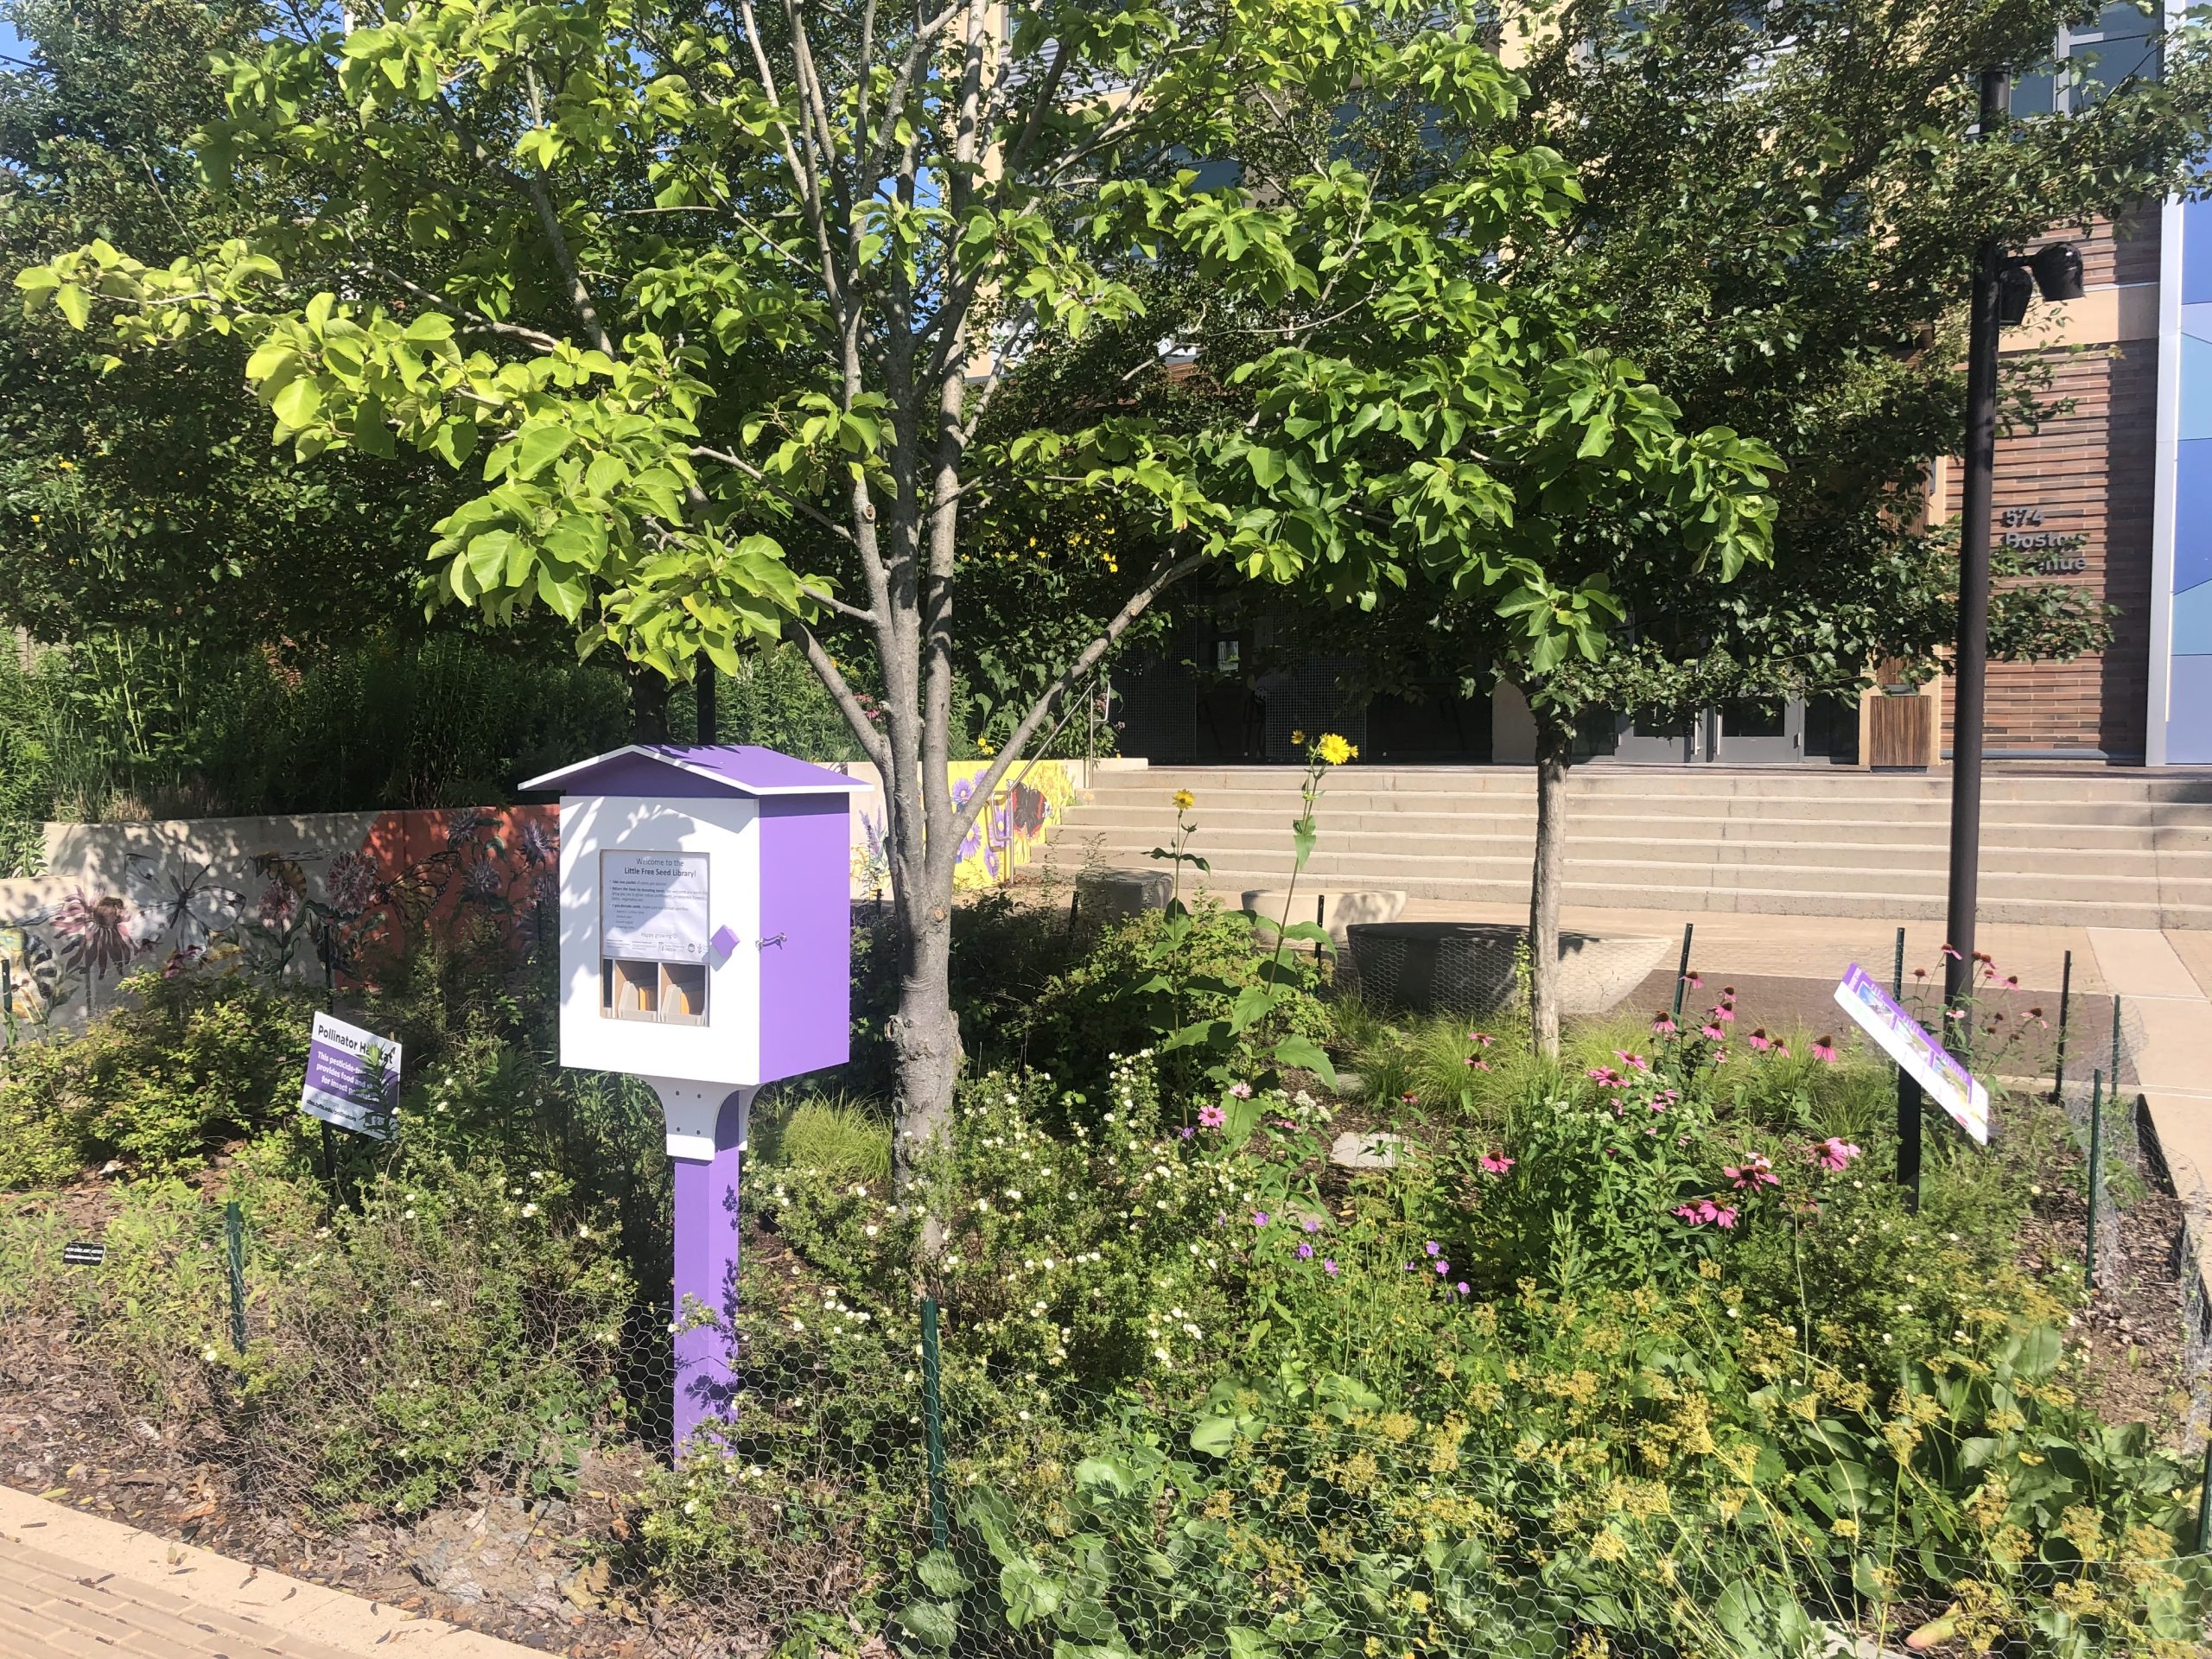
TPI has their very own Little Free Seed Library on campus at the pollinator gardens at 574 Boston Avenue. The seeds we stock the library with are collected from our very own gardens, so they come from plants that have thrived in our local environment. Please note these seeds have not been stratified yet but details about their stratification requirements can be found on the seed packets. The seed library works best if users take a pack and leave a pack of their own seeds. We just ask that you write the species, date collected, and collection location. There are also other local seed libraries, which can be found on this map under ‘miscellaneous’.
We encourage you to save seeds for your own garden, to build community, to save money or to learn more about the natural world. Whatever your motivation, saving seeds is a great decision, but also has a deep-rooted cultural significance and importance. If you’re interested in reading more about the sovereignty of seed saving and why it matters, we provide a few resources below.
After four incredible years of building (or should we say, growing?) TPI from the ground up, our amazing president and co-founder Nick Dorian has successfully defended his dissertation and is leaving Tufts as Doctor Dorian. Nick has moved to Chicago where he will be working in the Chicago Botanical Gardens with Paul CaraDonna to study the ecology of pollinator gardening. The impact Nick has had on TPI, Tufts University, and the larger Medford, Somerville, and Boston area has been immense. Though we will miss him hugely, we are excited to see what he accomplishes in this next chapter.
Nick was one of five founding members of the Tufts Pollinator Initiative. What started as wishful thinking by a faculty member about turning manicured backyards in the city into pollinator habitat is now a city-wide program that has gained local and even regional recognition. In April 2019, TPI planted its first garden at 574 Boston Ave in a neglected garden bed and launched the TPI Twitter and Facebook pages. This group of graduate students made it their mission to educate community members about pollinator conservation through outreach and turn pollinator gardening into a social movement.
Pollinator Plaza
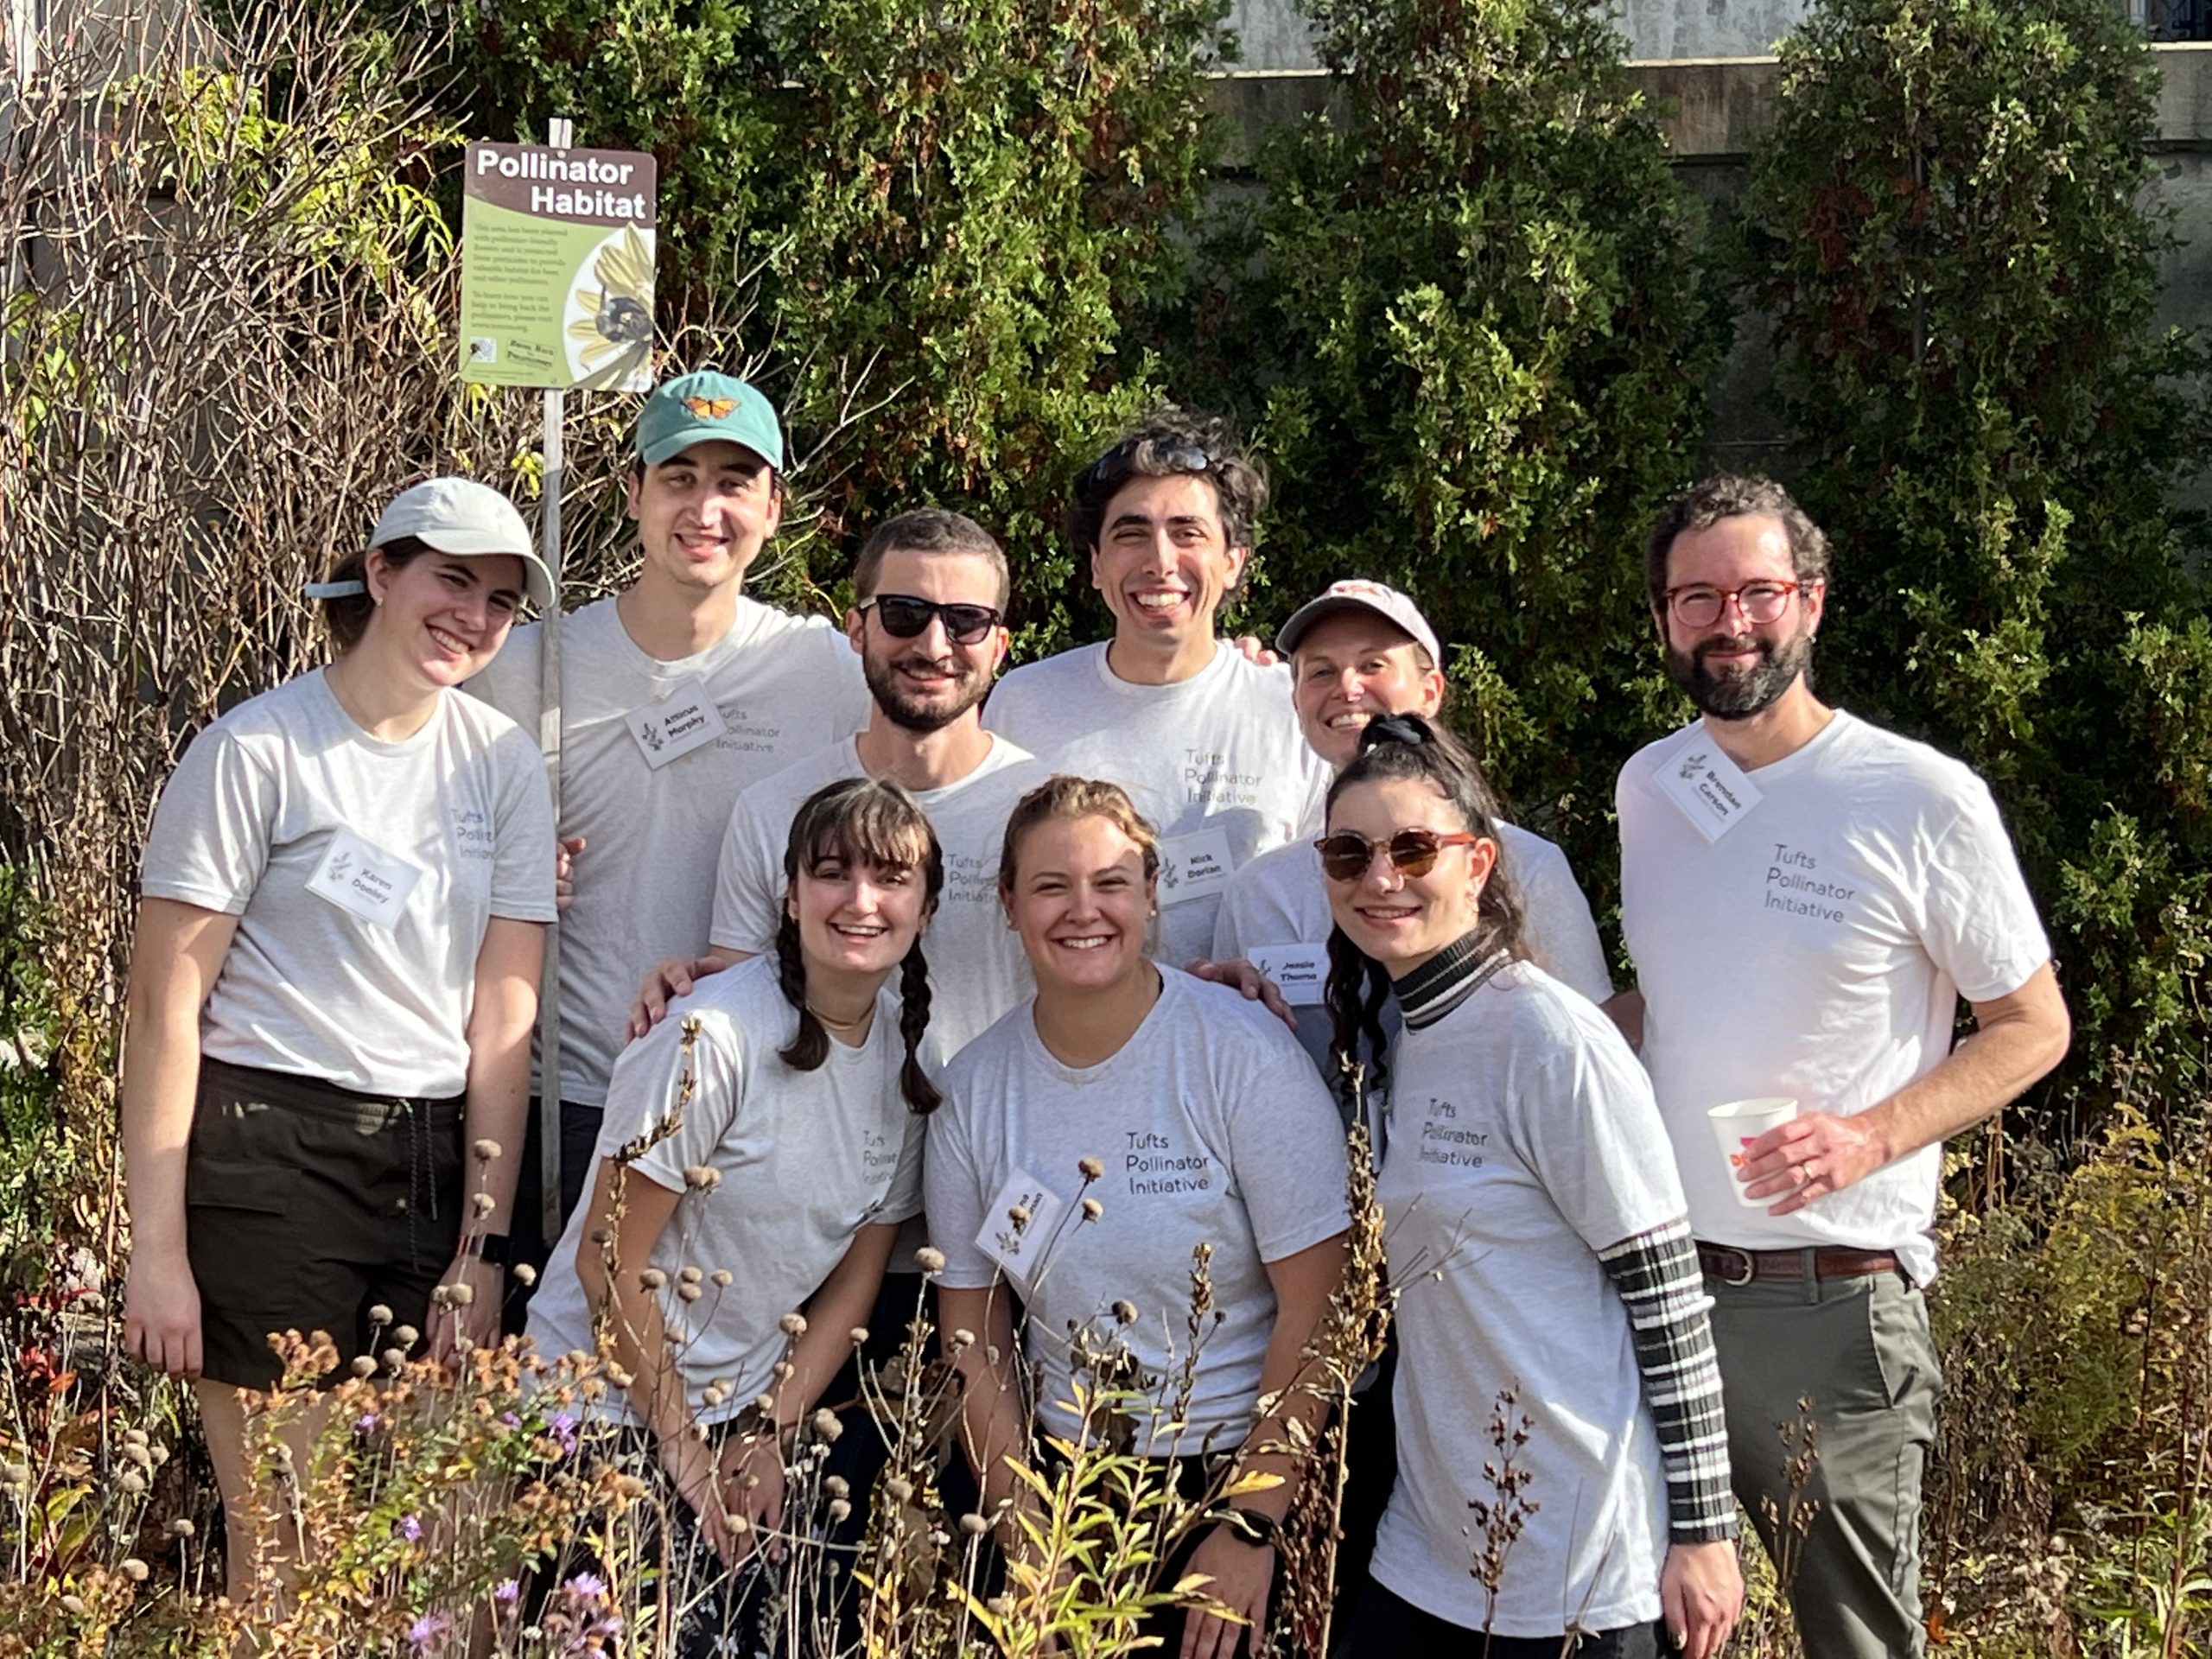
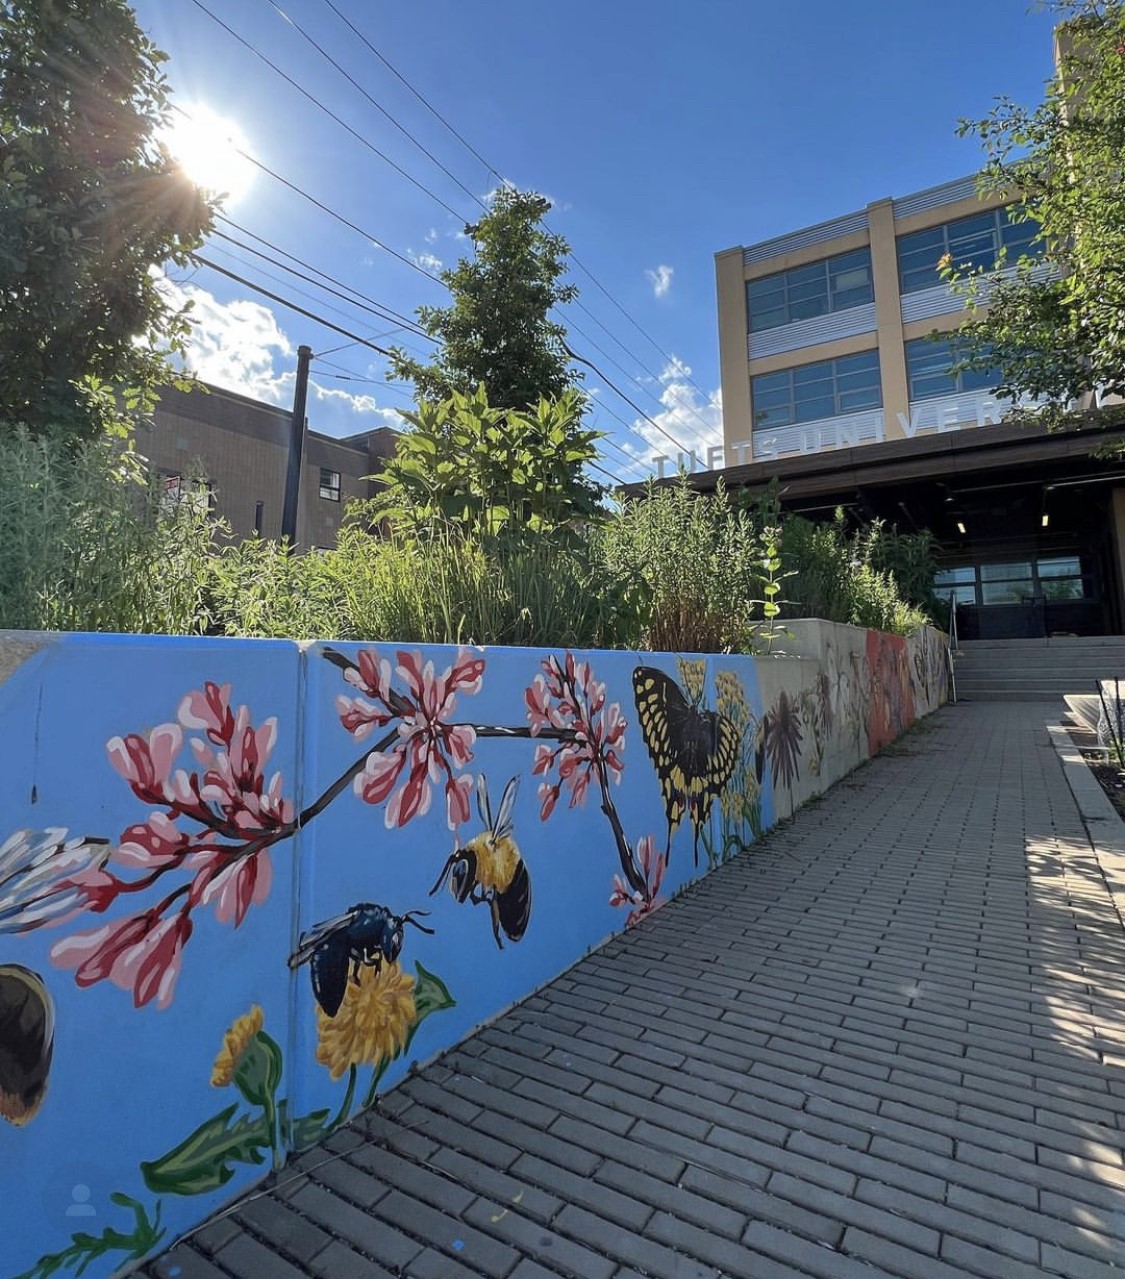
A year later, Nick took over and TPI has bloomed under his leadership. Nick committed time to making the pollinator gardens on campus not only functional habitat, but also beautiful and inviting spaces for people to use. His vision to combine our gardens with artwork and leisure encourages individual exploration and curiosity, which is key to supporting interest in pollinators. Nick understands that people will support what they care about, and they care about what they can see, feel, and experience. He brought this vision to life at 574 Boston Ave, where the former parking lot is now known as the “Pollinator Plaza”. This space is host to 5 pollinator gardens, a mural painted by undergraduate Audrey Carver, and a little free seed library built by engineering student Andrew Daetz. The plaza is dotted with colorful signs that explain the role pollinators play in keeping our natural spaces thriving, highlight the importance of building habitat, and encourage viewers to explore the gardens. The Pollinator Plaza is now one of the most popular places on campus and is a bright spot in the city, showing us all that bee habitat is a thing of beauty.
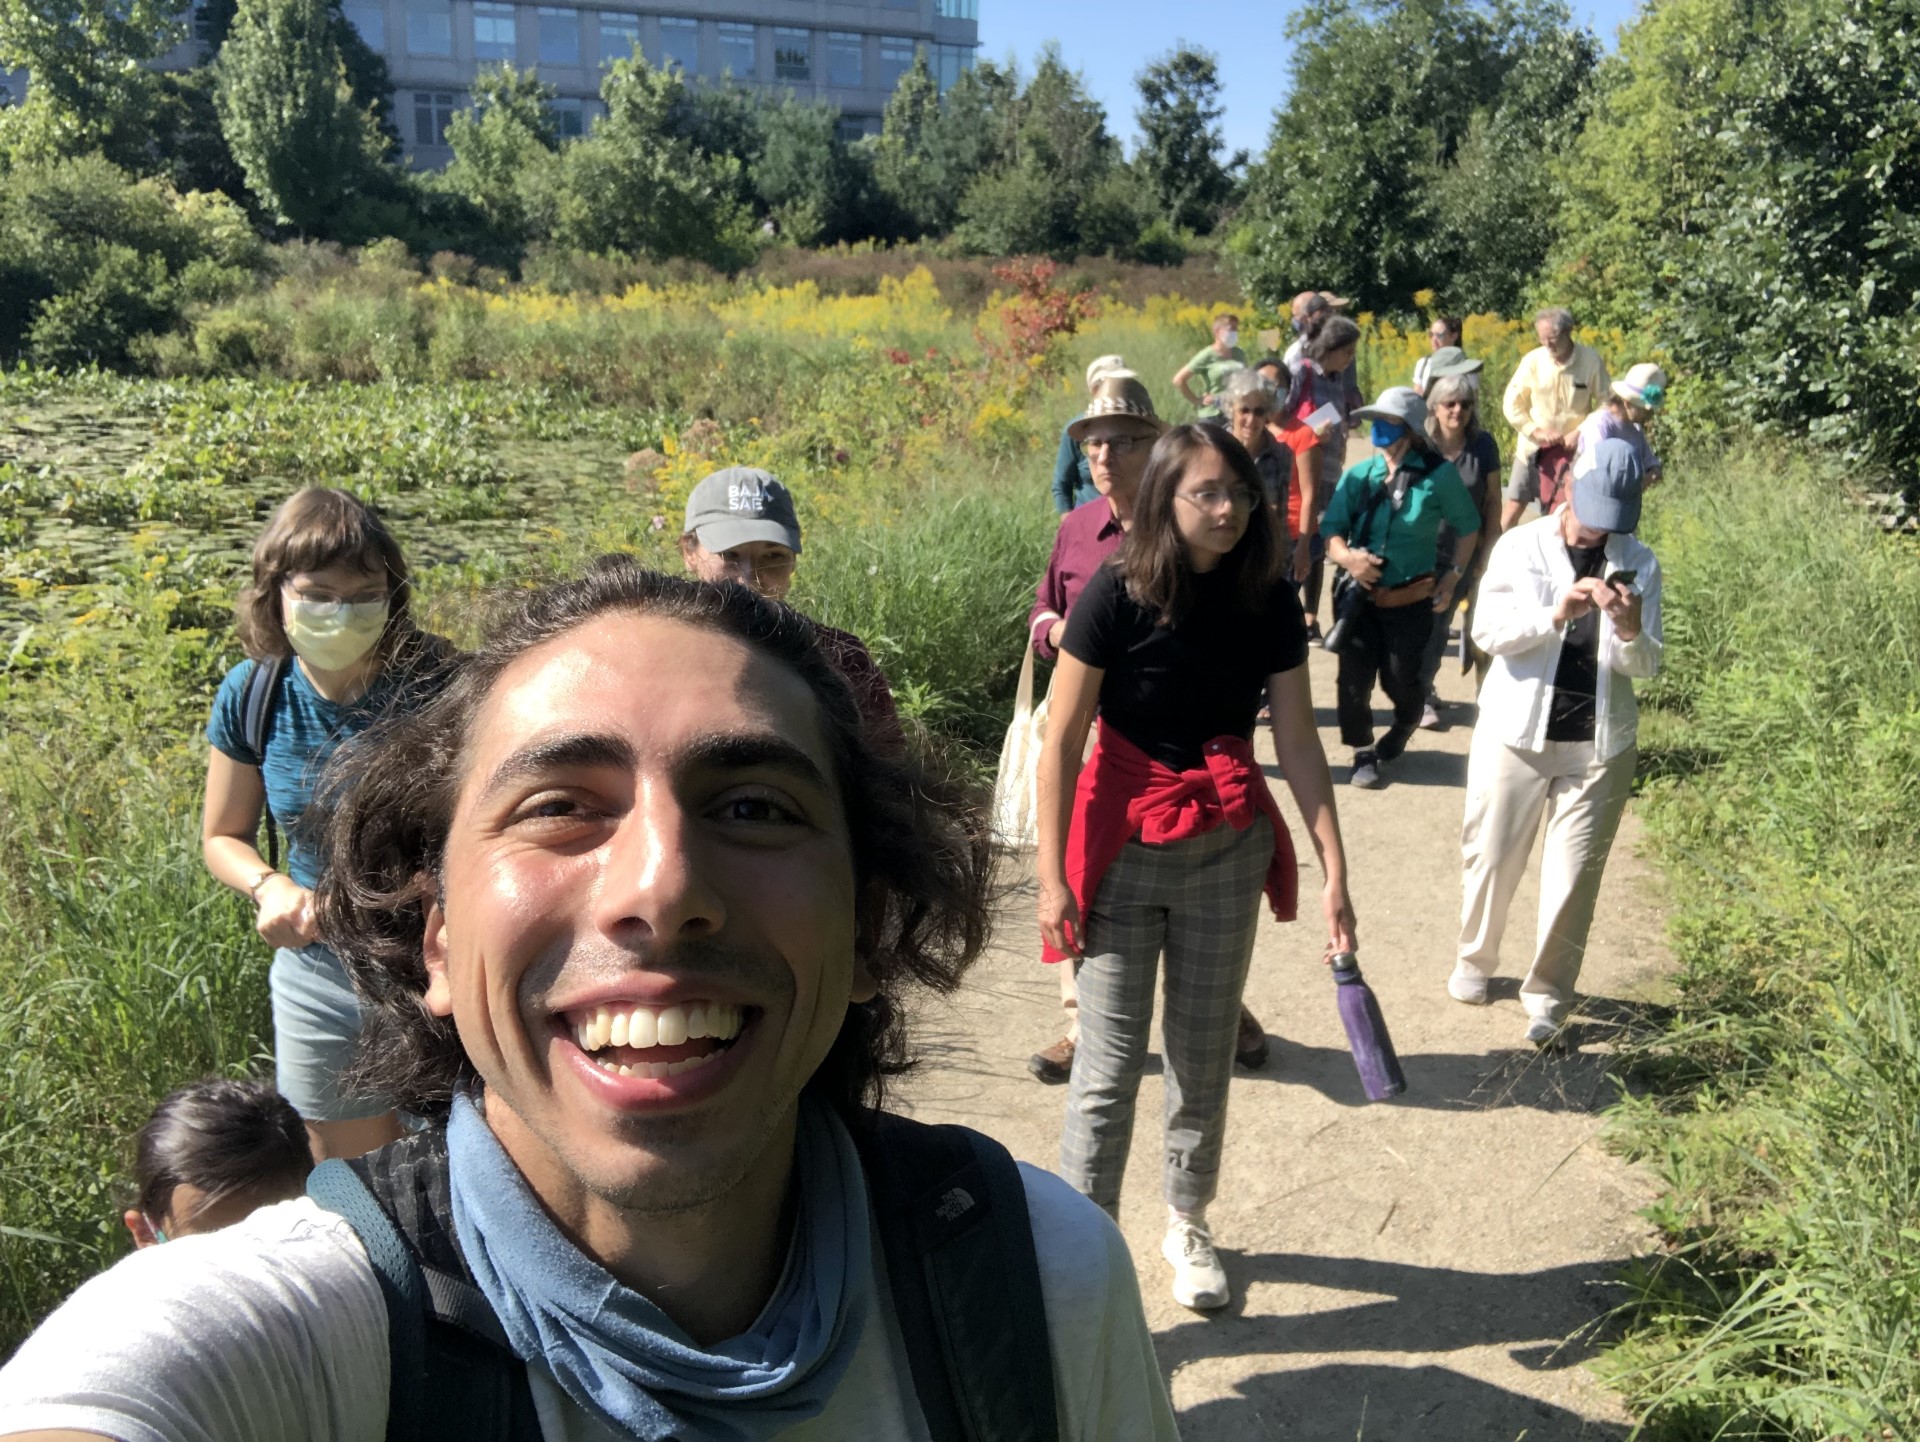
Nick’s charisma and knack for storytelling has attracted a wide audience interested in participating in events with TPI and learning about the inner lives of insects. If you have ever heard Nick give a lecture (or listened to his Ted Talk!), you know he tells the story of a bee’s life as if he’s talking about an old friend. This ability to draw parallels between insects’ lives and our own has been essential for TPI to draw support for pollinator conservation in Boston and beyond. His storytelling has also made TPI’s signature Pollinator Safaris so successful. During a safari, participants are led through the gardens, equipped with handheld insect vacuums, and are tasked with finding the Big Five: bees, butterflies, wasps, flies, and beetles. With every insect captured, Nick has a story about the full life it leads when we aren’t watching. The hour flies by, and participants leave excited to watch the bees, butterflies, and wasps in their own backyards and neighborhood parks.
Senator Ed Markey plants Mountain Mint in the TPI gardens.
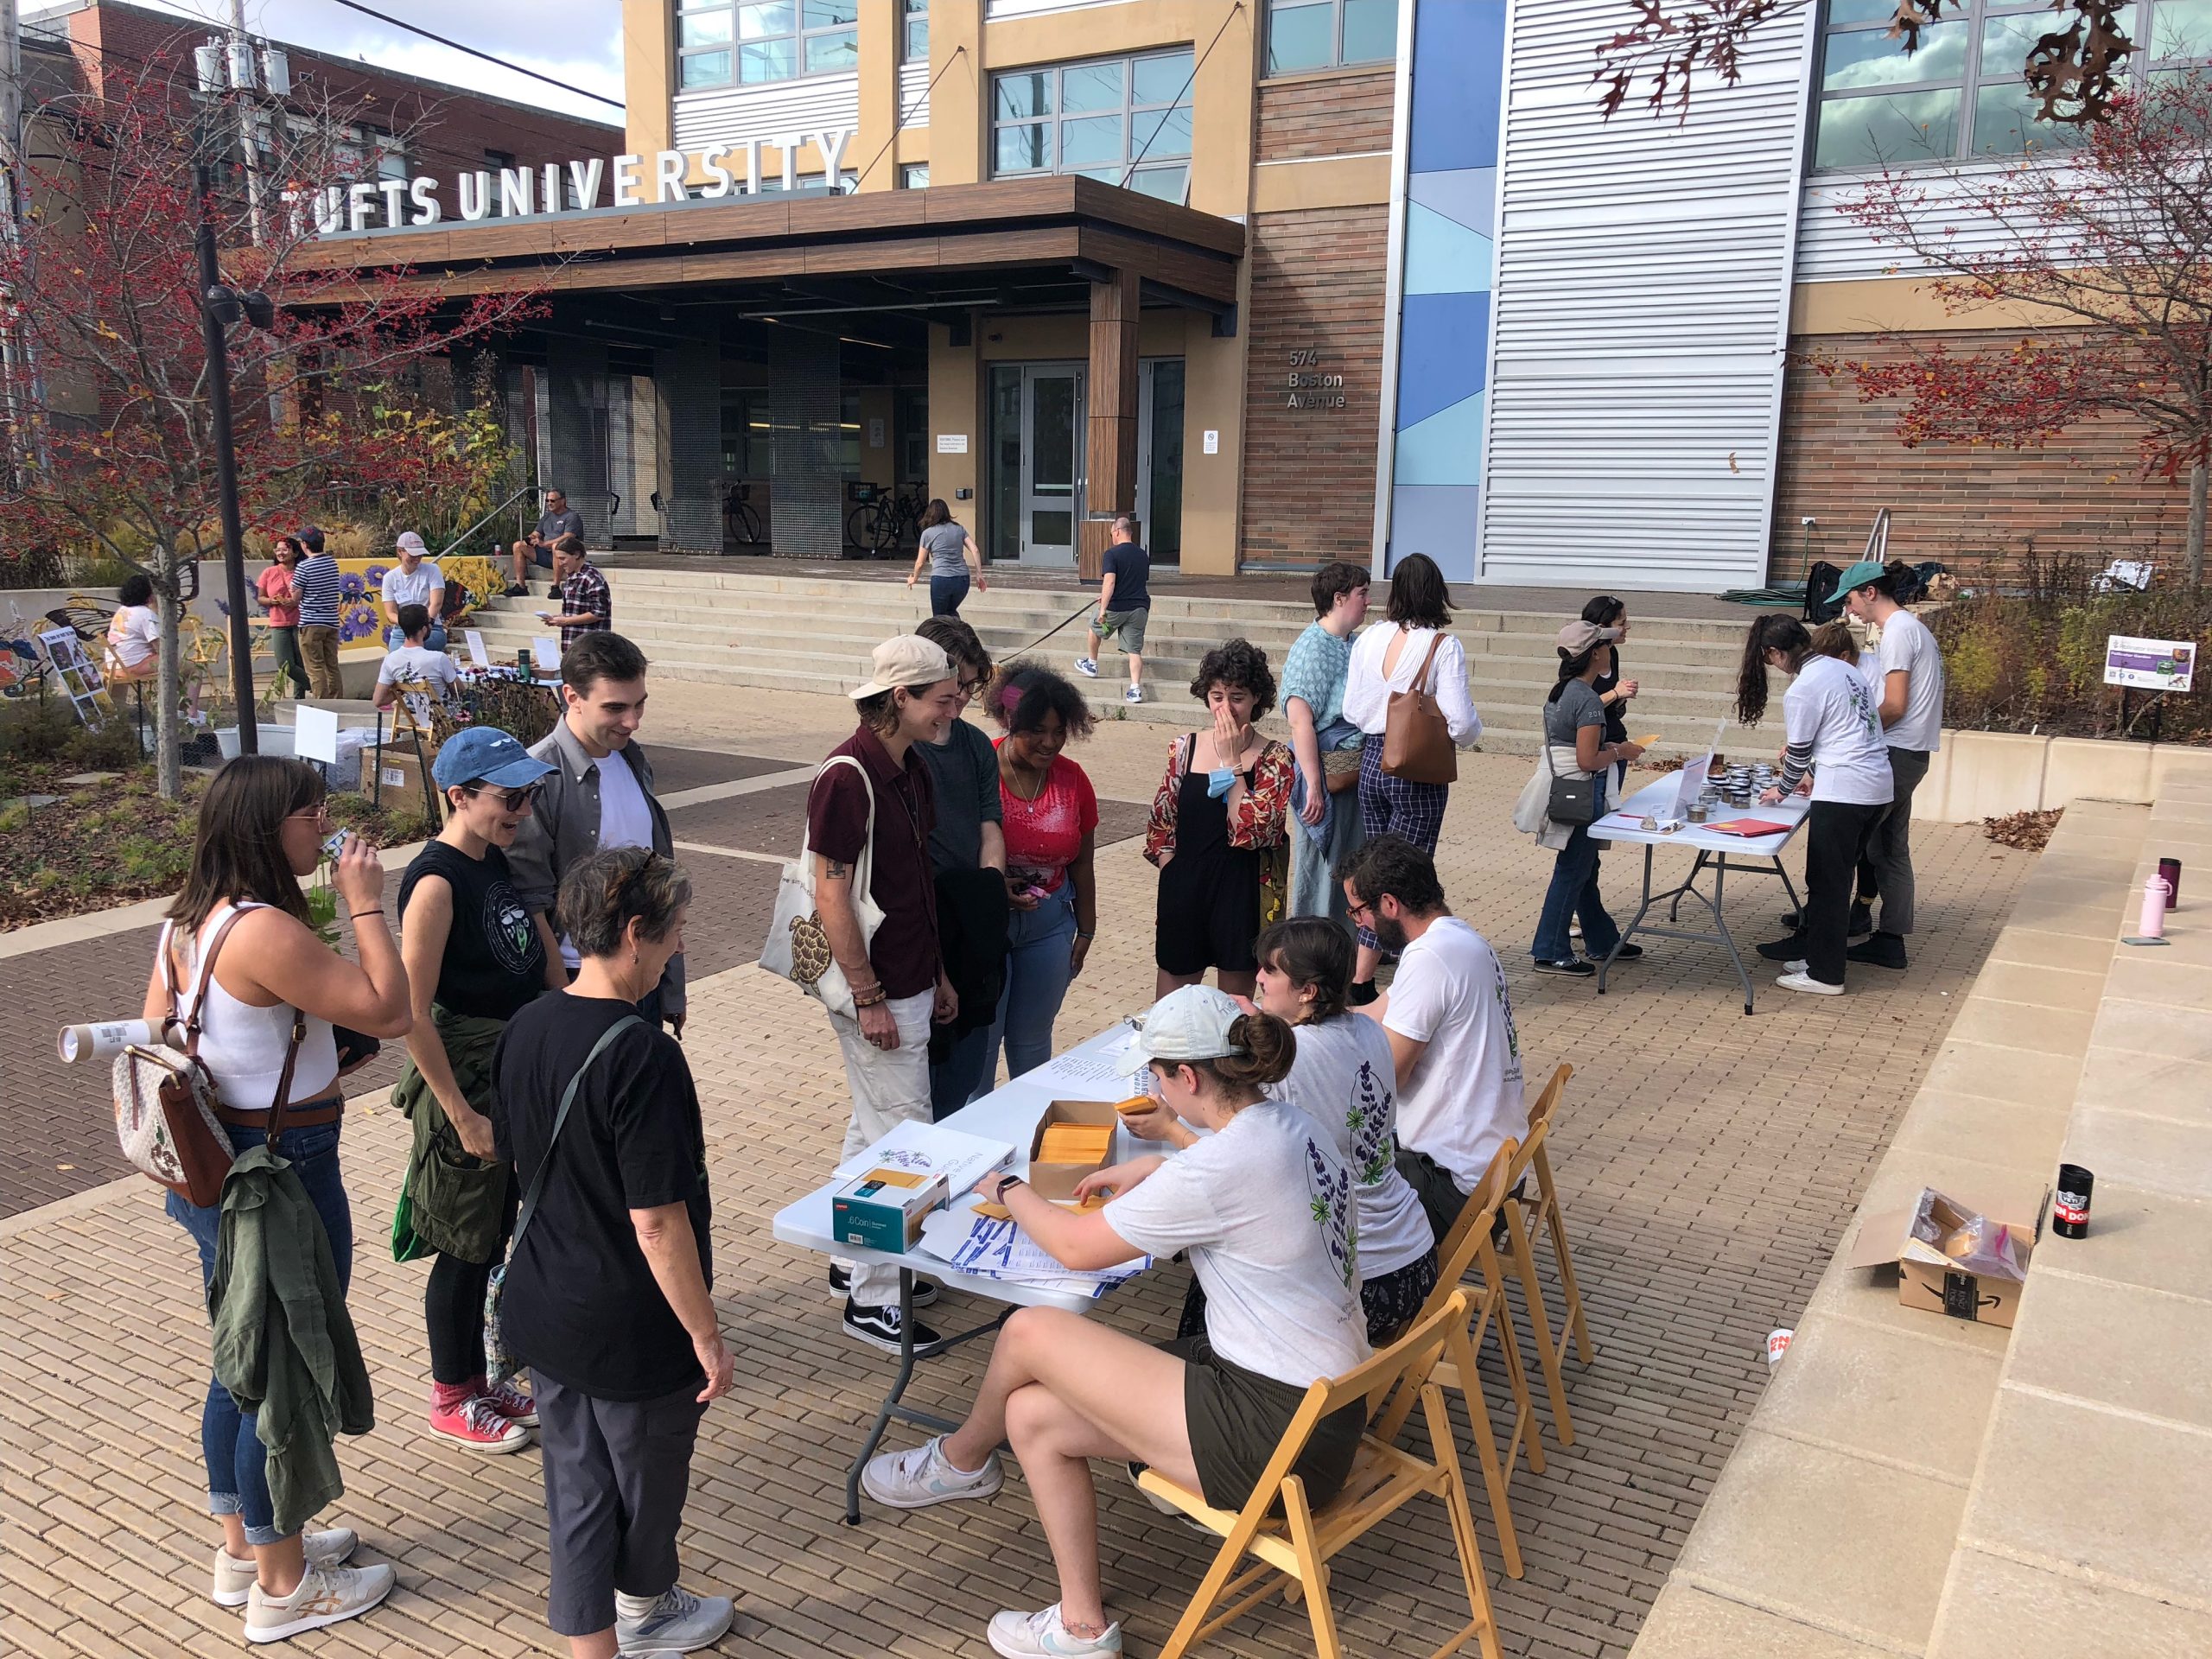
While Nick has helped to create a pollinator oasis on campus and finds a way to turn anyone into an insect-lover, he has also worked hard to cultivate connections to the community groups that are foundational to successfully engaging individuals in creating habitat across the city. Thanks to Nick’s dedication to building out our network, TPI was featured in the Boston Globe and visited by Senator Ed Markey, who planted mountain mint in one of our gardens. Nick is often the creative mind behind many of our outreach events like Seeds and Cider, where we distribute free native seeds in the fall, and a low-cost Native Plant Sales in the spring, an effort we hope reduces barriers to starting a garden. TPI was asked to design the garden space outside Medford City Hall and receives requests each year from neighboring universities asking for guidance in building their own versions of TPI.
Outside of his presidential duties, Nick has spent his time teaching a class to Tufts undergraduates “All About Bees” and as a frequent guest lecturer in Tufts classrooms. He is passionate not only about protecting pollinators and our natural spaces, but about appreciating and enjoying them too. He believes whole-heartedly in diving into curiosity and harnessing our sense of wonder at the natural world to power any successful conservation movement.
We hope that someday Nick’s passion for pollinator conservation and outreach will lead him back to TPI and these gardens that he’s built with so much care. Until then, it’s up to all of us to keep the wonder alive and thriving.
Farewell and good luck, Nick! You have a whole city of people who will miss you!