TPI’s Guide and Resources on Starting Seeds

Why save seeds?

  • Save money
  • Build resiliency in your garden
  • Sustainably grow and maintain your garden
  • Learn more about the life history and science behind your garden
  • Create a community – makes for thoughtful gifts to a fellow gardener or aspiring grower

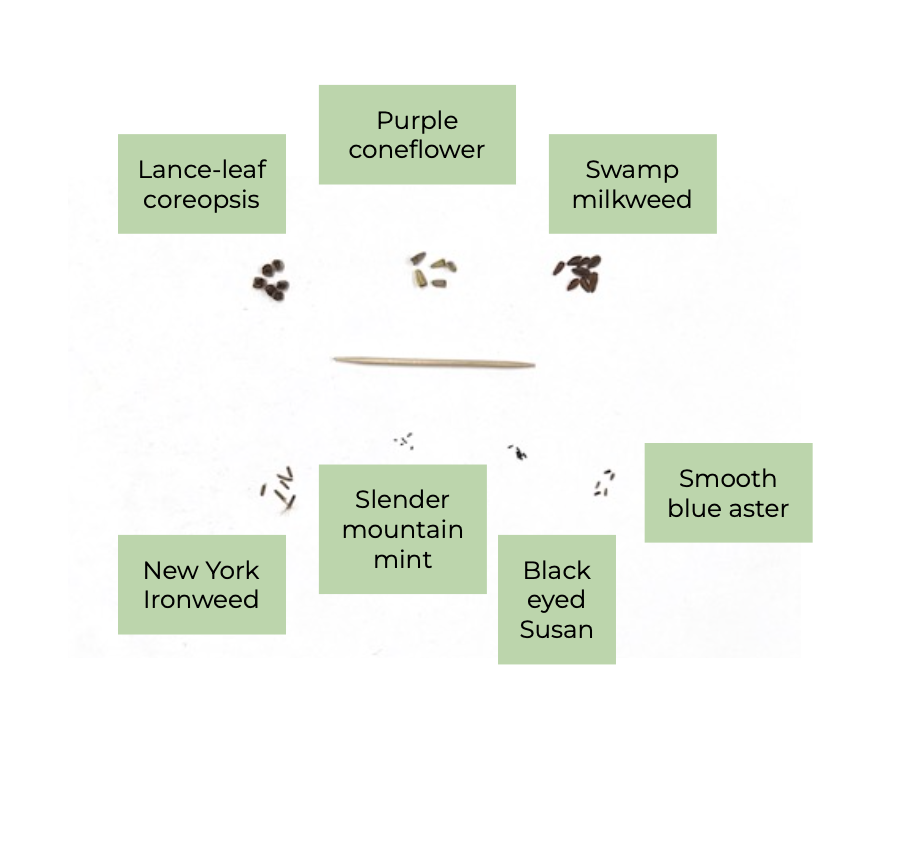
Seed saving is one of the best ways to save money on home gardening and build resilience into our growing spaces. Mature seeds can be collected from flowers at the end of the growing season, saved, and then planted in the following year. Using seeds from plants that grew successfully in your yard or neighborhood means your seeds are already adapted to the local weather and soil conditions. 
I have seeds – now what?

How to sow seeds

Sow your seeds in pots or flats that are at least 3” deep and 4-10” across (we use 5”x5” flats). Make sure to label the pots with the species name and sow date. Fill the pots with compost-rich soil, moisten, and sprinkle the seeds on top of the soil. For small, dust-like seeds it is often required that they are sown on the surface as they don’t have the energy to dig through soil to germinate, so avoid covering (refer to the spreadsheet below to determine which seeds must be surface sown). For seeds that don’t need to be surface sown, cover with a thin layer of soil (approximately the thickness of the seed) and a layer of coarse sand. The sand helps to keep the seeds in the pots despite wind and water. Keep the seeds moist by watering every few days, as needed.

Stratification – what is it?

Some seeds require additional steps before they can be sown in pots or in the ground. Native seeds that you collect from your garden or that you received from the Little Free Seed Library often require a series of conditions that lead to germination, such as a cold winter snow cover, acidification from an animal’s stomach, or scarification*. When starting seeds yourself, it is important to know the conditions a seed needs in order to start the germination process. Many native perennials require cold-moist stratification for varying amounts of time (between 10-90 days depending on the species) in order to start germinating. This consists of placing the seeds in moist, cold conditions (40F or below) for the designated amount of time or longer. The simplest way to cold-moist stratify is to sow seeds outdoors in the fall or early winter after collection, leave them outdoors for the winter and germination will begin as the weather warms up. However, this is not the only way to stratify seeds and we will go over several different ways to prepare your seeds for germination.

*Scarification is the process of breaking down, softening, or otherwise weakening the hard outer shell of a seed. Some seeds require scarification to germinate. Stratifying seeds outdoors can often lead to natural scarification as seeds are exposed to the elements and weaken over time. You can mechanically scarify seeds by gently rubbing seeds together in sandpaper. If you mechanically scarify seeds, you must plant them immediately. Many native flowering plants do not require scarification, so be sure to check the requirements of your seed.

Stratification needs for popular native plants

Please note that plant needs might differ in different regions.

Outdoor stratification

Sow seeds in flats, pots, or garden beds (see sowing instructions above) and place outdoors in the late fall/early winter. Cover the flats with chicken wire or Reemay to allow the seeds to be exposed to natural elements while preventing rodents and birds from eating your seeds. If germinating indoors, bring in the seeds after the designated stratification time requirement. If germinating outdoors, the seeds will start to germinate once stratification requirements are met and the weather starts warming up. 

Milk jugs are also a great outdoor vessel to stratify and start seeds in, as they form an artificial greenhouse for the seeds to start growing in. See a tutorial here on how to cut a gallon milk jug to use for seed stratification and germination.

Indoor stratification

If you are starting your seeds in the spring, it is best to artificially stratify your seeds indoors to mimic winter conditions. This can be done by placing seeds in the refrigerator for the given stratification time. There are two popular methods to indoor stratification: the pot method or the plastic baggie method. For the pot method, sow the seeds as you would normally, moisten the soil lightly, and wrap the flats in plastic. Place the wrapped flats in the refrigerator, and take them out after the stratification period is over. For the plastic baggie method, place seeds on moistened paper towels or coffee filters, fold over, and seal in a ziploc bag. This can also be done using other moistened seed starting mediums, such as sand, vermiculite, or peat moss. For any indoor stratification, make sure to check your seeds every few days to monitor for mold and make sure the seeds remain moist.

My seeds are germinating – now what?

Congratulations! The seeds can remain in the flat they were sown in until they are ready to be transplanted in their future home. If the flats are getting crowded, the seedlings can be gently separated and transplanted into individual containers once the roots are coming out of the bottom of the flats.
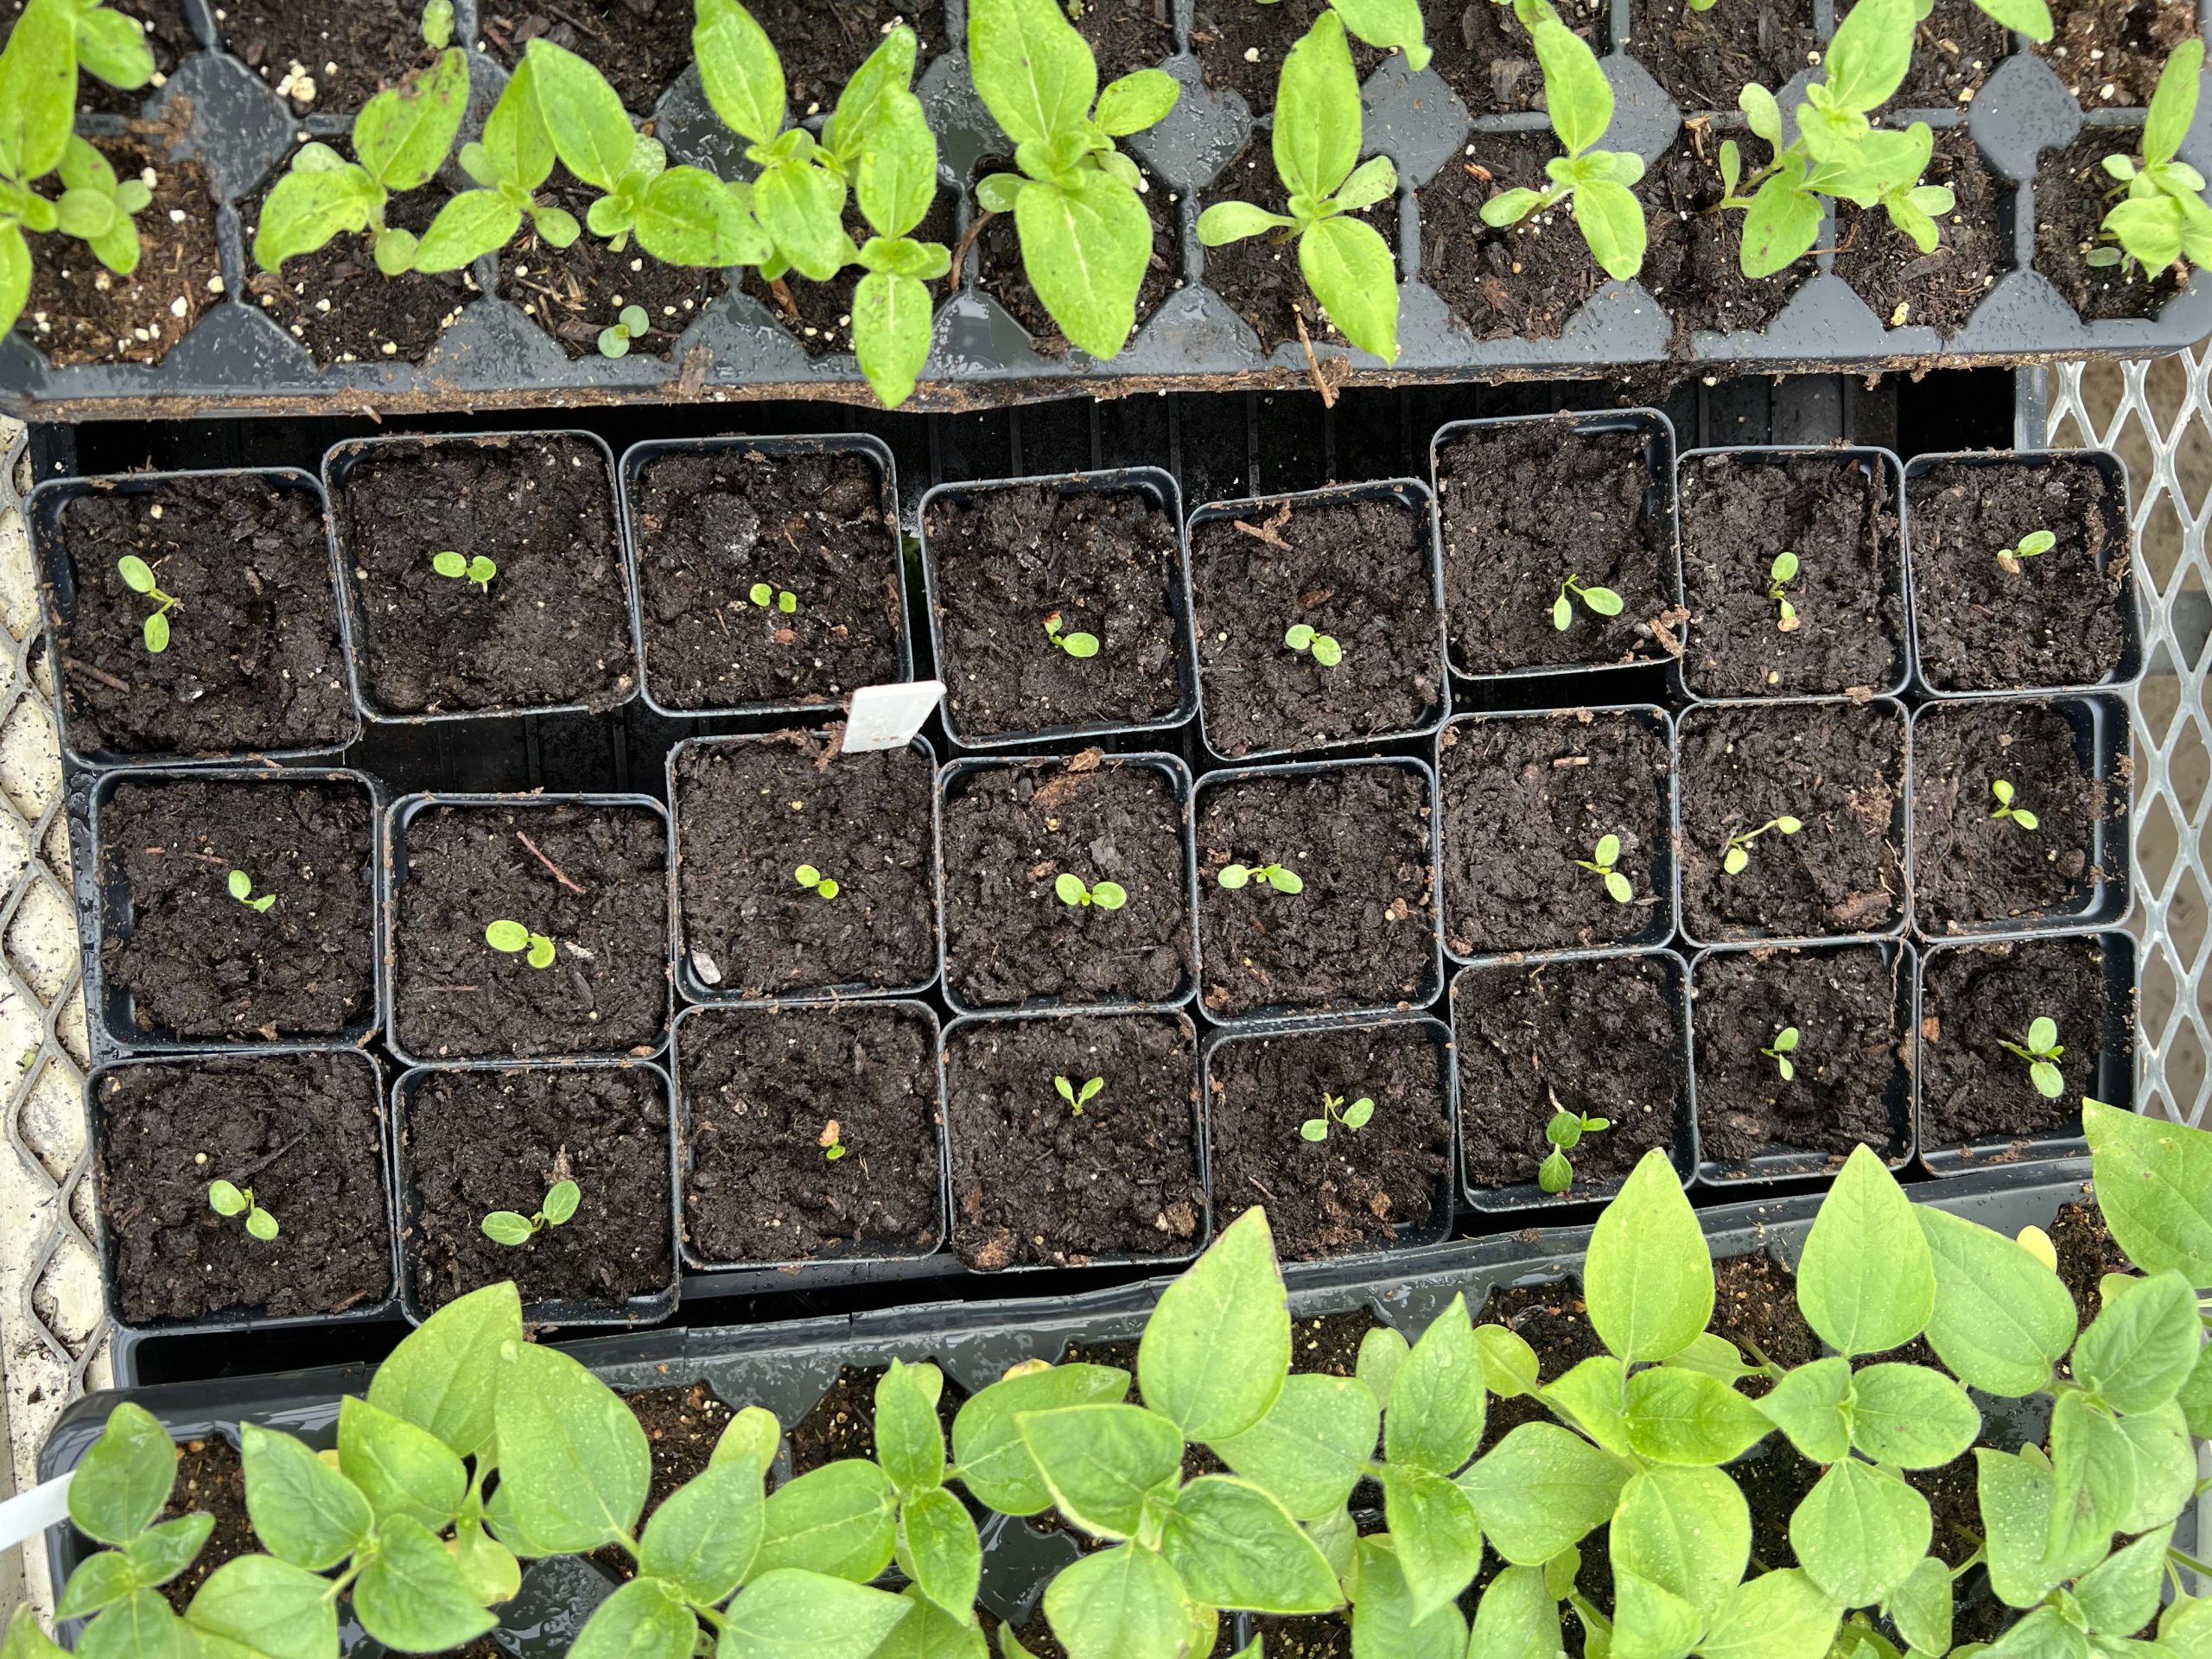
Once seedlings have germinated they can be transferred into individual containers.

Where can I get some new seeds?

TPI has their very own Little Free Seed Library on campus at the pollinator gardens at 574 Boston Avenue. The seeds we stock the library with are collected from our very own gardens, so they come from plants that have thrived in our  local environment. Please note these seeds have not been stratified yet but details about their stratification requirements can be found on the seed packets. The seed library works best if users take a pack and leave a pack of their own seeds. We just ask that you write the species, date collected, and collection location. There are also other local seed libraries, which can be found on this map under ‘miscellaneous’.
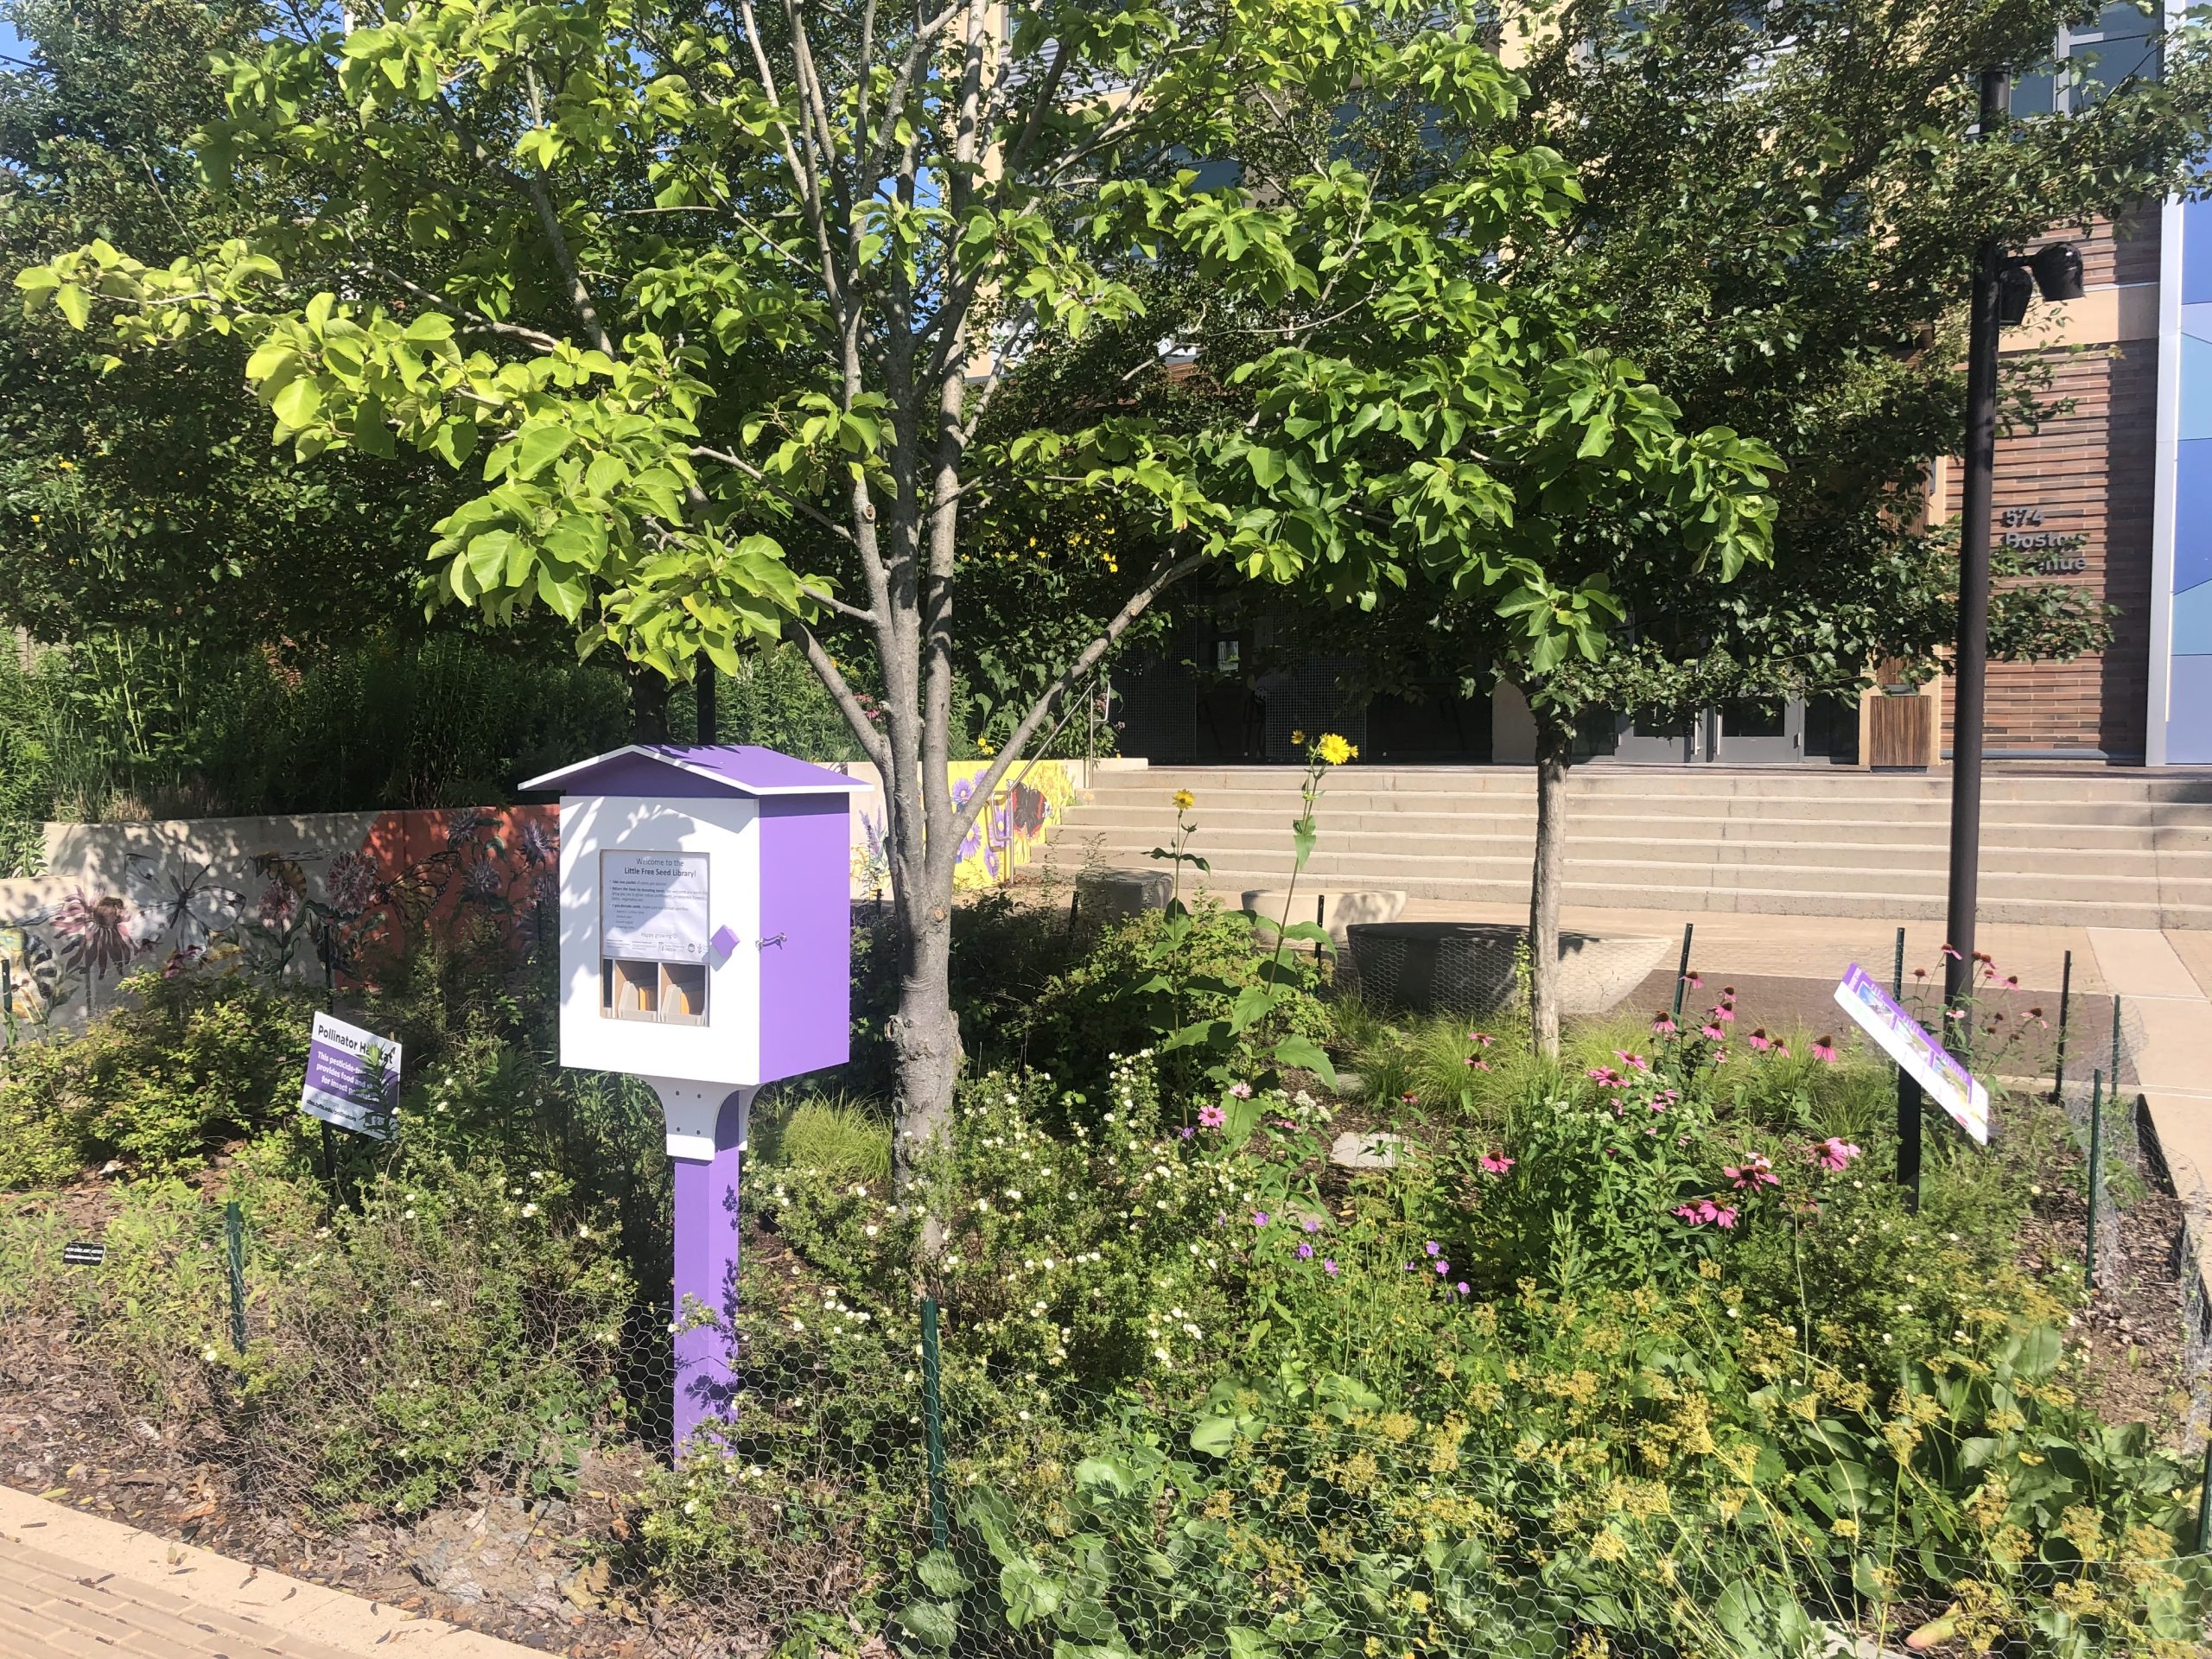
We encourage you to save seeds for your own garden, to build community, to save money or to learn more about the natural world. Whatever your motivation, saving seeds is a great decision, but also has a deep-rooted cultural significance and importance. If you’re interested in reading more about the sovereignty of seed saving and why it matters, we provide a few resources below.

Resources 

TPI handouts

Seed information

https://wildseedproject.net/how-to-grow-natives-from-seed/

https://www.prairiemoon.com/PDF/Germination-Codes-and-Seed-Starting-Basics-22-Dec.pdf

Cultural importance of seed saving

https://appvoices.org/2022/06/02/communities-seed-saving/

https://www.hungercenter.org/blog/the-right-to-seed-food-sovereignty-and-indigenous-autonomy/
https://www.firstnations.org/wp-content/uploads/publication-attachments/2015-Fact-Sheet-11-Seed-Saving-and-Seed-Sovereignty.pdf

Summer recap: a glimpse at pollinator fieldwork

The growing season is a busy time for pollinator scientists. Here’s what members of TPI got up to this summer! 

Cellophane bees

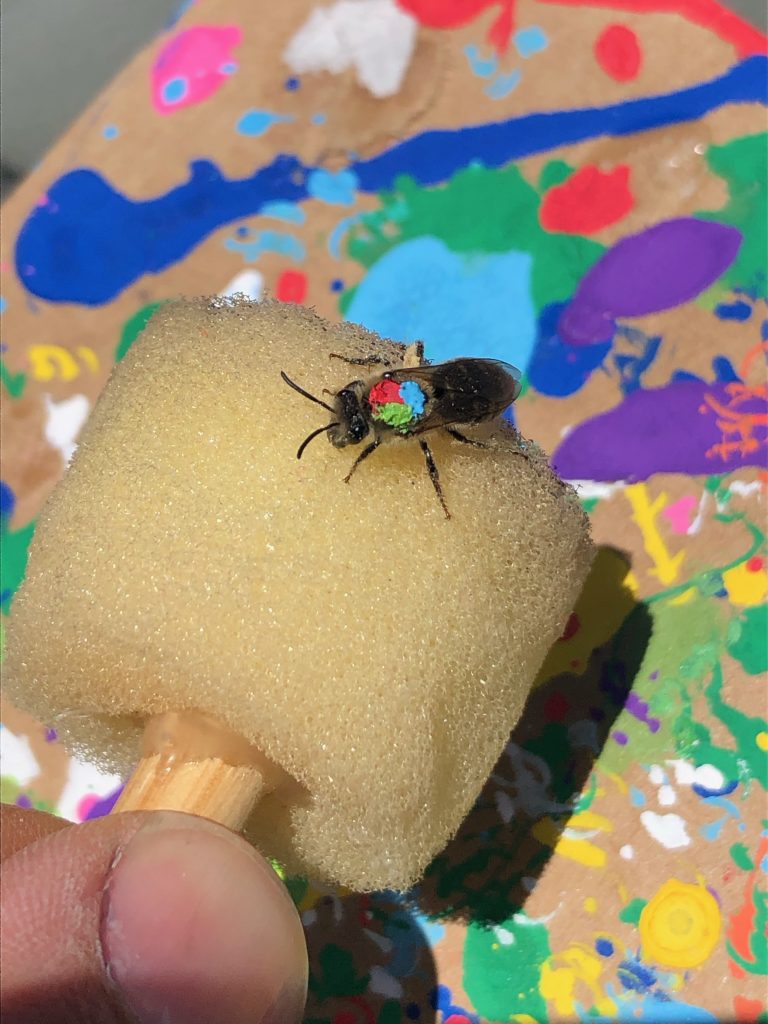
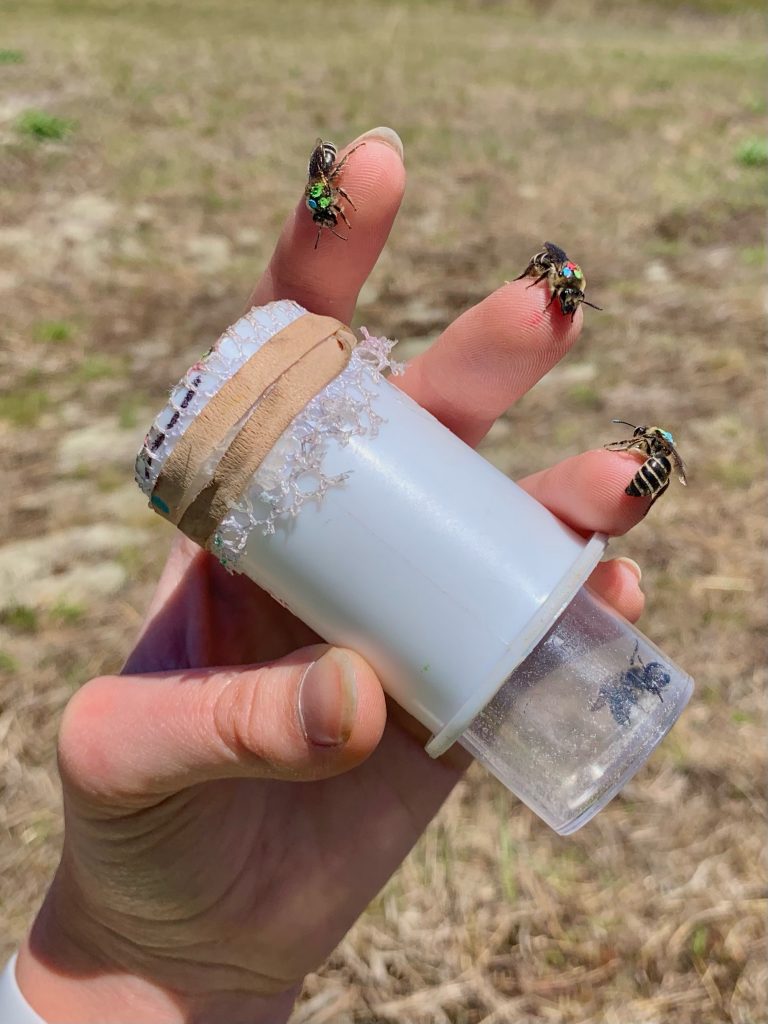
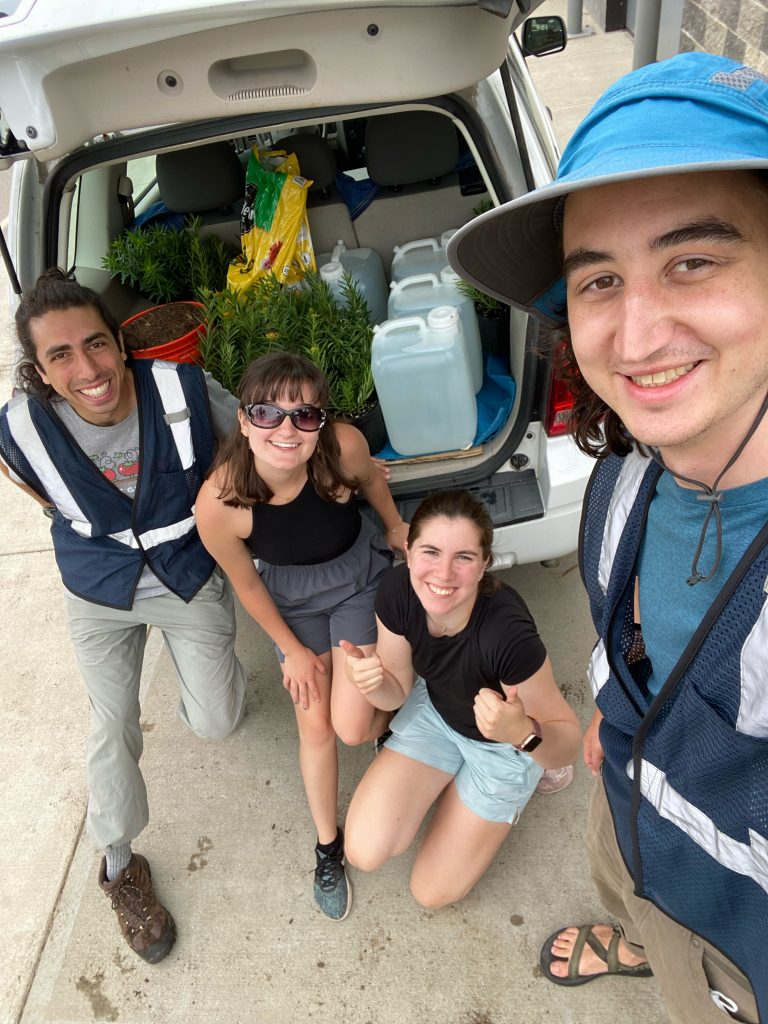
Nick, Leslie, and Lydia dug into the secret lives of solitary bees in New Hampshire. They want to know “where does a bee fly in her life?” To answer this, they caught and painted blueberry cellophane bees at nests to identify unique individuals. Then, they surveyed flowers and nesting areas to track daily movements. They painted over 1200 bees!

Bumble bees

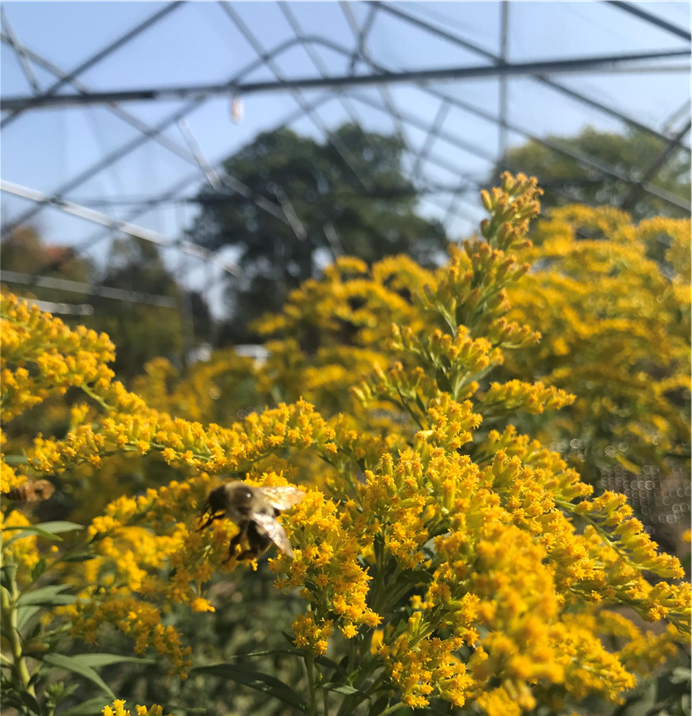
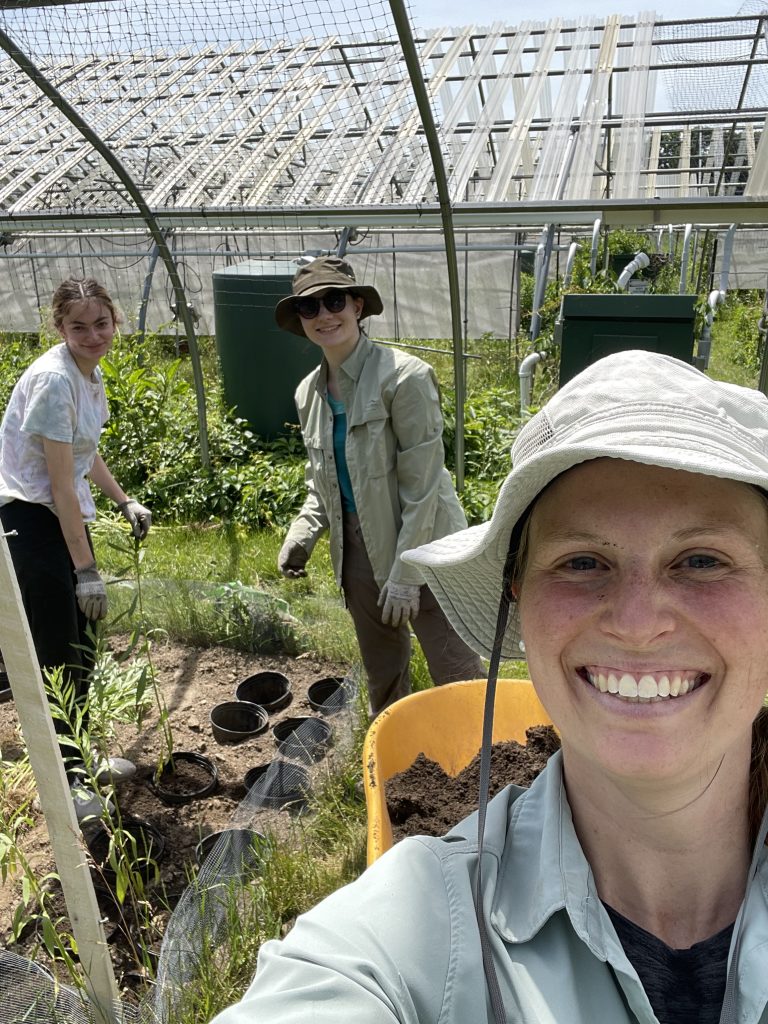
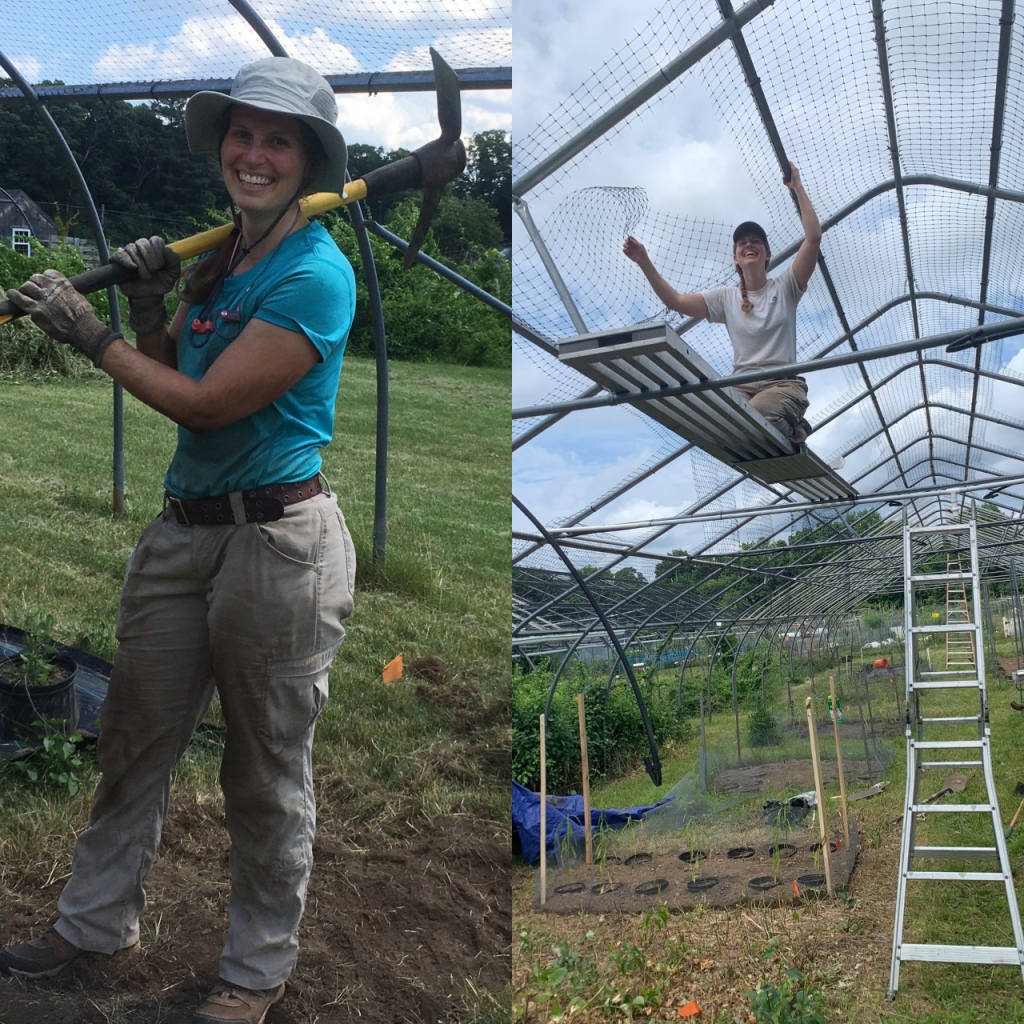
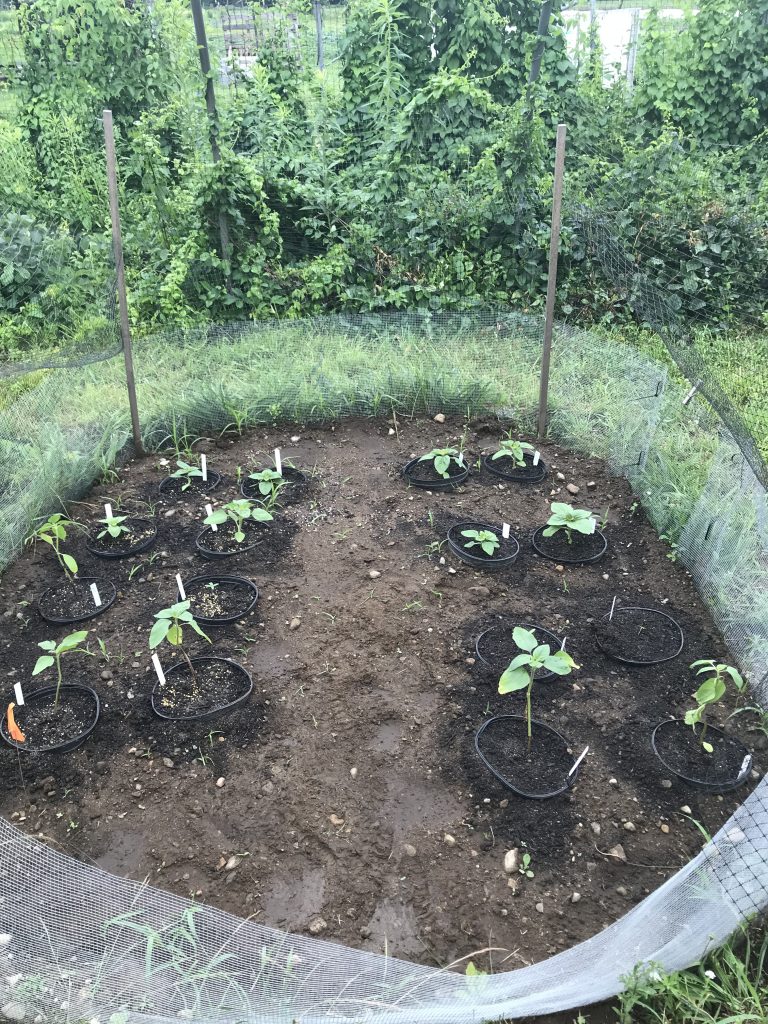
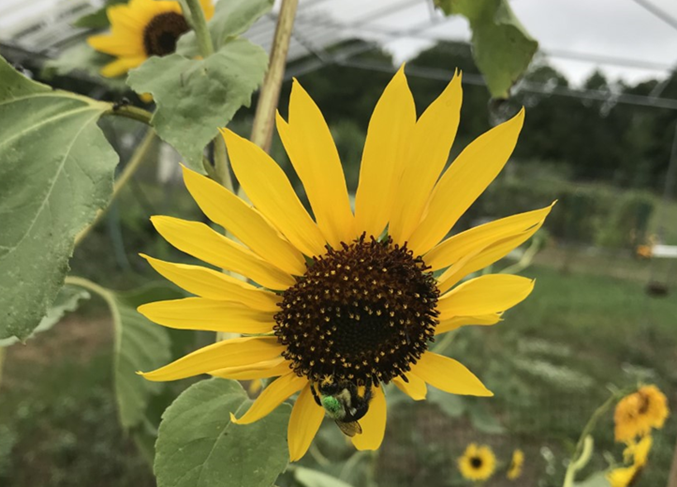
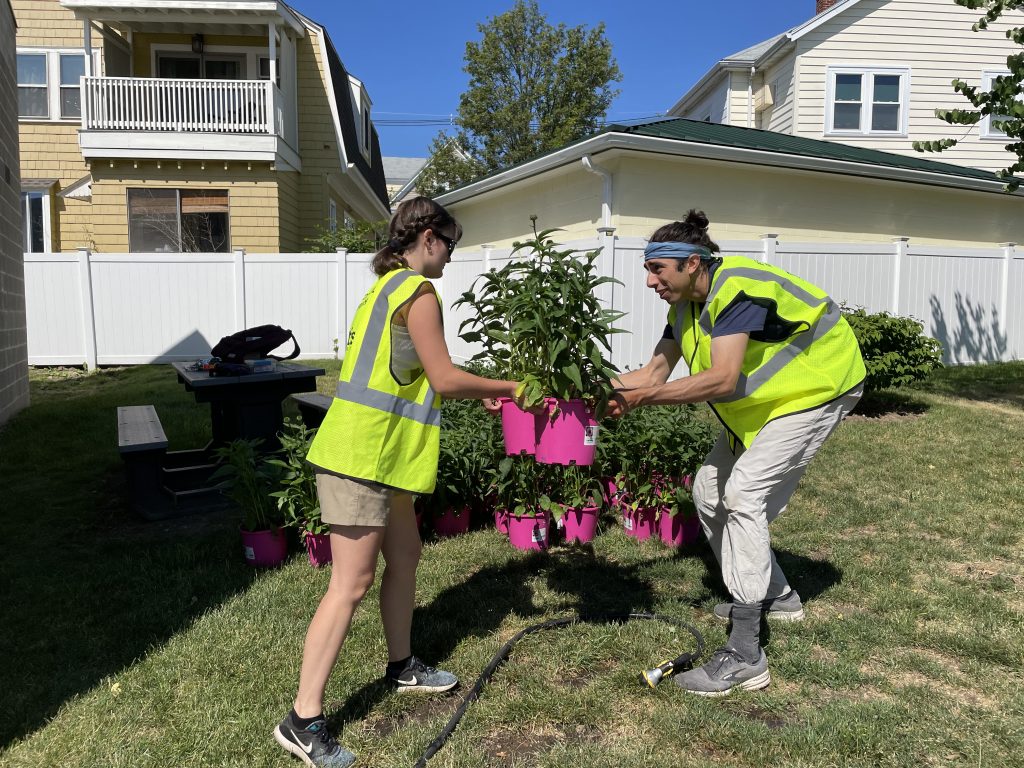
Jessie, Lauren and Liana planted hundreds of goldenrod and sunflowers to find out how our growing practices affect the food available to bumble bees — an important native bee that pollinates tomatoes, peppers, melons and more. Bumble bees (like other bees) eat pollen and nectar, and need abundant, high-quality food to fly, pollinate, and raise new bees. They want to know how fertilizer and drought change plant growth, the number of flowers they produce, and the nutrient breakdown of their pollen and nectar. They spent the early summer digging, planting, weeding, and watering and ran a choice experiment to find out which plants bumble bees prefer to visit.

Baltimore checkerspots

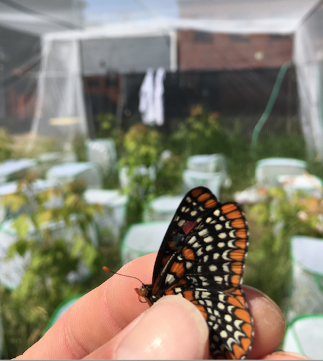
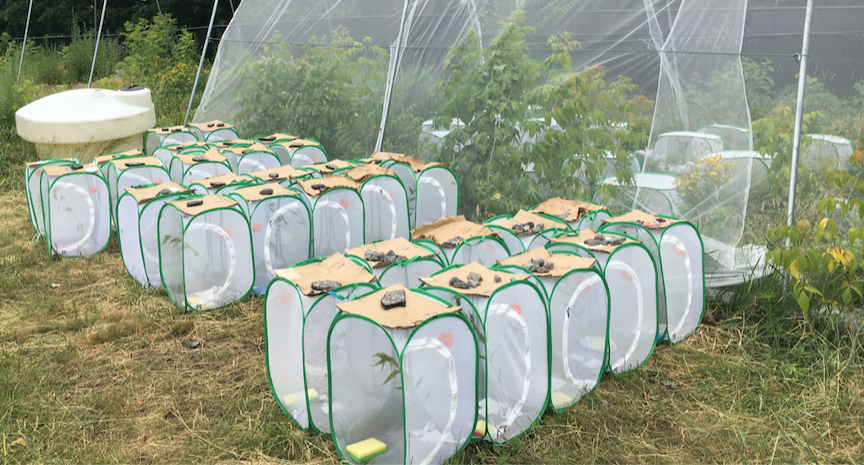
Brendan spent the spring and summer studying the impact of the Junonia coenia Densovirus on Baltimore checkerspot population dynamics. He set up an enclosed experiment that exposes caterpillars to a gradient of viral loads and monitored the impact on their survival and reproduction. Later in the summer he continued field sampling for a project that is using a metagenomic approach to investigate whether Lepidopteran viruses are shared between co-occurring caterpillar species. This will help him understand the likelihood of disease spillover impacting species of conservation interest.

Honey bees

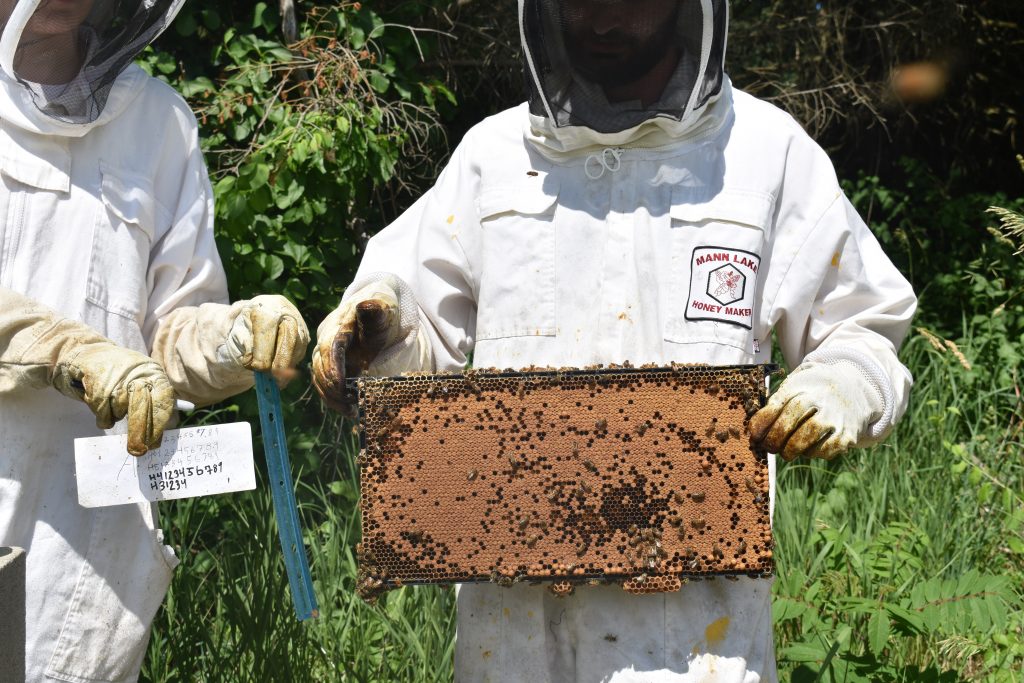
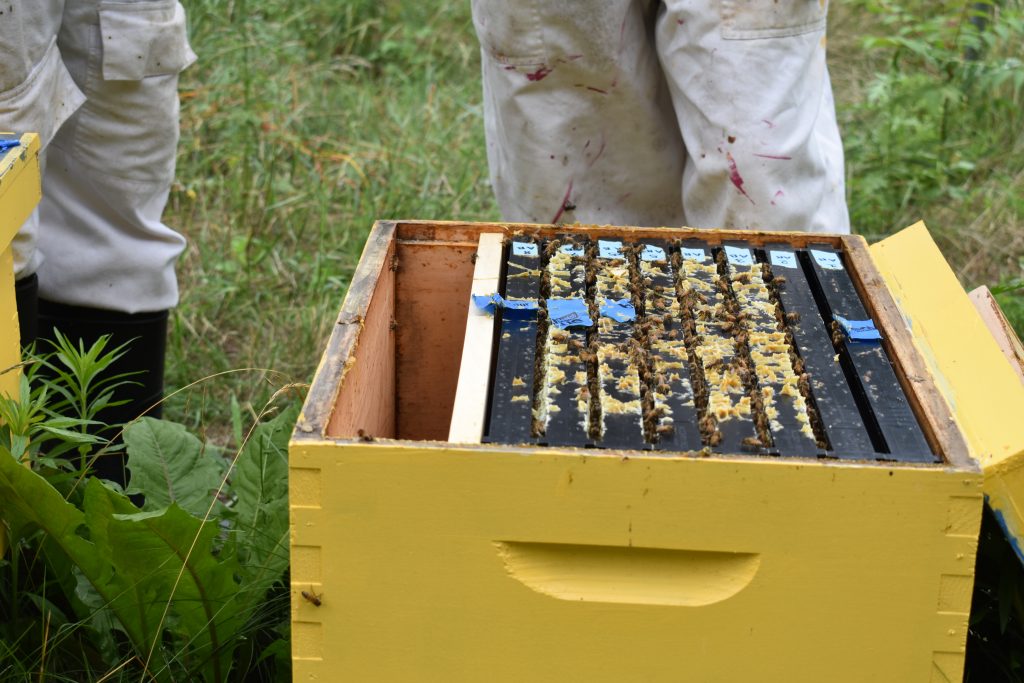
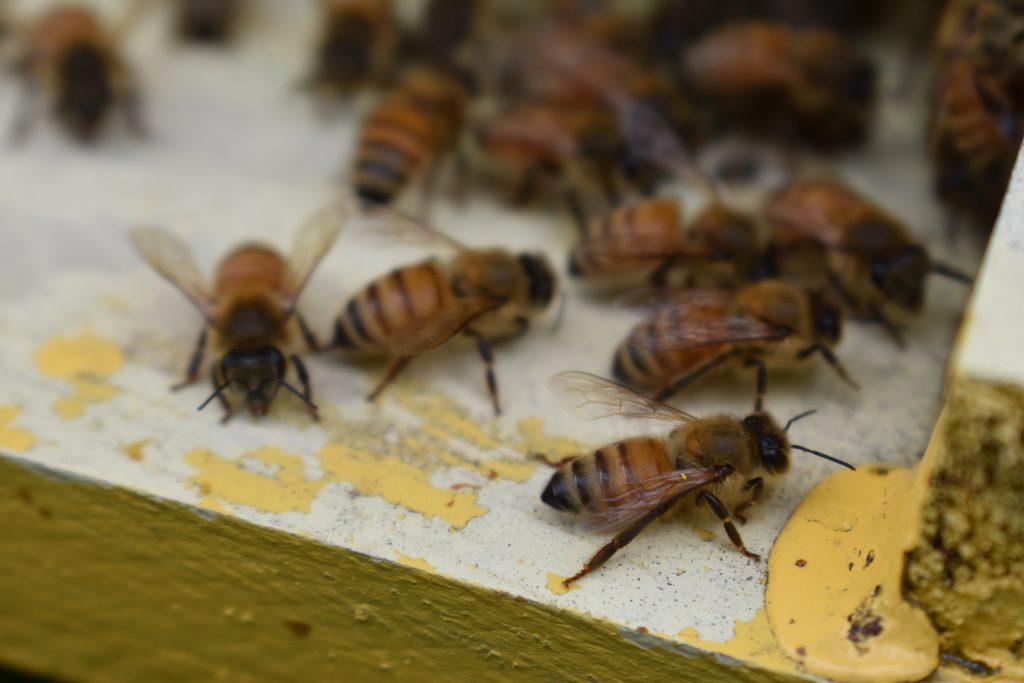
Isaac and Greta studied the effect that temperature stress has on the way honey bees arrange their comb stores. They hope to learn how increasing global temperatures will affect the structure of honey bee colonies.

Milkweed visitors

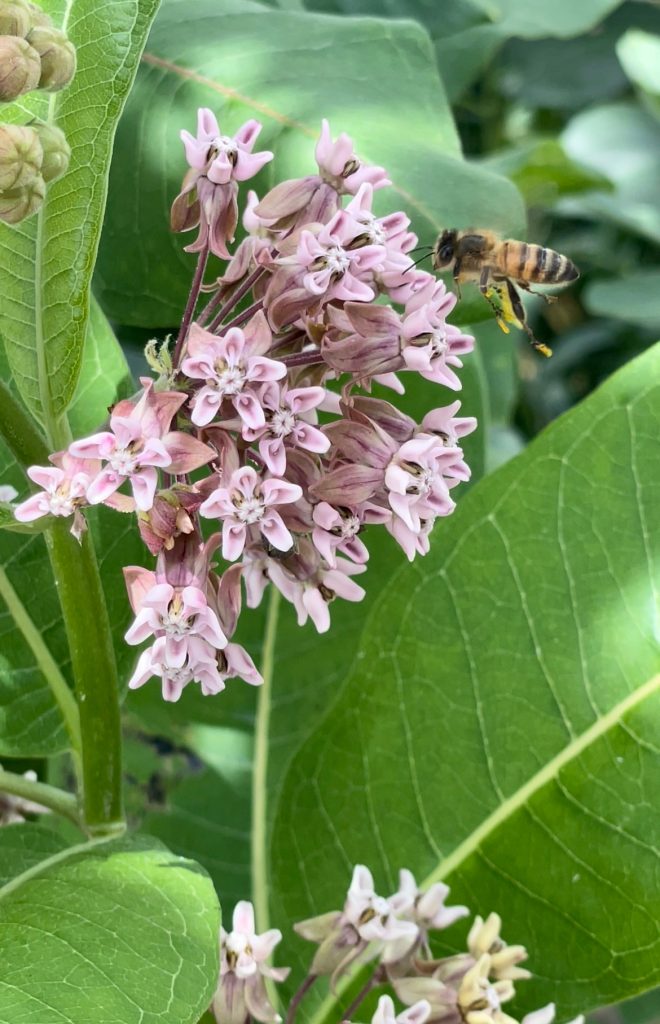
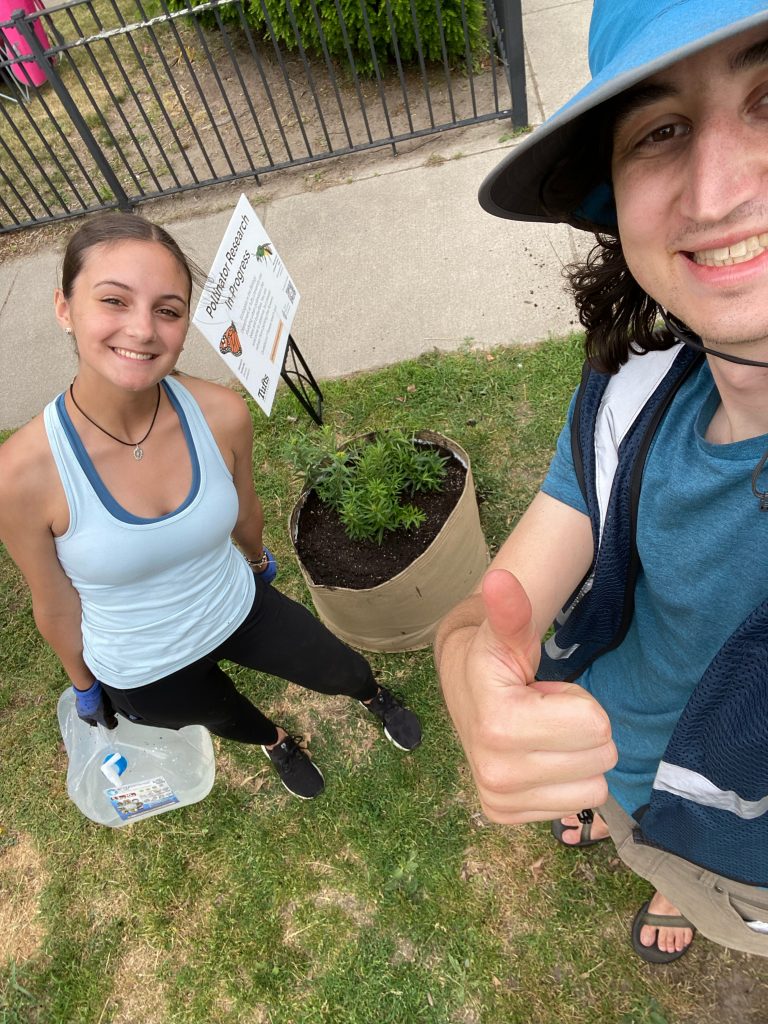
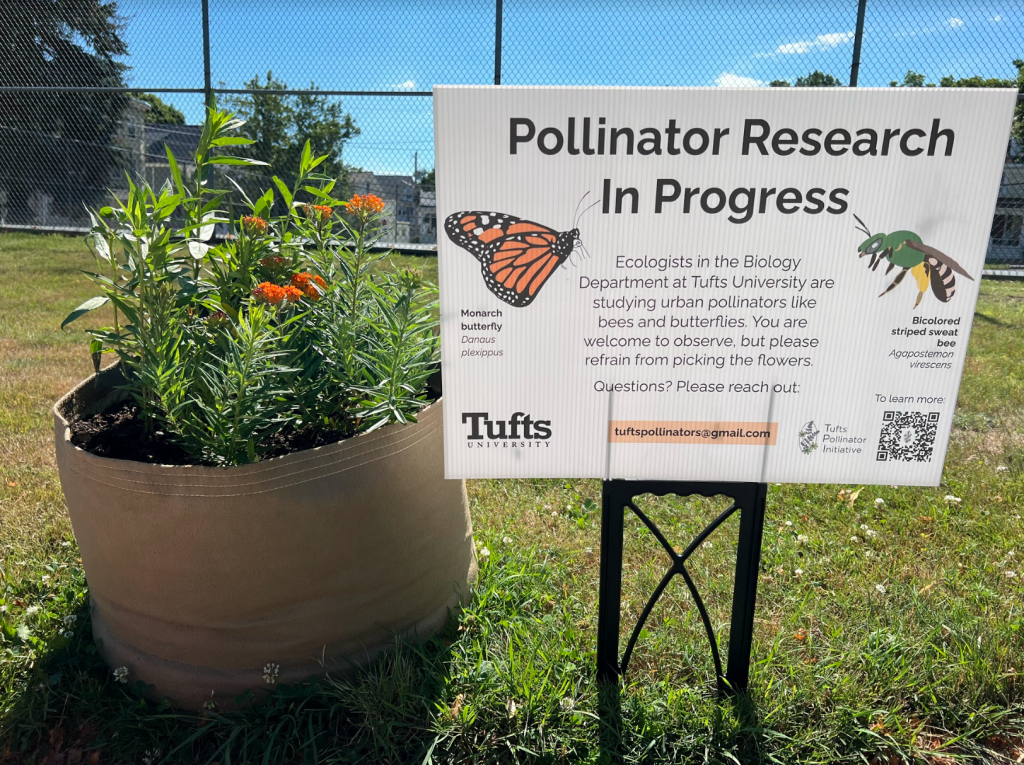
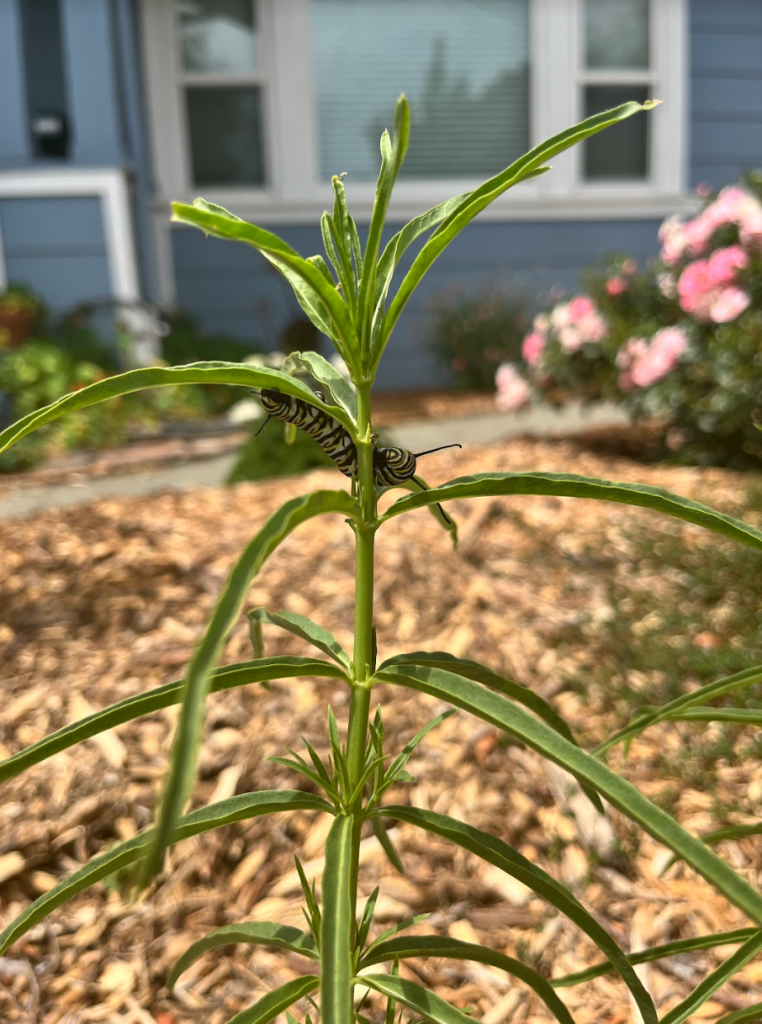
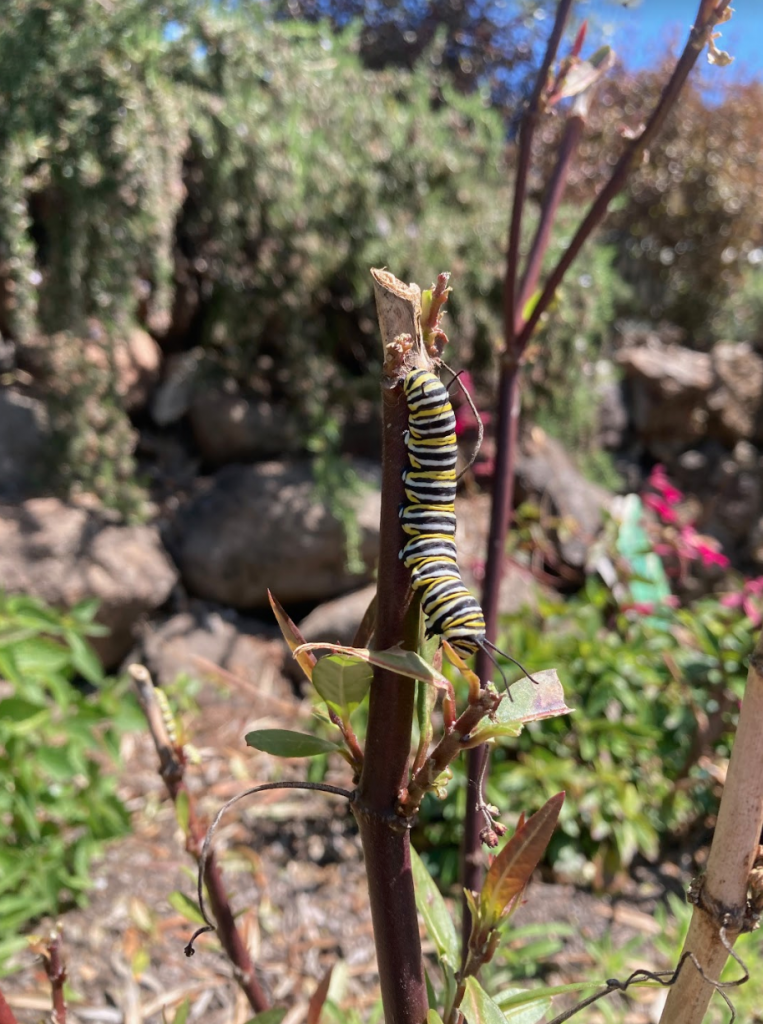
Atticus, Karen, and Kristina are looking at pollinator usage of milkweed in urban environments. Atticus and Karen observed monarch egg-laying behavior on milkweed, the monarch butterfly’s host plant, to see if it changes depending on surrounding landscape contexts, such as differing neighborhood flower garden densities. Kristina looked at milkweed flower visitors to see how visitation rates and species richness are affected by flower garden densities. You may have seen their pots at various park locations in Medford and Somerville!

Sweat bees

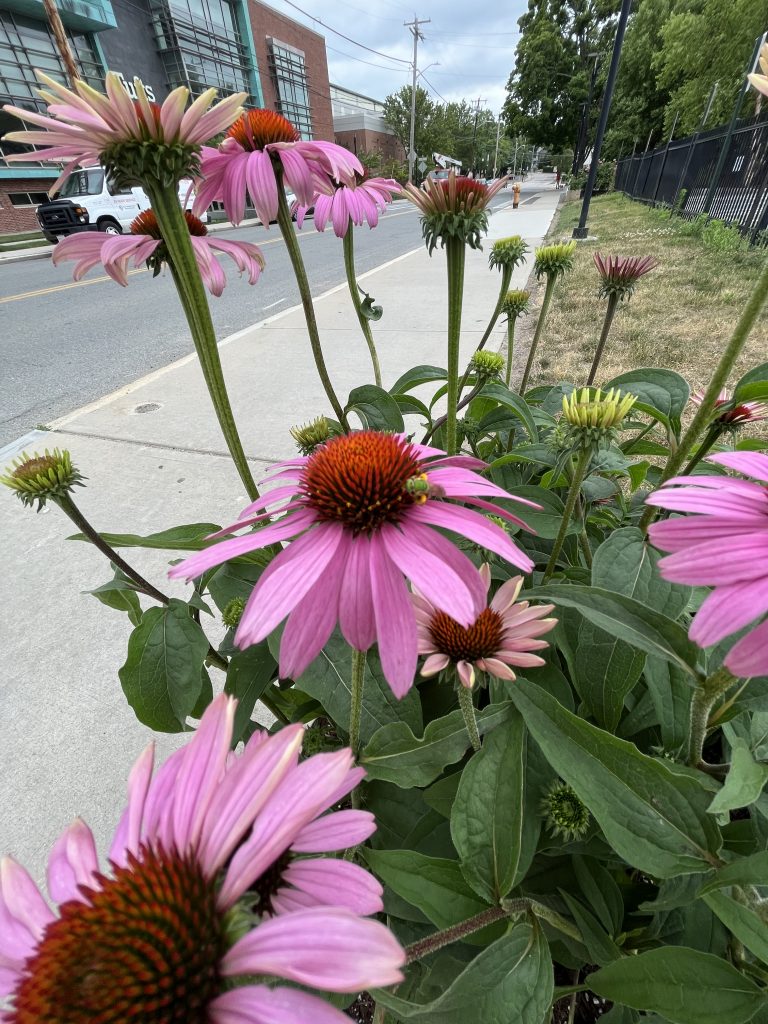
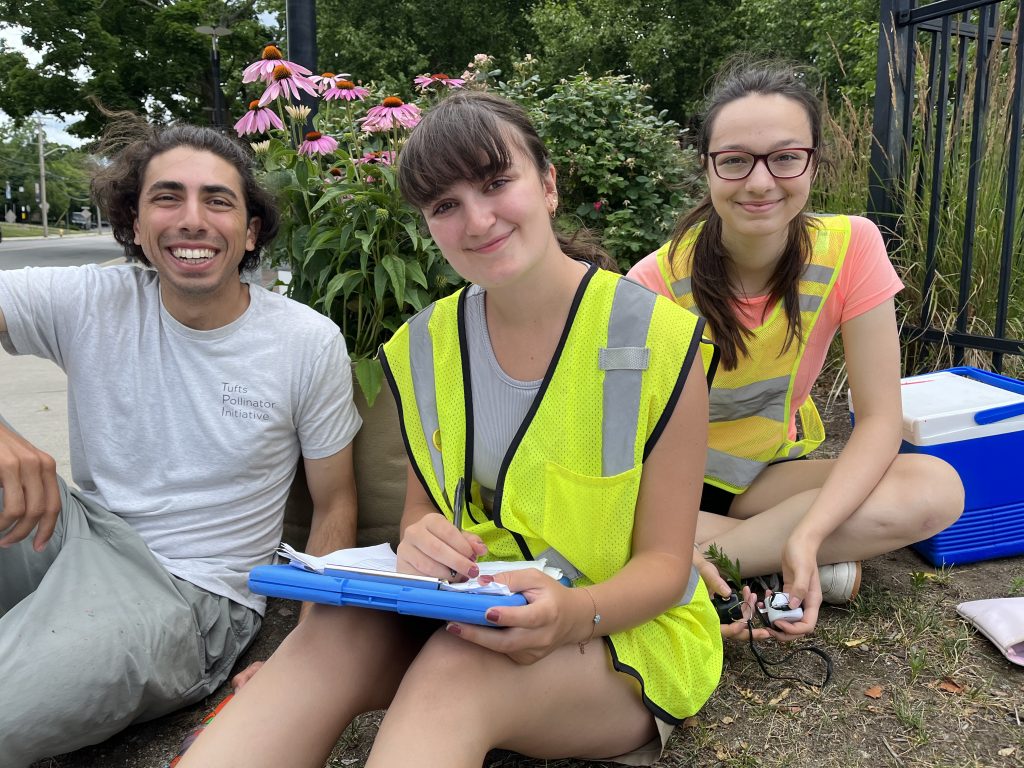
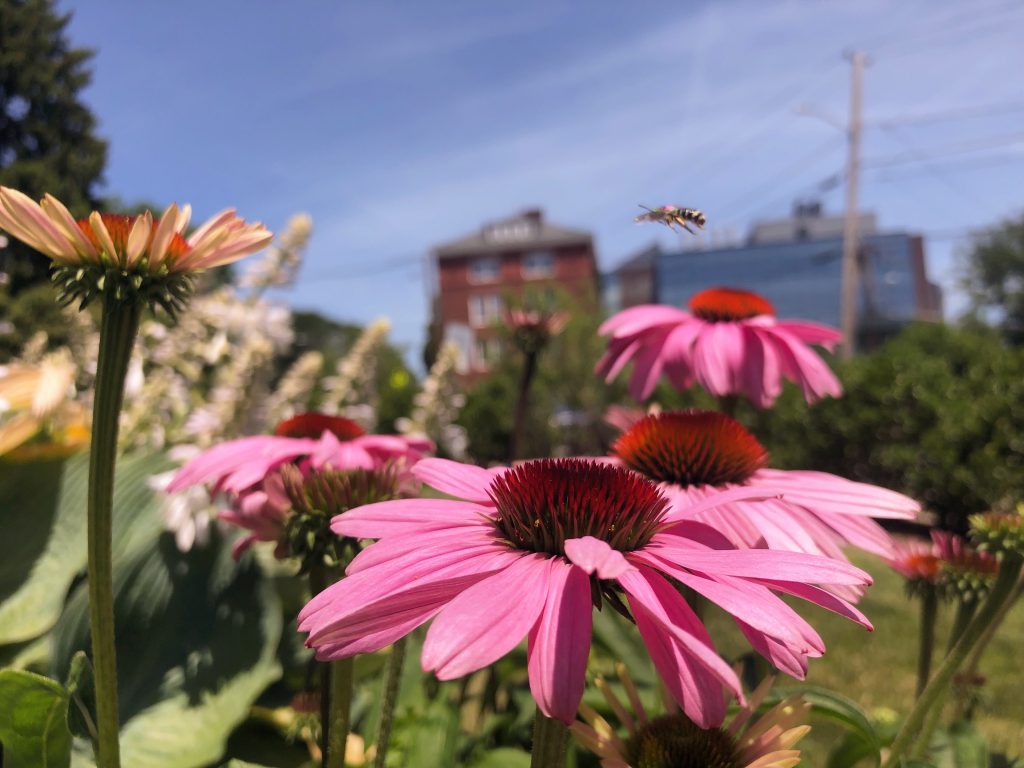
Chloé, Nick, and Aviel studied sweat bee (Agapostemon virescens) movement on Tufts’ campus. They want to know whether roads act as barriers to foraging bees. To answer this, they set up squares of four pots of coneflower bisected by roads at three sites on campus. At these sites, they caught and painted bees to identify unique individuals and recorded ongoing traffic.

Yellow-faced bumble bees

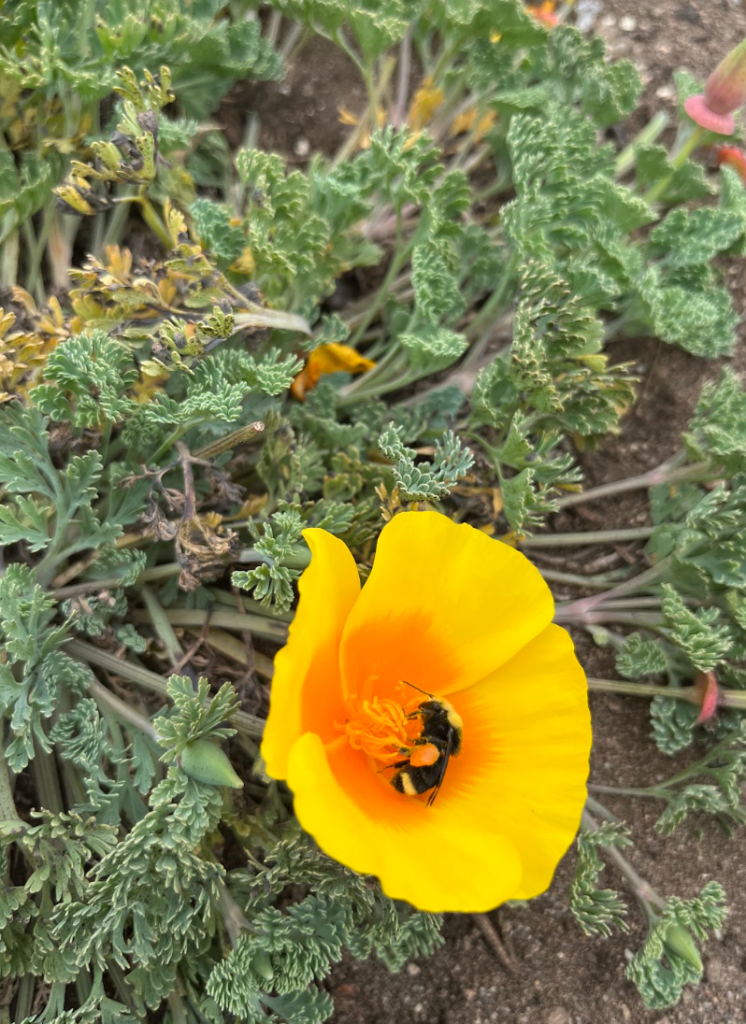
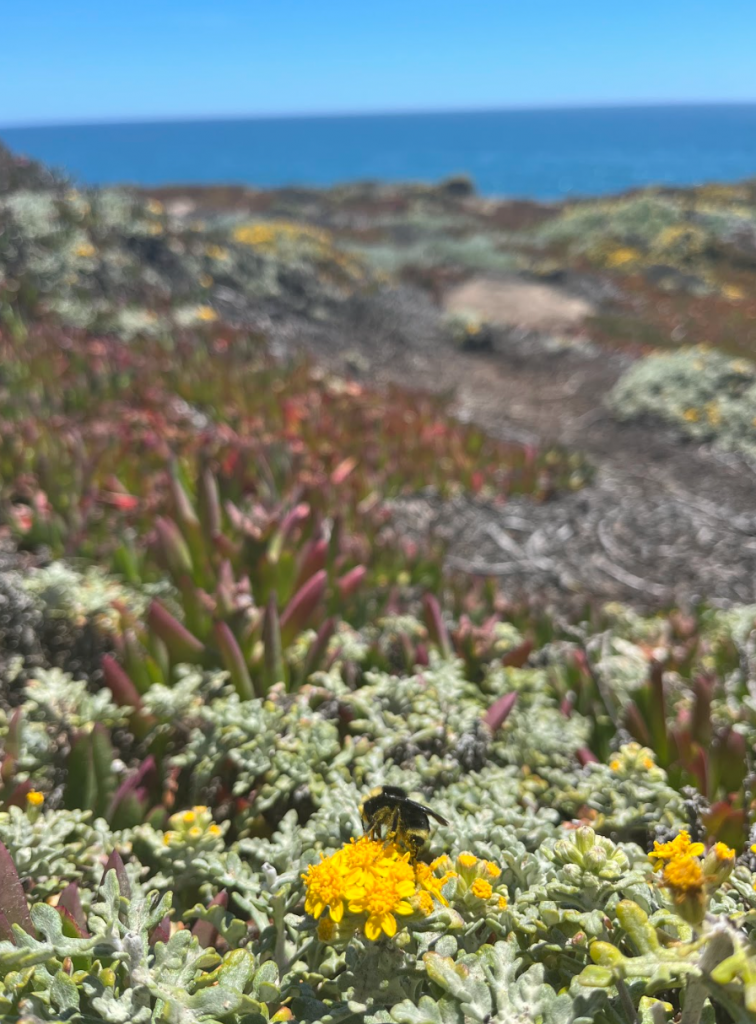
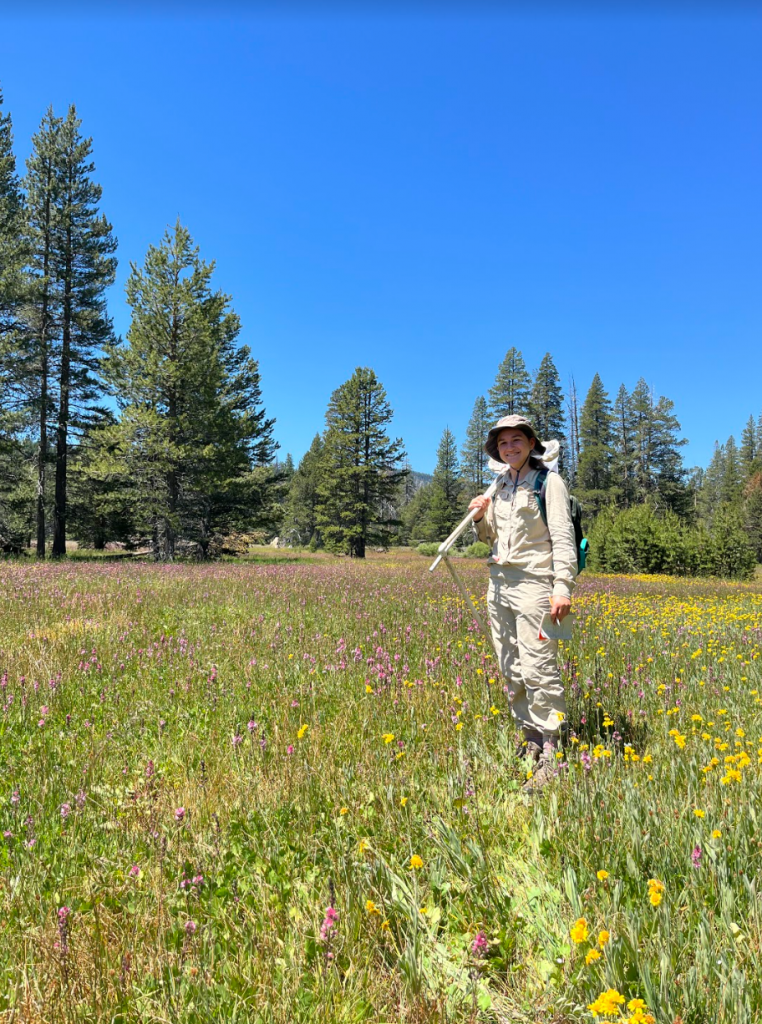
Across the country in California, Sylvie is studying the difference in life cycle patterns of Bombus vosnesenskii, the yellow faced bumble bee. Sylvie is interested in how life cycle timing of this bumble bee varies across its range. In the Sierras, B. vosnesenskii displays the characteristic timing of bumble bees – a queen emerges in spring, a colony grows over the summer with female workers, and at the end of the summer the queen stops producing workers and starts producing new queens and males. Then, the mated female queens overwinter underground! Sylvie is getting to discover firsthand the timing of Bombus vosnesenskii life cycle on the coast–and how it compares to timing in the mountains–since it has not yet been characterized! 

Pipevine swallowtails

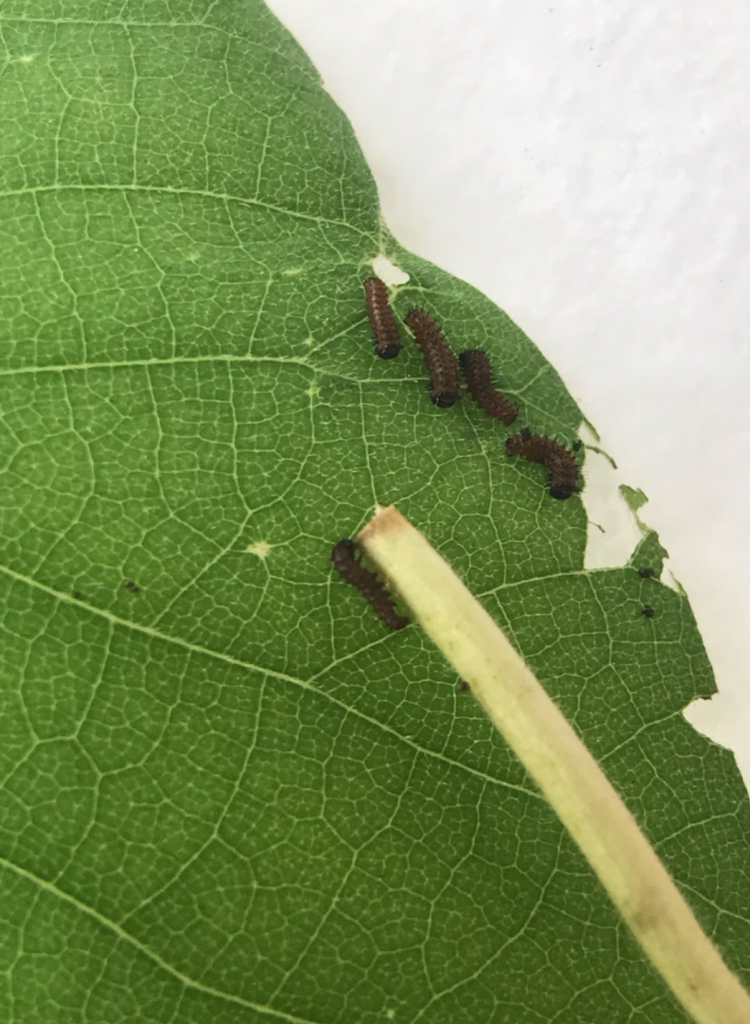
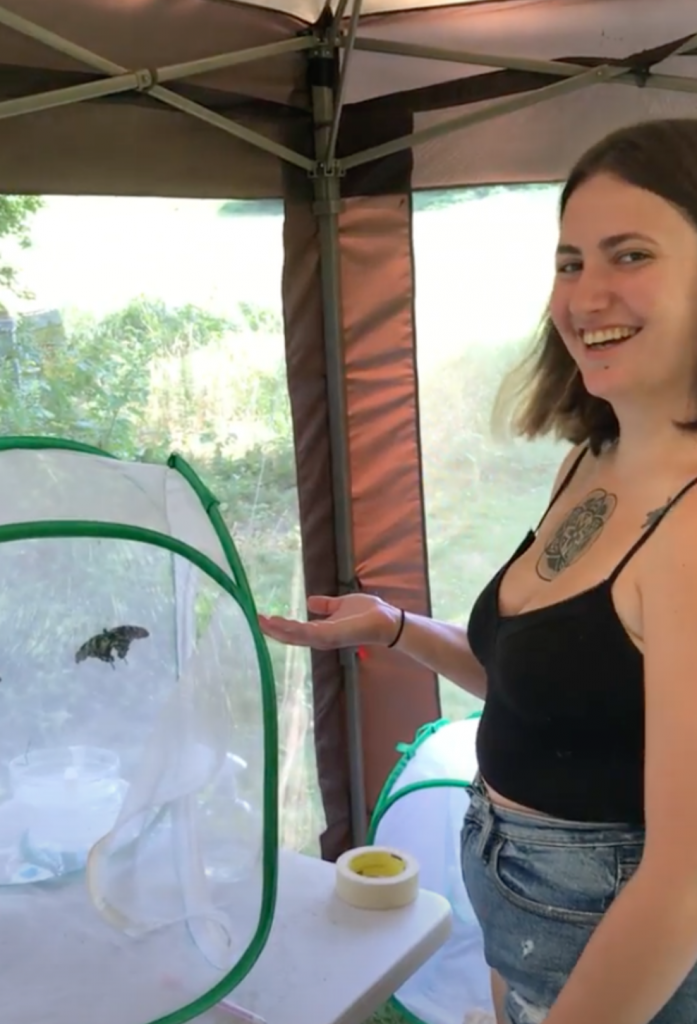
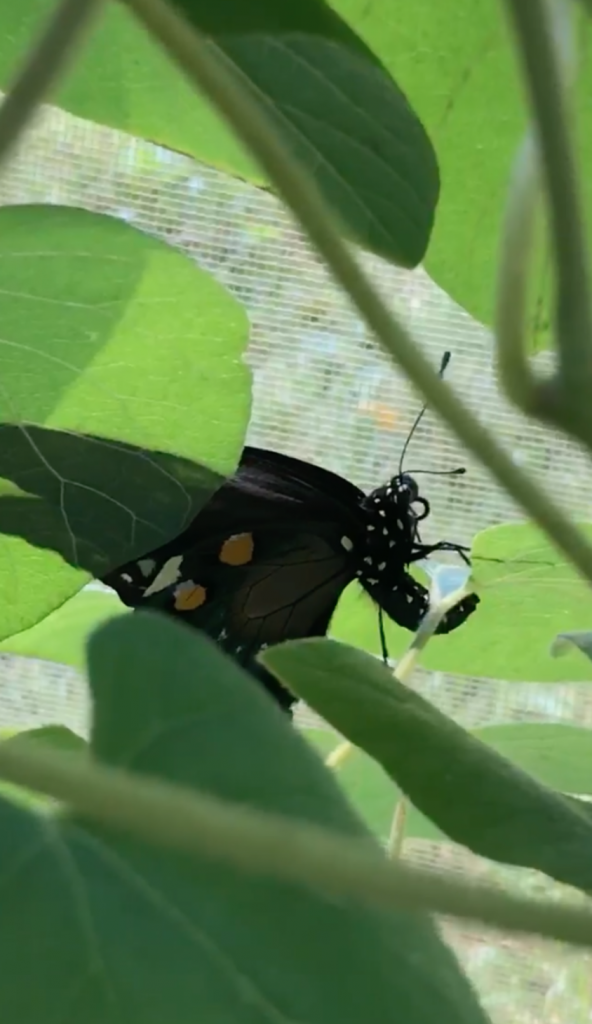
James and Kaitlyn mated adult pipevine swallowtails and tested how growth rates in their offspring may be affected by differences in ambient temperature. These females laid eggs on Dutchman’s pipe and they collected those eggs to put in different thermal treatments. They will monitor those larvae until they’re ready to become adults themselves.

Monarch butterflies

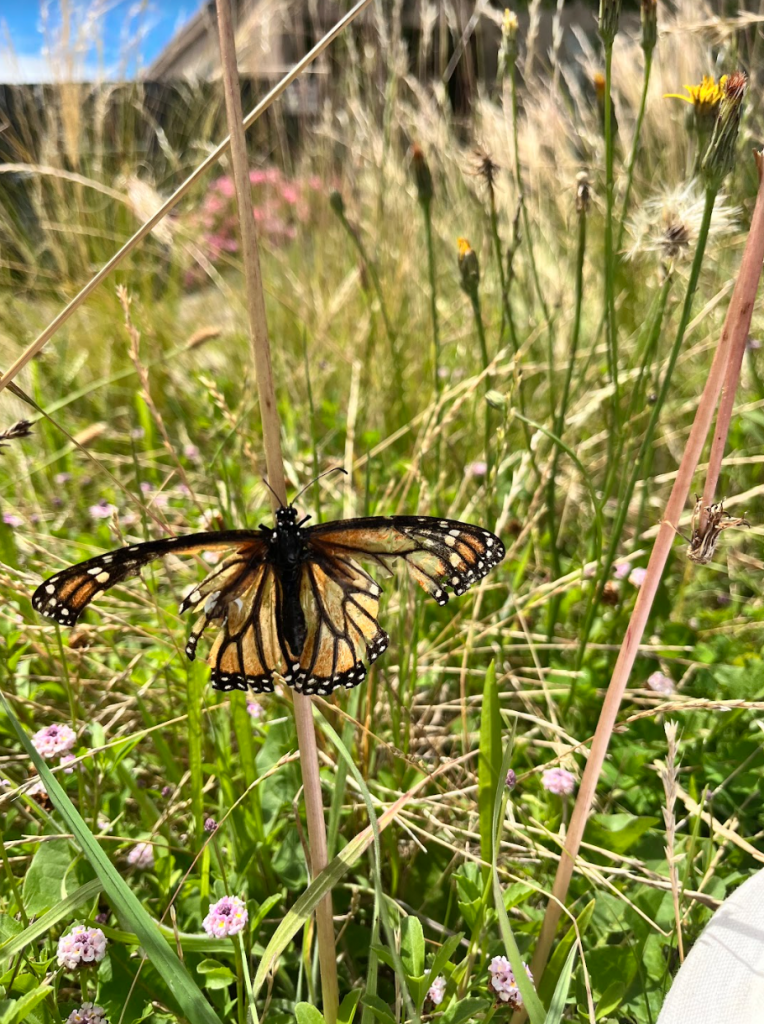
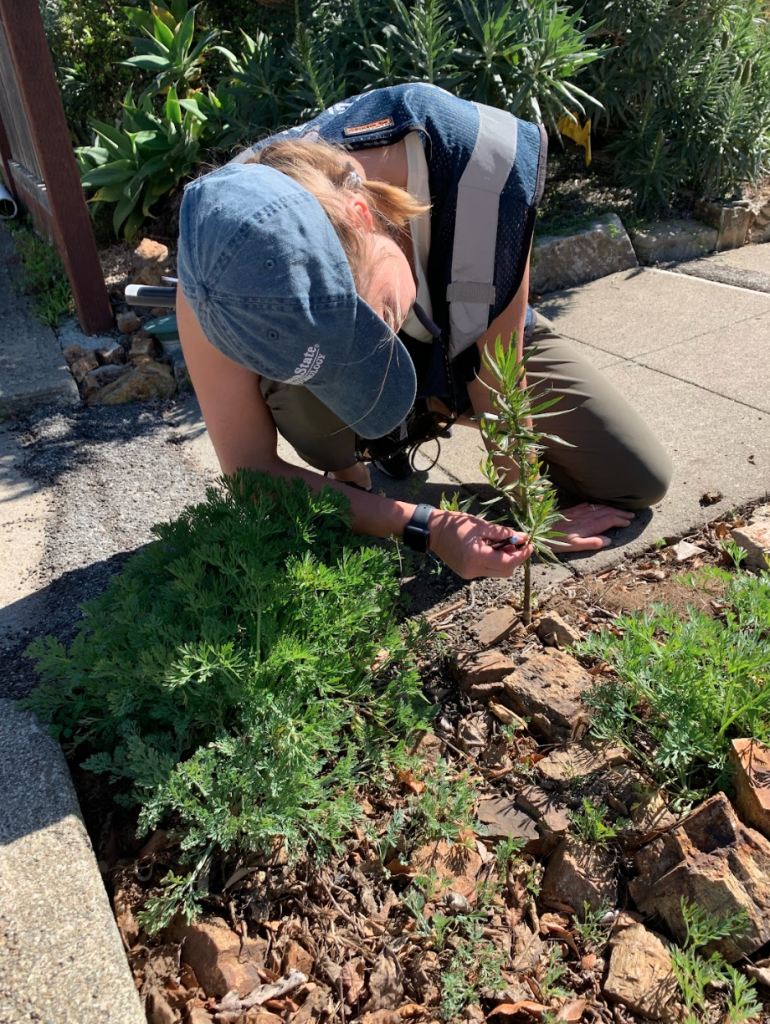
Also in California, Emily studied monarch butterflies in urban gardens in the San Francisco Bay Area. Most people know monarchs for their impressive yearly migrations. Recently, however, year-round breeding ‘resident’ monarchs have also established in coastal cities in Northern California. These residents are associated with non-native milkweeds – namely Tropical Milkweed (Asclepias curassavica), which do not die off in the winter as the native species do and therefore provide breeding habitat throughout the year. We don’t yet know yet how resident and migratory monarchs interact with one another in urban gardens, and what the consequences of these interactions may be. In her research, Emily hopes to understand whether the resident monarchs in urban gardens are a population that is independent of the migratory one, or whether the presence of residents and their non-native host plants are contributing to overall monarch declines in the West.

The 5 best ways to make your yard pollinator friendly

by Atticus Murphy

Planting a pollinator garden is all the rage these days, but if you’ve never gardened before, it may seem like a daunting task. Don’t worry, it doesn’t have to be complicated! You can support pollinators in your yard by taking several easy and important actions. Tufts Pollinator Initiative has distilled it down to the 5 most important actions you can take today!

1. Plant a diverse set of flowering plants

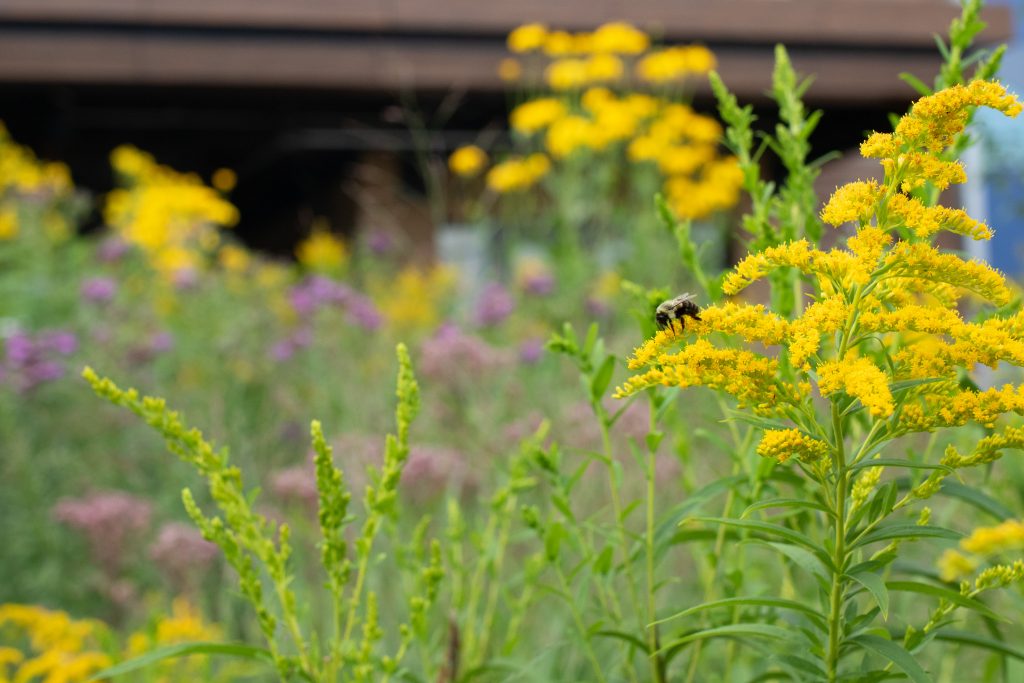
Diversifying the flowers in your garden is the best way to support the most types of pollinators. Shoot for diversity on all levels: color, flower shape, size, and, most importantly, bloom time. Each pollinator species might only be active for a few weeks and visit a small number of plants, so adding flower diversity throughout the year will almost always boost your yard’s pollinator diversity (and give you blooms year round!). A good place to start? TPI’s top 10 flowers for bees! 

Diversity begets diversity: we’ve planted over 15 flowering species at our campus gardens and seen over 115 species of insect pollinators!

2. Add woody plants like trees and shrubs

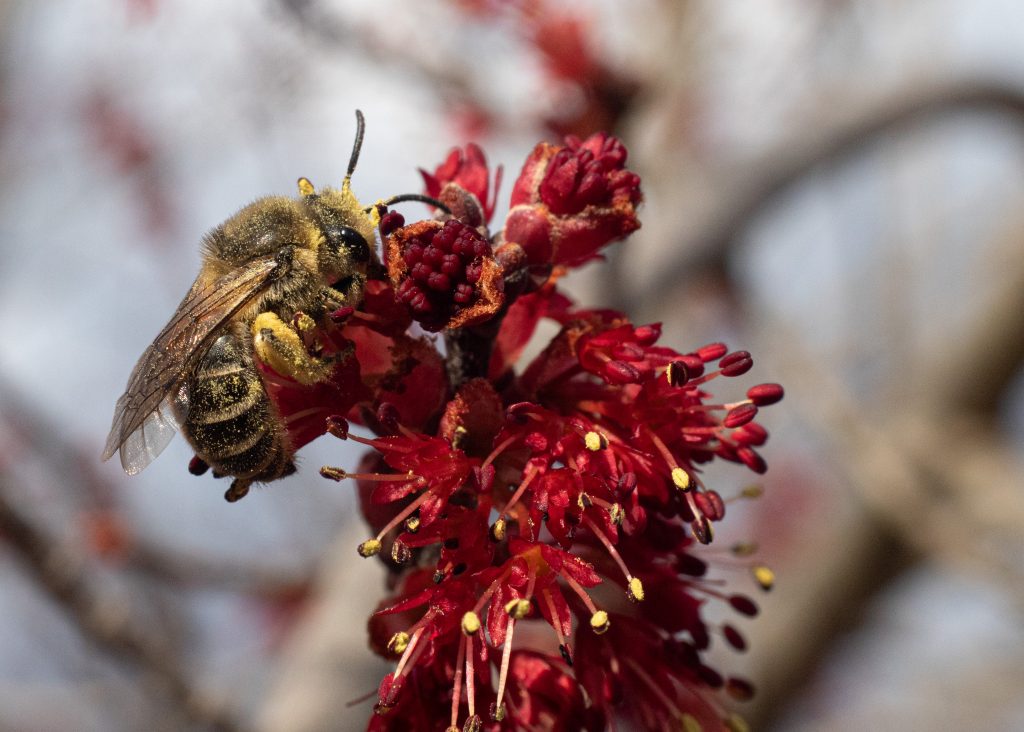
Native trees and shrubs make excellent additions to pollinator gardens because they provide resources that herbaceous, perennial flowers often don’t. For instance: many native trees and shrubs bloom early in spring, at a time when few other plants are blooming on the landscape. In addition, trees and shrubs provide homes for solitary bees and many butterflies depend on tree leaves to complete their life cycles. As a bonus, trees and shrubs require very little maintenance after their first few years and provide shade for decades! To help you pick, check out TPI’s top 10 trees and shrubs for bees.

Unequal cellophane bees (Colletes inaequalis) depend on pollen and nectar from early-blooming red maple trees to complete their life cycles.

3. Grow native plants

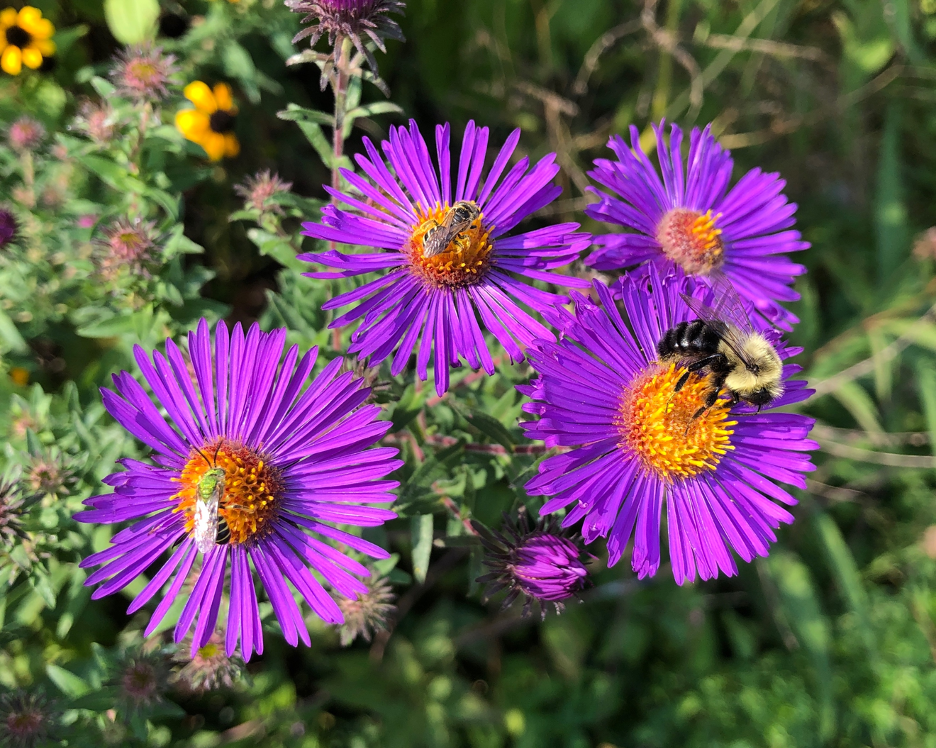
To support our native pollinators, grow native plants. Our native pollinators have been in relationships with native plants for thousands of years, and sometimes have evolved such a picky diet that only one or a few native plant hosts will do. Avoid non-native ornamental plants (esp. doubled cultivars) like petunias and impatiens–they either offer unsuitable food resources, or have been bred to offer no pollen and nectar whatsoever. Compared to traditional ornamental plants, native plants can survive is less than ideal soils and periods of droughts, while still filling your garden with bursts of color. Pick up your locally-grown native plants at TPI’s summer plant sale!

fall bees fueling up on new england aster before winter
Native bees love native flowers like New England aster.

4. Minimize herbicide and insecticide use

It’s simple: to keep insect pollinators around, don’t apply pesticides. Herbicides kill the flowers that pollinators use for food. Leaving weedy flowers (“weeds”) to bloom creates abundant and diverse resources for pollinators. And insecticides like neonicotinoids are deadly for pollinators: remember, anything that kills a mosquito almost certainly kills a bee. Even if you apply these chemicals to a separate area of your yard, they have a high potential of running off into the surrounding pollinator friendly areas. Stick to hand weeding problem plants whenever possible and try handling pesky insects in chemical-free ways like limiting standing water or having nests removed.

5. Mow remaining lawn infrequently

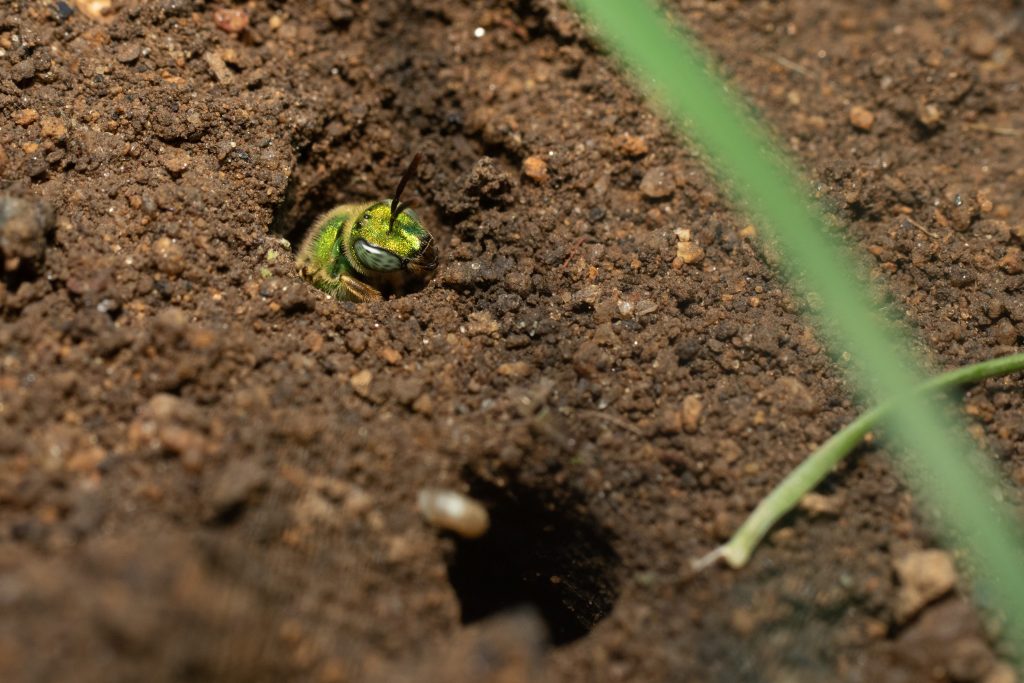
Conventional turf lawns are fun play spaces, but monocultures of grass do not support pollinators, so it’s always best to limit the amount of lawn on your property. For any lawn that you keep around, one of the most impactful things you can do is to mow as little as possible. Even going from mowing weekly to mowing every other week leads to dramatic increases in the number of pollinators and flowers found in lawns. You don’t need to let the lawn look truly wild to achieve big benefits either! Leaving a margin of unmowed grass around the edge can provide valuable nesting habitat for bees and low-growing flowers like white clover.

By mowing your lawn less frequently, you can support native pollinators like bicolored striped sweat bees Agapostemon virescens!

Following these simple steps can help you take big strides towards making your patch of the urban landscape a haven for pollinators. One of the most rewarding things about implementing steps like these is that you are nearly guaranteed to see returns after just a small amount of investment–if you plant it, the bees, butterflies, wasps, and hover flies really will come. Happy gardening!

To learn more, check out our publication on pollinator gardening produced in collaboration with Tufts CREATE Climate Solutions.