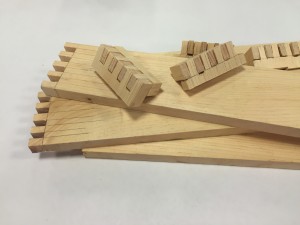
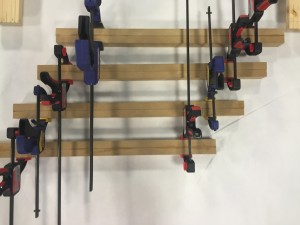
This week we moved away from modeling the table with foam, and began working with the wood that we will use to build the final table. At the beginning of the week I continued to practice making finger joints by hand, using a Japanese Z saw, chisels, and a mallet.
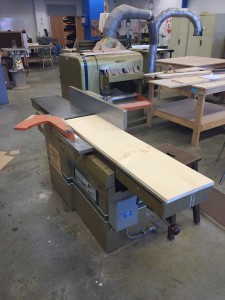
Yesterday, we went to Home Depot and back to Nedlam’s Workshop at Malden High School to prepare the wood for the final table. First, we used the jointer to make sure all of the wood was flat and square before we made any exact measurements or cuts.
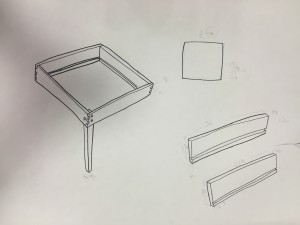
Next, we measured the final widths of our boards and drew up some sketches to plan out how to cut the rest of the wood.
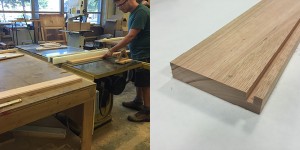
With our measurements planned out, we began by cutting all of the wood to the correct width using the table saw. First, we cut the legs of the table, then we cut our side boards. Once the wood was cut to the proper width, we set up the table saw with dado blades. These blades can be stacked together (shown below, right) to produce a thicker cut than the width of just one blade.
With the dado blades in place, we cut channels in each of the boards that the plywood base will sit in once the wrap is assembled. Once the channels were made, we used the miter saw to cut our boards down to the correct length.
When we returned to Bray, it was time to glue our plywood together and prepare the MDF legs for milling practice. Once we test the Vcarve files on the MDF legs, we can mill the actual legs.
Next, we will be making the finger joints on our eucalyptus boards to create the table wrap, milling the topography out of plywood, and assembling the table!
