Over the past weeks, I have been working to set up tutorial and reference pages on how to use the Othermill for 2D and 3D pieces. I included information I found on the Othermill support page, other online tutorials, and tips and tricks I found to be useful from my own experience with the machine.
2D Work
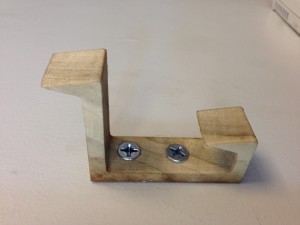
This tutorial goes over both the basics of the Othermill and its physical set up, as well as how to use use the relevant pieces of software. By walking through the set up of a sample file, users are reminded of how to properly format it. The tutorial progresses from a pre-made design in illustrator, to the properly formatted file, explains how to set it up using the Otherplan software, and finally describes the steps necessary for the physical set up. Although it is thorough, the tutorial should not be used to learn how to use the tool. Instead, it should be used for students to reference for help after the trainings. Below is an example of what can be done using the 2D capabilities of the Othermill:
3D Work
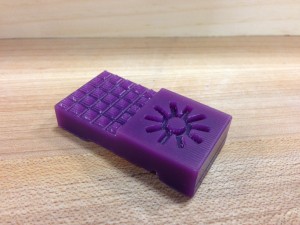
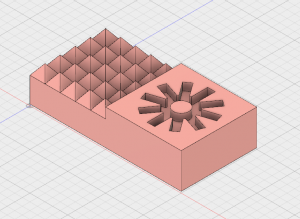
The 3D tutorial page does not cover as much of the Othermill basics. Since the physical set up is very similar, it assumes that the user would already have a firm grasp on how to use the tool. Instead, it focuses on converting a model into code that the Othermill can understand. To achieve this, I used Fusion 360. It is an extremely powerful CAD software with a CAM environment. Due to the the vast capabilities of the software, the tutorial had to be quite extensive and detailed. I included some screen shots of the more complicated menus along with appropriate labels. I would advise against using this tutorial as a singular resource to learn how to create 3D topographies using the Othermill. Much like the 2D, it is intended to be a reminder of what was taught during trainings. Below is a sample piece that was made using the 3D capabilities of the Othermill:

Final 3D piece created using the Othermill


