6 Tips for Producing Do-It-Yourself Videos at Home
Tufts has several tools for producing at-home or DIY lecture videos or presentations. Before diving into a tool, taking a few moments to plan and prepare can help improve the quality of the recording. Below are some simple steps you can take, regardless of the tool you use, to maximize the impact of your videos with students.
Segment Your Videos and Keep Them Short
Current best practices and research indicate that instructors should be segmenting their online lectures so they are 6-10 minutes in length. This allows the videos to function modularly, provides natural breaks for student attention and checks for learning, and students can more easily review sections. In addition, shorter segments will be easier for you to record and replace at a later point in time.
Often you will find that your lectures naturally fall into segments – divisions between topics, ideas, and so on. You may want to create an outline of those segments and record them as individual videos. Consequently, a full 60-minute lecture might have several 6 individual 10 minute videos that will be sequenced for students to watch in order.
Design Simple and Accessible Slides
Slides should be clear, focused, and high contrast. It is better to have more slides with less information on each slide than fewer slides crowded with text and data. Slides that illustrate points, provide context, or provide the basis of an anecdote are best.
Be sure to use high-contrast colors. Black text on a white background (or the inverse) are your best bet. Use reasonable-sized fonts. Videos are often watched by students at less than full-screen size, and smaller fonts are difficult to read in such videos.
If possible, relevant visuals tend to have a greater impact than words. If your concepts can be represented by graphics or pictures, then that is often better than a bullet list of text. In general there is an inverse relationship between the amount of talking you do over a given slide and the number of words a slide contains. You want to try to have few words on the slide and use your voice to explain and expand upon them.
Build in Checks for Learning
The most effective uses of sequenced short videos include learning checks between each segment. Asking students self-diagnostic questions at the end of a section allows students to determine if they’ve fully understood the key point of a video before moving on. You can also aggregate the results of these checks to see if many students are having difficulties with a given segment. Just as you might occasionally pause in a live lecture to query for understanding in a classroom, asking key questions between video segments will help students process and synthesize the key concepts they have just been given. There are a few good options for providing learning checks between your video segments
- At the end of a video: At the end of a segment is a great time to ask a question. This can be about the specifics of a video segment, or can be questions designed to prompt students to apply new understanding to novel circumstances. If this is done at the end of a segment of lecture that is not the final segment of a sequence, it also provides an excellent transition into the next segment (as you can briefly speak about potential answers/solutions to the question you’ve asked).
- In between video segments: It’s possible to include questions to be answered in between segments – that is, a list of written prompts can be posted to be viewed/completed in between segments. This need not be a graded assignment (though it could be), and serves to make sure students are connecting their new material into their understanding.
- In the middle of a segment: depending on the topic, it could be useful to give a prompt and have students pause the video on their own to reflect on an answer or work out a solution before continuing on with the segment.
Capture Clear Audio
Clear audio is critical in online videos. Students will often tolerate less-than-optimal video quality, but poor or unclear audio can be a distraction to learning.
- Find a quiet location to record. Be aware of computer noises (phones ringing, email alerts, computer fan noise etc), HVAC noise, interruptions, and ambient noise (traffic, trains, footsteps, etc).
- Use the best microphone you can. If you have a USB microphone available, then that is a great place to start. If you don’t, you might have a pair of headphones that have a built in microphone that could work. Even cell phone headphones with an included mic are often better than the mic on your laptop. Do a test or two with the mics you have, listen back, and make adjustments before starting an entire lecture segment.
- Place your microphone in such a way so that the volume when playing back is loud enough, but make sure you aren’t yelling into the mic. Again, do a few tests and make adjustments so that the volume and tone of your voice will be pleasant to listen to for students.
- Speak clearly. You can speak rapidly, but try to take care to enunciate clearly and speak crisply.
Light and Frame Yourself Properly for Video
If you are including video of yourself, there are a few steps you can take that will help improve the quality immensely.
- Lighting: If you have a window with natural light, that’s excellent! You should face towards that window so your laptop and camera are between you and the window. If you are in a darker room (or are recording at night), place a lamp behind your computer to light your face. Don’t rely on overhead lights, which can create shadows, or ambient light in a room. Avoid being backlit (having a light or window behind you one) – you’ll appear as a silhouette.
- Framing: Laptops on a desk tend to sit below our eye line, and that leads to an unflattering low-angle image. Raising your webcam (or your entire laptop) up so the camera is at eye height will yield a much more natural image. A small pile of books will do the trick for raising the height of your laptop. If you’re recording a video of you speaking to camera, your head and torso should fill most of the frame, with your head only a few inches from the top. Ideally, your eyes would be aligned with a horizontal line 2/3rds of the way up.
- Wardrobe: Cameras struggle with small patterns, and these can often produce undesirable visual artifacts in video. To avoid this, solid colors are best, and a color that provides contrast with your background is a good choice.
- Background: What’s behind you in your video? For instructional videos, you should keep your background distraction-free with either a neutral background (such as a blank wall) or a clean, professional-looking background (such as a neat, uncluttered office space). If you have a tight or cluttered space, you might want to purchase a simple backdrop that you can set up for your videos.
Show Yourself and Be Yourself
If presenting slides or visuals, your online or remote students will still want to see you – maybe not for the entire video lecture, but at least at the beginning and end of each segment. There is evidence that video of a speaker over an instructional video can be a distraction, but video of you spliced in can also be effective in making a point, capturing student’s attention, and adding your presence to the materials. When developing an outline for your video segments, think about when video might work well, either with text and slides or as full screen video, and plan to incorporate some video of yourself so your students can see you.
In addition to being on screen for at least part of your video segments, be yourself and let your personality come through!
Learn More
- How to make videos with Kaltura Capture software (ETS)
- How to make videos with Echo360 Personal Capture software (ETS)
- Example of a video shot in an office that makes use of most of these techniques (Khan Academy)
- How to Look Good on Camera, According to Tom Ford (New York Times)
See Also
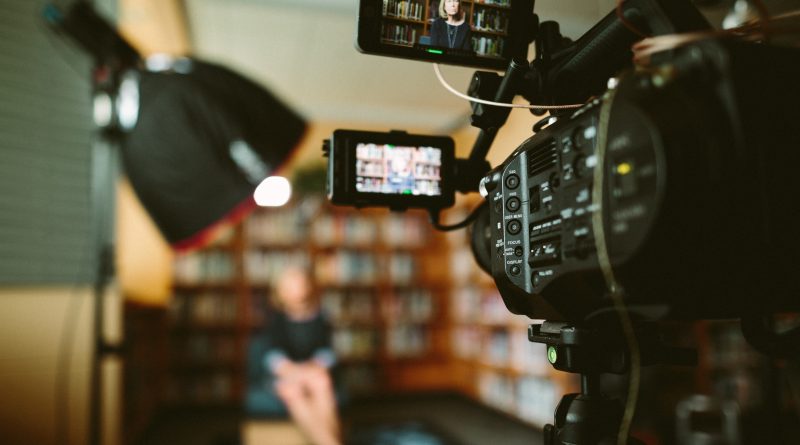
Image credit: Photo by Sam McGhee on Unsplash