Lately, one of the 3D printers in the Design Lab has been acting improperly. Upon extrusion, the filament would not come out straight from the driver. Instead, the material would bend upwards, often times catching itself on the extruder or creating clumps and knots in the filament that wouldn’t stick to the bed.
We originally thought that there was a clog in the extruder screw tip, so our first goal was to replace it. Also, the extruder was covered in plastic and was missing some insulation tape, so we figured that melted plastic was interfering with the path of the filament or that the tip wasn’t heating properly which would impact the state of the material as it extrudes. Either way, we thought that if we replaced the screw tip, cleaned up the melted PLA, and added more tape, the 3D printer would revert to extruding properly. We began this process by removing the extruder from the conveyor track and preheating it so we could chip away the melted plastic. Once the driver was cleaned up we completely took apart the extruder and examined it for any issues but couldn’t find any obvious problems. From there, we removed the screw tip, which was much harder than expected. We then removed the old tape bits and added a fresh layer of tape and reassembled the extruder. However, when we tried printing, the same problem would occur.
We decided to take apart the extruder once again to look for problems with the individual components within the feeding mechanisms. Once we removed the fans and heat exchangers, we could get a better look at the gears and tubing that leads the filament into the tip.

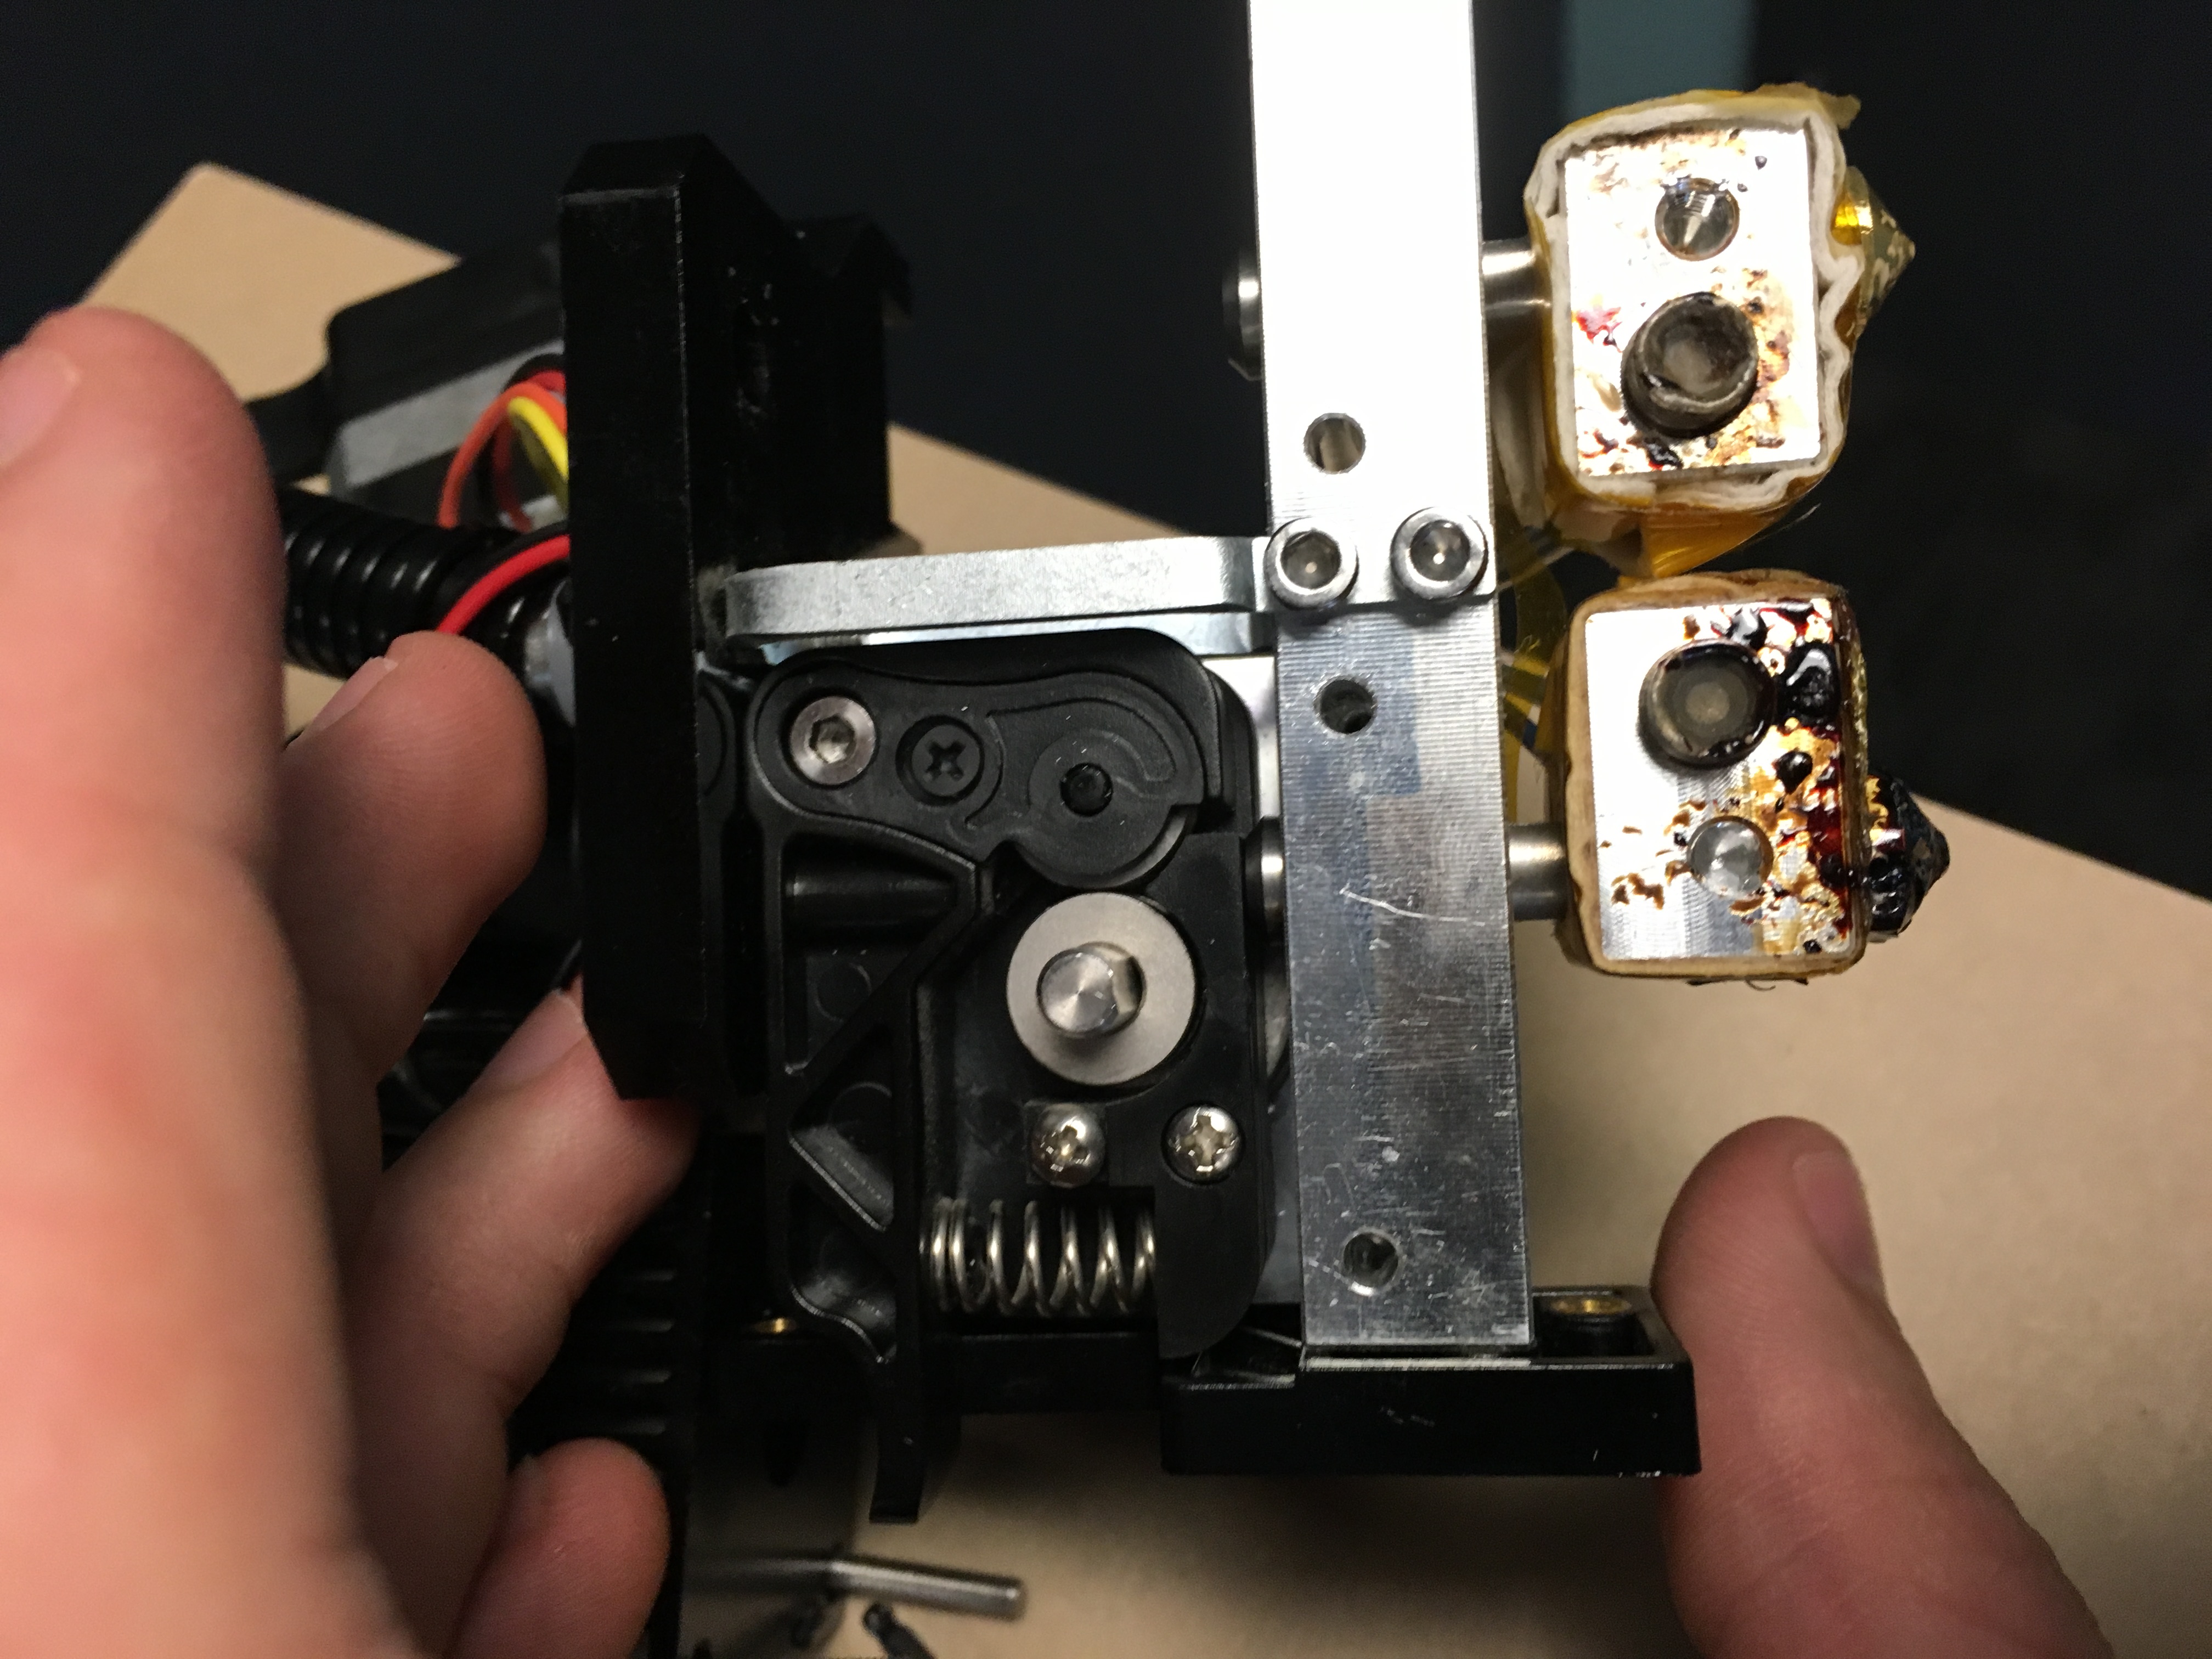
The gear system that clamps to the filament and feeds it through to the tip seemed to be working fine after testing it. And since the tip had just been replaced and cleaned, we figured the problem had to lie in the tubing between the gear system and tip. Surely enough, the plastic tubing (which can’t be seen in the above photos) that exists in the metal frame had been clogged. We replaced this component and put the extruder back together again. When we ran a trial print, it was a success!
Afterwards, we decided to replace the bed in this printer as well. We had replaced the bed already with one of the 3D printers and the new material was much more effective at adhering to prints. Removing the old bed was a long and tedious process but once we stuck the new material to the bed frame our prints came out in much better shape. All in all, the 3D printer is now functioning very well.

