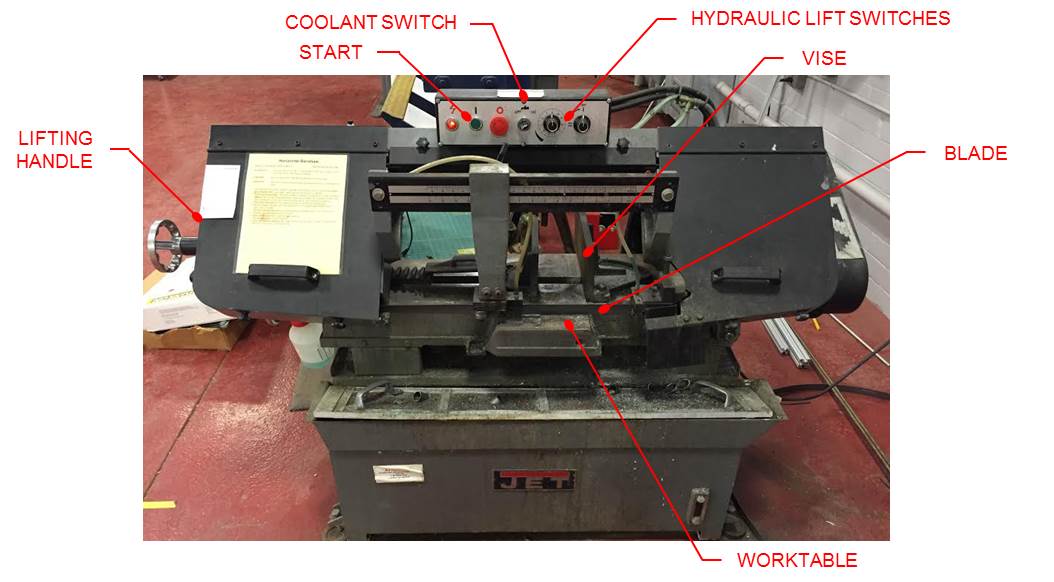
HORIZONTAL BAND SAW
 SETUP AND SAFE OPERATION
- Use lifting handle to raise the band and lock in place by turning hydraulic ON/OFF knob to OFF position (OFF is all the way turned, not in line with the OFF line on the knob)
- Make sure worktable is clean to avoid leveling issues ( brush off any chips from vise)
- Place your workpiece in the vise — needs to be at least 8” so that it will clamp past the channel, if short use a scrap piece to balance it
- If your workpiece is too long and comes out the back of the machine, use the balance (it is balanced if you tap the front of the piece and if there is no noise or if you see no light passing under)
- Drop the band to be about ¼” above the piece before you begin the cut but turning on the hydraulic valve and using the cutting pressure control that controls the speed downward of the machine (turn off the valve when ¼” above)
- Push clamp so that the piece is in place but can still move back and forth for measuring
- Use a measuring tape and place the end of the tape on the blade and the side on the piece (marking the piece before is not as helpful because of parallax)
- Clamp piece tightly with the vice clamping wheel
- Adjust the cutting pressure control to set the downward blade pressure during cutting (a lower pressure will produce a straighter, yet slower cut)
- Turn on the rotation of the blade with green button and spray the band ahead of the part with a coolant
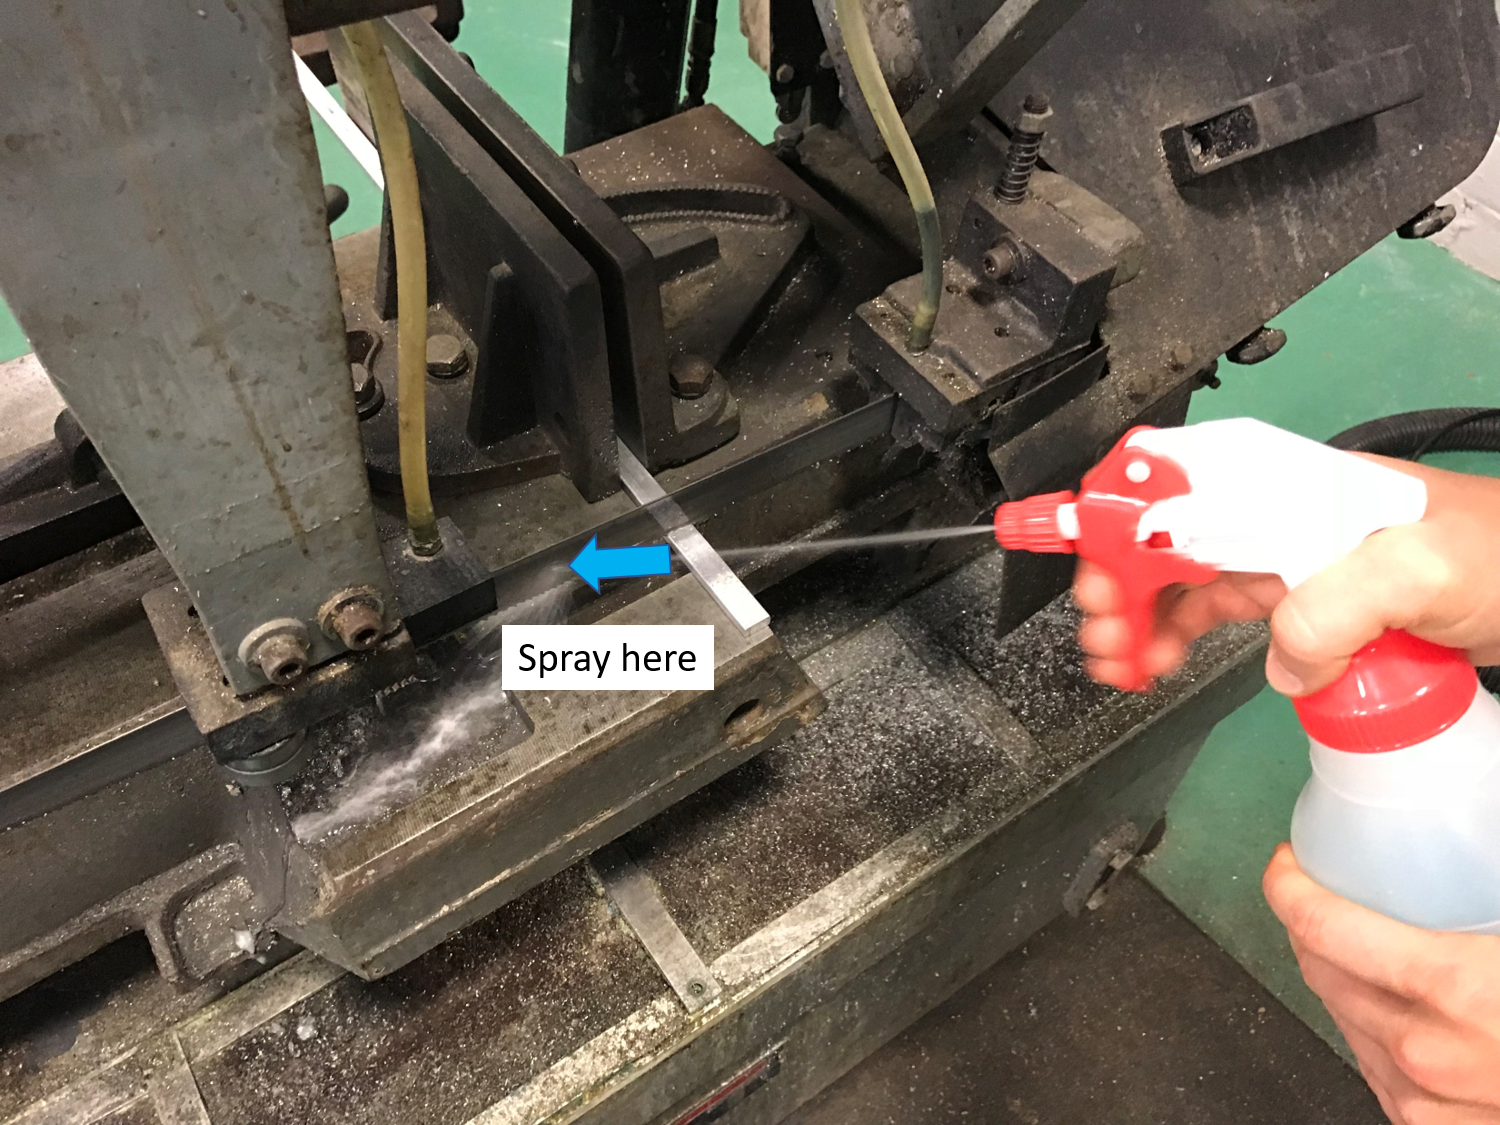
- Turn the hydraulic ON/OFF valve to ON and continue to spray with coolant
- Let the band cut through your entire part, the band saw will stop band motion automatically
- Unclamp piece, lift with 2 hands to raise the blade
CLEANUP
- Use a file to de-burr both sides of the cut
- Use a brush to clean off the worktable and surrounding parts of the machine

