Laser Cutter
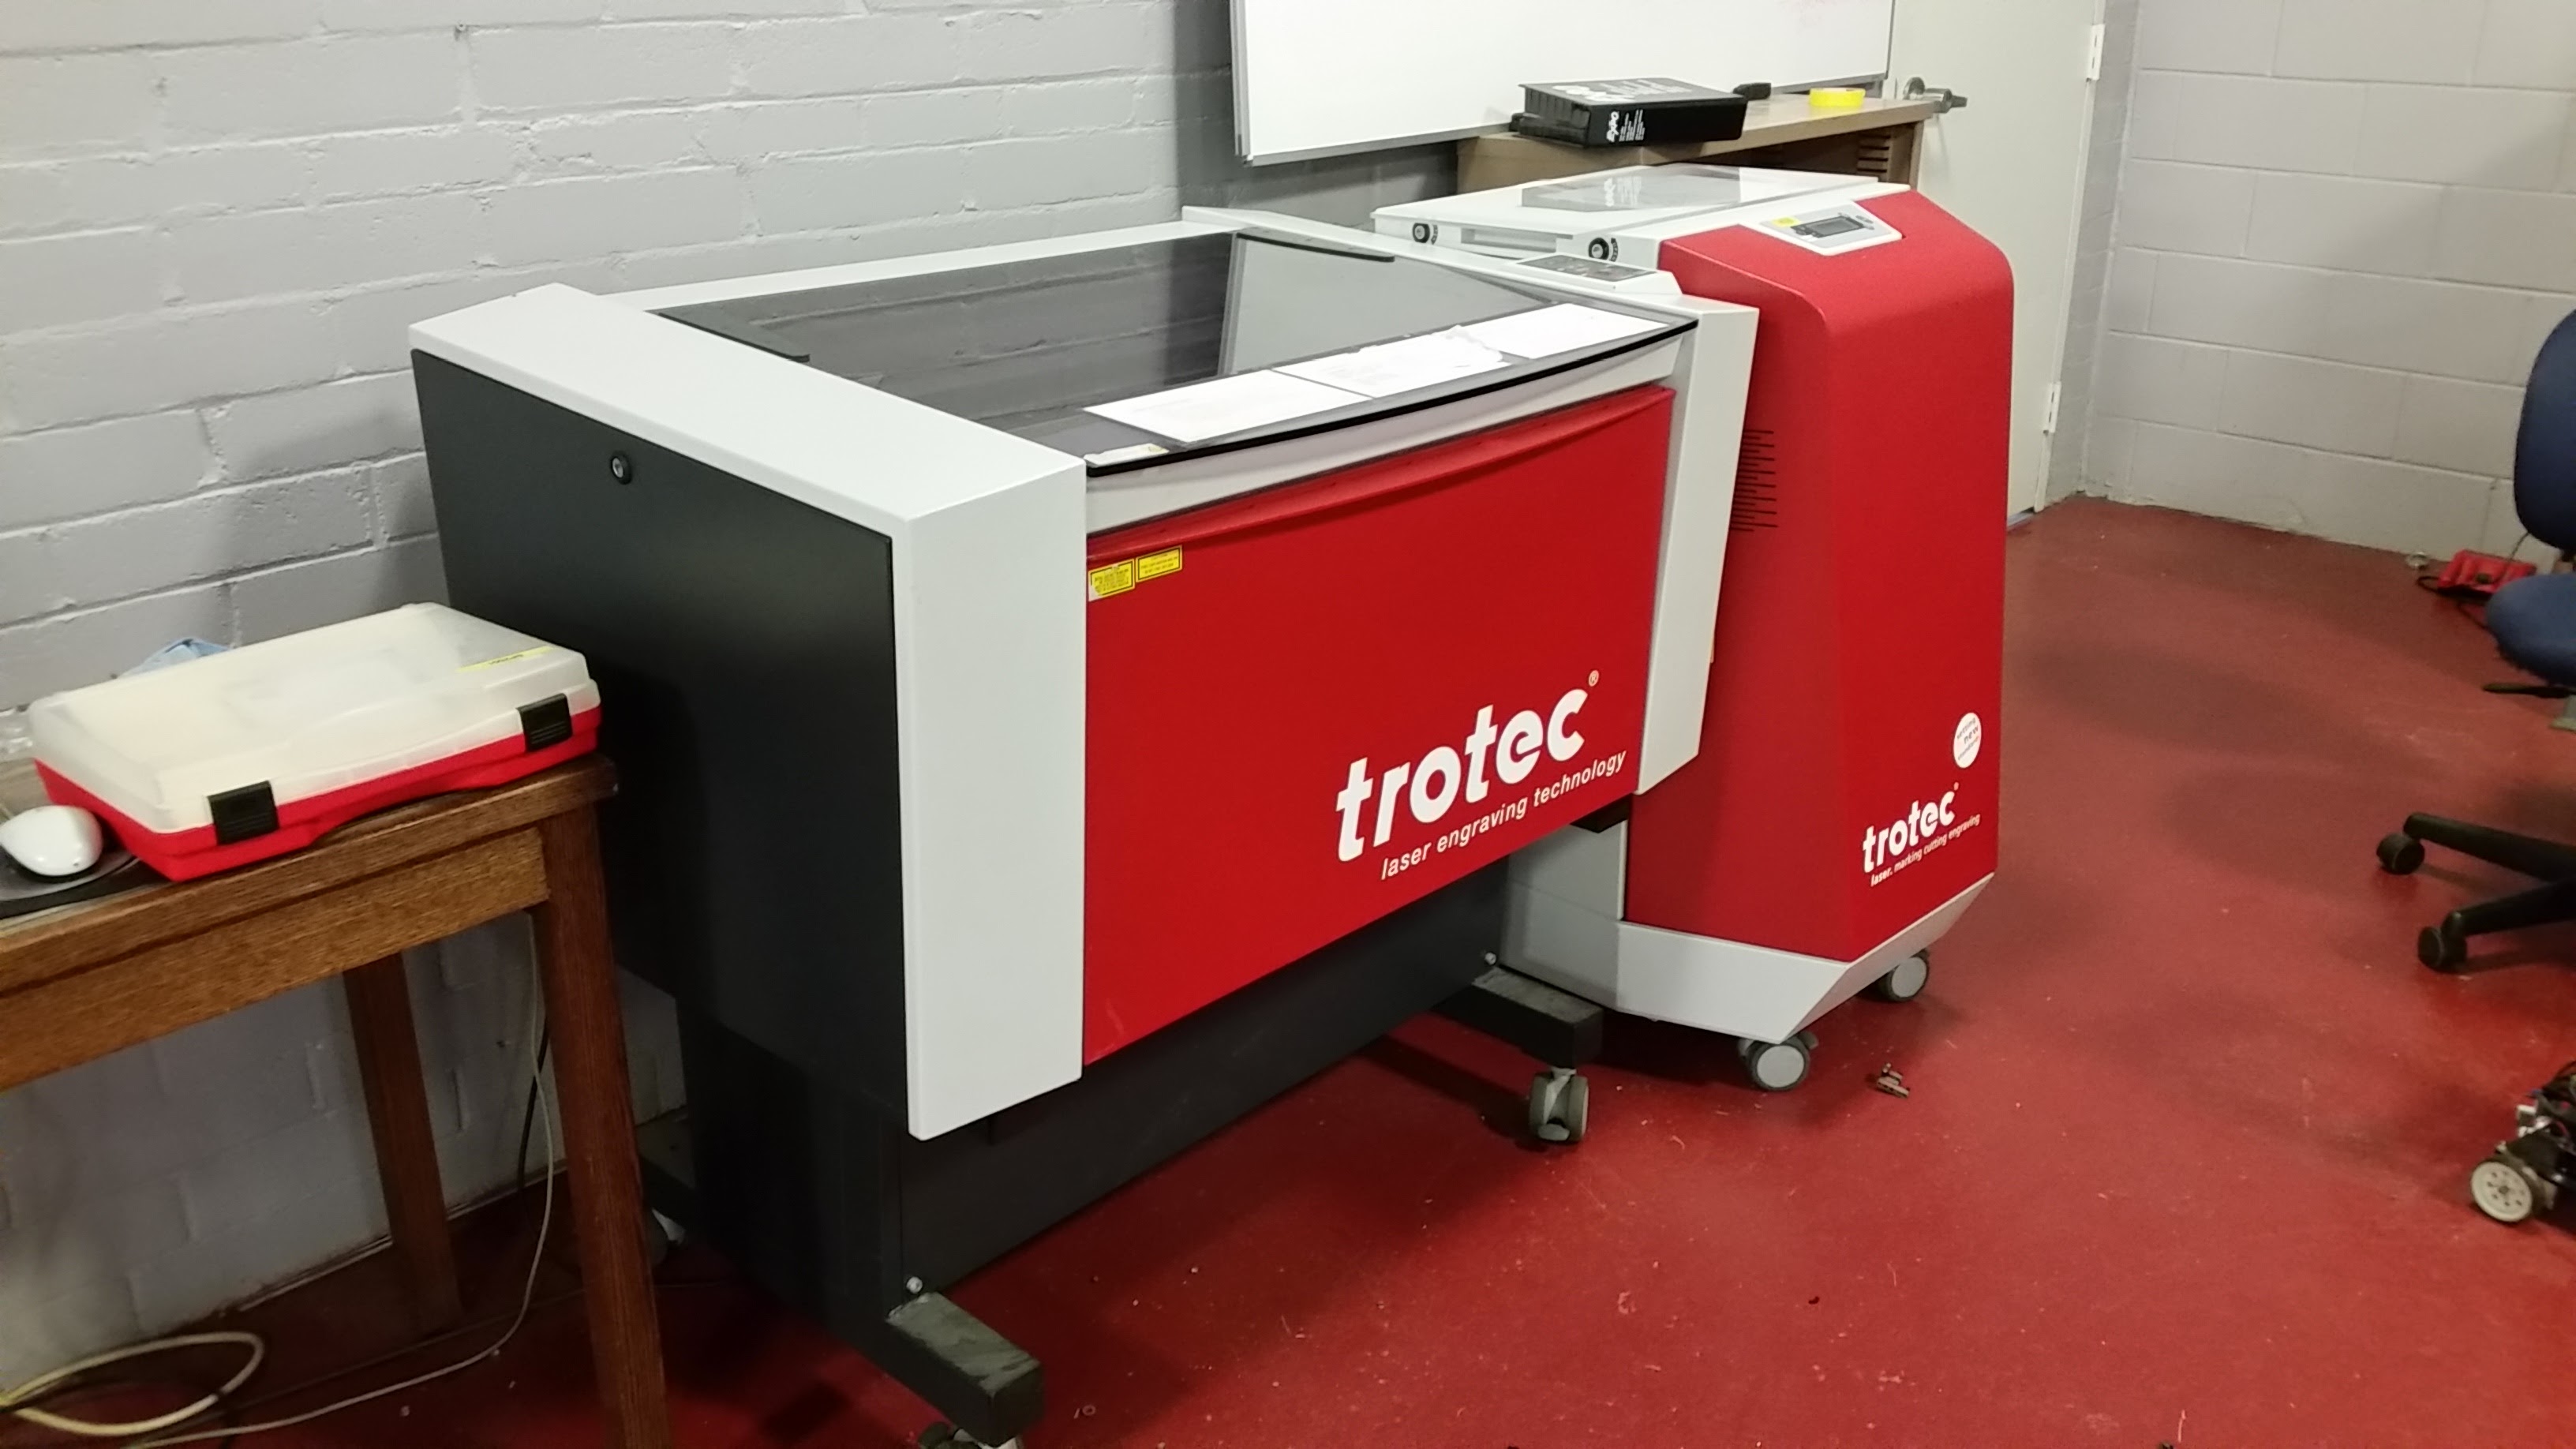
Trotec Speedy II 40 Watt Laser
&
Trotec Speedy 400 120 Watt Laser
About the Tool: Subtractive manufacturing. Cuts and etches material selected to match the path given.
Location: The Shop
Access: Laser Cutter and Hand Tools (“green zone”)training required.
File types: .dxf, .dwg, .eps, .ai (adobe illustrator), .pdf
Build size: 39in x 24in
Layer thickness: 0.254 mm (0.01 in.)
XY Accuracy: .005 inch per inch of build OR .0015 (whichever is larger)
Materials:
| Category | Allowable Materials | Restricted Materials |
|---|---|---|
| Wood | Solid wood Plywood MDF Tempered hardboard Hardwood [engrave only] |
Pressure-treated Stained Painted wood |
| Paper | Chipboard Museum board Mat board Butter board |
Corrugated cardboard [fire hazard] Coated paper |
| Plastics | Acrylic (up to 1/4 inch) Kapton tape (Polyimide) Mylar (Polyester) |
ABS [releases cyanide gas] Carbon Fiber Delrin [releases formaldehyde] Fiberglass HDPE [melts, hard to cut] Nylon PETG [melts] PVC [releases chlorine gas] Polycarbonate / Lexan [fire hazard] Polyethylene (PE) [melts] Polypropylene (PP) [melts] Vinyl [releases chlorine gas] Styrene Teflon |
| Foam | None | Fire hazard |
| Glass + Metal | Engrave only | |
| Leather | None | Leather [Offensive Smell] |
| Rubber | None | Rubbers [may release chlorine gas] |
| Textiles | Aramid Cotton Fleece Felt Lace Polyester Silk Synthetic & technical textiles |
|
File Types
The software accepts any 2D drawing. For cutting, the drawing must have vector lines with a stroke of .001 and pure red.
Please visit the Design Programs webpage for software recommendations.
Physical Setup
- Turn on Trotec Speedy II and filtration system
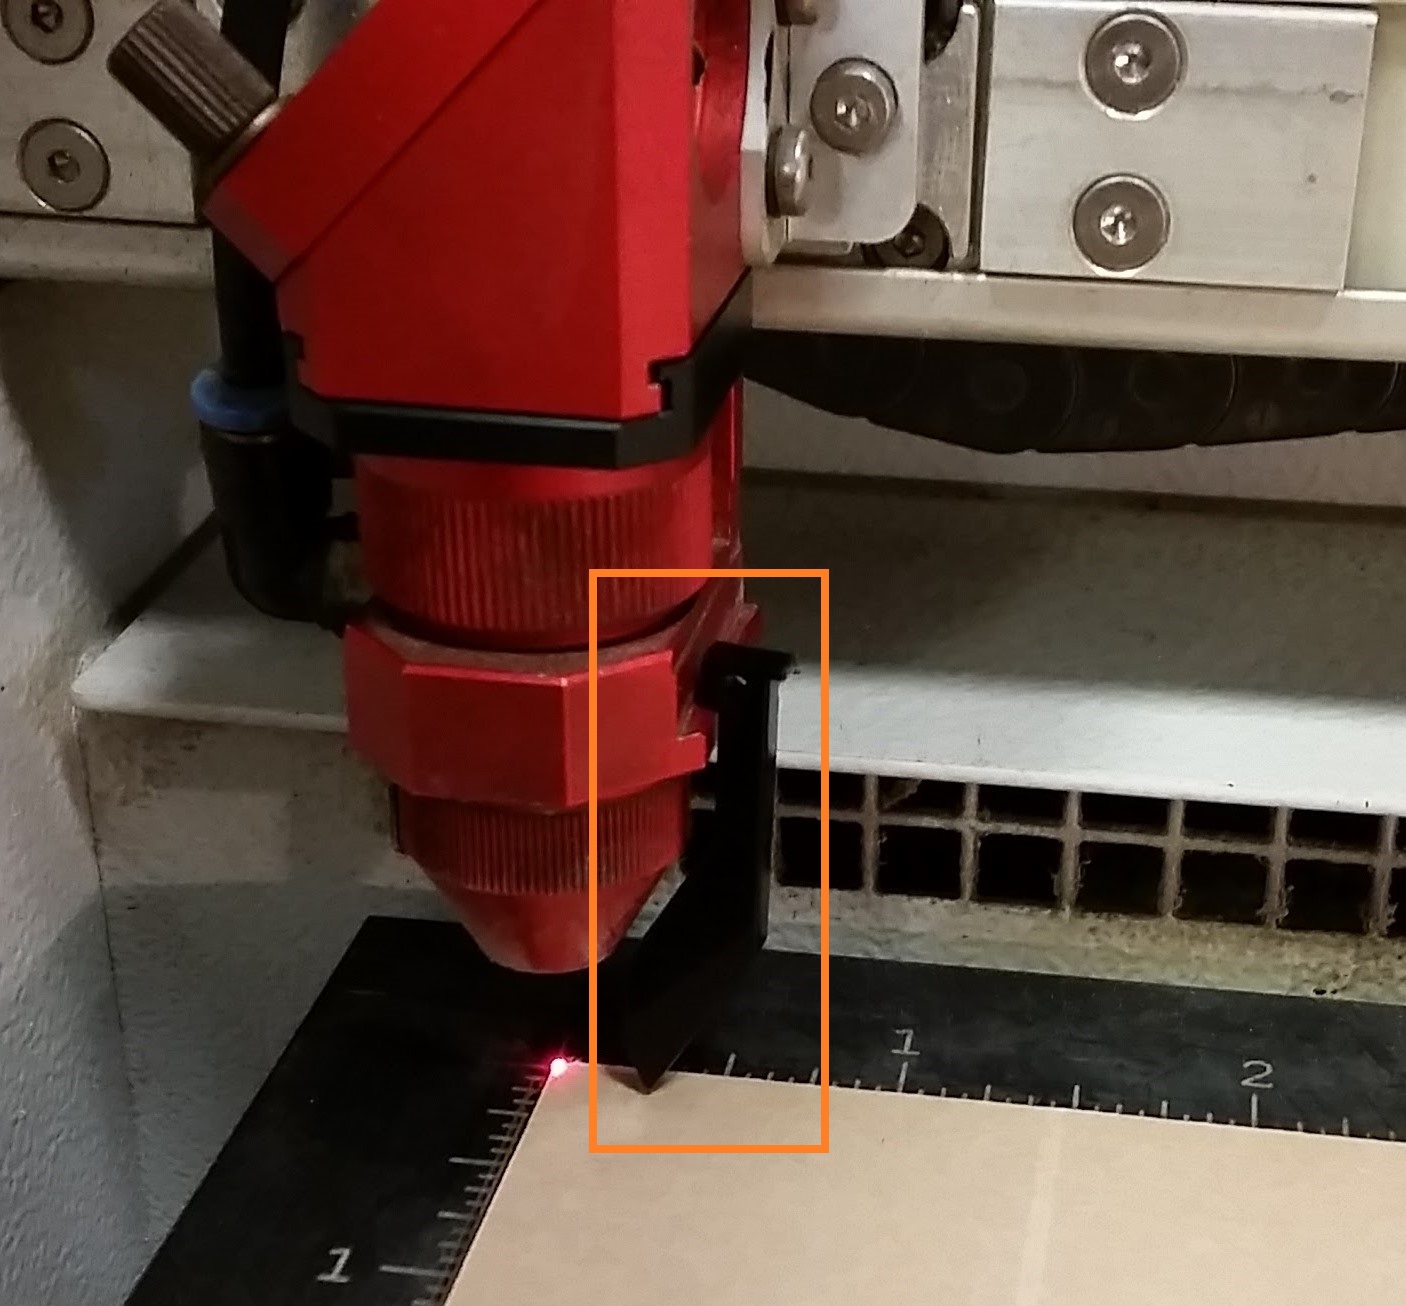
- Use the focus tool and buttons on the machine to focus the laser.
Digital Setup
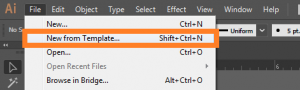
- File -> New from Template… -> Bray Laser
- Select “File -> Place…” then select your file. This will insert your drawing into the Bray Laser template.
- To cut
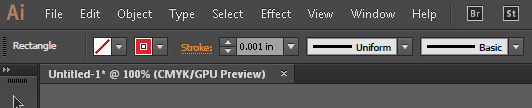
- Lines must have a .001 inch stroke and be RGB Red:
- Select File -> Print
- Select Printer Preset: “Bray Laser”

- Job Control Program will open
- Drag your file onto the bed and position where you want it to be cut
- Go to view -> WYSIWYG to view drawing

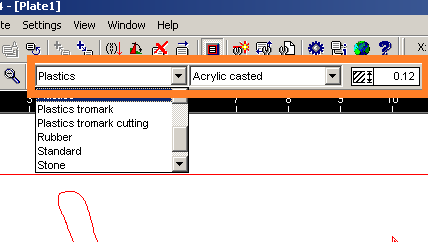
- Select material and enter thickness
- Connect to laser cutter

- Select Play
Safe Operation
- Machine must be monitored while in use.
- Wait until the light on the fan button turns from yellow to green to indicated it is safe to open the top because air filtration is completed.
Cleanup
- Remove your material and all debris.
- Throw excess material in the trash.

