Waterjet
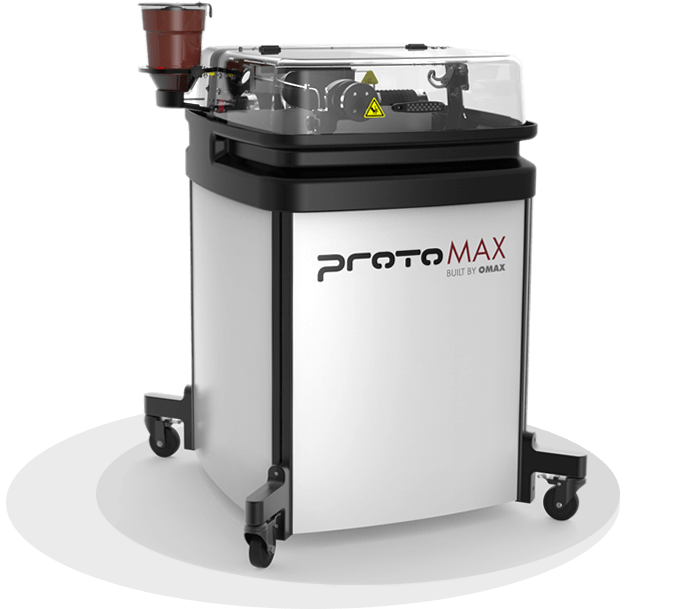
ProtoMAX
About the Tool: Subtractive manufacturing. Cuts material selected to match the path given.
Location: The Shop
Access: Laser Cutter and Hand Tools (“green zone”) training required prerequisite. Additional Waterjet training required.
File types: .dxf, .dwg, .ord, .ai (adobe illustrator), .pdf, .svg
Build size: 12in x 12in
Max Material Thickness: 1.00 in
XY Accuracy: .005 inch per inch of build
Materials: Metals, glass, plastics and stones
Digital Setup
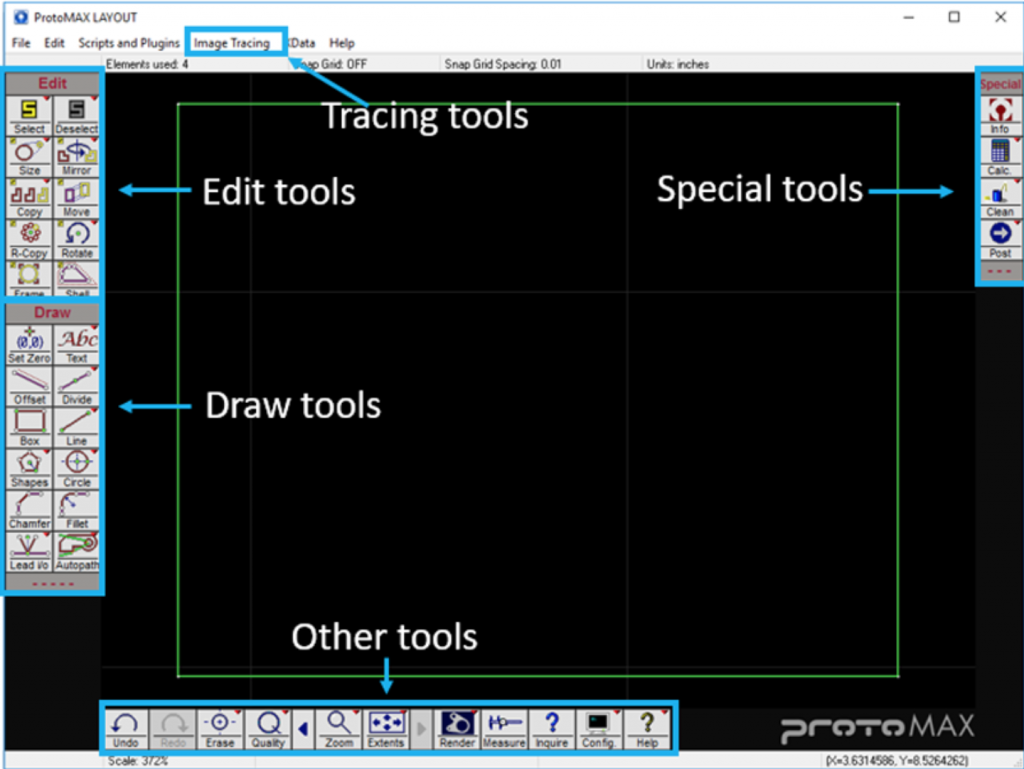
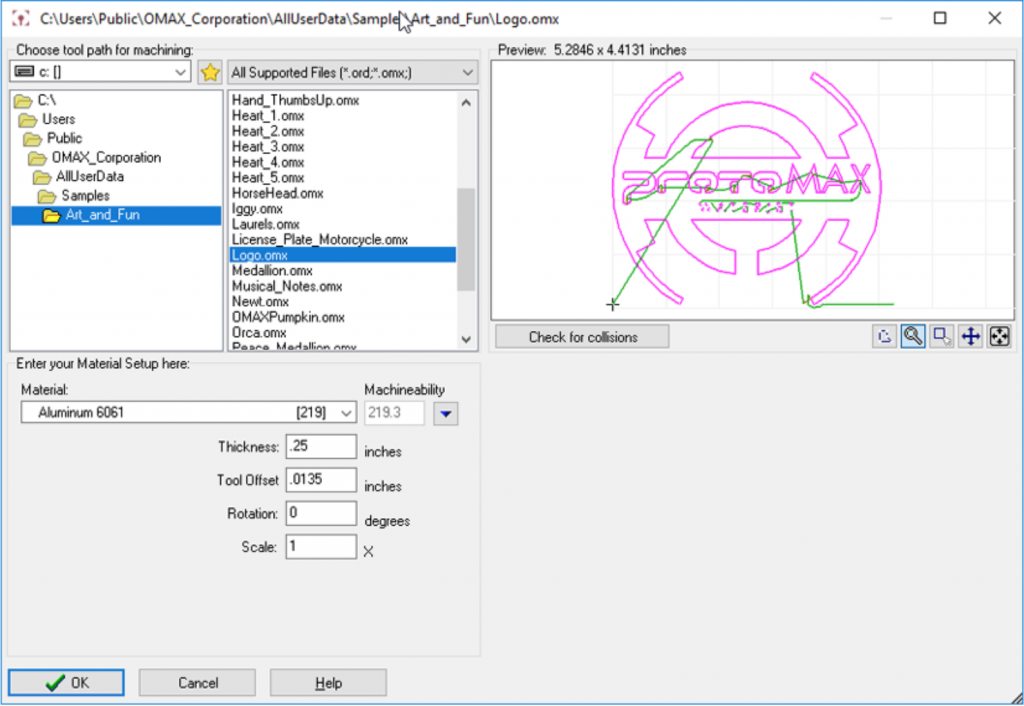
Step 1: Import or create a drawing file (.dxf) on ProtoMAX LAYOUT software. Select File > Import from other CAD or New.
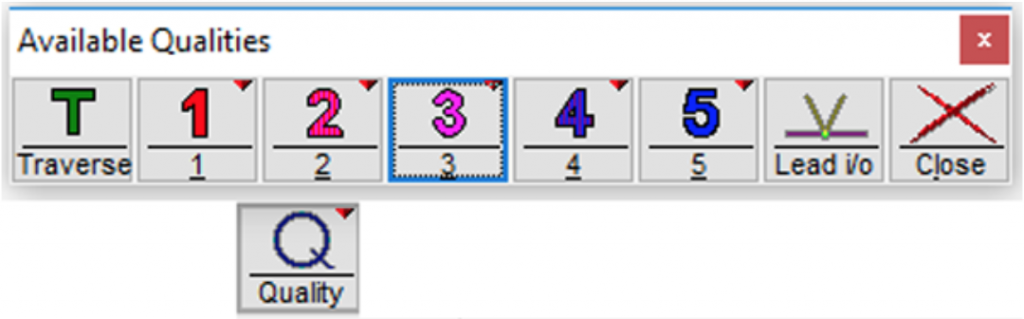
Step 2: Assign machining qualities (edge finish) to drawing entities (lines, arcs, etc.): This tells the nozzle how fast or slow to move to obtain desired finish. Select 3 for standard machining.

Step 3: Clean the drawing: Remove any duplicate entities, extra dots, gaps or unnecessary entities. Select Clean button on Special tool panel.

Step 4: Add path elements to the drawing: This tells the machine where to cut, where to travel without cutting (traverse), when to pierce the material (lead in) and the exit points (lead out). Select the Autopath button in the Draw tool panel.
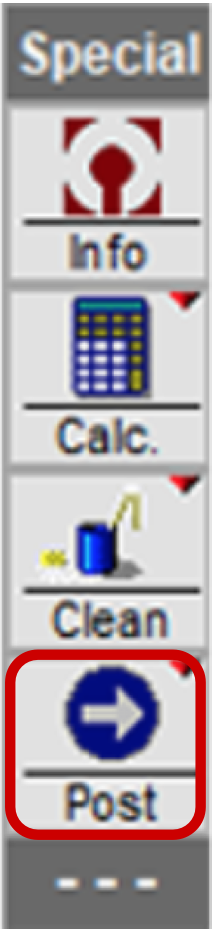
Step 5: Create the machine tool path file (ORD/OMX): Convert the drawing file (.dxf) to a machine tool path file (ORD/OMX) that will tell the machine how to cut the part. Right click on the Post button and then select Automatically Generate button.
For more information, visit: ProtoMAX LAYOUT Website
Physical Setup
Step 1: Start up the machine
Step 2: Open and configure the ORD/OMX file on ProtoMAX MAKE software: Open the tool path file and ensure that the material setup data is entered. Right click Post button on the ProtoMAX LAYOUT software and select Open OMX Path in MAKE. Then select the material and add the thickness.
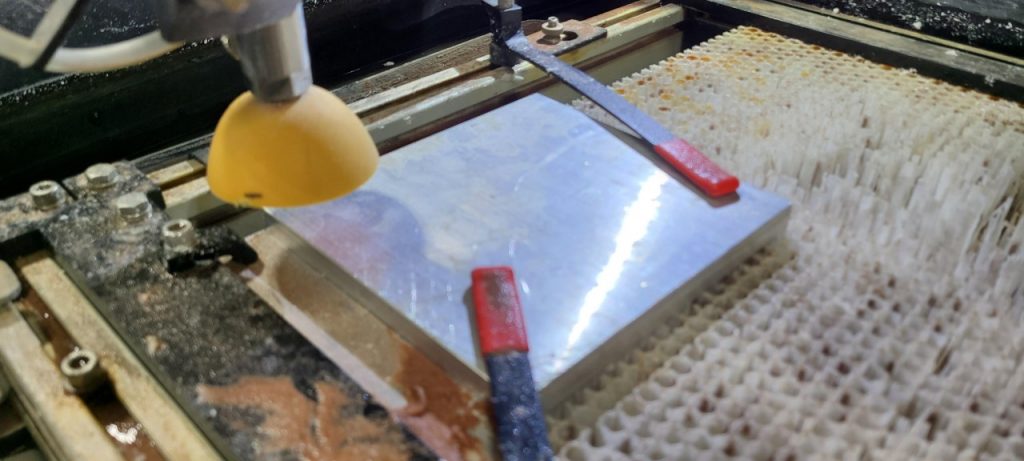
Step 3: Load and secure the material
Step 4: Position the nozzle: Attach the splash guard to the nozzle with the cup up; set the nozzle stand-off at the highest point of the material surface; move the nozzle to the start of the machine tool path.
Step 5: Prepare for machining: Conduct a dry run to ensure that your part fits on the material and that the nozzle clears any obstacles.
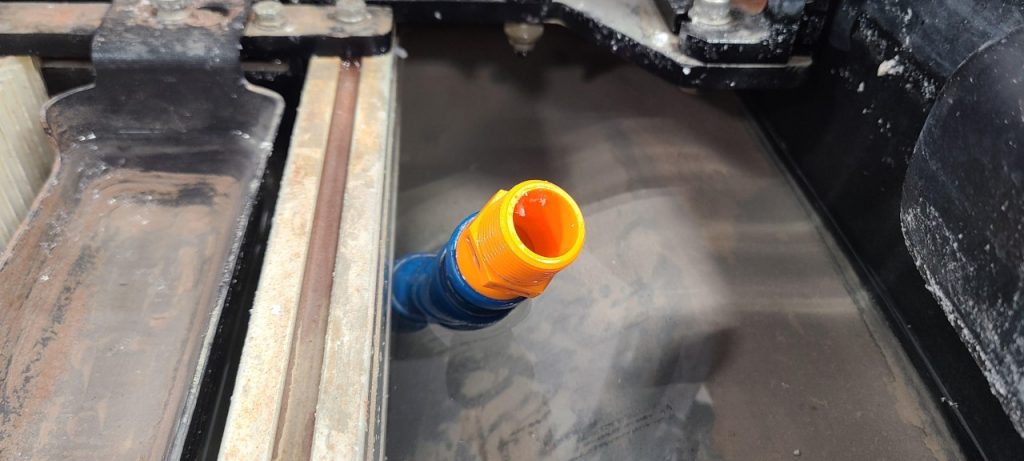
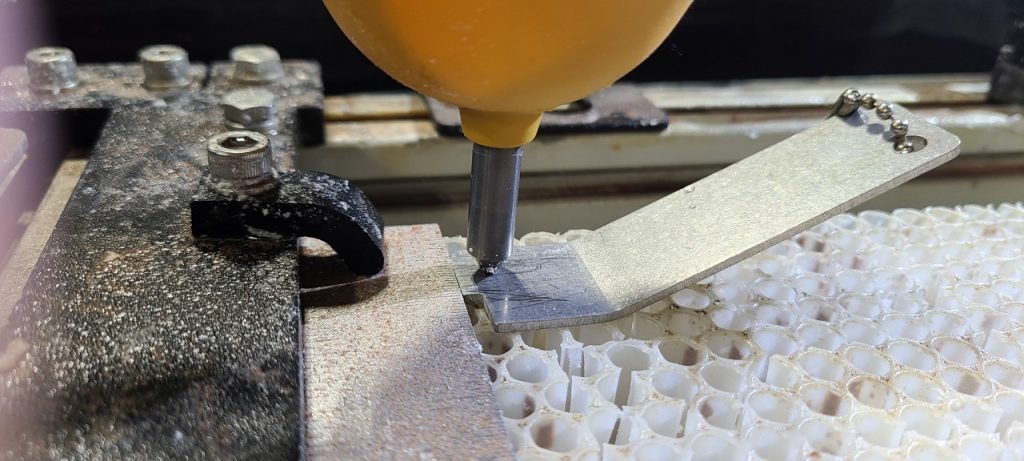
Step 6: Machine the part: Flip the splash guard cup down; adjust the drain; add water to raise it above the material surface; then begin machining.
For more information, visit: ProtoMAX Website
Safe Operation
- Monitor the machine throughout the entire job.
- Clamp down the piece before starting a job.
- Check that the water level is 0.25 in. above the material.
- Push the nozzle guard all the way up and set it to the correct height.
- Make sure that there is enough garnet (abrasive sand) in the hopper.
Cleanup
- Remove your material and all debris.
- Throw excess material in the trash.

