This week was focused on modeling the coffee table with various practice materials to get an idea of what parts of the building process might be tricky, practice joinery techniques, and finalize design elements.
Originally, the legs were going to sit on the outside of the table, with the sides of the table resting on them (seen below, far left)
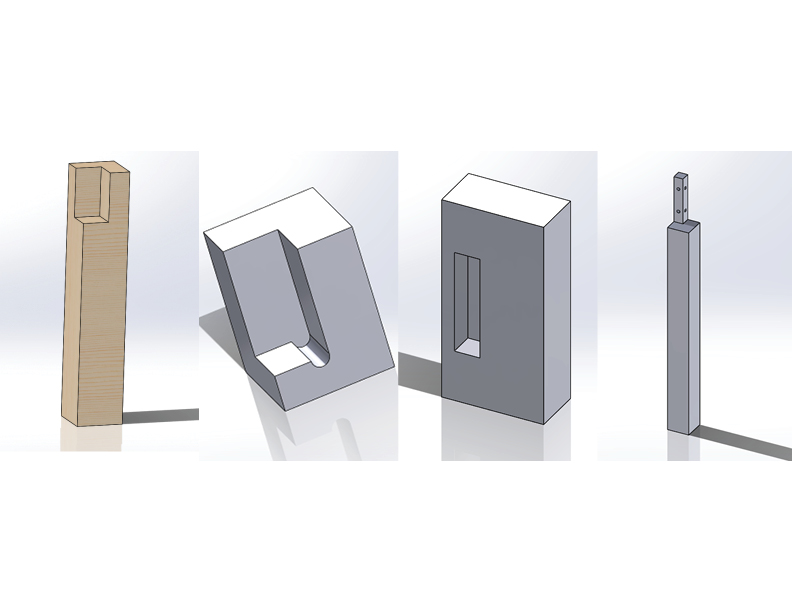
Evolution of table leg design
After practicing with the XPS foam (shown below), we redesigned the leg several times before deciding on a final plan (above, far right). Now, the sides of the table will sit on the outside of the legs.
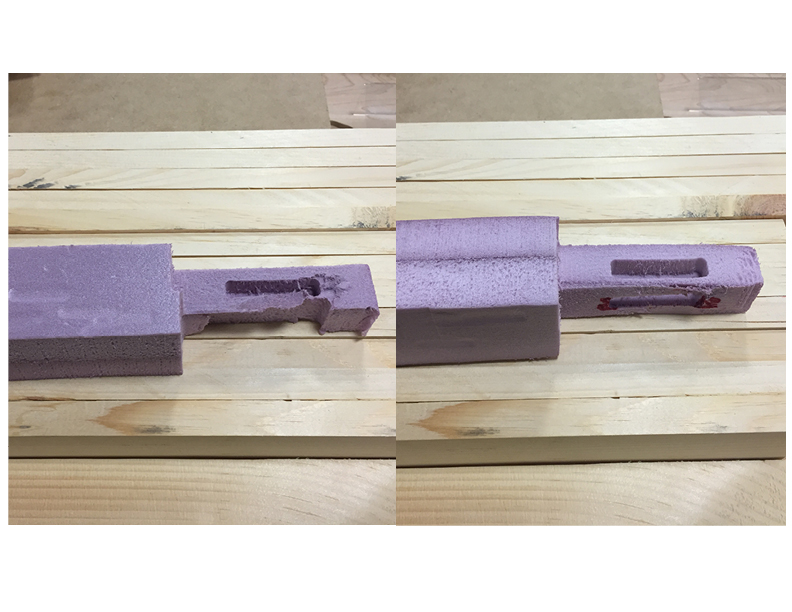
Examples of the leg with slots
Instead of trying to create perfect right angles on the CNC Router for the side or reinforcement pieces to fit in, the head of the leg will be cut on the CNC and then two holes will be drilled on both sides for wooden dowels.
Yesterday, I took the practice wood to Nedlam’s Workshop at Malden High School to plane it before we started building.
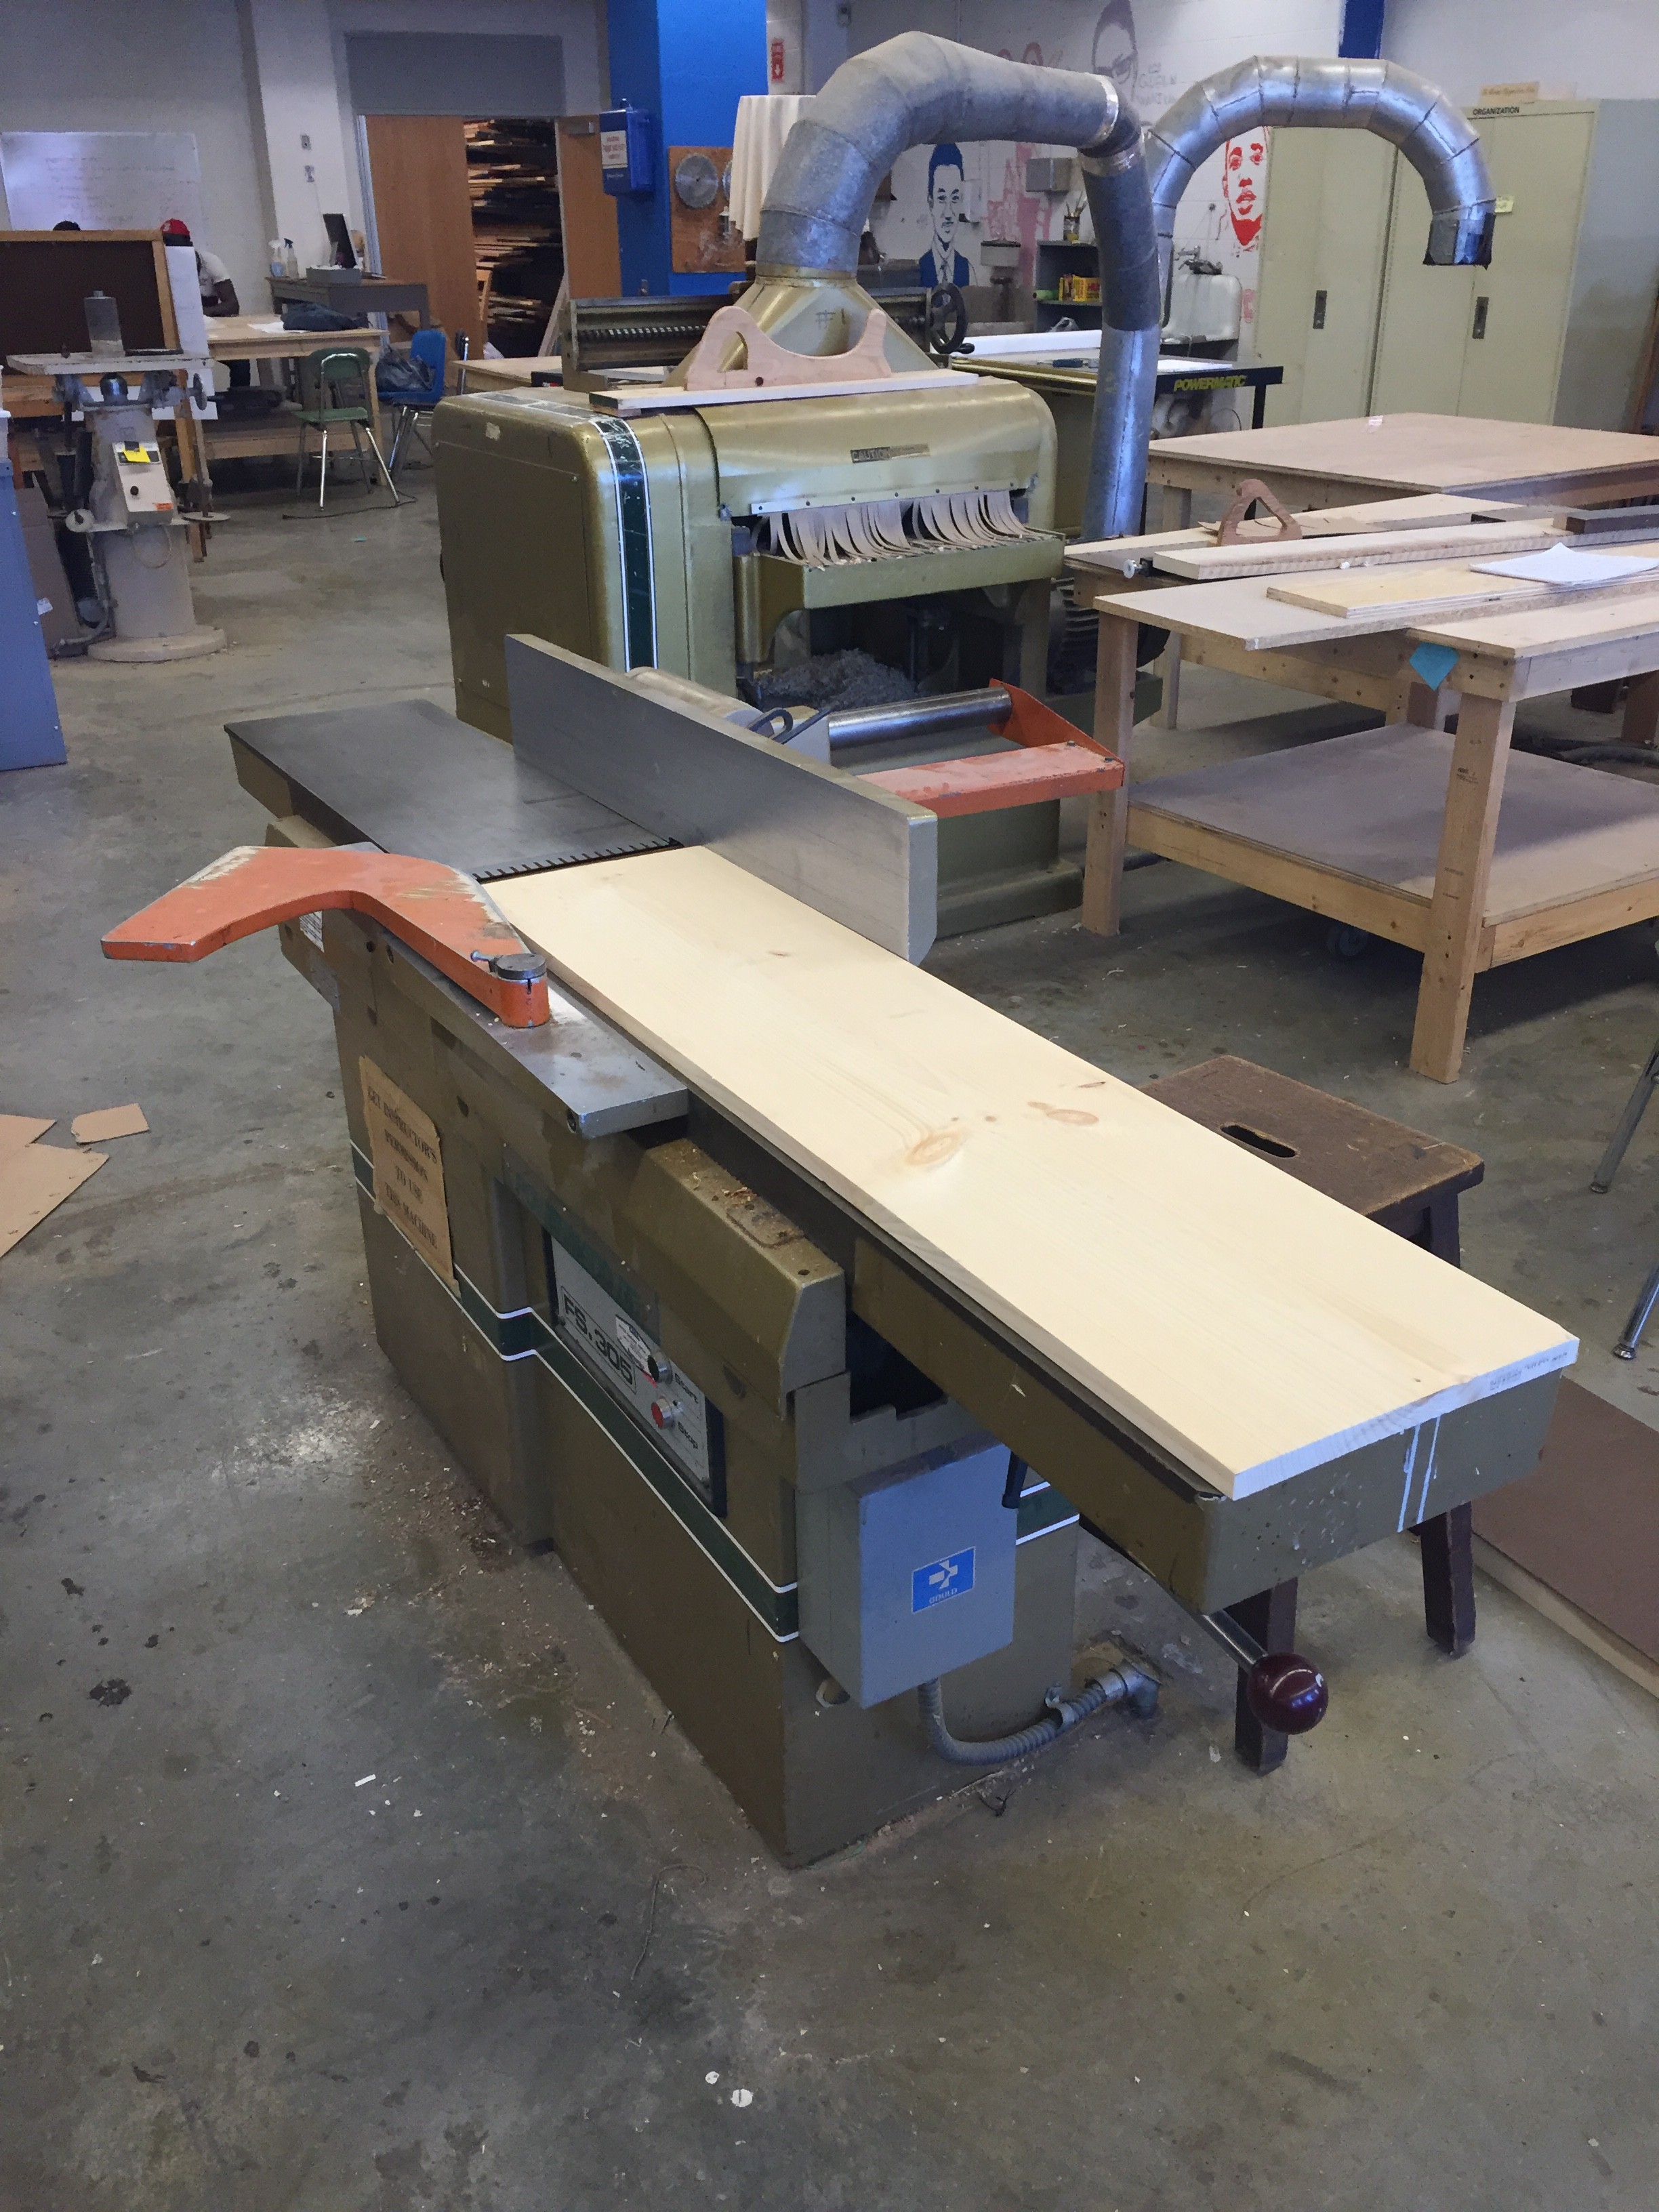
Using the jointer at Nedlam’s Workshop
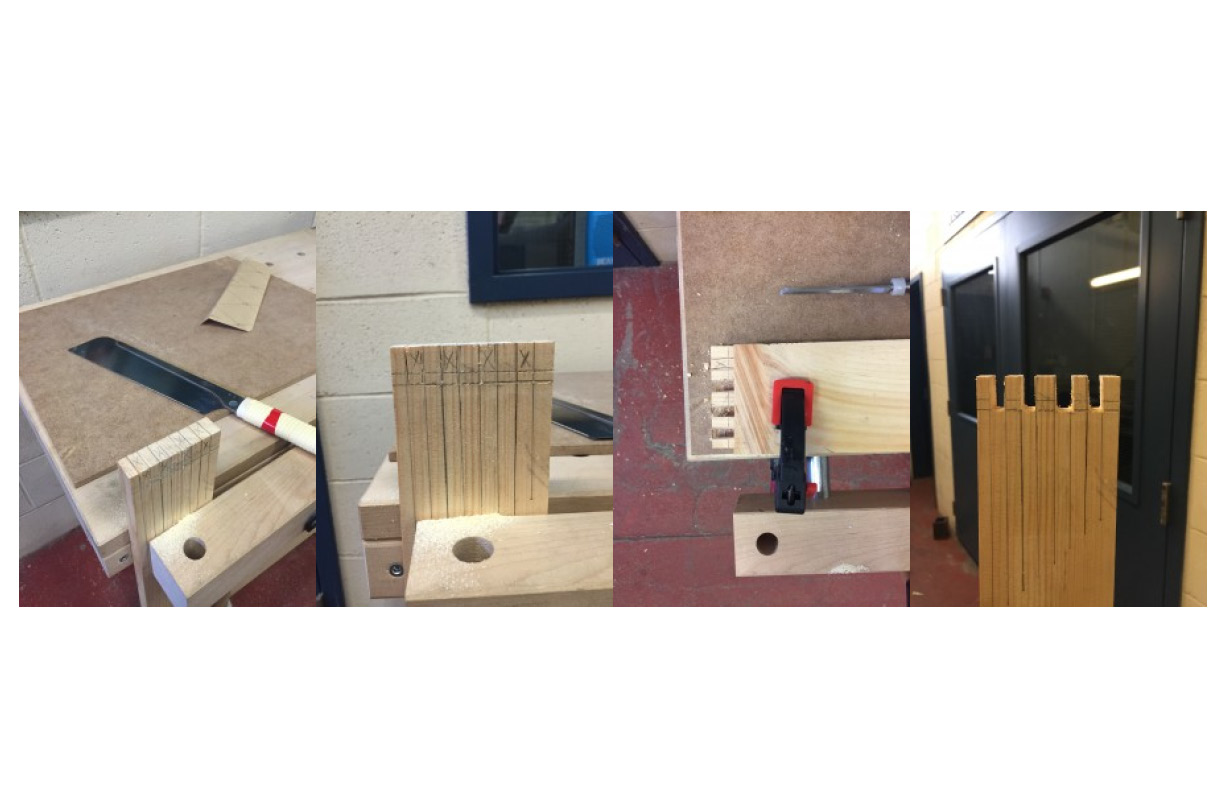
Next, I began practicing making finger joints with scrap wood. The joints will connect all four sides of the table.
Throughout next week I will continue to practice the necessary woodworking techniques, finish building the practice table, and plan out the construction of the final coffee table!

